
Design
Adobe XD 59.0.12
DesignUpdated
| Requirement | On file |
|---|---|
| macOS | macOS 10.15 or later |
| CPU | Apple Silicon, Intel 64-bit |
| Download | 2.6 GB |
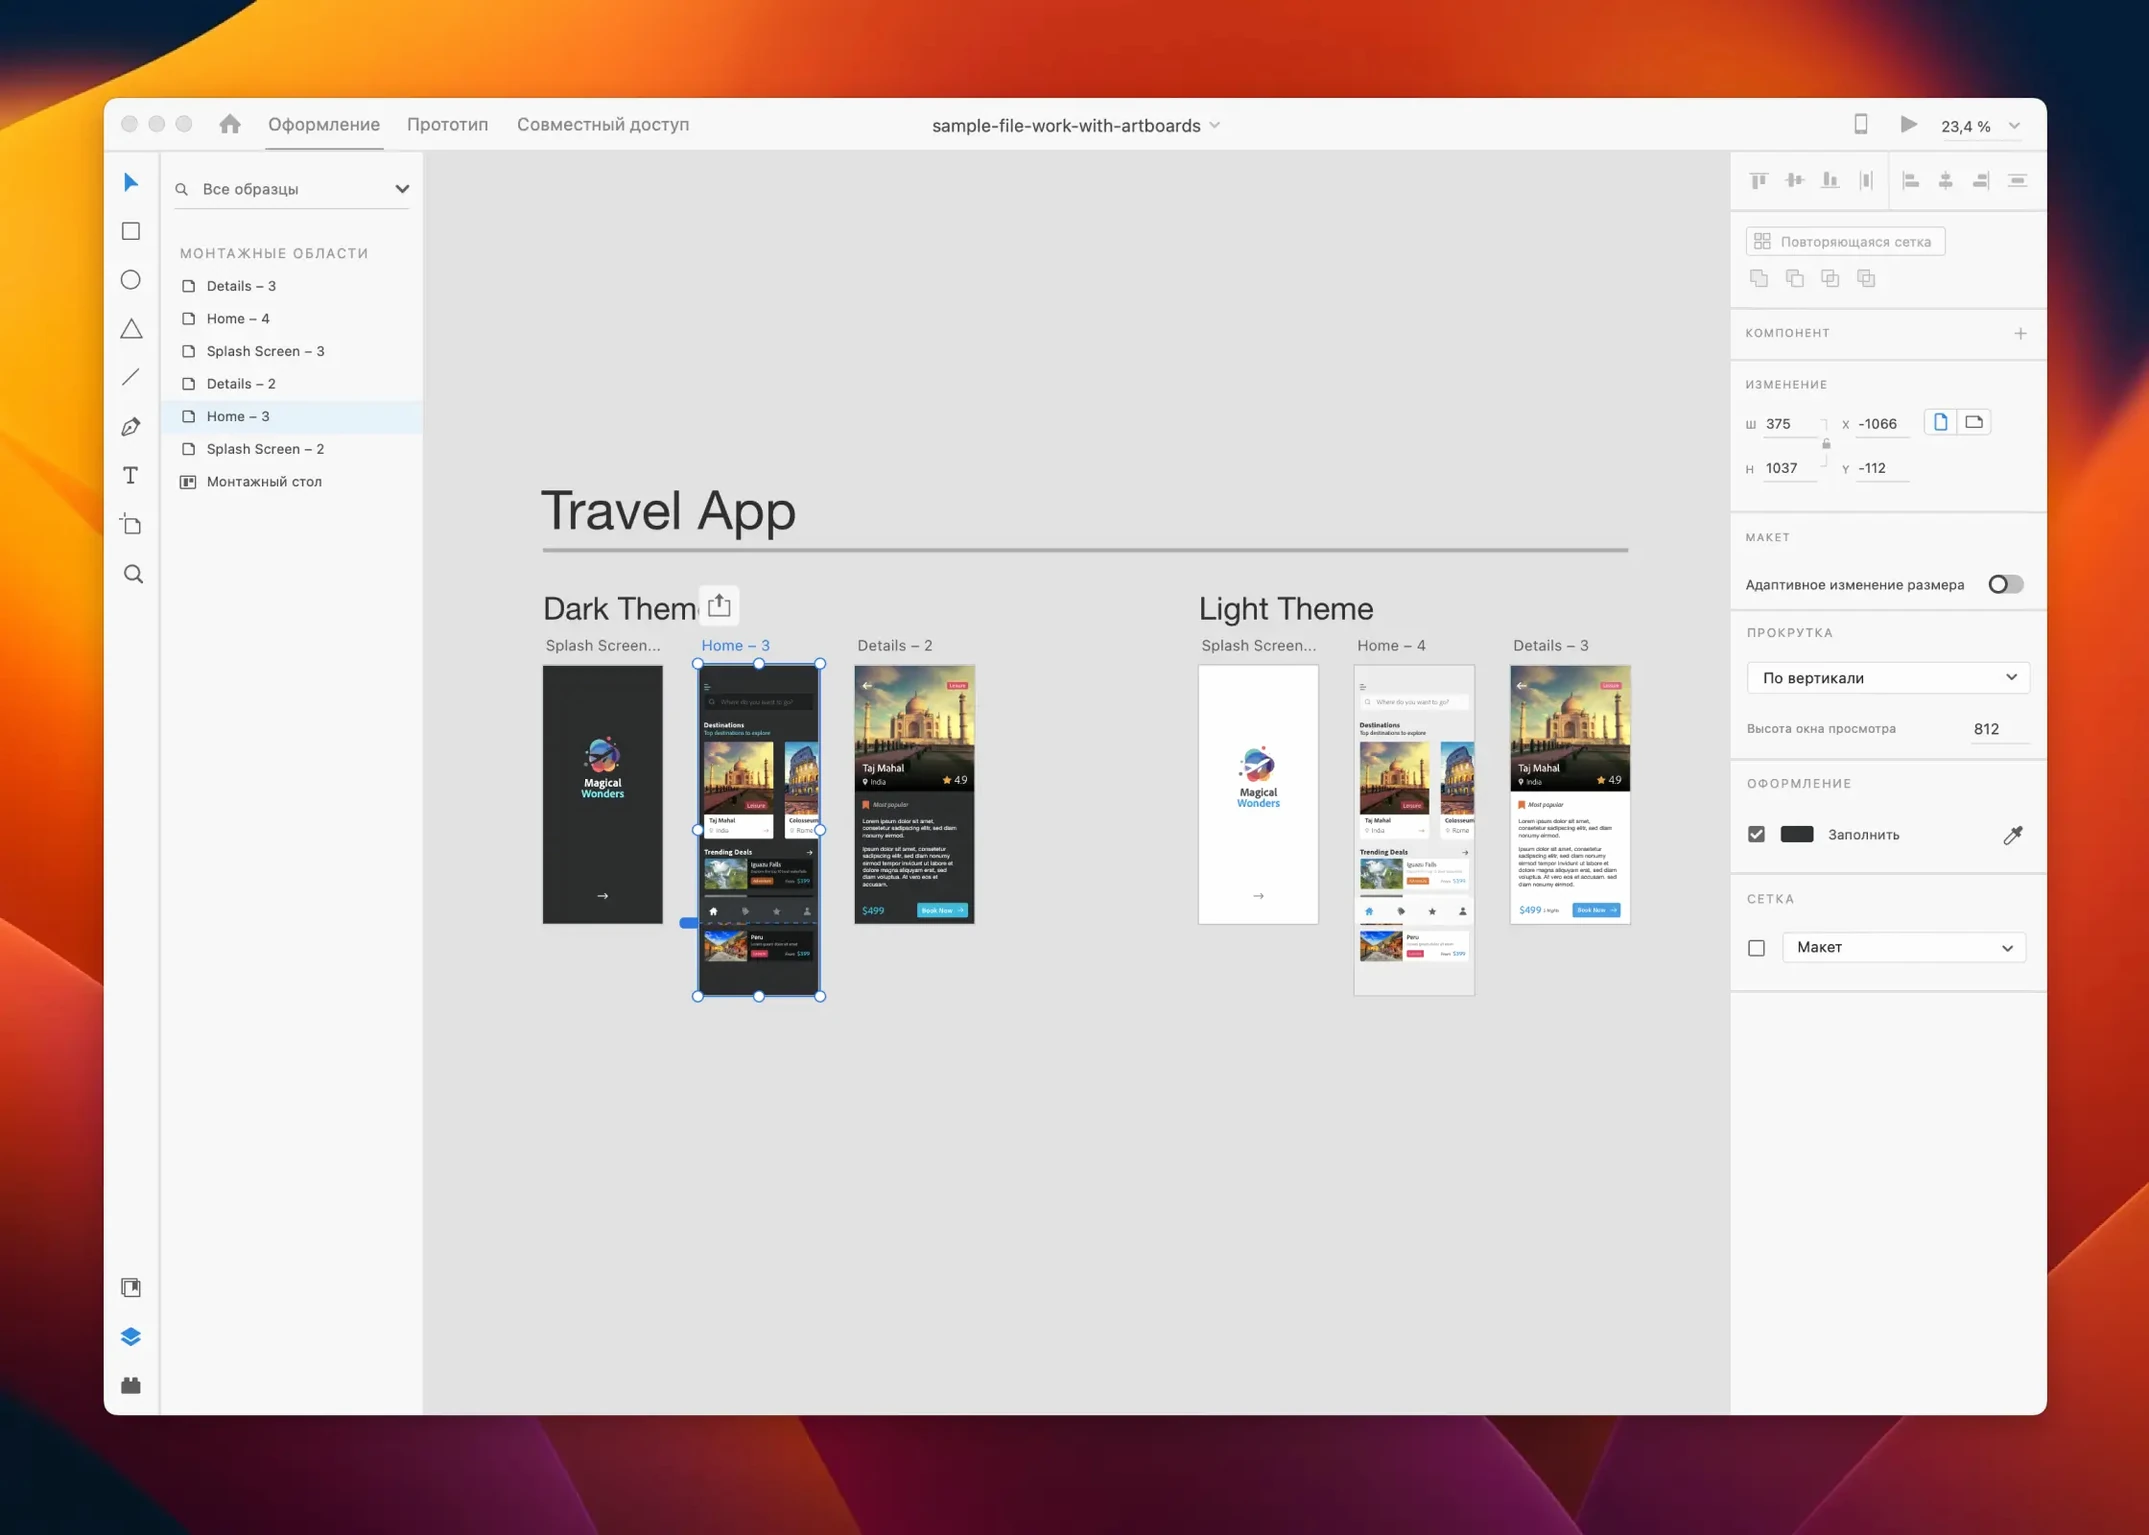
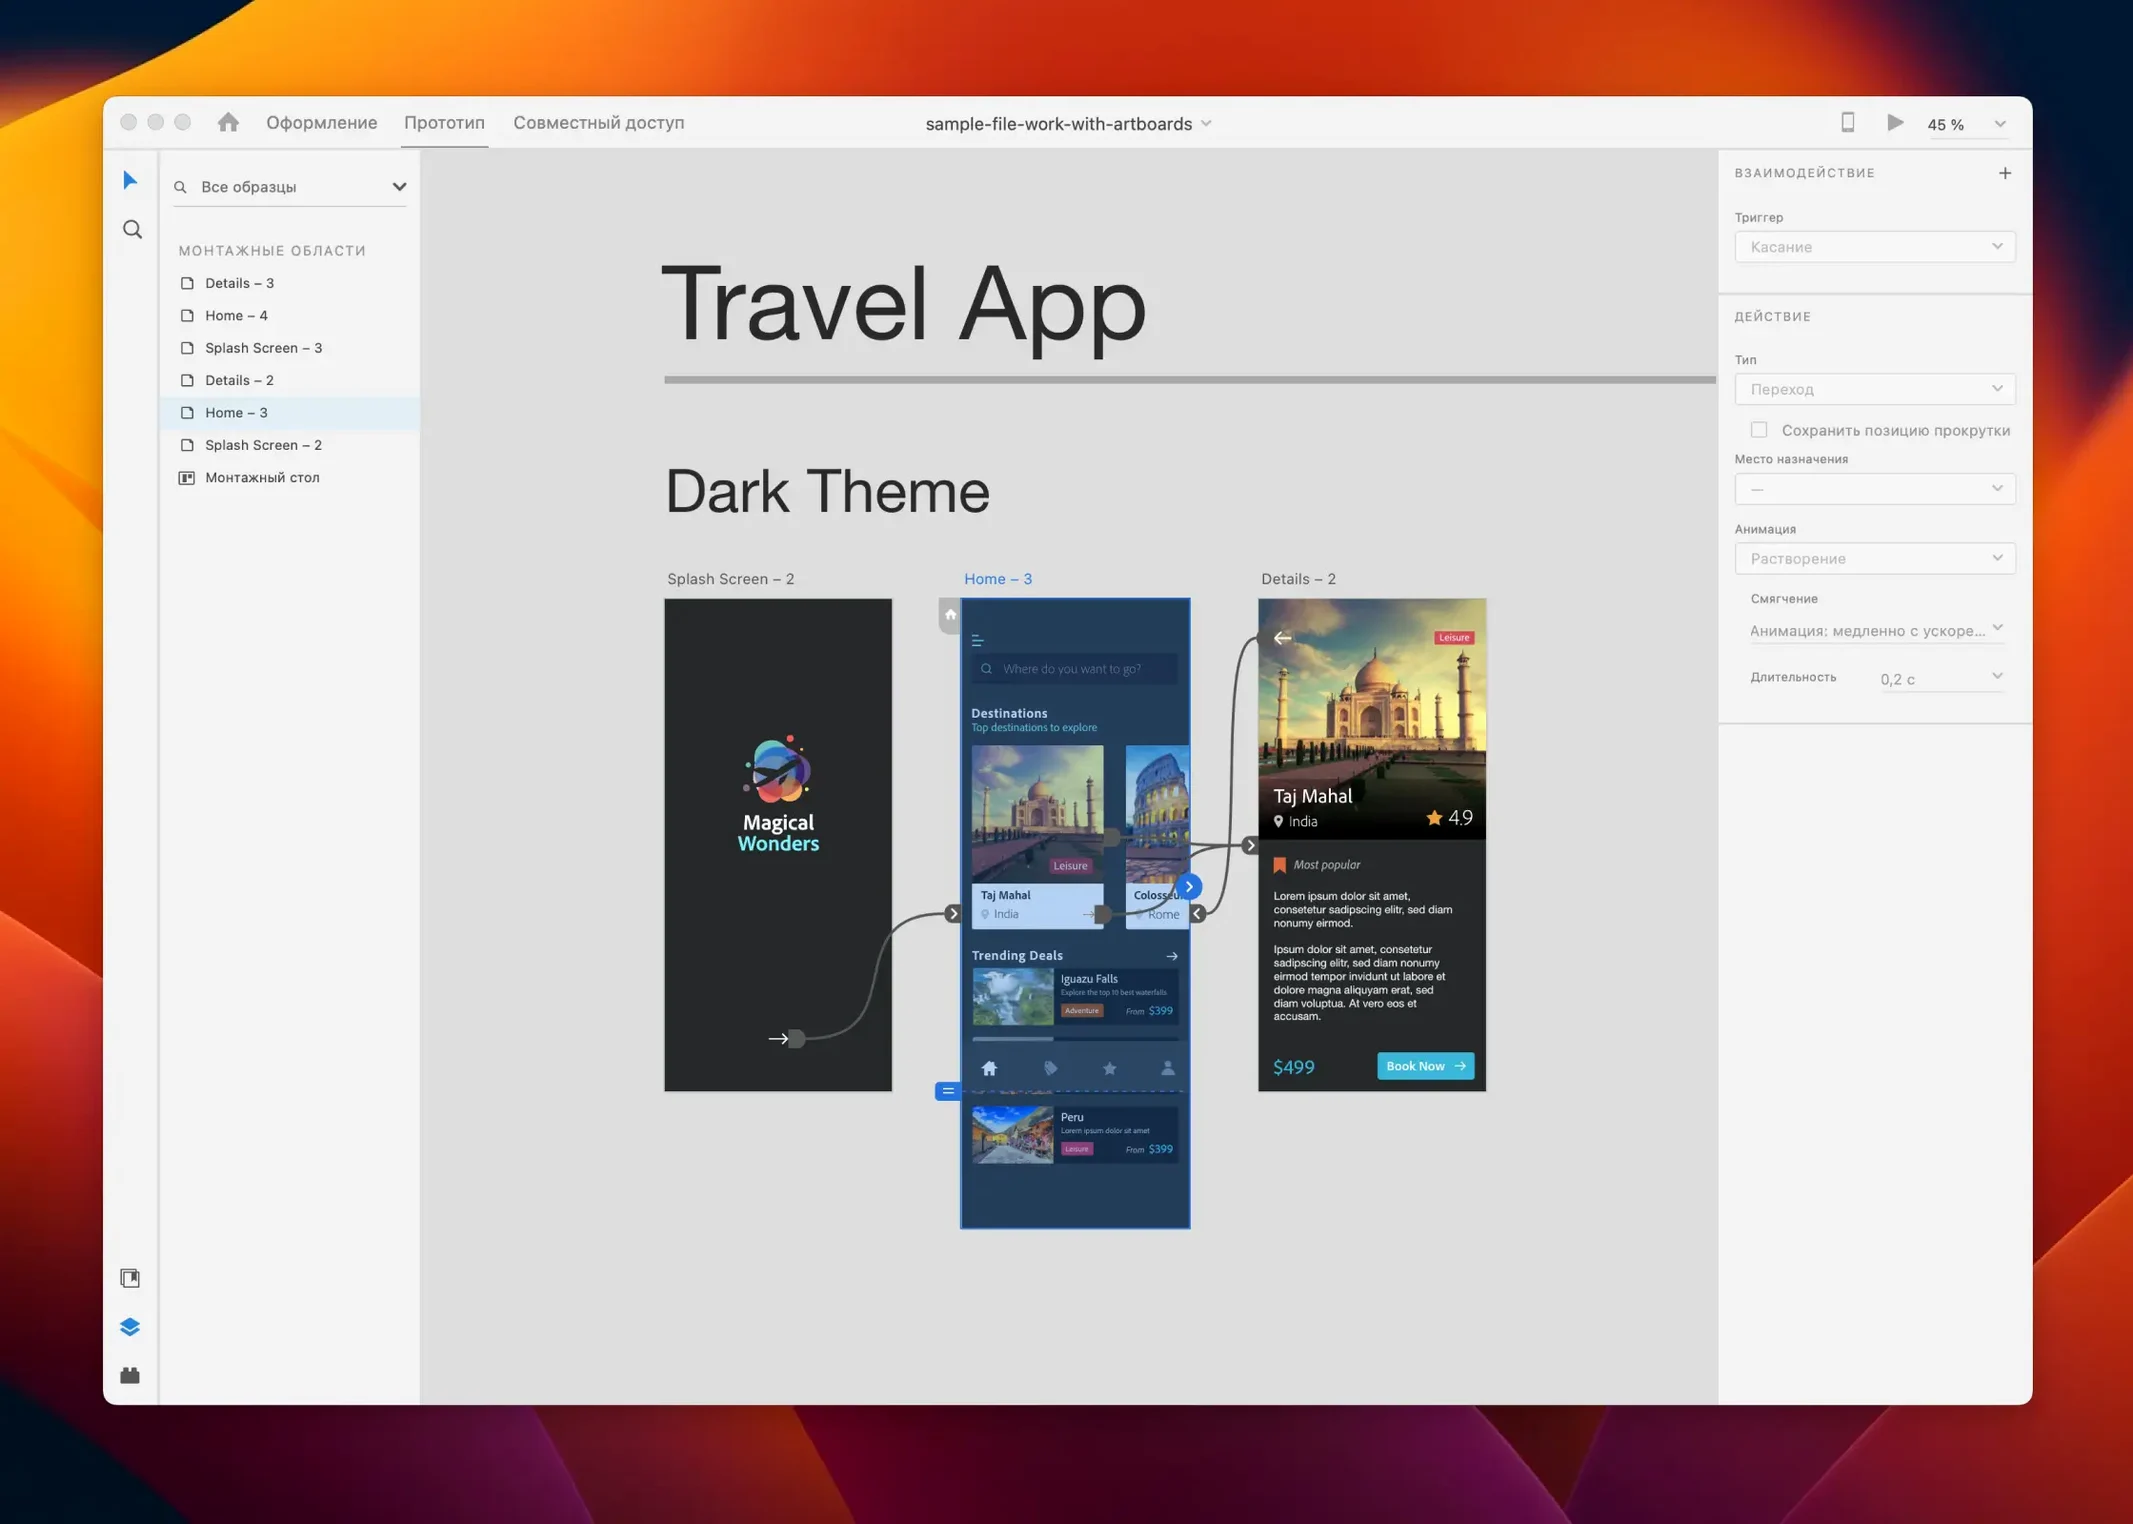
Interface designers and product teams use Adobe XD to map out web and mobile experiences before a single line of code is written. It covers the full arc from wireframes and high-fidelity mock-ups through to interactive prototypes that stakeholders can click through directly in a browser. The single-app approach means you do not need to jump between three different tools to design, prototype, and gather feedback on a screen flow.
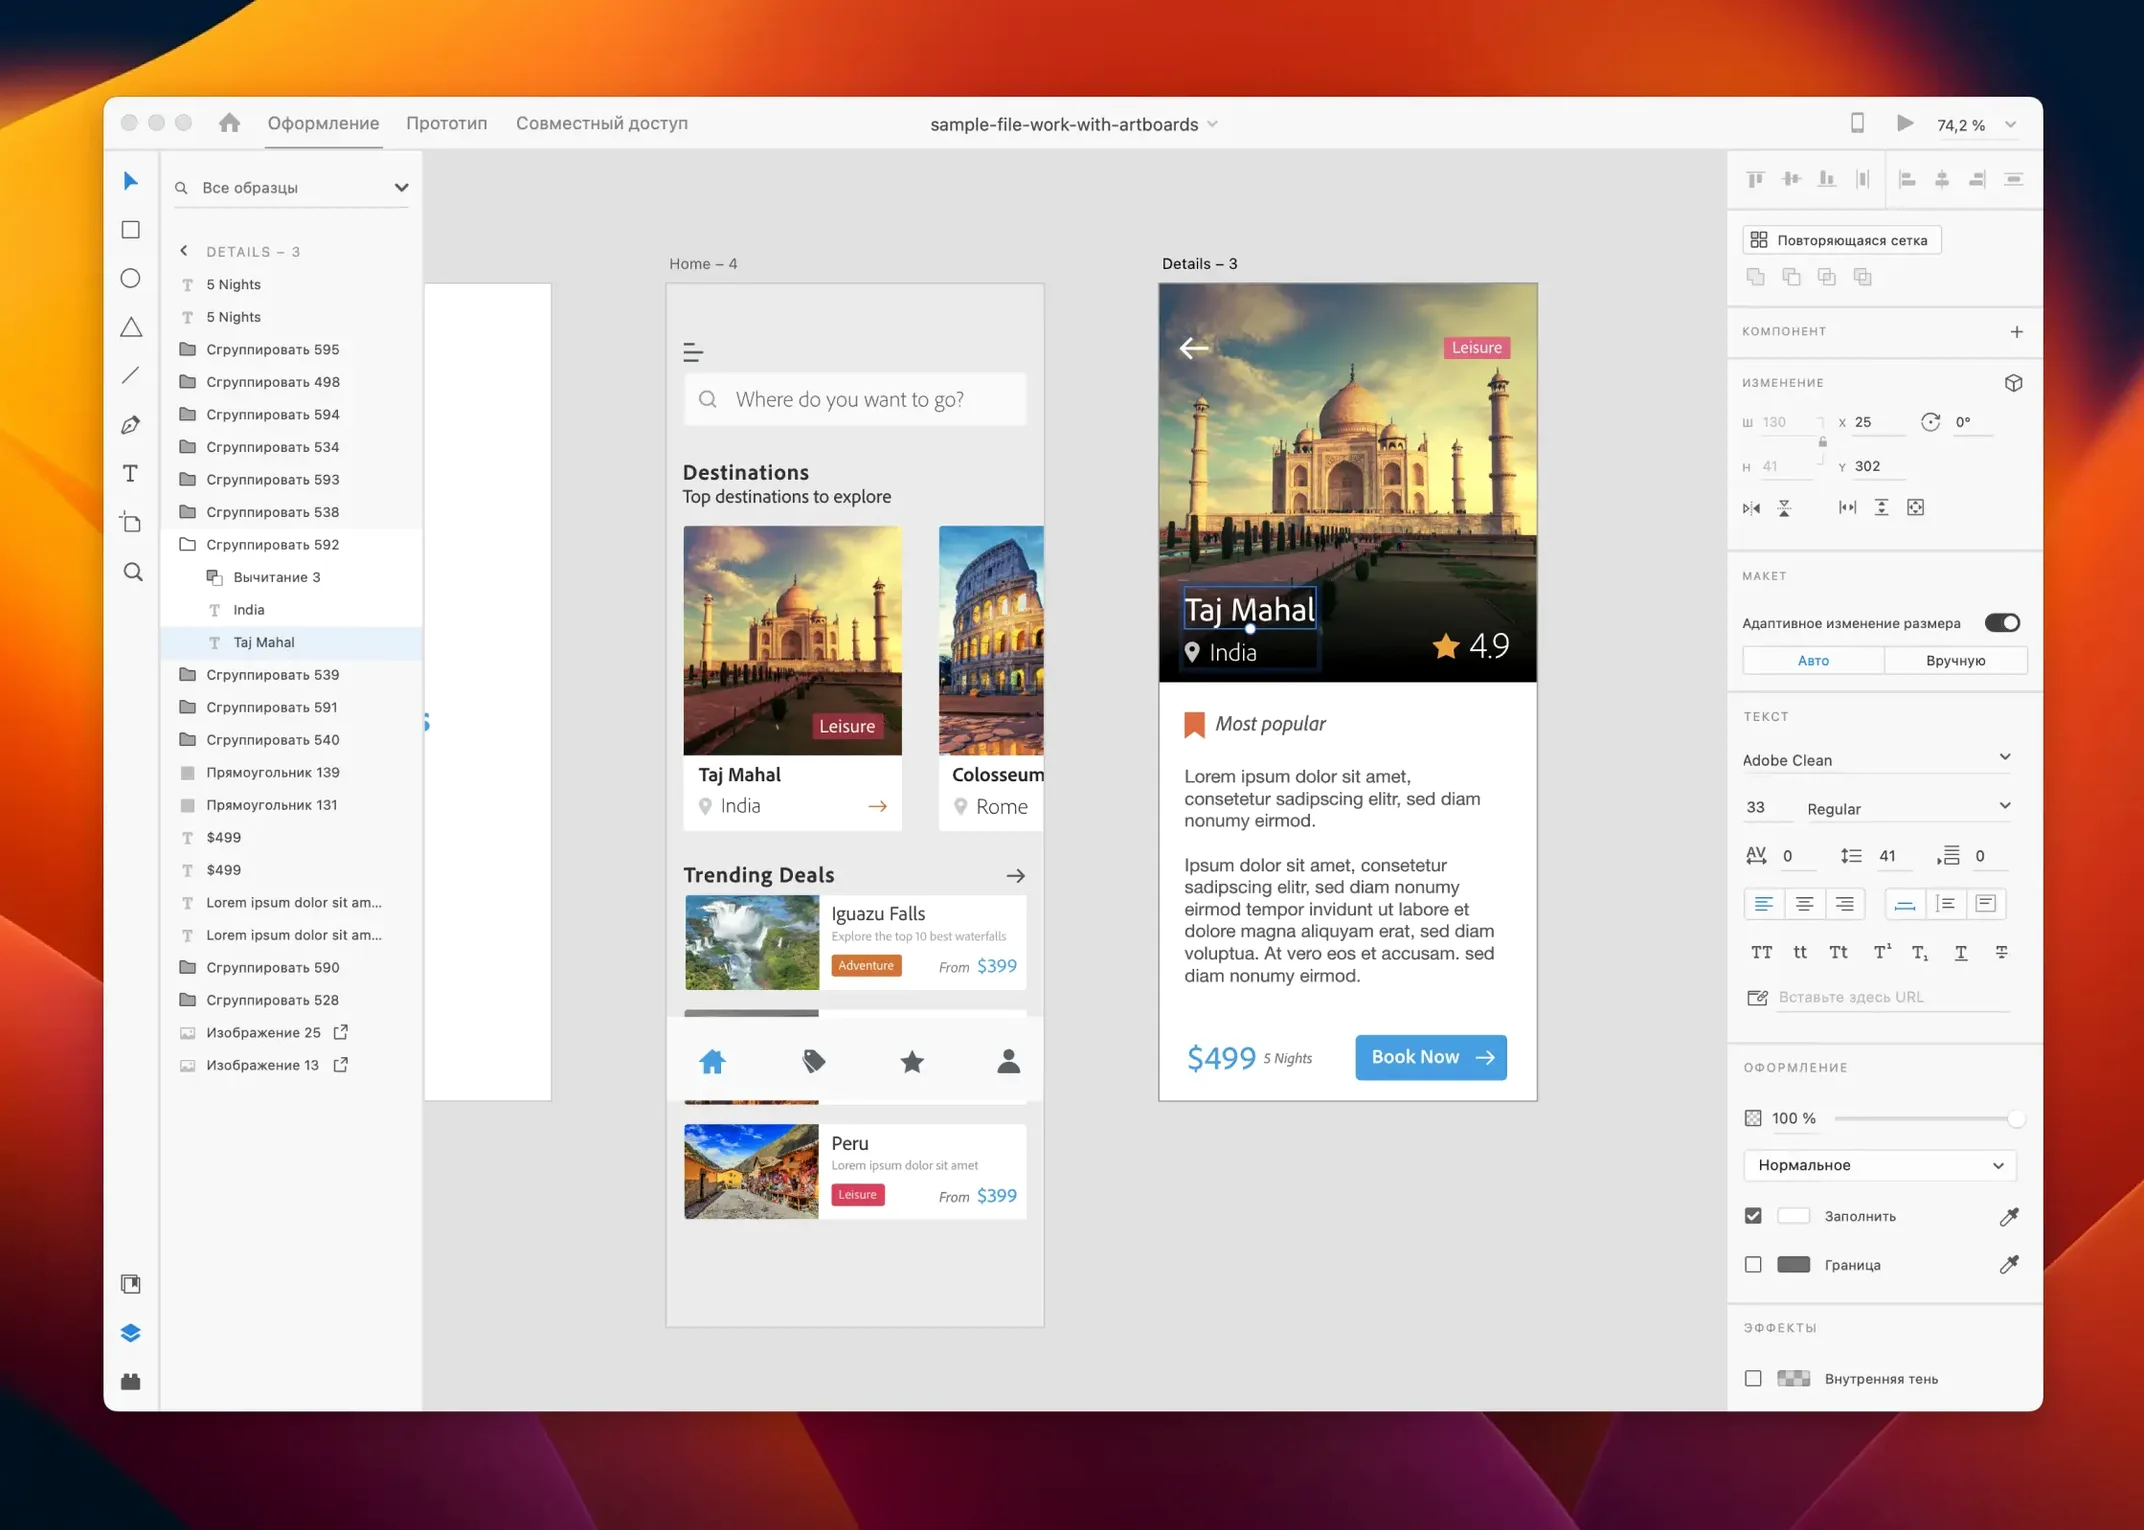
Version 59.0.12, the July 2025 release, is a maintenance update. It brings bug fixes and minor workflow improvements, with no new features. Under the hood, the core toolset remains what most XD users will recognise: repeat grid for laying out card-style content, responsive resize that respects constraints as artboards change shape, and auto-animate for transitioning between screens without timeline keyframes. Content-aware layout, which reflows groups when text or objects are edited, is still the primary approach to padding and stack-like behaviour inside components.
Collaboration runs through Creative Cloud Libraries and shared design links. Colleagues can inspect specs and leave comments on a web-based prototype, while shared libraries keep icon sets and brand colours consistent across documents. The Mac build runs on both Intel and Apple Silicon hardware, with the same file format as the Windows version, so teams on mixed hardware can exchange .xd files without conversion.
Switch Units and Nudge Distances for a More Precise Canvas
Out of the box, Adobe XD leans toward a light interface with default nudge distances and a standard grid. A few adjustments early on make the canvas feel more precise.
The first stop should be XD > Preferences > Units. Switch from points to pixels if you hand off specs to developers who work in CSS pixel values. In the same panel, set the keyboard increment to 1 px for the arrow keys — the default 10 px is too coarse for fine alignment on high-density mock-ups. Hold Shift with the arrow keys to multiply that by ten when you do need larger jumps.
Under View > Grid, enable a square grid and set it to 8 px. An 8-pixel base unit slots neatly into the 4-px scaling that most UI frameworks use, and it aligns with the default spacing values in iOS and Material Design guidelines. Square grids overlay the entire artboard, so they also act as a sanity check when dragging objects freehand.
Darken the pasteboard. XD calls it the Scratch Area, and its brightness can wash out light-coloured screen designs. Go to View > Scratch Area and pick a mid-grey like #3D3D3D. The contrast isolates artboards without changing the preview render — stakeholders who open a shared prototype link see only the artboards, never the scratch area colour.
Responsive resize defaults to Auto for new groups, which guesses constraints based on object positions. Switch it to Manual in the Property Inspector after grouping elements. Manual mode lets you pin edges to the artboard boundary or centre, which is more predictable when you duplicate an artboard for a tablet variant and drag its width.
Connect XD to Non‑Adobe Tools and Mac System Services
XD lives inside the Creative Cloud ecosystem, but it also plays with several macOS-native services and third-party tools that do not require a CC subscription.
Creative Cloud Libraries and Adobe Stock
Libraries sync across Adobe apps on the same account. A colour palette defined in XD appears in Illustrator and Photoshop Libraries panels, and the reverse holds. For UI work, this means a brand colour change made in one Library propagates to every document that references it. Stock assets — photography, icons, device mock-ups — are searchable from the Libraries panel inside XD without leaving the canvas. Dropped-in Stock images remain as linked smart objects with a watermark until licensed, so you can build a full mock-up before committing to asset costs.
macOS Integration
Quick Look works on .xd files in Finder. Select a file and press Space to see a full-resolution preview of the first artboard, which is useful when you keep a drafts folder with 20 unnamed concept files. Drag-and-drop from Finder places PNG, JPG, SVG, and GIF directly onto the canvas as raster or vector objects. SVG files land as editable vector groups — no need to open Illustrator first.
Universal Clipboard bridges XD and other Mac design tools. Copy a vector shape in XD and paste it into Sketch or Figma as an SVG path. Copy a bitmap from Pixelmator Pro and paste it into XD as a flat image. The path fidelity depends on the source application, but simple icons and buttons transfer cleanly.
For designers who keep a local asset folder synced through iCloud Drive, XD can pull images from the iCloud directory without duplicating them into Creative Cloud storage. The file path appears in the Property Inspector, and XD respects the original file's modification date when checking for updates.
Handoff and Developer Tools
Shared prototype links generate a Design Specs view. Developers open the link in a browser, click any element, and see CSS, iOS, or Android code snippets alongside spacing measurements. The specs panel reads out distances between the selected object and its nearest neighbours, which removes the guesswork from margin and padding values. Zeplin and Avocode users can export artboards as multi-layer files, but the built-in specs page covers most handoff scenarios without an extra subscription.
Type 320/3 Into Any Numeric Field to Calculate on the Fly
Several XD interactions are subtle enough that they stay hidden until someone points them out.
- Math in input fields. Any numeric field in the Property Inspector accepts arithmetic. Type
320/3into the width field and XD calculates the result on Enter. Addition, subtraction, multiplication, and division all work, including mixed units —100% - 16pxis valid inside a component with padding constraints. - Repeat Grid text replacement. Drag a
.txtfile onto a Repeat Grid that contains a text element, and XD populates each grid cell with one line from the file. The file path does not need to be inside the project folder. This is faster than pasting placeholder names one by one when mocking up a contacts list or a search results page. - Component states without the States panel. Right-click any component instance and choose Toggle State to cycle through hover, tap, and default appearances directly on the canvas. The shortcut Shift+Enter does the same for the selected instance.
- Mask with a shape. Select an image and a rectangle, then press Cmd+Shift+M. The rectangle becomes a mask and the image clips to its bounds. The mask remains editable — drag its corners and the image re-crops in real time.
- Batch export. Mark multiple objects or artboards with the Export badge in the Property Inspector, then use File > Export > Batch to render all marked items at once. Each item respects its own format and scale setting, so you can export a 2× PNG for the app store and a 1× SVG for the web in the same pass.
- Quick colour eyedropper. Hold Ctrl+C while hovering over any pixel on the screen — outside the XD window, on a browser, or on a reference image open in Preview. The colour loads into the fill swatch without switching applications. This uses the macOS system-level colour picker, so the sampled value is the raw screen colour, not colour-managed.
- Paste appearance. Cmd+Shift+V pastes only the appearance attributes (fill, stroke, shadow, opacity) from one object to another, leaving the target's shape and size untouched.
Workflow: Designing a Sign-Up Screen from Wireframe to Prototype
This walk-through covers a single screen flow — a mobile sign-up form — to show how the pieces connect in practice.
1. Artboard setup. Create a new document and press A for the Artboard tool. Select the iPhone 15 Pro preset from the property panel. Three identical artboards appear side by side: name them Empty, Filled, and Error. The naming convention matters later when you wire interactions — clear labels keep the prototype mode readable.
2. Wireframe with shapes. On the Empty artboard, draw a 320 × 48 px rectangle for the email field. Duplicate it for a password field 16 px below. Add a 320 × 48 px filled rectangle for the submit button, coloured with the primary brand swatch from a linked Creative Cloud Library. Group the two field rectangles and apply Manual responsive resize, pinning both to the top and horizontal centre. This group will hold its position when you later duplicate the screen for a tablet variant.
3. Component states. Convert the submit button into a component (Cmd+K). With the component selected, open the Component States panel and add a Disabled state: reduce the fill opacity to 40% and set the text colour to mid-grey. On the Error artboard, toggle the button instance to the Disabled state. Add a red stroke to one text field and place a 14-pt error label beneath it.
4. Repeat Grid for suggestions. On the Filled artboard, build a single suggestion row: a small avatar circle and a name label, grouped and padded. Select the group and press Cmd+R to create a Repeat Grid. Pull
The July update does not shift the foundation, but a stability-focused release means fewer interruptions when working inside complex artboards with dozens of screens.
- Bug fixes — stability and minor workflow tweaks
- Workflow — small refinements across design and prototype modes
- macOS 10.15 or later
- Intel or Apple Silicon processor
- Internet connection for collaboration features
Questions on file
Does Adobe XD work on both Intel and Apple Silicon Macs?
Yes, the current version of Adobe XD runs natively on both Intel-based Macs and those with Apple Silicon processors, requiring macOS 10.15 or later.
Sign in · Create an account to add a field note.
No field notes yet. A measurement, a version, a machine — they appear after moderation.