Design
Amadine 1.8.3
DesignUpdated
| Requirement | On file |
|---|---|
| macOS | macOS 11 or later |
| CPU | Apple Silicon, Intel 64-bit |
| Download | 56 MB |
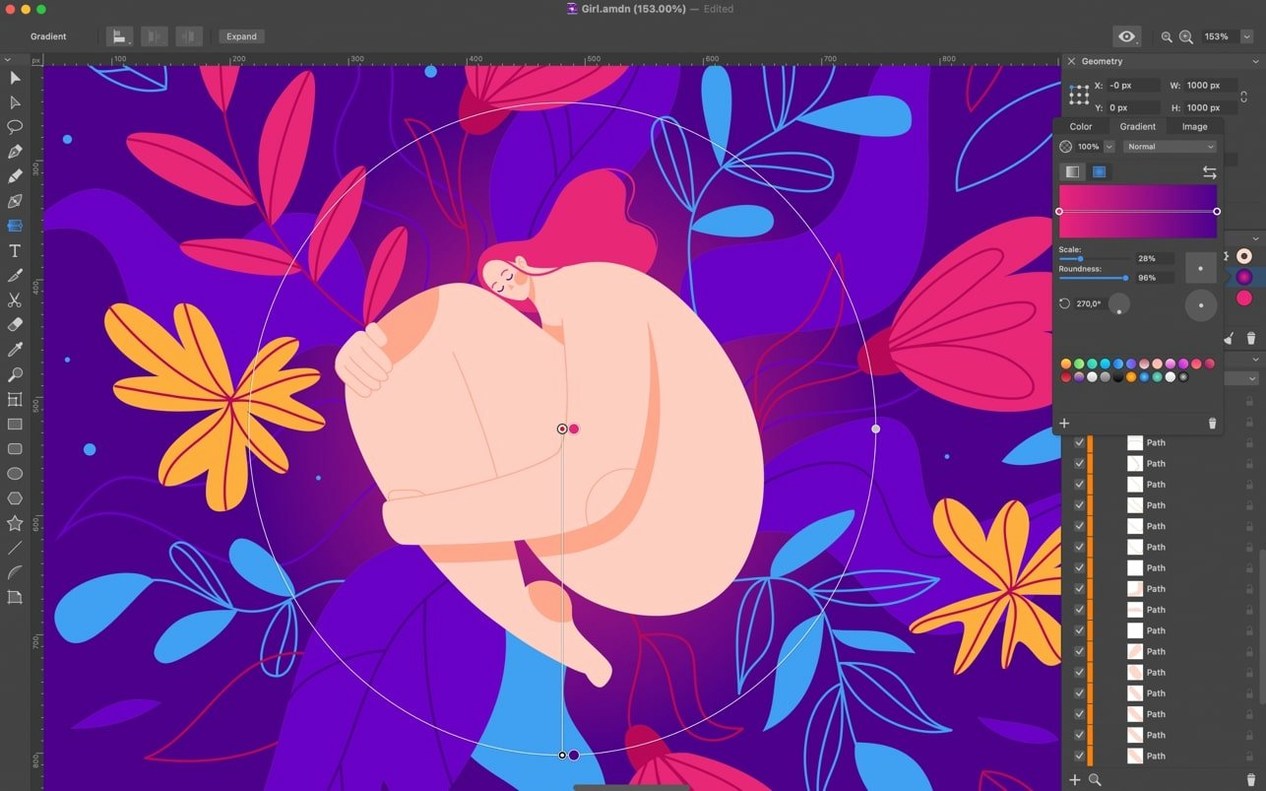
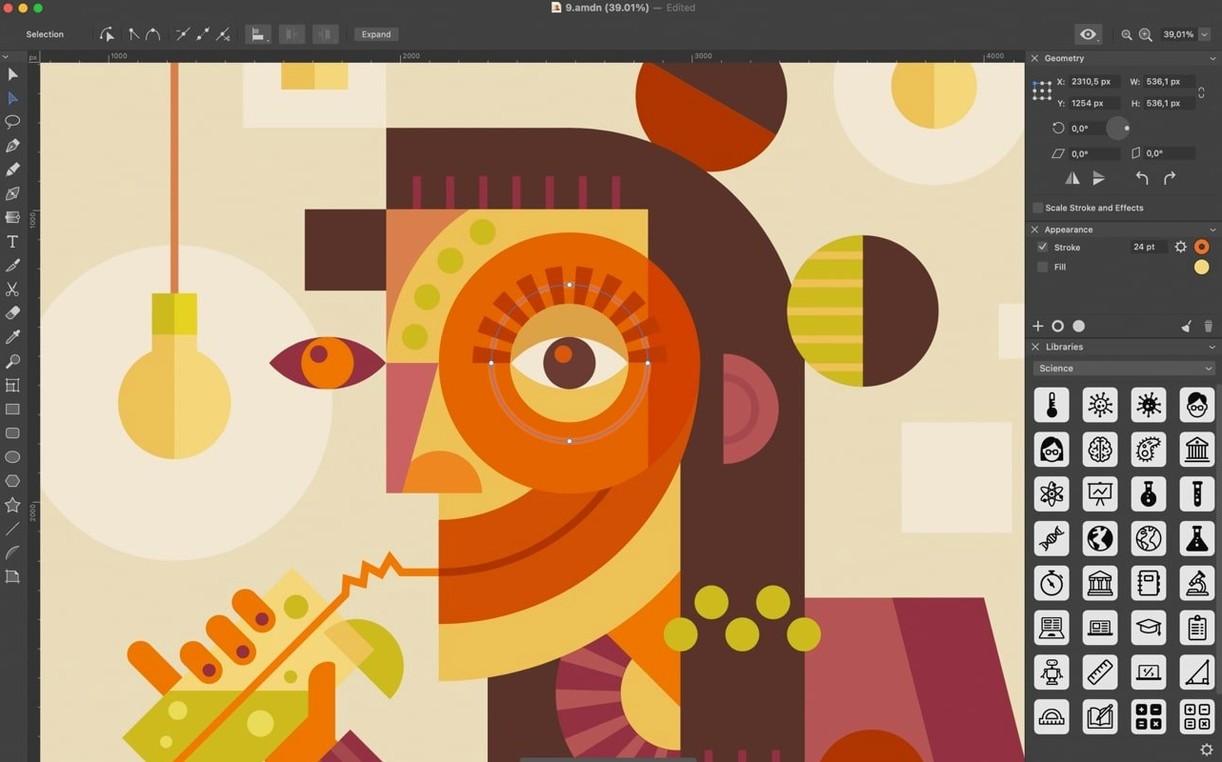
Amadine runs on any Mac with macOS 11 (Big Sur) or newer, on both Intel processors and Apple Silicon chips. It gives illustrators and designers a full vector toolkit in a single window.
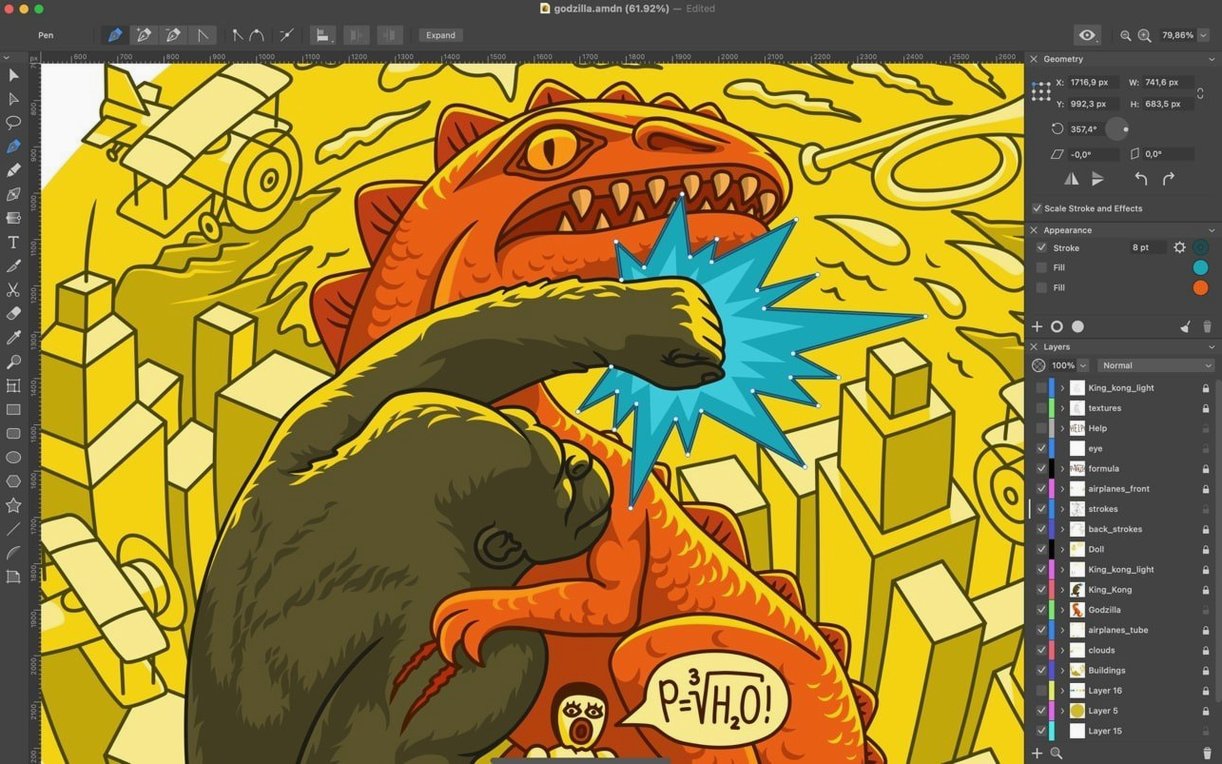
- Build the base shapes. Start with the Pen and Draw tools to lay down precise paths. The app’s more than 30 selection, creation, and editing tools cover the full range of primitive and freeform vector construction.
- Carve out the contours. Refine shapes with the Knife, Scissors, and Eraser tools. They cut compound paths cleanly — version 1.8.3 improved the Eraser’s output, so sliced edges come out with fewer stray points.
- Shape the strokes. The Path Width tool lets you pull and push a stroke’s profile at any point along its length. Graphic tablet users get pressure-sensitive control here, which translates hand weight directly into variable line width.
- Place the type. Text flows inside any closed shape or follows any path you draw. It is a straightforward way to set curved headlines or fill irregular containers without converting type to outlines first.
- Simplify where it counts. Open the Simplify dialog and you will see the original point count next to the result — a small fix in 1.8.3 that makes reduction decisions faster. Fewer unnecessary nodes mean smoother curves and lighter files.
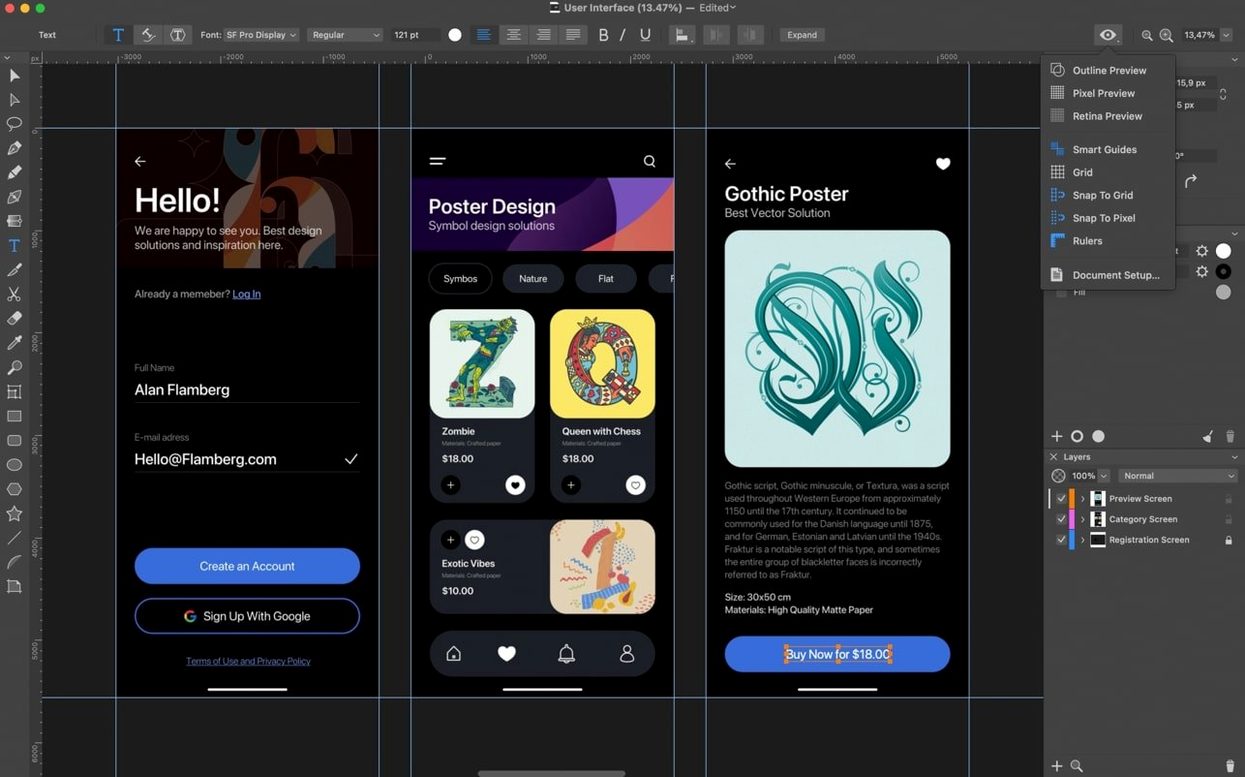
You can spread work across an unlimited number of artboards inside one document, and switch view modes — outlines, pixel grid with rulers, guides — as the job requires. The interface adapts to a single-window layout or detached panels, so a two-screen setup can keep tools on one display and the canvas on the other.
Swap the Default Black Stroke for an Empty Fill
Out of the box, Amadine defaults to a black stroke and white fill on every new shape. Switching that in the Appearance panel saves a dozen trips to the colour wells later. Set the fill to empty and pick a hairline stroke if you plan to trace or build wireframes first; you can always add fills once the paths are solid.
Head to Amadine > Settings > General and tick Use legacy freehand smoothing only if the Draw tool feels over-corrected with your tablet. The default smoothing is more aggressive and suits quick marker-style sketching; legacy mode preserves more of your hand motion. While you are there, enable Snap to pixel grid if you export icons or UI assets at low resolutions — it prevents anti-aliased blur on straight edges.
Under the Guides & Grid tab, change the grid spacing to 8 px and subdivisions to 4. This lines up with common icon grid conventions and makes snapping feel predictable, not magnetic in the wrong places.
Command-Drag a Handle to Tweak One Corner Radius
Holding Command while dragging a handle on a rounded rectangle adjusts only the corner radius under the pointer — the other three stay put. That is buried in no menu, and it beats opening the Corner Radius panel for one-off adjustments.
The Path Width tool has a hidden precision mode: hold Option while dragging a width point and the change applies symmetrically to both sides of the stroke. It keeps your profile centred on the path rather than pulling it off-axis.
Double-clicking any tool in the toolbar opens its specific settings panel — a shortcut that works for the Knife, Eraser, Draw tool, and brushes. The Eraser’s panel, for instance, lets you switch between a round nib and a flat one, and the cleaner result in 1.8.3 makes the flat nib usable for slicing shapes at an angle without leaving jagged remnants.
When you paste an object, Amadine places it directly on top of the original. Press Shift-Command-V instead and the copy lands centred in the current viewport. That is faster than pasting then hunting for the duplicate on a busy artboard.
Workflow: Tracing a Bitmap into Clean Vectors
The auto-vectorisation added in 1.8.3 handles the rough lift, but a manual pass afterwards produces something you can actually hand to a client. Here is a repeatable workflow for one-colour logo work.
- Drop the bitmap onto an artboard. Scale it roughly to final output size — vectorisation quality depends on pixel resolution, so a 1200-px-wide source gives the tracer more to work with than a 300-px thumbnail.
- Run Object > Vectorize Image. In the dialog, choose Black and White mode and push the Threshold slider until the silhouette reads correctly. Set Path Smoothing to around 60 % and tick Ignore white areas — you want only the dark shapes as paths, not a white background rectangle.
- Lock the bitmap layer. Create a new layer above it and Object > Expand the vectorisation result onto that layer. You now have editable paths sitting over the reference.
- Switch to Outline view (
Command-Y) to see the raw anchor structure. The auto-trace often over-interprets soft edges with clusters of redundant points. Select a noisy section, open Object > Path > Simplify, and watch the point count drop. The updated dialog in 1.8.3 shows the delta clearly, so you will know if you went too far before committing. - Use the Smooth tool (hidden in the Pen tool group) to drag across wobbly curves. It re-spaces anchors without altering the shape much. For sharp corners that have rounded off, grab the Anchor Point tool and convert the offending point to a corner type, then realign the handles.
- Check with a quick export. Hit
Shift-Command-Efor Export Selected Object, choose SVG, and open it in a browser. Zoom in hard. If the curves look clean at 400 %, they will hold up in print.
The whole process — drop, trace, expand, simplify, smooth — takes under five minutes once the sl
- Sheets — transparent backgrounds are now supported alongside standard fills.
- Vectorize — bitmap images can be converted into editable vector objects.
- Offset Path tool — behaviour refined for more predictable offset results.
- Simplify dialog — shows original and resulting point counts more accurately.
- Text stability — the app handles text and font operations more reliably.
- Eraser tool — produces cleaner cuts with fewer leftover fragments.
- macOS 11 or later
- Intel or Apple Silicon Mac
Questions on file
Can I use a drawing tablet with Amadine?
Yes, graphic tablets with pressure sensitivity are supported, giving you variable stroke control with tools like the Path Width tool.
Does Amadine let me put text along a curved line?
Text can be placed directly along any path or inside any shape, so curved or circular type runs are built-in.
How many artboards can one document have?
A document can contain an unlimited number of artboards, which is useful for multi-page layouts or icon sets in a single file.
Sign in · Create an account to add a field note.
No field notes yet. A measurement, a version, a machine — they appear after moderation.