Design
Affinity Designer 2.6.5
DesignUpdated
| Requirement | On file |
|---|---|
| macOS | macOS 10.15 or later |
| CPU | Apple Silicon, Intel 64-bit |
| Download | 779 MB |
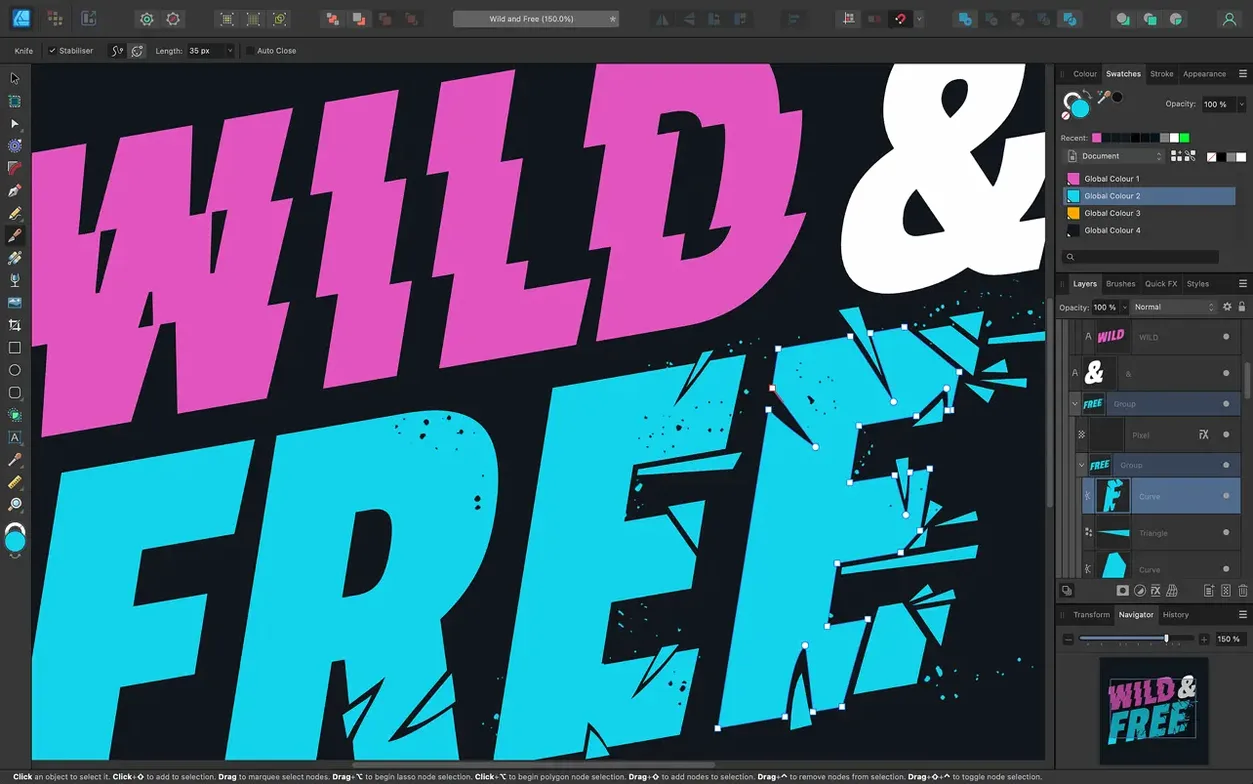
Anyone familiar with the precision of Adobe Illustrator will find a similar logic in Affinity Designer, but with a performance profile built on Metal and Grand Central Dispatch that makes canvas navigation feel immediate. It is a vector graphics app where the division between raster and vector work is a switch, not a separate application launch.
- Set up a document in a CMYK colour space with an ICC profile pulled from your printer’s spec sheet, then begin a logo concept using the Pen tool.
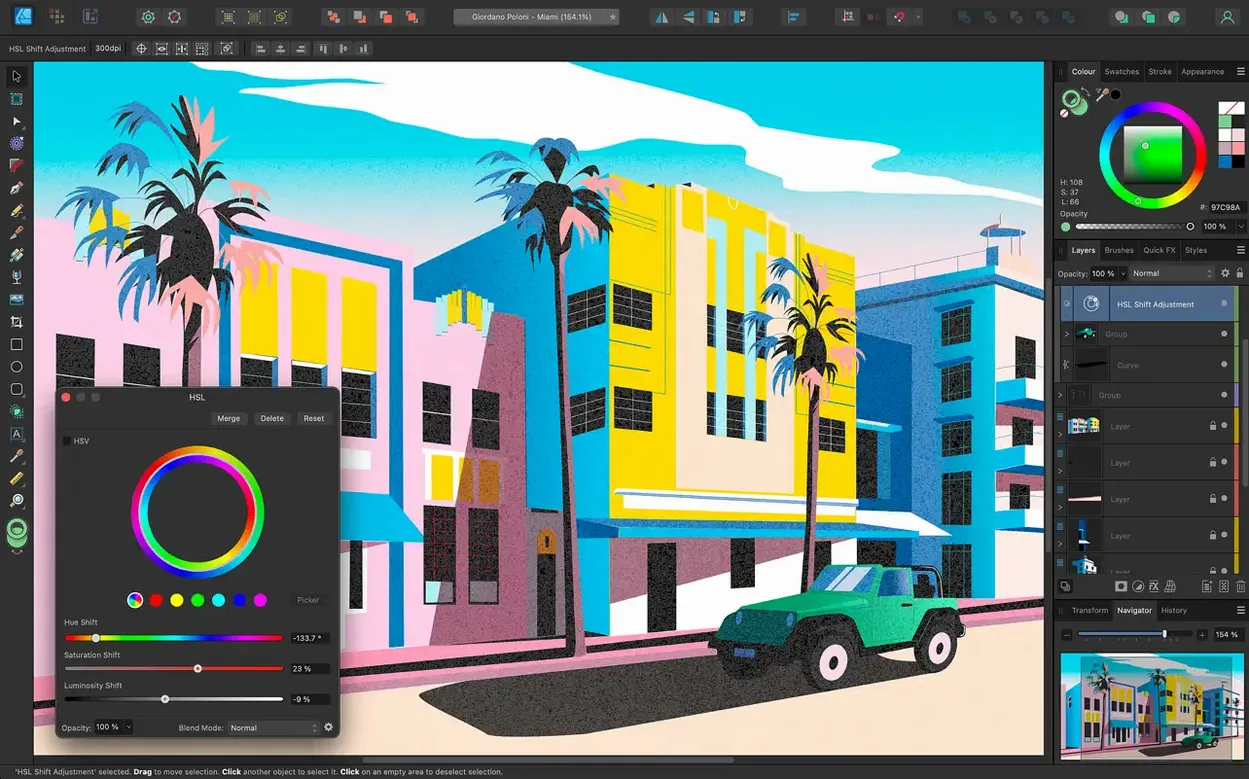
- Switch to the Pixel Persona to add a soft grain texture directly to a vector shape without exporting to another program.
- Apply the Pencil tool with the stabilisation feature to draw smooth freehand lettering, then attach the resulting stroke to a curved path.
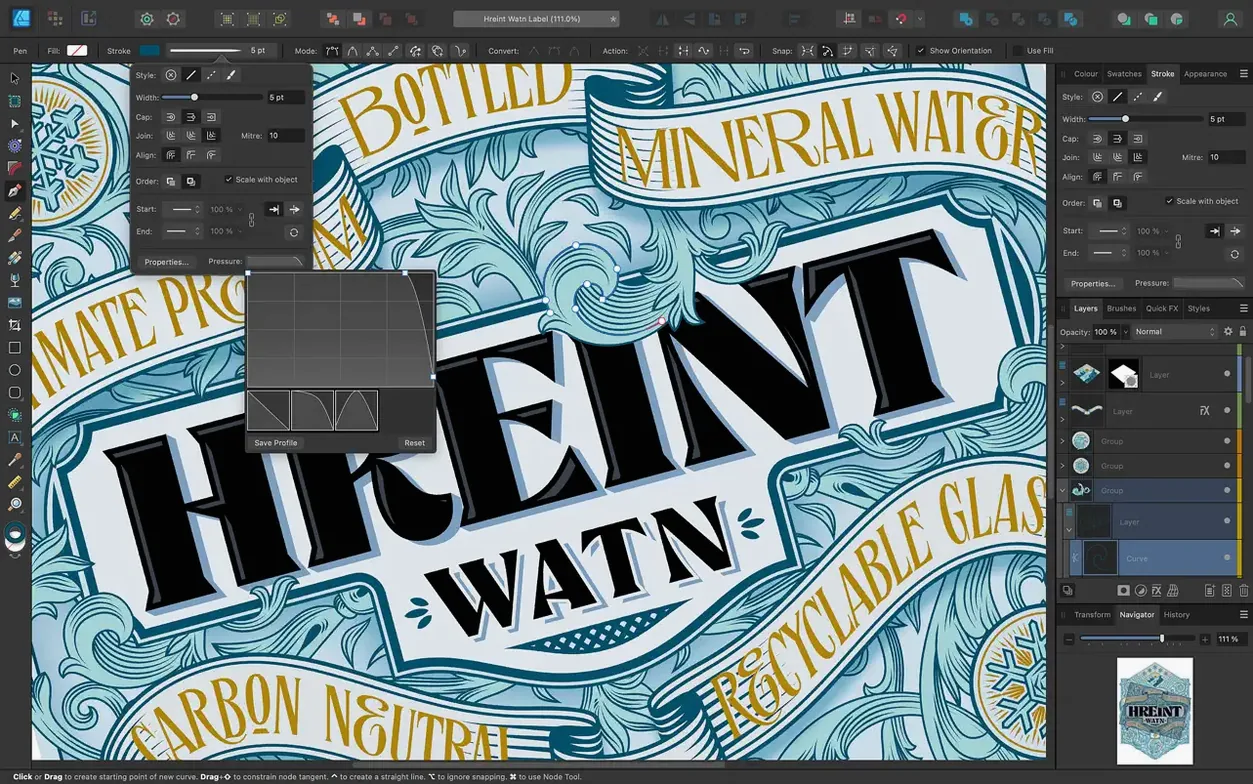
- Use an artistic text object for the brand name, convert it to curves, and adjust the nodes with the improved Stroke Width Tool profiling from the 2.6 release.
- Hold the Command key while dragging a marquee to toggle the intersection behaviour and isolate a complex group of anchor points for a final spacing adjustment.
The app runs natively on both Apple Silicon and 64-bit Intel Macs, supporting LAB and grayscale models alongside RGB and CMYK. With interface localisation in eight languages and a straightforward approach to switching workspaces, the tool fits a workflow where vector construction and raster texture are two sides of the same coin.
Where Affinity Designer Lands Among Illustrator, Sketch, and VectorStyler
Three vector tools tend to appear in the same conversation as Affinity Designer on macOS: Adobe Illustrator, Sketch, and VectorStyler. The comparison isn't about which one wins — it's about where each tool's priorities sit and how that shapes a working day.
Adobe Illustrator
Illustrator's feature depth is the reference point. Its blend modes, pattern generation, 3D effects and plugin ecosystem go further than Designer's current toolset. But that depth comes with a performance penalty. Panning across a dense artboard in Illustrator can feel laboured, while Designer's Metal-backed canvas holds 60 fps even with dozens of artboards open. For a designer who spends most of the day drawing and adjusting curves, the speed difference translates to less friction between thought and action. Illustrator also ties colour management more rigidly to document setup; Designer lets you override colour profiles on export without touching the working space, which suits a multi-output workflow where the same composition ends up in print, web and screen media.
Sketch
Sketch narrowed its scope to UI and screen design years ago and rarely looks back. Its symbol system and artboard templates are tuned for app interfaces in a way Designer's generalist approach isn't. But Sketch has no raster persona, no CMYK support beyond a plugin, and no real print-output pipeline. A designer moving between icon sets, marketing illustrations and print-ready posters will find Sketch stops halfway. Affinity Designer's vector-plus-raster environment handles all three without leaving the application. The trade-off is that Sketch's prototyping and collaboration features are absent from Designer — but so is the subscription model that replaced Sketch's one-time purchase.
VectorStyler
VectorStyler is the closest match in ambition: it covers vector illustration, bitmap effects, extensive file import and broad colour model support. It goes deeper on parametric vector brushes and distortion effects, and its shape-building tools can feel more playful. However, its interface density is higher and documentation thinner. Affinity Designer's more restrained palette and clearer persona switching make it easier to pick up after a week away. Performance under complex blends is roughly comparable, but Designer's macOS integration — Touch Bar support, Force Touch trackpad input, Metal acceleration — is more deliberate.
One-Page Concert Poster With Halftone Texture and Hand Lettering
This task walks through a poster design that combines a vector illustration, hand-lettered type and a halftone texture, all inside one Affinity Designer document.
- Document setup. Create a new document at A3 size, 300 dpi, CMYK colour space with the FOGRA39 ICC profile. Add a bleed of 3 mm on all sides. Name the first artboard "Poster".
- Background shape. Draw a rectangle covering the full artboard with the Rectangle tool. Fill it with a dark indigo sampled from a photo of the venue's stage lighting. Lock the layer.
- Lettering with the Pencil tool. Select the Pencil tool and enable Stabiliser in the context toolbar, setting the rope length to roughly 40 px. Write the band name in freehand strokes using a bright magenta stroke. With the 2.6 release's Pencil improvements, the curve registration feels tighter on fast flicks. Use the Node tool to tidy anchor points where the loops feel uneven.
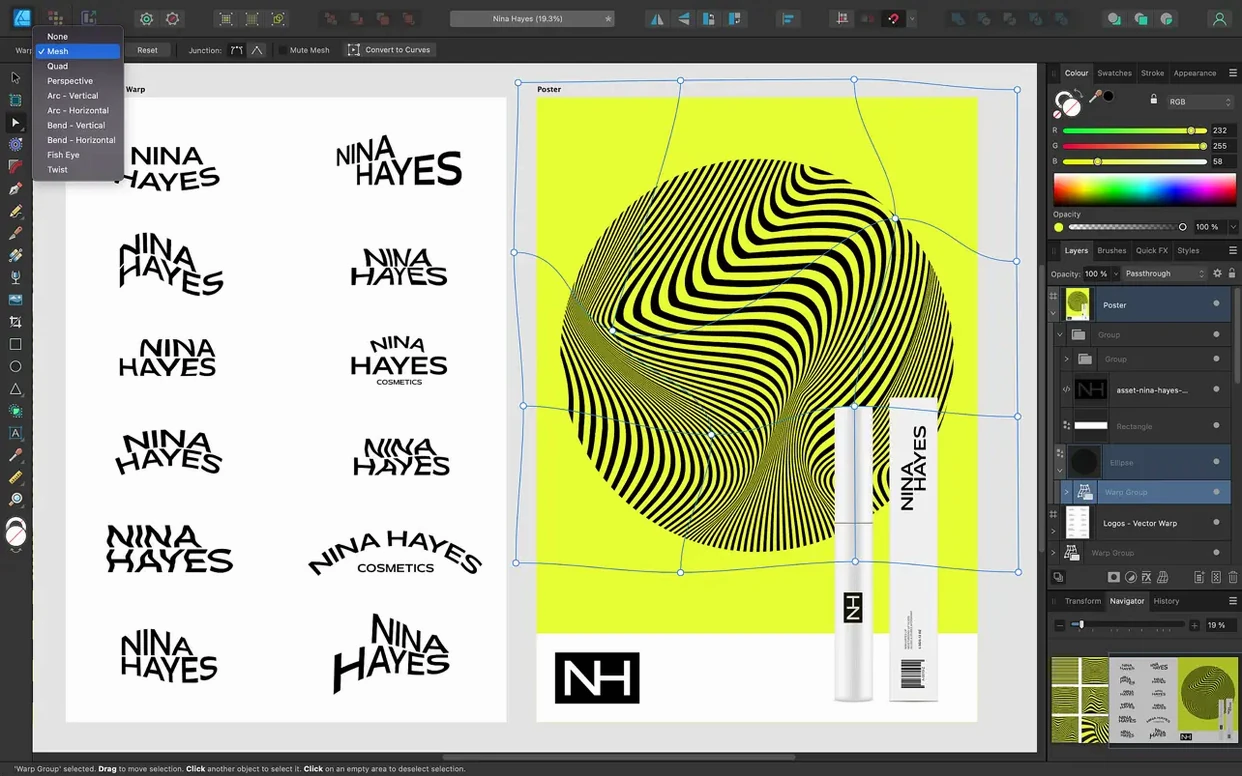
- Path manipulation. Draw a separate curved line with the Pen tool. Select the lettering strokes, copy them, then use the Path Text tool to attach the copied text to the curved path for a secondary slogan. Adjust the start and end offsets until the text sits correctly under the main logo.
- Illustration in vector persona. On a new layer, build a silhouette of the performer using overlapping ellipses and the Shape Builder tool. Merge the shapes with the Add boolean. Apply a linear gradient across the silhouette from the same magenta to a deep purple.
- Texture in pixel persona. Switch to the Pixel Persona. Create a new pixel layer above the silhouette. Use a speckled brush at 40% opacity to paint a rough halftone effect over the edges of the figure. The texture stays inside the current artboard and can be edited without touching Photo or an external raster editor.
- Stroke width profiling. Select the decorative border — a simple rectangle with rounded corners. Open the Stroke panel and apply a pressure profile to make the stroke taper at each corner. The 2.6 update's Stroke Width Tool profiling improvement allows a right-click Reset Profile option if the taper needs to start fresh, which saves undoing several adjustments by hand.
- Export. Export the artboard as a press-ready PDF with the FOGRA39 profile embedded, then as an RGB JPEG for social media. The colour space switch on export means the poster's deep indigo stays rich in both outputs without altering the working document.
Six Fitness App Icons and a Hero Illustration in One Morning
It's 9:30 am. The brief arrived late yesterday: a series of six icons for a fitness app, plus a hero illustration for the onboarding screen. Three coffees deep, the Finder shows a folder of reference sketches and a colour palette hex list from the client.
First action: open Affinity Designer and create a new document with six artboards arranged in a 2×3 grid. Each artboard is 64×64 pt, RGB colour space, with the sRGB profile. The artboards panel names them Icon 1 through Icon 6 automatically — a small thing, but keeping six unnamed canvases straight in a single view would be slower.
Second action: rough out the first icon — a dumbbell — using the Rounded Rectangle tool for the weights and the Pen tool for the bar. The geometry snaps to pixel boundaries because Force Pixel Alignment is on. A quick Command+drag marquee selects three anchor points; holding the Command key toggles the intersection behaviour from the 2.6 update, so only the points fully inside the marquee are selected. That isolates the right-side weight precisely.
Third action: colour. The client's palette sits in a Swatches panel imported from a .afpalette file. Dragging colours onto fills happens with no lag. Around icon four — a running shoe profile — the shape feels too rigid. A switch to the Pixel Persona lets me add a soft inner shadow with a raster brush at 20% flow, blending the sole into the upper. No export, no round-trip.
Fourth action: the hero illustration. A new artboard at 750×1334 pt. The composition uses a large gradient circle as a backdrop, built with the Ellipse tool and a three-stop radial gradient defined in the Fill tool. Layering smaller vector shapes on top builds an abstract runner figure. The Pencil tool with stabilisation set to window mode handles the motion lines trailing behind the figure in a single smooth stroke.
By 11:15 am, the .afdesign file is saved with all artboards, the exported PNGs sit in a client folder, and the only program that opened all morning was Designer.
Faster Pencil Stroke Registration and Two Other Daily Drawing Shifts
The 2.6 release in late 2024 brought three workflow changes that surface regularly during routine drawing sessions.
The Pencil tool improvements are subtle but noticeable when sketching glyphs or organic shapes quickly. Stroke registration along fast curves feels more accurate, reducing the slight corner-cutting that could occur in earlier 2.x builds. For someone who hand-letters directly in Designer rather than scanning paper sketches, this means fewer node clean-up passes.
The Stroke Width Tool profiling enhancements include a Reset Profile command accessible via right-click on any stroked path with a custom width profile applied. Previously, experimenting with asymmetric profiles meant manually dragging width points back to their defaults or undoing multiple steps. The reset option encourages trying bolder width variations because reverting is a single action.
The marquee select intersection toggle — hold Command or Ctrl while dragging — changed multi-object selection in tight layouts. Without it, selecting anchor points or objects inside a dense group often grabbed neighbouring elements that merely touched the marquee edge. The toggle makes the selection behave strictly on full containment, which speeds up node editing on overlapping shapes and complex illustrations where objects sit close together.
Version 2.6.5, the current build, is a stability and bug-fix release. The update notes mention no new tools or interface changes, but its focus on reliability under macOS updates means the Metal rendering pipeline and multi-artboard performance remain consistent on recent Apple Silicon hardware.
A Short Scenario: T-Shirt Designer Preparing Print Separations
A screen-printing shop designer opens Affinity Designer on a MacBook Pro with an M3 Pro chip. The order is a three-colour print on black cotton: white underbase, bright cyan and fluorescent orange. The artwork — a stylised snake coiled around a skateboard wheel — was drawn as a single vector composition.
The designer uses the unlimited artboards feature to create four artboards side by side: one for the composite view and one for each colour separation. On the white underbase artboard, all shapes are filled with solid black for film output. The cyan and orange artboards hold only their respective colour shapes, duplicated from the original and recoloured. The 16-bits-per-channel editing ensures smooth gradient transitions on the snake's scales without banding, even when the screen mesh count is high.
With ICC colour management active, the designer assigns a custom output profile from the RIP software, checks the overprint settings on the white layer, and exports each artboard as a TIFF at 300 dpi with LZW compression. The entire process — from opening the client's sketch to sending films to the exposure unit — stays inside one application. The file format support means the original concept came in as an EPS from another illustrator, and the output goes out as TIFFs that the RIP reads directly.
- Pencil tool — stroke stabilisation refinements and general improvements
- Stroke Width Tool — profiling behaviour updated with an option to Reset Profile
- Marquee selection — Command or Ctrl toggles intersection behaviour
- Stability — bug fixes and stability improvements
- macOS 10.15 or later
- Apple Silicon or 64-bit Intel processor
Questions on file
What colour models does Affinity Designer support?
It supports CMYK, LAB, RGB, and grayscale colour models, along with ICC colour management profiles for consistent output.
Can I use Affinity Designer on an Apple Silicon Mac?
Yes, version 2.6.5 includes native support for ARM Macs as well as 64-bit Intel Macs running macOS 10.15 or later.
Does the app allow drawing text along a path?
It does. You can draw a path with any vector tool and attach artistic or frame text directly to that curve.
Sign in · Create an account to add a field note.
No field notes yet. A measurement, a version, a machine — they appear after moderation.