
Design
ArchiCAD 29.2.1
DesignUpdated
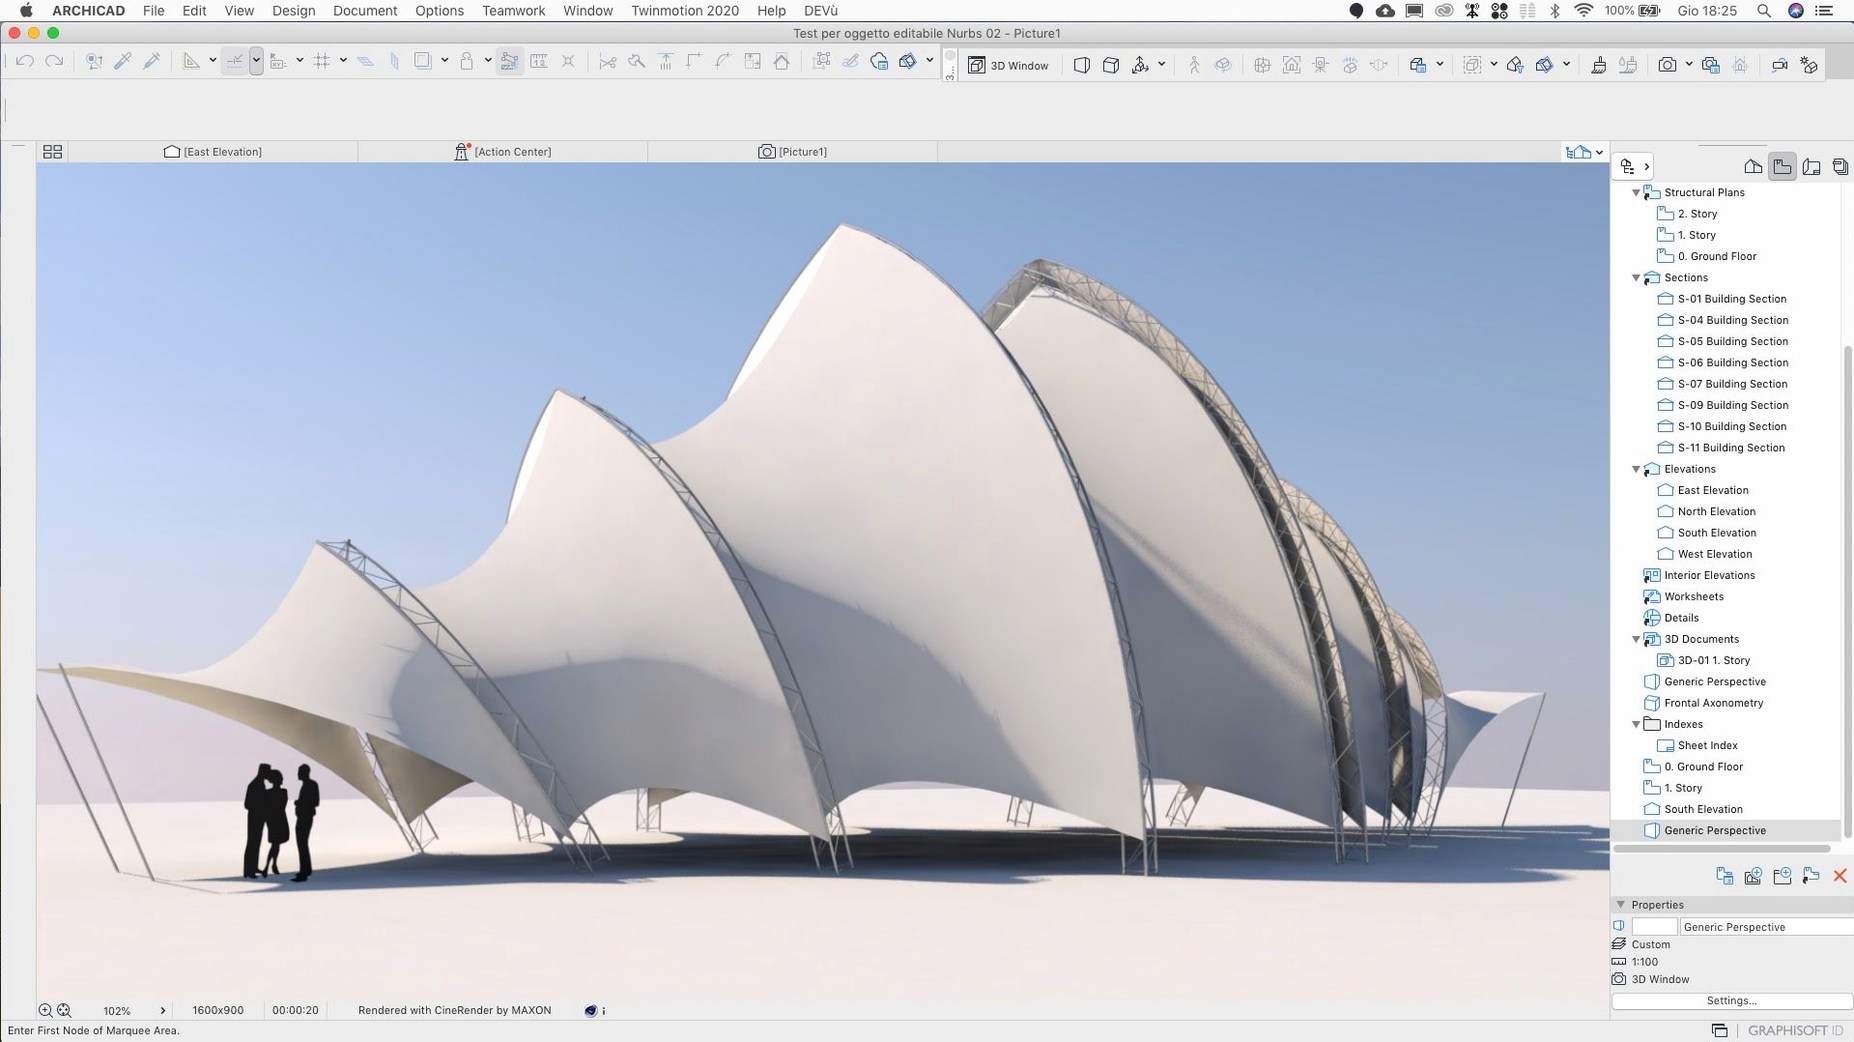
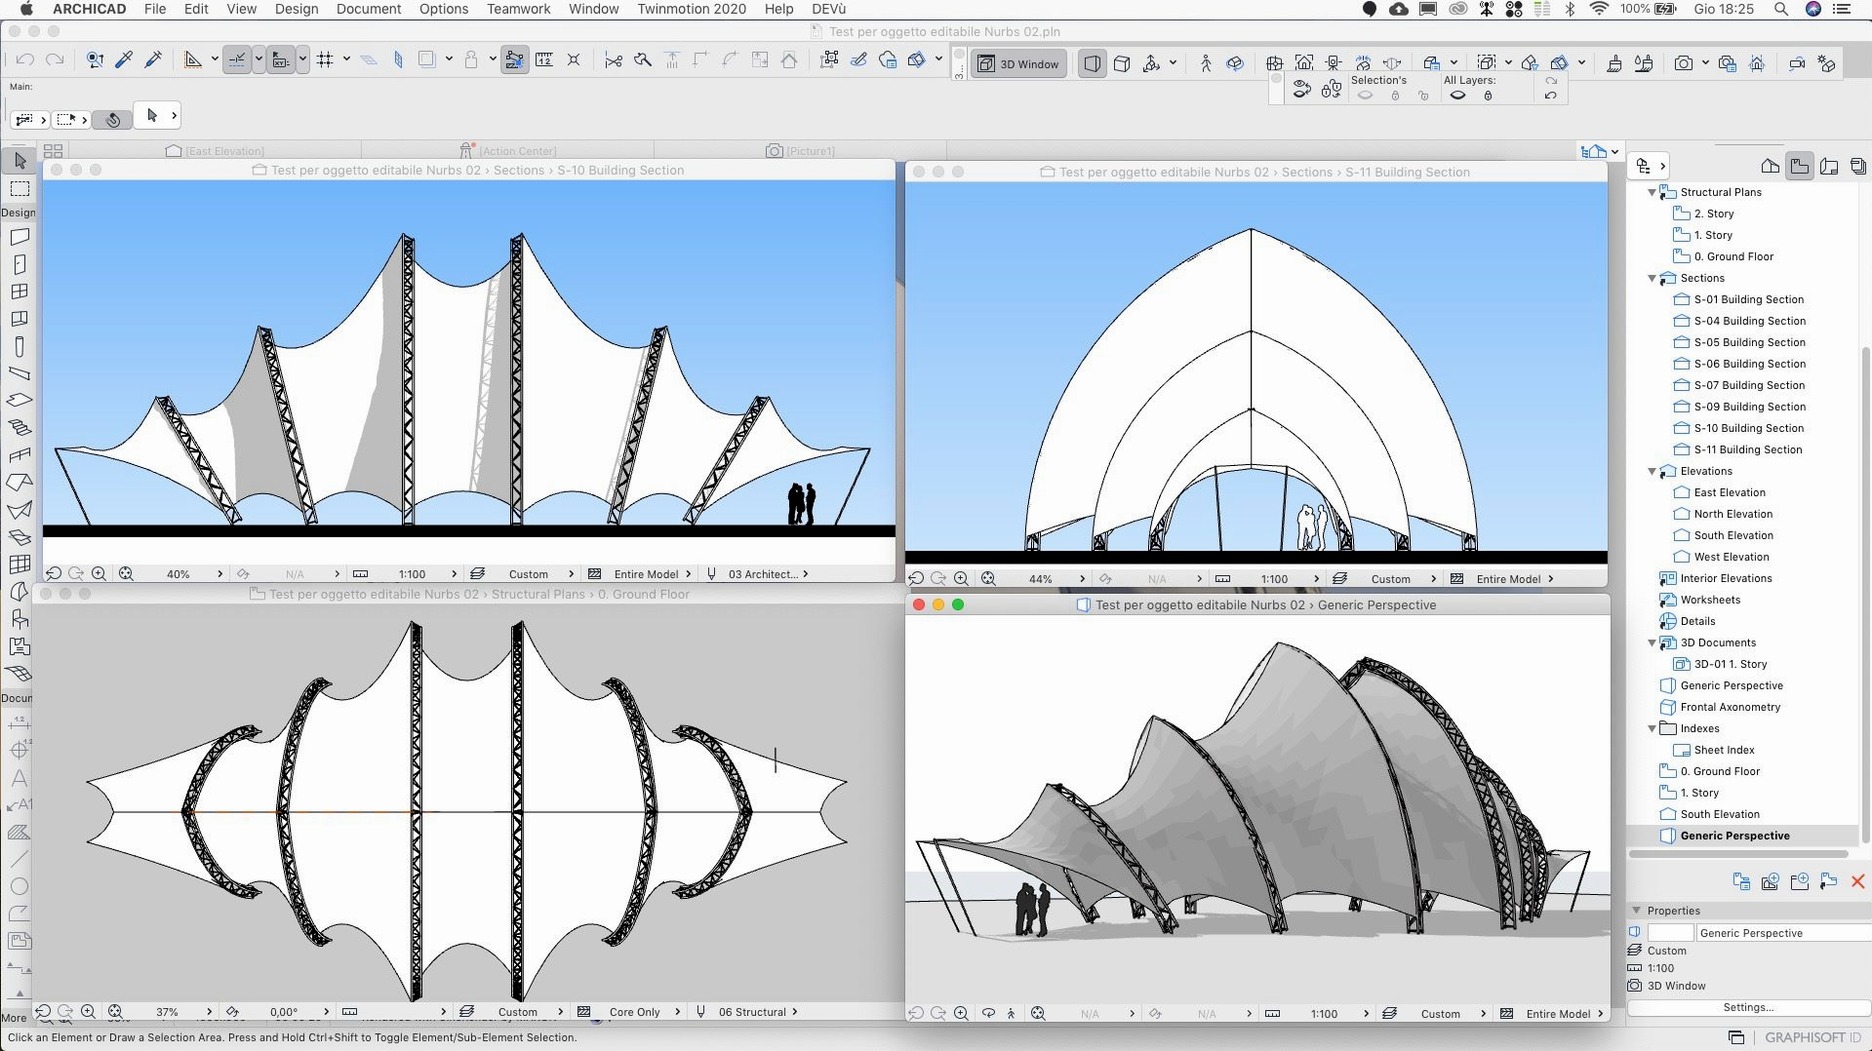
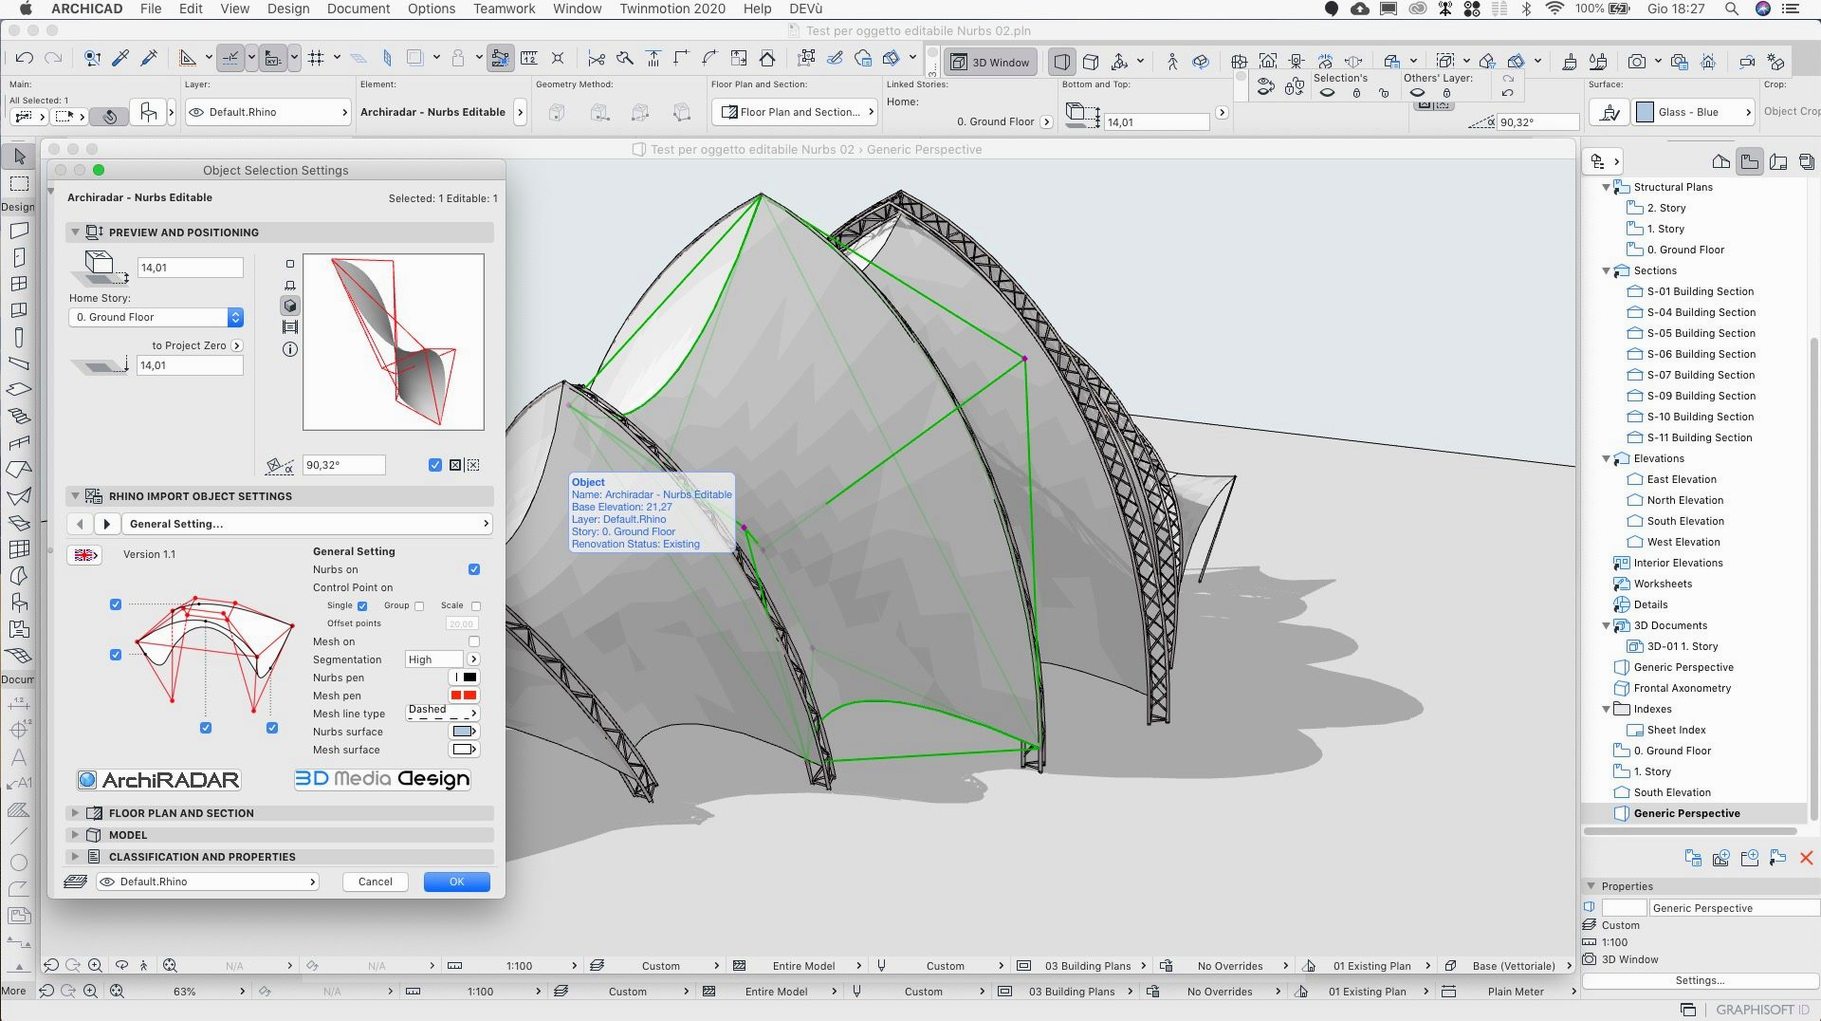
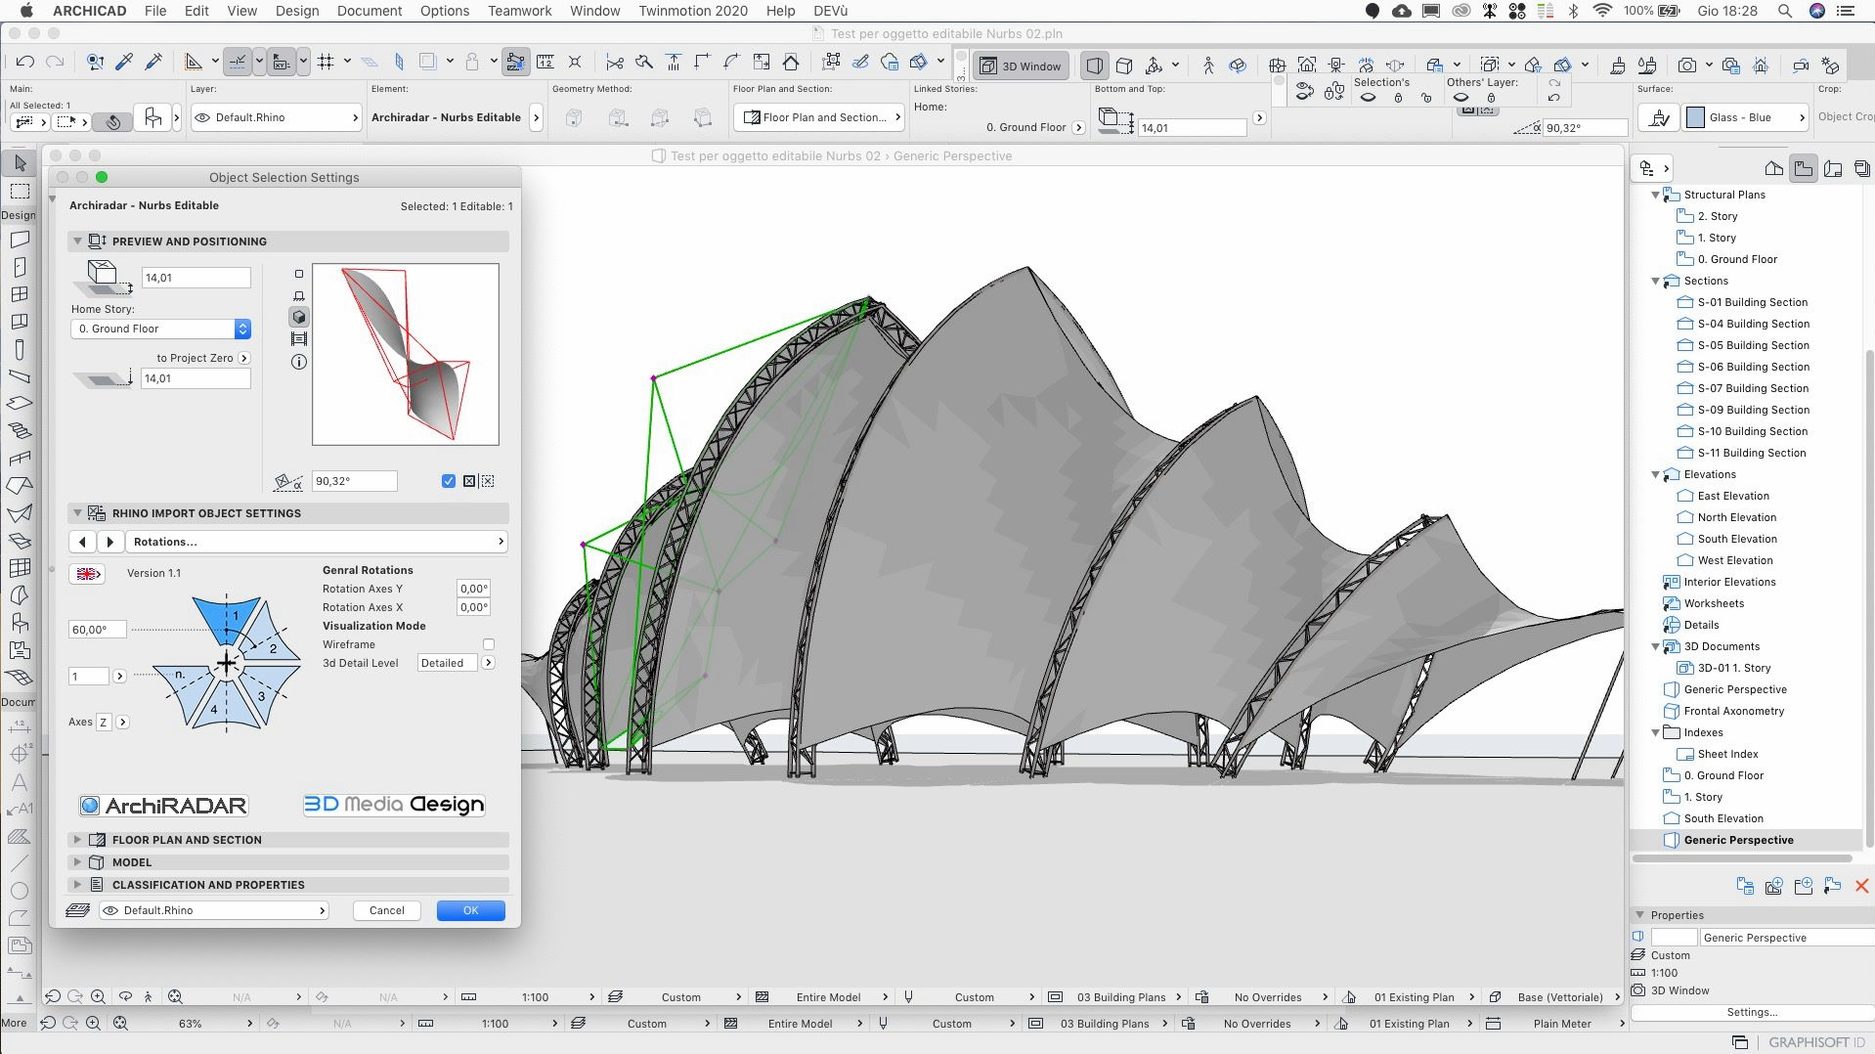
| Requirement | On file |
|---|---|
| macOS | macOS 14 or later |
| CPU | Apple Silicon, Intel 64-bit |
| Download | 5.1 GB |
Where a tool like SketchUp feels like a freehand sketch on a napkin, ArchiCAD operates as the full technical drawing set bound into a single digital model. Its Virtual Building technology means that a change to a floor plan ripples through every section, elevation and schedule automatically, which suits architects who need documentation to follow the design rather than chase it.
What makes the modelling engine different?
It uses GDL (Geometric Description Language) for parametric elements. That means a door or a window isn't just extruded geometry; it carries metadata, reacts to wall thickness and can be scripted to adapt to conditions you set.
How does sharing components work?
The object dialog supports creating, searching, uploading and downloading third-party BIM components directly. You can pull a manufacturer's specific light fitting into a project without leaving the modelling environment.
What changed for teamwork in the latest patch?
The 29.2.1 hotfix specifically targets an issue where Teamwork Send and Receive on BIMcloud SaaS could take inconsistently long, and stops the Share dialog from picking the wrong host server for a folder.
Modelling a detached house from survey data
Start with the surveyor's DWG. Drag it into a new project. Scale and rotate it to match a known dimension, then lock the layer so it doesn't shift. Trace the external walls with the Wall tool, setting the construction layer to cavity brick with a 110 mm cavity. The wall cleans up at corners automatically.
Place the ground slab with the Slab tool. Set its offset to -150 mm below the project zero, thickness to 100 mm. Switch to the first floor plan and trace the upper walls directly over the ground-floor walls; ArchiCAD snap references make this exact. Insert floor joists as beams at 400 mm centres.
Add a roof using the Roof tool set to a 22.5° pitch. Trim the walls to the roof with a right-click, and the top plates adjust. Openings for dormers take three minutes each: cut a hole in the roof plane, model the dormer walls, and merge the elements.
Switch to the Section tool and place a cutting plane through the stair. The section generates immediately. Add dimensions, zone stamps, and a door schedule via the View Map. When the surveyor sends revised levels by email, update the survey DWG reference, and the model adjusts without redrawing anything.
A working session, step by step
A typical morning starts with opening Teamwork and sending changes from the night before. The Send process in 29.2.1 no longer hangs on BIMcloud SaaS the way it did in earlier builds: the hotfix cut those inconsistent waits down to a few seconds. Once synchronised, the project loads with all team members' updates.
Switch to the Ground Floor view. A colleague has flagged a zone area mismatch in the schedule. Open the Zone tool, select the kitchen zone, check its boundary. The zone had pulled away from a moved wall by 20 mm, so its stamp read 0.3 m² low. Drag the zone boundary node back to the wall face; the schedule in the layout book recalculates within a second. The 29.2.1 hotfix resolved a separate zone issue where wall surface area values could go wrong after geometry changes, so the number now matches the physical model exactly.
Next, pull three BIM components from the object dialog: a specific range hood, a double-glazed sliding door, and a downlight fitting. Search by manufacturer name, preview the GDL parameters, download, and place. All three snap to host elements correctly. The door cuts the wall, the downlight attaches to the ceiling plane, and the range hood hangs at 650 mm above the cooktop. Switch to a 3D perspective and orbit to check clearances.
Before lunch, export an IFC file for the structural engineer. Choose IFC 2x3 Coordination View, map the structural elements, and write the file to the shared folder. The export completes in under a minute for a 4 000-element model. Log out of Teamwork and leave the project reserved for the next person.
Wall reference line defaults to centre, not outside face
The most common error is drawing walls with the wrong reference line. ArchiCAD defaults to the wall centre, but a survey plan dimensioned to external faces will shift everything by half a wall thickness. Set the reference line to outside face before tracing anything from a DWG. Fixing this after forty walls are drawn means selecting each one and changing its geometry method individually.
Another frequent slip: ignoring layer combinations. A beginner will place furniture on the structural slab layer, then wonder why the structural engineer's IFC export includes sofas. Set up a layer combination for each consultant early and switch to it before any export.
Zone placement trips people up too. Dropping a zone into a room with an incomplete wall boundary produces a zero-area stamp or no stamp at all. The zone tool needs a fully enclosed polygon of walls, slabs, or manually drawn boundaries. Check with the zone polyline preview before clicking to place.
Beginners also treat the Navigator like a file browser and drag views around, breaking the view-to-layout links. The Navigator palette works as a structured database: move a view and its associated layout drawing will show a broken link icon. Understand the hierarchy before reorganising.
Finally, ignoring the auto-intersect priority of building materials leads to walls that pass through slabs instead of stopping at them. Set the material intersection priority numbers in the Building Materials dialog so that structural elements trim finishing elements, not the reverse.
Space bar gives you a momentary Arrow tool
Holding the Space bar while using any tool temporarily activates the Arrow tool. Release it and you're back in the Wall or Slab tool without breaking your flow. This saves dozens of tool switches per session.
The Tab key cycles through editable fields in any dialog, but fewer people know that Shift+Tab goes backwards. In the Wall Settings dialog, this lets you jump from thickness to height to reference line offset without touching the mouse.
Right-clicking a dimension and choosing Edit Witness Line lets you add or remove points from an existing dimension chain. You don't need to delete and redraw a dimension just because a new window went in.
The Eyedropper (Alt+C) picks up parameters from any element and the Syringe (Alt+D) injects them into another. This works across tool types: pick up a wall's composite structure and inject it into a slab to match the build-up. In 29.2.1, the Rotate command input issue that interpreted values incorrectly has been fixed, so typing "15" in the tracker now rotates exactly 15 degrees, making the Syringe-and-rotate workflow reliable again.
Favourites in the Navigator let you save a view's exact layer combination, scale, zoom level, and graphic override. Set up one favourite for "1:50 GA plan with dimensions" and recall it from the drop-down instead of adjusting six settings every time.
In the 3D window, pressing the F5 key cycles through axonometric, perspective, and top-down projections. It's faster than the View menu. Combine it with the marquee tool to isolate a single room in 3D: draw a marquee on plan, then tap F5 for an instant axonometric cutaway.
The 29.2.1 hotfix also eliminated a crash that could occur while scrolling through Attributes. That means holding the arrow key down in the Attributes palette to scroll through fifty composites or surfaces no longer risks losing unsaved work.
Rhino models freeform solids, not parametric wall assemblies
Rhino for Mac excels at freeform surface modelling. Where ArchiCAD builds a wall as a parametrically aware assembly with skins, cavities and priority-based intersections, Rhino treats it as a generic solid. For a stadium roof or a sculptural façade, Rhino is the right tool. For a multi-storey building that needs door schedules, fire-rating annotations and quantity take-offs, ArchiCAD's object intelligence wins. Rhino requires Grasshopper for parametric behaviour; ArchiCAD bakes it into the GDL core.
Vectorworks Architect sits closer to ArchiCAD in ambition. Both handle BIM data, both produce sections and schedules. Vectorworks leans more toward landscape and entertainment design workflows, with stronger site modelling and lighting tools. ArchiCAD's advantage is its Teamwork module and BIMcloud infrastructure: real multi-user collaboration with element-level reservations, which Vectorworks Project Sharing cannot match in speed or granularity. The 29.2.1 hotfix tightening up BIMcloud SaaS responsiveness widens that gap further.
SketchUp with LayOut fills the concept-to-construction-document pipeline for smaller firms. It's light, direct, and easy to learn. The gap appears at scale: a 200-sheet documentation set in SketchUp becomes a manual coordination exercise. ArchiCAD's View Map and automated drawing numbering handle that without breaking. SketchUp models geometry; ArchiCAD models the building and the documentation together.
- Rotate command — fixes a remaining input issue
- Teamwork Send / Receive on BIMcloud SaaS — improves speed consistency
- Attributes scrolling — fixes a crash
- macOS 14 or later
- Apple Silicon and Intel Macs
Questions on file
Can I work on a project with other people?
Yes, projects can be worked on individually or in a team, with dedicated Teamwork functions for sending and receiving changes via BIMcloud SaaS.
What does the 29.2.1 update fix?
It resolves a crash that could occur while scrolling through Attributes, fixes a remaining input issue in the Rotate command, and improves Teamwork Send/Receive consistency.
Sign in · Create an account to add a field note.
No field notes yet. A measurement, a version, a machine — they appear after moderation.