Final Cut Pro Plugins
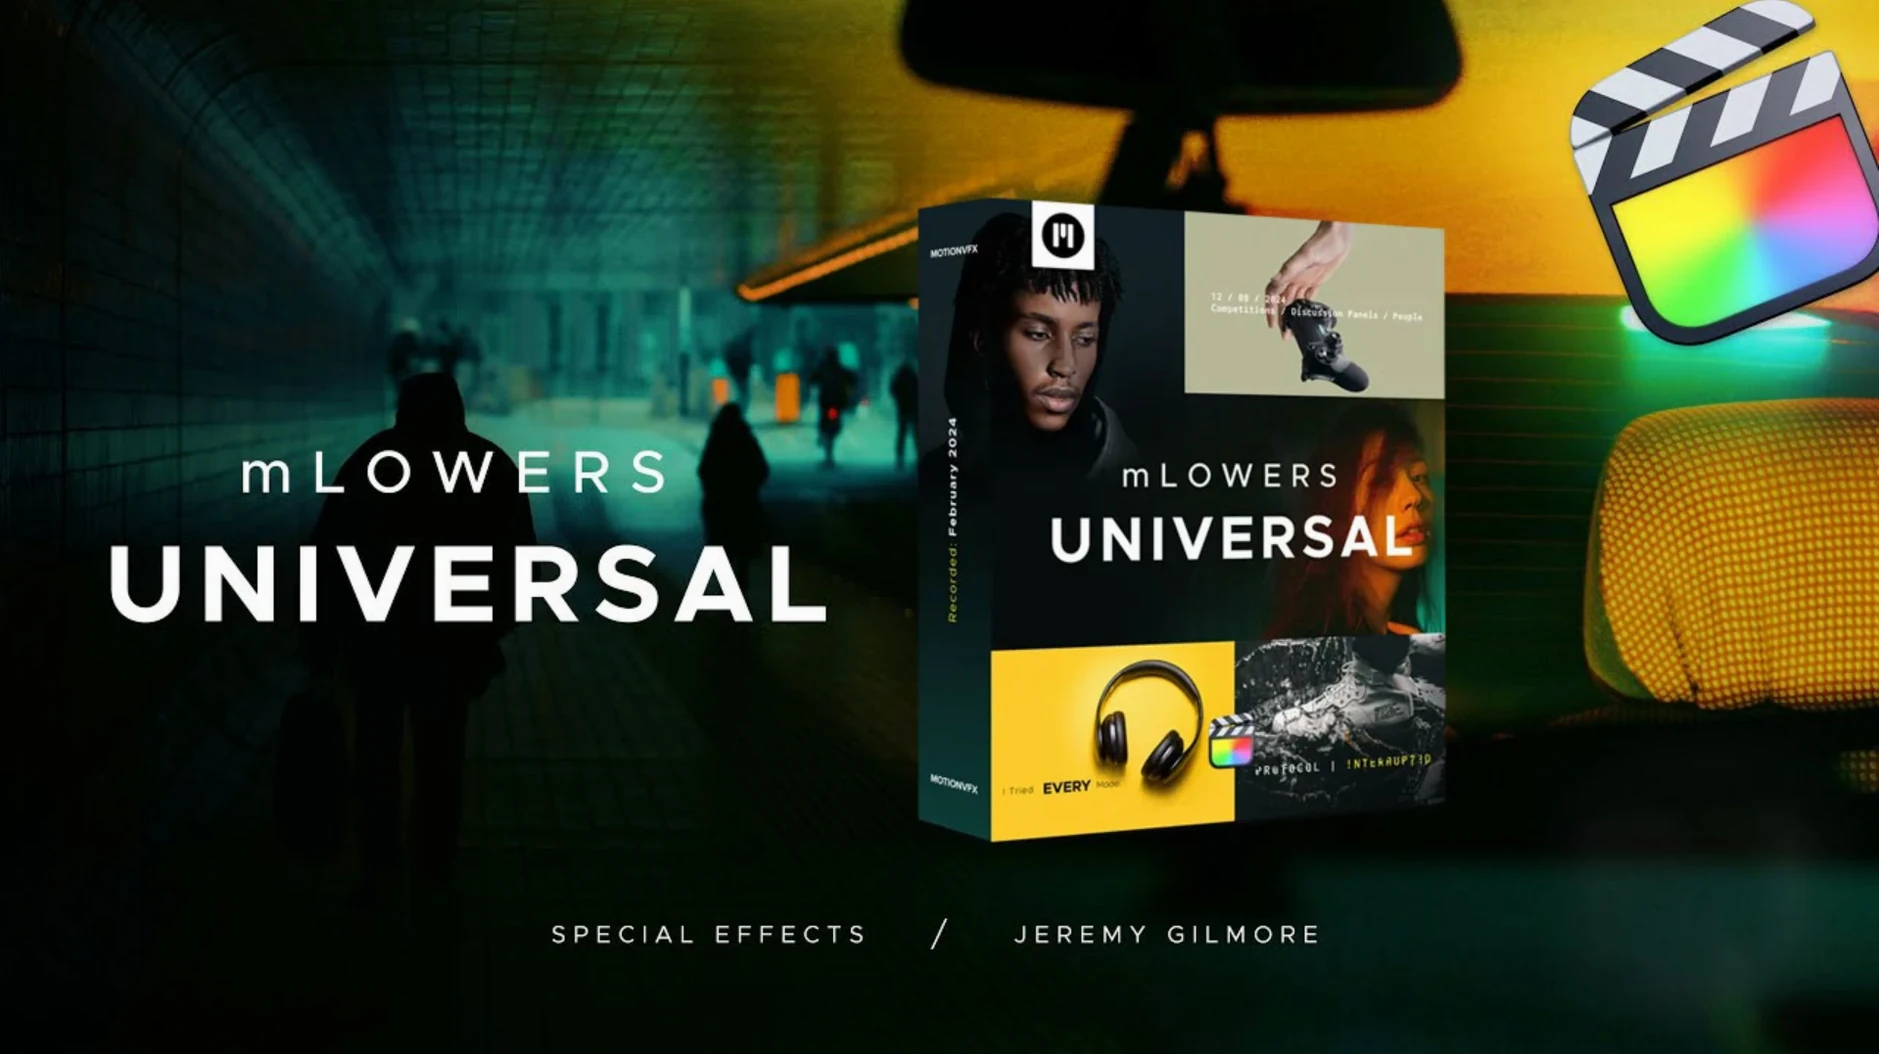
MotionVFX - mLowers Universal for FCP
Final Cut Pro PluginsUpdated
| Requirement | On file |
|---|---|
| macOS | See the sheet |
| Download | 71 MB |
Editors working on indie films, music videos, or YouTube series looking to add a touch of vintage cinema to their talking-head segments will find mLowers Universal a practical asset. motionVFX built this pack specifically for Final Cut Pro projects that need character without a steep learning curve.
The preset collection leans heavily on retro-style designs inspired by classic movie screens. You get a clean set of lower thirds that feel pulled from a late-night broadcast or an old CRT display, trading hyper-modern gloss for gritty, nostalgic texture. A handy inclusion is the set of social media markers, which lets you slap a handle onto the frame for cross-platform promotion without leaving the timeline.
The workflow is simple: the presets drop into the FCP interface as standard titles, so adjusting text, colour, and timing follows the usual inspector controls. No external rendering engines or complex node-based systems get in the way.
This isn't a massive, all-purpose kit. The scope is narrow, and that's the point. If a project calls for a specific, lived-in aesthetic rather than a corporate look, mLowers Universal fits the brief without the bloat of a larger bundle.
Double‑Click Text in the Viewer to Edit Instantly
Several behaviours in mLowers Universal aren't immediately obvious from the inspector panel alone. Knowing them early saves a few trips to the undo command.
- Double-click text in the viewer, not the inspector. You can edit placeholder strings directly on the canvas. It's faster than hunting through the Text tab for the right field, especially when the preset stacks multiple text layers.
- Scale from the anchor point. The retro and glitch-style presets use a centred anchor by default. Dragging the Scale slider in the Transform section keeps titles aligned to their original position, which matters when you're placing lower thirds near the safe-zone boundary.
- Opacity fades with a single keyframe pair. Most presets include a built-in fade-in at the start. You can override it by setting opacity to 100% on frame one and leaving the out-point alone — the preset's own animation handles the rest.
- Colour wells accept hex codes. Click the colour swatch in the inspector, switch to the sliders tab, and paste a six-character hex value. This is undocumented in the readme but works across all presets and saves time when matching brand palettes.
- Cmd-Option-drag to duplicate a title in the timeline. Hold the modifiers, drag the clip sideways, and you get an independent copy with all parameter adjustments intact. No need to re-apply from the Titles browser.
Building Lower Thirds for a Record‑Store Documentary
Here is a typical half-hour with mLowers Universal inside a real project — a short documentary about a record store, cut in Final Cut Pro on a Mac Studio.
- Open the Titles and Generators sidebar (Option-Cmd-1) and scroll to the mLowers Universal category. The presets sit in their own folder, separate from the built-in FCP titles.
- Skim the thumbnails. The retro designs are easy to spot — scan lines, slight chromatic offset, rounded mono fonts. Pick one labelled "Retro Broadcast Lower Third" and drag it above a clip of the store owner talking.
- With the title selected, move to the inspector. Replace "Name Surname" with the owner's name. Switch to the second text field and add "Founder, Dusty Grooves." The preview updates in real time.
- The default animation runs for 1.5 seconds. The interview clip is only four seconds long, so trim the title's out-point to 3:15 — enough time for the text to settle before the cutaway.
- Apply a social media marker to the final bumper shot. Drag the "Follow Handle" preset onto the clip. The glitch stagger effect triggers on the first 12 frames. Type the store's Instagram handle into the text field.
- Colour-grade the clip underneath, not the title. The preset uses its own colour wells, and pushing the overall look through the title layer sometimes clips the glitch highlights. Keep the grade on the video track below.
- Export a test render of the 10-second section (I-O range, Cmd-E). Check for frame drops during the glitch burst — the preset uses blend modes that can spike the render time on older Intel machines.
A Specific Task: Event Promo with Retro and Glitch Layers
Suppose you are cutting a 30-second Instagram promo for a synthwave night. The client wants lower thirds that feel like a VHS tape, plus a jittery handle reveal at the end. Here is the full chain, from blank timeline to export.
- Assemble the cut first: three clips of the venue, one clip of the DJ, a black screen at the tail for the handle reveal. Lock the audio track so titles don't snap to the wrong lane.
- Apply a retro lower third to the DJ clip at 0:05. Choose the preset with the heavy scan-line overlay and the italic serif font. Set the primary text to the DJ's name, secondary to the event date.
- Reduce the title's scale to 85% via the Transform controls. The preset ships at 100%, which can crowd the frame on 9:16 vertical crops. Check the safe zones overlay (View > Show in Viewer > Title/Action Safe Zones) before committing.
- At 0:22, drop a glitch-style lower third onto the second venue clip. This one has a 4-frame RGB split on the intro. Enter the venue name and address. The glitch burst peaks at frame 6; any key text before frame 8 risks being unreadable, so keep the name short.
- At 0:28, place the social media marker on the black screen. Type the event's handle. The preset runs a 20-frame animation: flicker, stabilise, hold. Extend the clip to 2 seconds so the hold phase reads cleanly before the video ends.
- Spot-check the render on the glitch preset by exporting just that two-second segment as ProRes 422. The blend-mode transitions can introduce banding on H.264 exports if the bitrate is pushed too low. If banding appears, bump the export bitrate to 20 Mbps or switch to ProRes for the master file.
Restart FCP So New Templates Appear Correctly
Once the presets are in place under /Movies/Motion Templates/Titles/, a few habits make the first projects smoother.
- Restart Final Cut Pro after copying. FCP scans the Templates folder on launch. If the app was open during installation, the mLowers Universal category won't appear in the browser until you quit and relaunch.
- Tag your favourites early. Not every preset fits every project. Spend ten minutes skimming all 70 lower thirds, drag the ones that match your current style into a Favourites folder inside the Titles browser, and work from that shortlist. It cuts decision time per edit.
- Create a template project. Drop one of each favourite preset onto a 10-second timeline, adjust the text to a standard placeholder, and save the project as "mLowers_Start." When a new gig starts, open it and copy-paste the titles you need. Colour and position carry over.
- Watch the blend modes. Several glitch presets use Screen or Add blending. On bright backgrounds, the text can wash out. Test each preset against your project's typical luminance range — a dark interview corner is forgiving; a white studio backdrop is not.
- Check render times on older hardware. The glitch and high-tech designs with multiple moving layers can push render times up on Intel Macs. On Apple Silicon, the same presets process in near real time. If you're on an Intel machine
- Final Cut Pro
Questions on file
Which editing host does mLowers Universal support?
It is compatible with Final Cut Pro, dropping into the standard title preset browser.
What visual style do the presets use?
The designs are retro-inspired, drawing specifically from vintage movie screens and classic broadcast graphics.
Does it include any elements for social media?
Yes, motionVFX included social media markers for adding handles directly to video frames for cross-platform promotion.
Sign in · Create an account to add a field note.
No field notes yet. A measurement, a version, a machine — they appear after moderation.