
Video
CapCut 9.3.0
VideoUpdated
| Requirement | On file |
|---|---|
| macOS | macOS 10.14 or later |
| CPU | Apple Silicon, Intel 64-bit |
| Download | 1.1 GB |
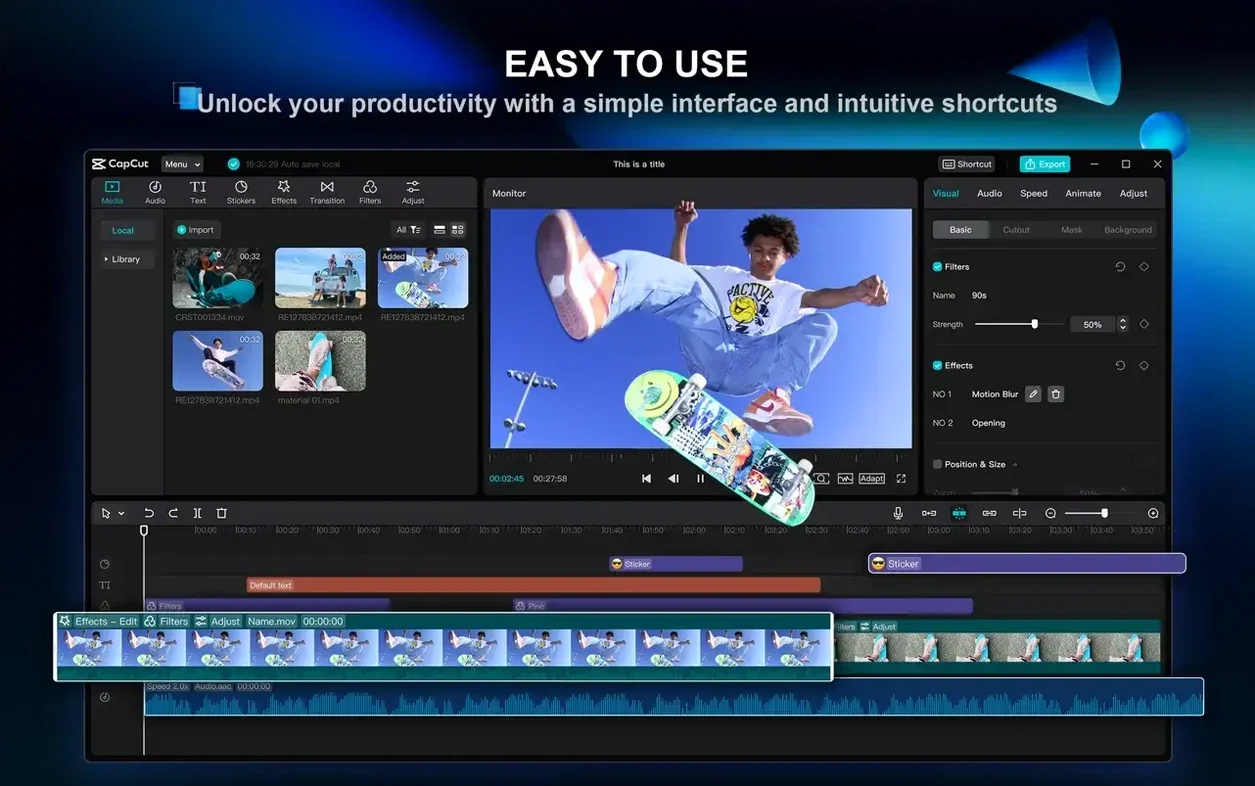
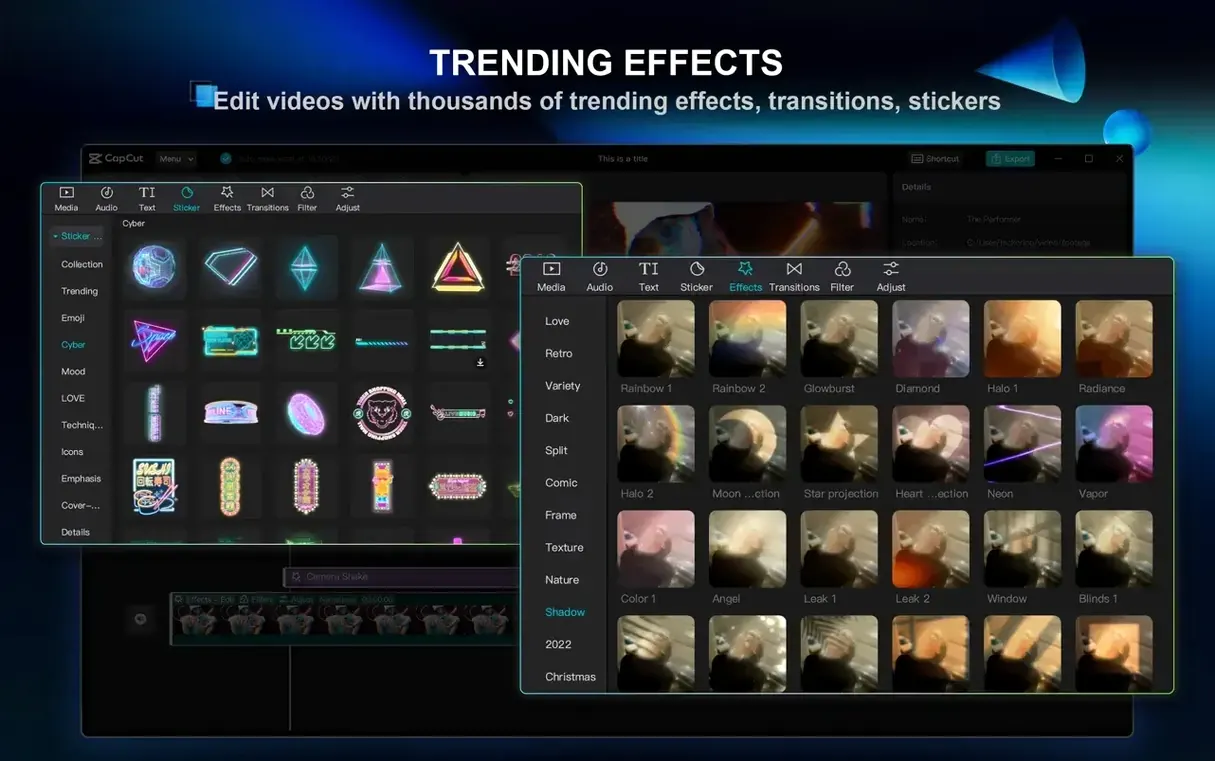
Starting a video project with nothing but a rough idea can feel like staring at a blank timeline. CapCut, ByteDance’s desktop editor, bridges that gap by packing script-to-video generation, text-to-speech, and a familiar multi-track layout into a single package. These are the tools worth opening first.
- Generate a video from a script. Write a short paragraph or paste a rough script; CapCut builds a timeline with stock footage, captions, and a voiceover in one pass. It’s the quickest way to see a draft take shape.
- Try text-to-speech. A set of voices in multiple languages sits under the Text tab. Type a line, pick a voice, and place the clip on the timeline—useful for narration without recording a microphone.
- Pull a chroma key from a clip. Drop a green-screen shot onto the timeline, open the Chroma Key tool, and use the colour picker to remove the background. No manual masking required.
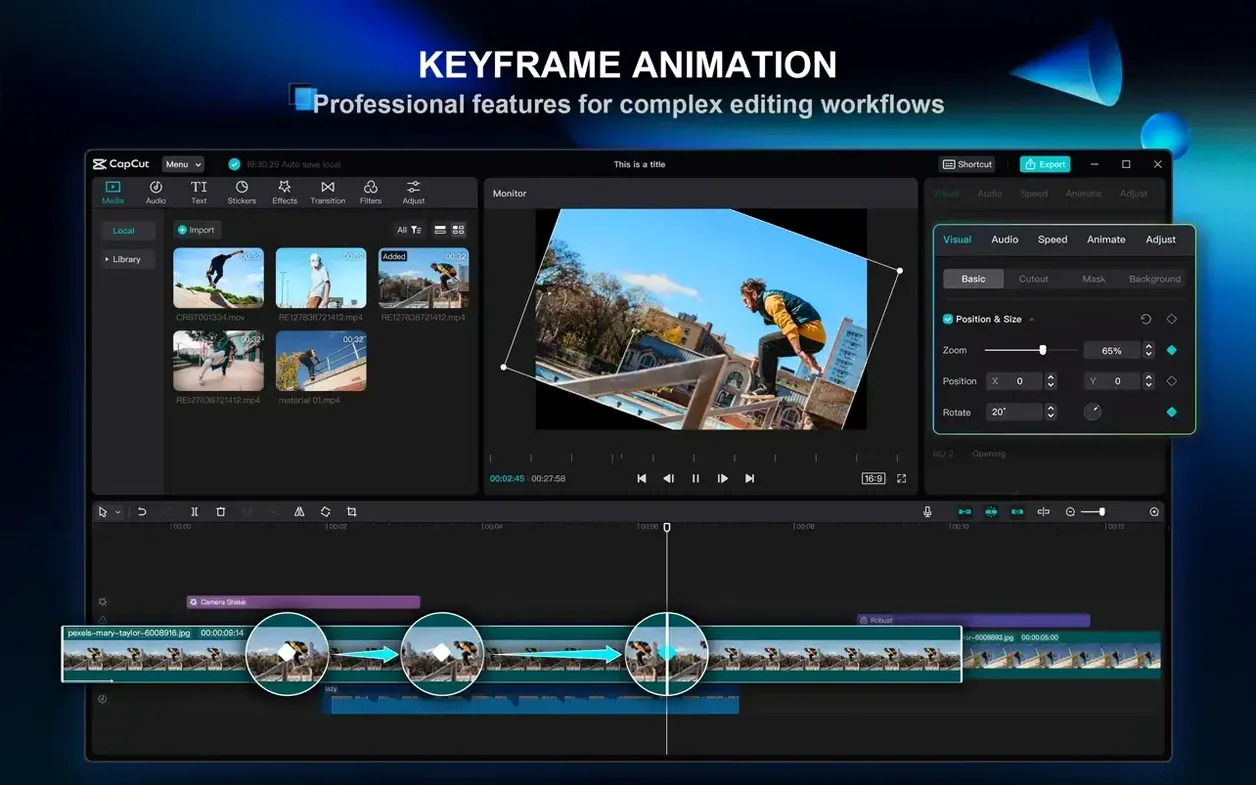
- Set two keyframes and watch the interpolation. Add a keyframe for scale at the start of a clip, another at the end, and CapCut animates the motion between them. It works for position, opacity, and volume too.
- Stabilise shaky handheld footage. Select a clip, tick the Stabilisation box, and let the engine smooth out jitter. Results vary with the footage, but it handles minor camera shake well.
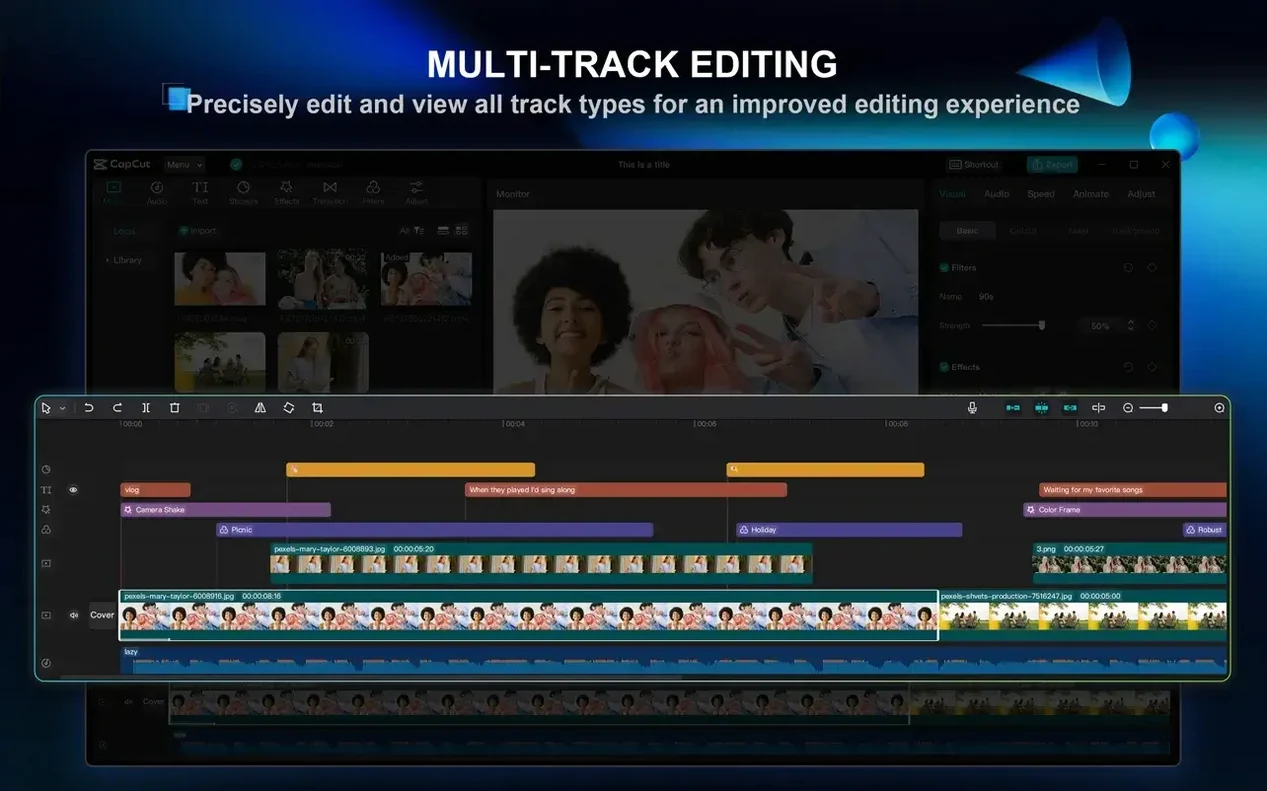
Once these five tools feel familiar, the multi-track timeline makes sense quickly: drop a second video track for a picture-in-picture, stack a voiceover on its own track, and adjust everything from one window. The macOS version runs on both Intel and Apple Silicon machines with macOS 10.14 or later, and a 2-core processor is enough to get started. The installer is straightforward, so you can spend the first session experimenting rather than configuring.
Begin with an eight-minute vlog clip that has ambient noise, a few verbal stumbles, and no captions. The goal is a clean one-minute edit with burnt-in subtitles, a background music bed, and a simple intro title. Drag the source clip onto the timeline first. Select it and open the Audio tab, then enable Reduce noise at around 40%; this pulls back traffic hum and air-conditioner hiss without hollowing out the voice. Next, still on the same clip, open the Filler word removal tool. CapCut analyses the speech track and marks ums, ahs, and dead air. Tick the ones that appear, click remove, and the timeline ripples automatically—gaps close with no manual trimming.
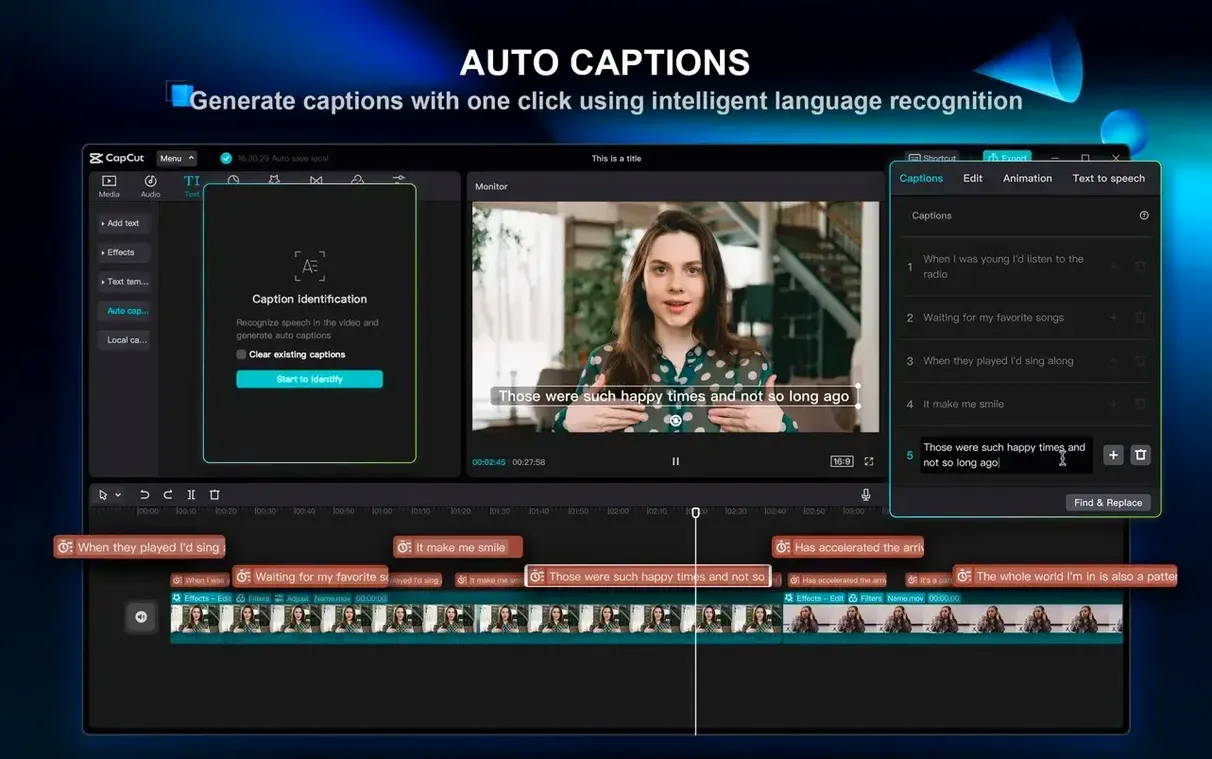
With the dialogue tighter, generate subtitles. Click the Text tab and choose Auto captions. The engine transcribes the spoken track in under thirty seconds on an M1 Mac. Select a style preset—white text with a thin black stroke reads well on most footage—and apply it to all captions at once. Skim through the result and correct a word or two where the transcription mishears a name, then lock the captions track so it stays put.
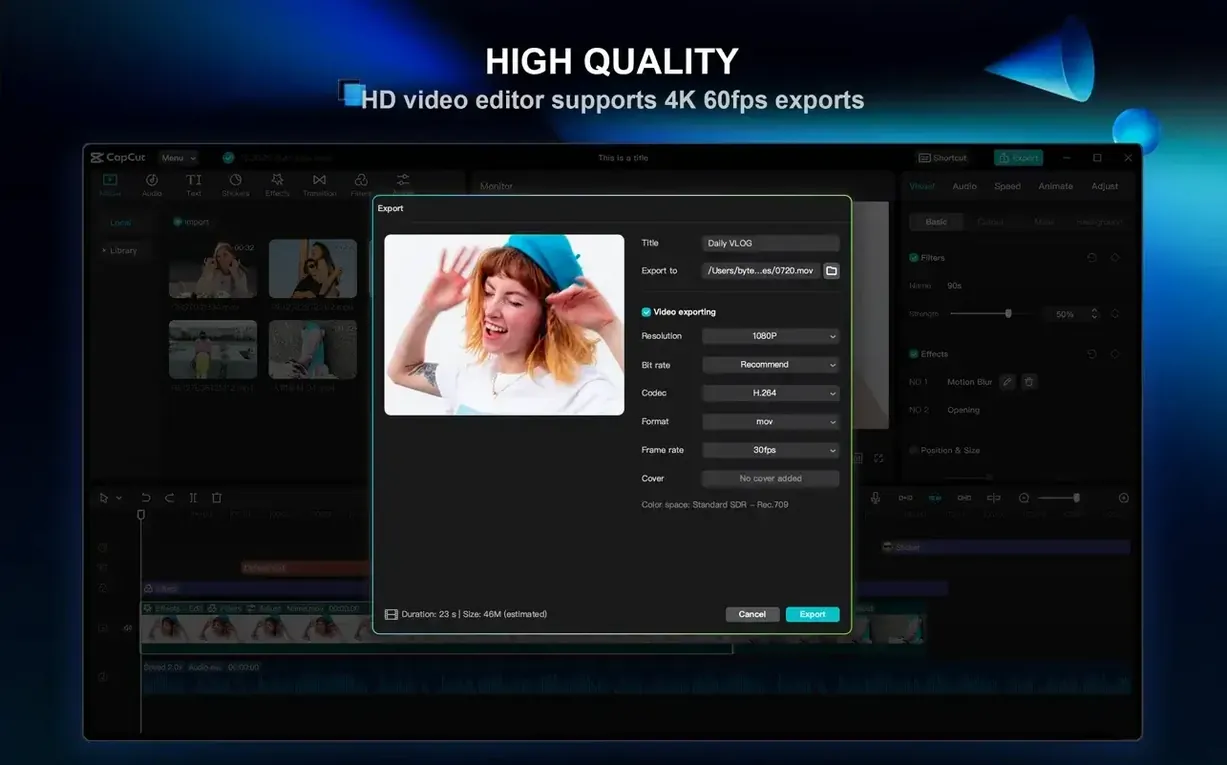
Now add music. Open the Audio library, filter by mood, and drag a track onto its own audio lane below the dialogue. Trim it to the clip length, set the volume to −18 dB so it sits behind the voice, and add a fade-out over the last two seconds. The timeline now holds three tracks: corrected video with reduced noise, auto-generated captions, and background music. Export at 4K, 60 fps, and the file lands on the desktop in a couple of minutes. The whole task runs inside a single application without a round trip to a transcription service or a separate audio editor.
Script-to-Video Workflow for High-Volume Creators
People who publish short-form video three or four times a week and need fast turnarounds will feel the fit immediately. The script-to-video generator compresses the draft stage into a single step: paste a paragraph, get a rough cut with stock assets and a synthesised voiceover, then rework the pieces. Social media managers who juggle multiple client accounts can use that as a storyboard engine rather than a final render, tweaking captions and swapping clips before export.
Podcast editors working with long-form dialogue gain real leverage from the filler word removal and auto-captioning tools. A sixty-minute conversation becomes a trimmed, subtitled asset without the usual transcription-and-sync overhead. Beginners who have never touched a keyframe editor benefit too; the animation paths are visual, and the stabilisation slider is a one-click remedy for handheld footage. Advanced users will find the chroma key and multi-track compositing adequate for layered edits, though they may miss the colour grading depth of dedicated grading suites.
Less obvious is the fit for educators recording software demos. The picture-in-picture track handles a webcam overlay with simple resize and reposition controls, and the text-to-speech engine can voice a step-by-step explanation in multiple languages. CapCut sits in a middle ground: more capable than a mobile-first editor ported to desktop, less sprawling than a broadcast NLE, and tuned for the speed that platforms reward.
Offline Core Editor vs. Cloud-Dependent AI Features
Does it work offline? Yes, the core editor and most effects run locally after installation. A few AI features—script generation, auto-captions, text-to-speech with newer voices—require an internet connection. Stock footage and music from the built-in library stream on demand, so you will want a connection while browsing assets, but the timeline itself does not phone home to play back.
Is the watermark mandatory? Exports from the current macOS version carry no visible watermark on the output file. Some effects and templates display a CapCut badge in the preview window only, and that badge does not render into the final export.
Will it slow down on an older Mac? A dual-core Intel machine with 4 GB of RAM meets the minimum, though scrubbing 4K h.264 footage will feel sluggish. Proxy editing is not automatic; transcoding clips to a lighter codec before import keeps the timeline responsive. Machines with 8 GB or more and Apple Silicon handle 4K natively with less fan noise.
Can I bring my own LUTs and fonts? Custom LUTs import through the Adjust panel under the Color tab. Local fonts installed via Font Book appear in the text style dropdown automatically. There is no deep plugin architecture, so third-party transitions are limited to what ships in the application.
Enable GPU Hardware Acceleration Before Your First Render
Open Preferences before the first edit. Under Performance, enable Hardware acceleration if the GPU supports it; this shifts rendering and export duties off the CPU. Set the Default export resolution to match your delivery target—4K for YouTube, 1080p for Instagram—so the export dialog pre-selects the right preset each time. Disable Auto-save to cloud unless you want projects syncing to a ByteDance account; local saves stay on disk and avoid upload prompts.
In the timeline settings, switch Snapping on. Clips then align to playhead, markers, and adjacent edges with haptic precision. Set Default still image duration to 3 seconds if you regularly import photos; the factory 5-second default drags on a fast-paced timeline. In the Export tab, tick Use legacy export engine only if the standard renderer produces glitched frames—rare on version 9.3.0, but worth knowing for older Intel GPUs. These tweaks remove friction that otherwise compounds over a dozen projects.
- macOS 10.14 or later
- 2-core processor minimum
- Intel and Apple Silicon compatible
Sign in · Create an account to add a field note.
No field notes yet. A measurement, a version, a machine — they appear after moderation.