
Video
DaVinci Resolve Studio 21.1.1
VideoUpdated
| Requirement | On file |
|---|---|
| macOS | macOS 15 or later |
| CPU | Apple Silicon, Intel 64-bit |
| Download | 7.9 GB |
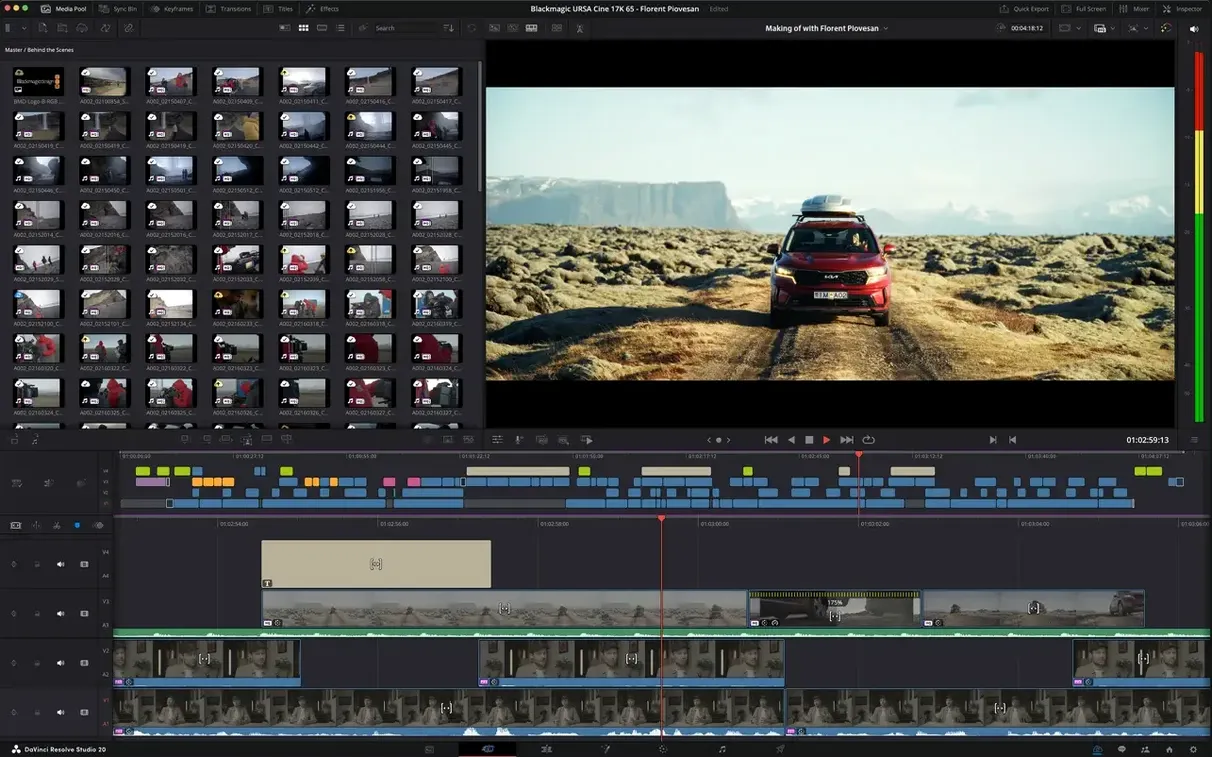
DaVinci Resolve Studio 21.1 requires macOS 15 or later and runs natively on both Apple Silicon and Intel-based Macs. The Studio edition includes the full toolset that Blackmagic Design supplies to post-production houses: editing, Fusion-based visual effects, Fairlight audio, and the colour page that made the application an industry standard.
| Detail | Spec |
|---|---|
| Developer | Blackmagic Design |
| Edition | Studio |
| Architecture | Apple Silicon, Intel |
| Languages | Russian, English, Spanish, Simplified Chinese, Portuguese, French, Japanese |
The 21.1 cycle focuses on automation and stills workflows. An AI assistant now handles media organisation tasks and batch rendering, which shifts repetitive housekeeping off the operator. On the Photo page, expanded camera format support widens the range of raw stills the app can ingest without a round-trip through another converter. The update also brings over 25 Krokodove graphics tools into the Fusion page, adding node-based generators and modifiers that previously required a separate plug-in. The core editing and colour grading toolset gains more than 100 new controls across trim, keyframe, and grading operations—enough that a returning user will notice the difference in daily speed.
A Start-to-Finish Workflow: Edit, Grade, and Mix a Short Interview
This workflow suits a three-minute interview piece with two camera angles, an external audio recording, and a simple title card. The goal is a finished master without leaving the application.
1. Ingest and sync
- Create a new project and set the timeline resolution and frame rate in Project Settings before importing anything.
- Drag the camera folders from Finder into the Media page. DaVinci Resolve Studio reads the folder structure and keeps clips organised by card.
- Select the interview clips and the external WAV file, right-click, and choose Auto Sync Audio followed by Based on Waveform. The synced clips land in a new bin.
2. Rough cut on the Cut page
Use the Cut page for the first assembly. Drop the synced interview clip into the timeline, then use the Source Tape view to splice in B-roll. The 21.1 trim controls shorten the back-and-forth between mouse and keyboard: blade, ripple delete, and extend edit cover most of the rough pass.
3. Fine cut and titles on the Edit page
Move to the Edit page once the structure is set. Adjust edit points with the trim tools, add a lower-third from the Effects Library, and place the title card at the head of the timeline. Keep the title as a Fusion template for now; customising it happens later.
4. Fusion for lower thirds
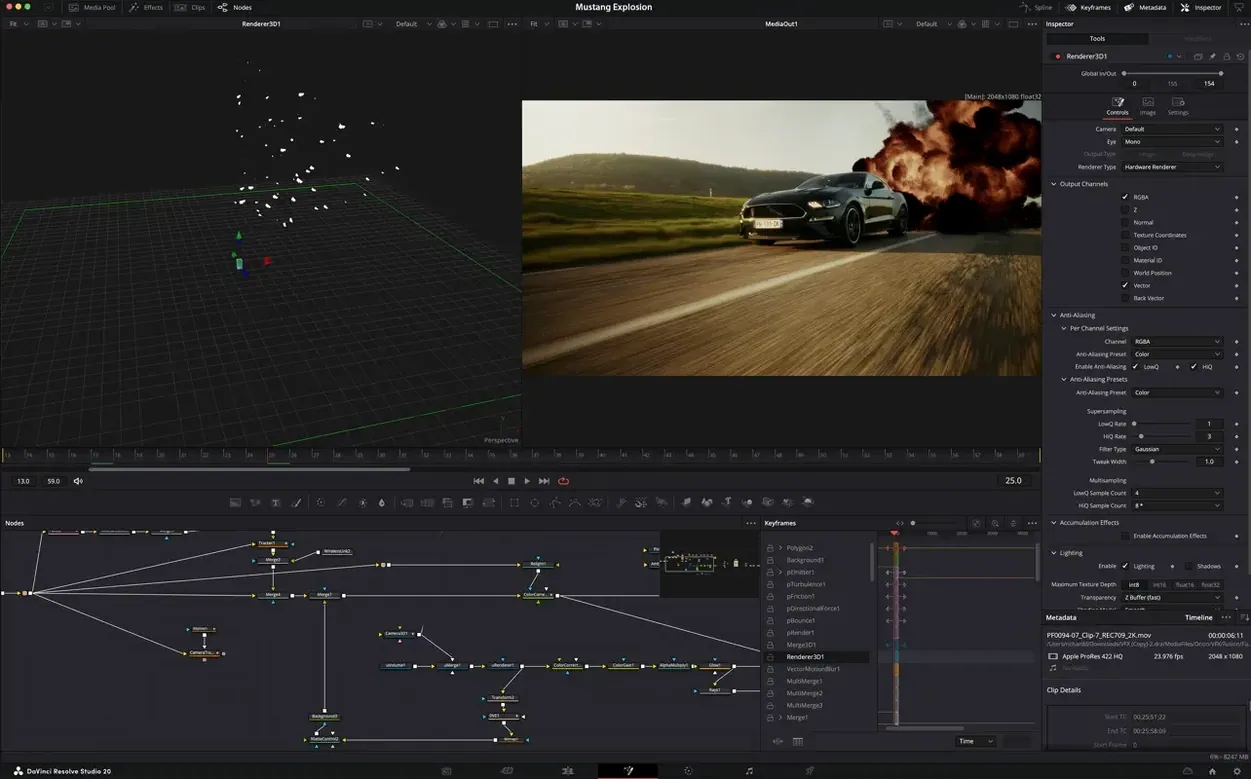
Open the lower-third in the Fusion page. The template exposes text fields and colour boxes. Change the name, job title, and accent colour. With the new Krokodove tools in 21.1, a soft background blur behind the text is a two-node operation instead of a manual mask.
5. Colour page pass
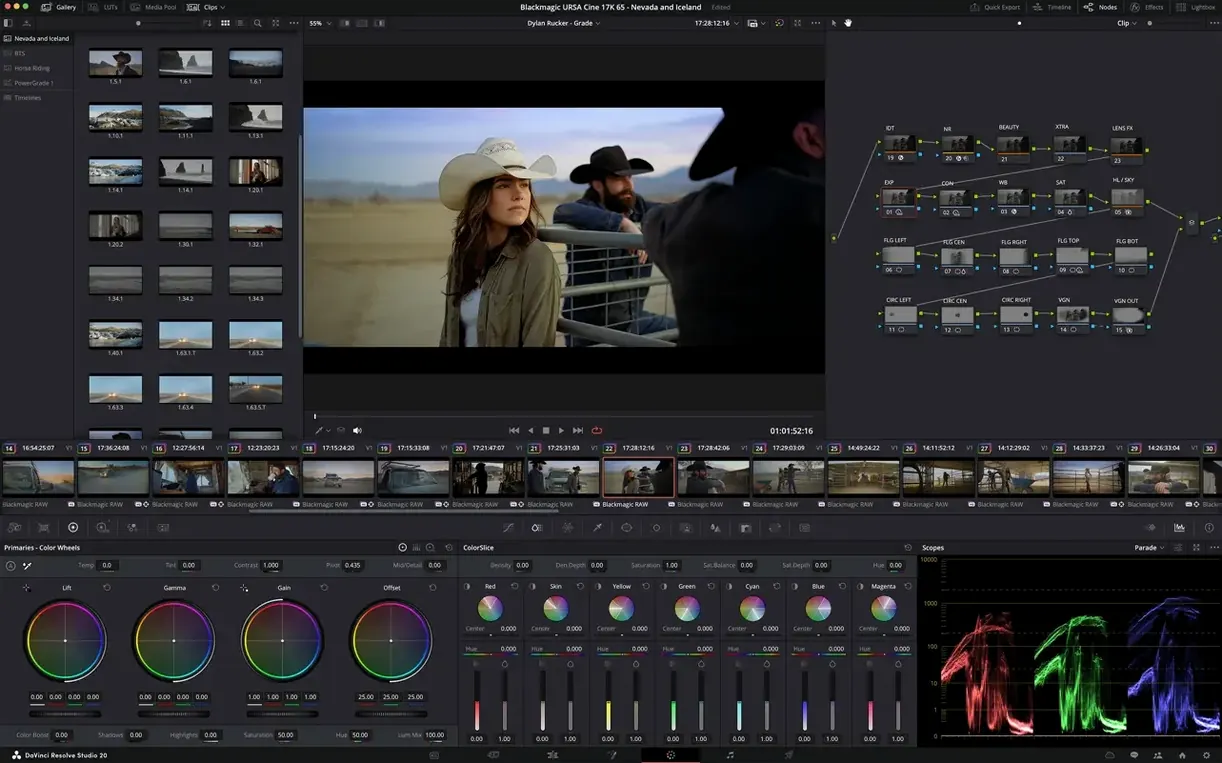
Switch to the Colour page. Apply a base correction to the interview clip: balance the white point, set contrast with the Custom Curves, and bring skin tones into range with the Qualifier. Copy the grade to the second camera angle, then adjust the shot-by-shot exposure. The 32-bit float YRGB pipeline holds up when you push the B-roll footage further than the camera intended.
6. Fairlight clean-up and mix
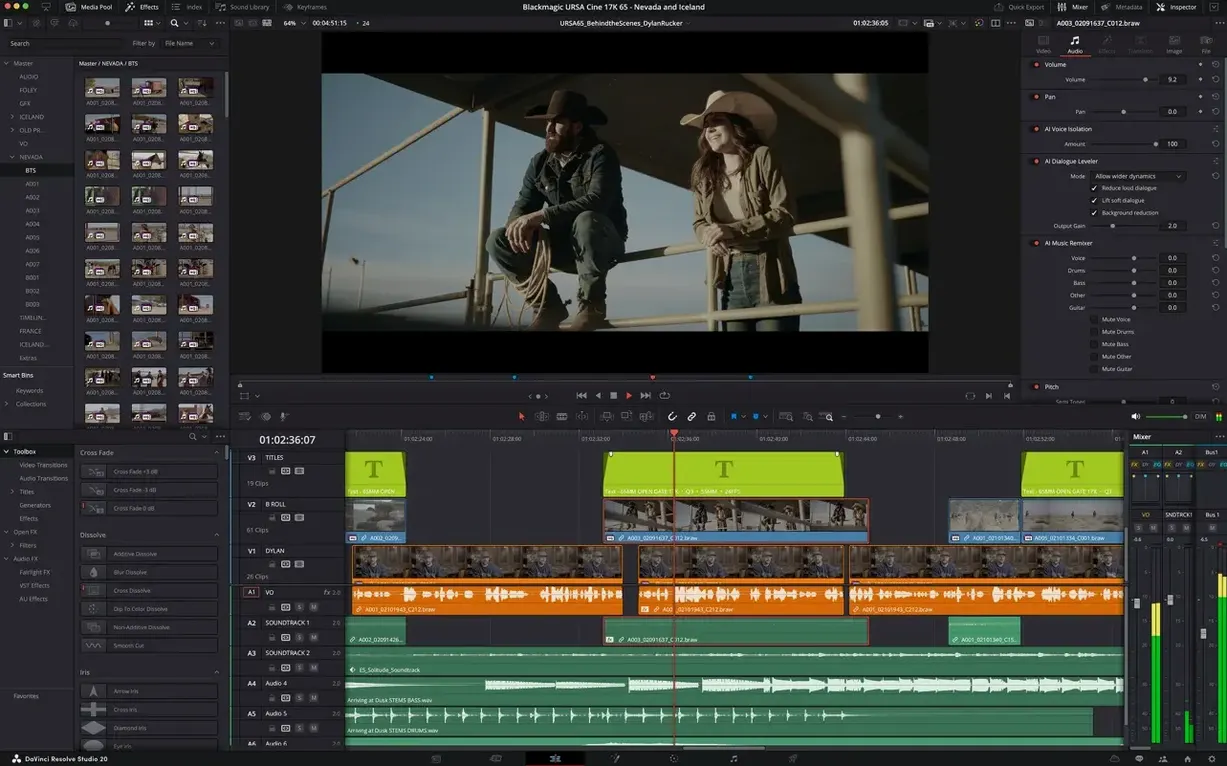
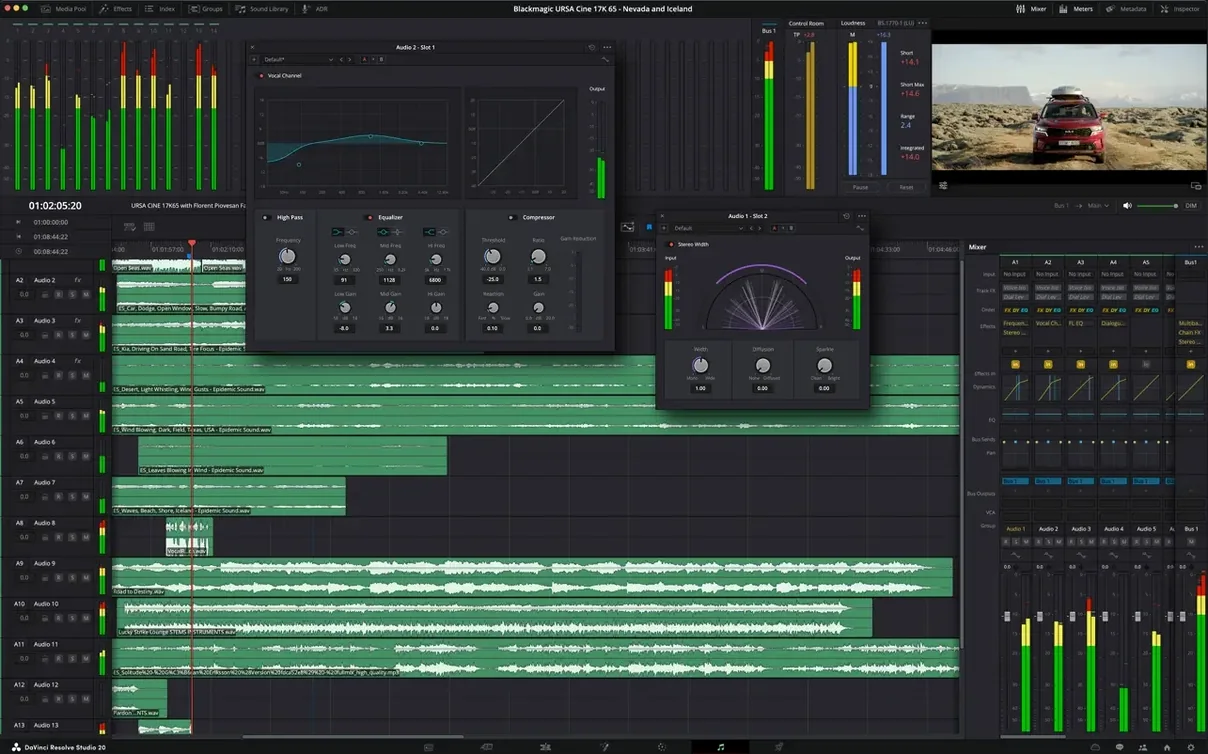
Move to Fairlight for the audio pass. Apply light compression to the interview track, use the Dynamics module to pull down room noise between phrases, and add a music bed at roughly -24 dB under the voice. The Fairlight mixer handles the whole pass without sending stems elsewhere.
7. Deliver
On the Deliver page, set the format to H.264 with a resolution based on the timeline settings. Name the file, choose the export folder, and add the job to the render queue. The batch rendering tools in 21.1 can queue multiple outputs—say, a master and a social cut—from the same timeline.
Adopt Sane Defaults Before Your First Real Edit
A few habits make the opening days more comfortable. Skip the urge to change every setting; the defaults are sensible for most source formats. Instead, spend the first session setting up preferences that affect every project.
- Set the media storage locations. In Preferences under Media Storage, add the folders where footage lives. This speeds up the Media page and avoids hunting through the file browser for every project.
- Check GPU settings. On the Memory and GPU tab, confirm that DaVinci Resolve Studio sees your hardware correctly. Apple Silicon Macs use Metal; Intel machines may show OpenCL. Leave the default unless a specific operation stalls.
- Create a project template. Build one project with your usual timeline resolution, frame rate, and bin structure. Use File > Save Project As Template so new work starts with the same layout.
- Learn the page shortcuts. The five main pages—Media, Cut, Edit, Fusion, Colour, Fairlight, Deliver—are one key each. Learn the mapping before muscle memory sets in backwards.
- Test the AI assistant early. The 21.1 assistant handles tasks like sorting clips into bins and generating metadata. Run it on a small test project before trusting it with a full day of footage.
Two-Hour Evening Flow from Project Manager to Render
Here is how a two-hour evening session tends to go, step by step.
Opening the project. The project manager shows recent work. You pick yesterday's timeline and land on the Edit page where you left off. Nothing needs to load twice; Resolve remembers the last page and playhead position.
First pass over the cut. You watch the timeline from the top. Two edit points feel late. A quick trim with the keyboard moves both. One clip needs a cross-dissolve; you drag the transition from the Effects Library and adjust its length in the Inspector.
Checking the grade. You switch to the Colour page. The B-roll from Tuesday still feels flat. You open the HDR palette, lift the highlights slightly, and compare with the reference monitor. The scopes confirm nothing clips.
Fusion detour. A sponsor logo needs a clean version. You open the Fusion page, add a background node, pipe in the logo, and use the new Krokodove tools to generate a soft drop shadow. The node tree stays small; two merge nodes and a blur do the job.
Audio check. In Fairlight, you solo the interview track and listen for mouth clicks. One click sits just before a sentence. A short crossfade removes it without cutting the word. The music bed stays where it was; nothing else needs touching.
Render queue. The deliverable is a review file. You set the format, add the job to the queue, and let it render while you clean the bins. The batch render in 21.1 means the same timeline can also produce a compressed reference file without a second pass through the settings.
Shutting down. The project autosaves every few minutes. You quit, reopen the project manager once to confirm the thumbnail is current, and close the Mac.
Timeline Resolution First, Clips Second
Most early friction comes from habits carried over from simpler editors. The fixes are usually quick once the workflow clicks.
- Editing before setting the timeline resolution. Changing timeline settings later forces a conform pass. Set the resolution and frame rate before the first clip lands.
- Ignoring the page structure. New users often try to do everything on the Edit page, including grading and audio. The page split exists for a reason: each page optimises its own task. Use the Colour page for grading and Fairlight for audio even if the rough work starts elsewhere.
- Working with unsynced audio. External audio recorded separately needs a sync step. Auto Sync by waveform works in most cases; skipping it leaves a timeline with two offset tracks and a headache later.
- Overdoing the node tree in Fusion. A lower-third does not need twelve nodes. Start with the template, change only what the shot requires, and keep the tree readable. The Krokodove tools help, but they do not justify building everything from scratch.
- Leaving the render to the last minute. Batch rendering is not the same as knowing your delivery specs. The first export of a project often reveals issues—wrong colour space, missing audio tracks—that are cheaper to fix early.
Relinking Missing Audio and Other Fast Fixes
Even with a clean workflow, things go sideways. These are the usual suspects.
Footage imports but shows no thumbnail
The Media page sometimes needs a moment to build thumbnails for large folders, especially with raw stills from less common camera formats. Select the clips and choose Generate Optimized Media if playback stutters. Expanded camera format support in 21.1 covers more stills formats on the Photo page, but the first scan can still take time.
Playback stutters on a long timeline
Check the playback resolution in the Playback menu. Dropping to half resolution helps on older Macs without changing the timeline. If a specific Fusion clip causes the problem, right-click it and choose Render Cache Fusion Output.
Audio sync drifts by the end of a clip
Waveform sync is accurate for short takes, but long recordings with variable speed media can drift. Re-sync using timecode if the camera and recorder share a clock, or manually align the start and end points and let Resolve stretch the middle.
The AI assistant organises media differently than expected
The 21.1 assistant groups clips by its own logic, which may not match your project structure. Run it on a duplicate bin first, then drag the results into your usual folders. Over time the assistant learns from manual corrections.
Colour grades look different after export
This almost always comes down to colour management. Check the Color Management settings in Project Settings and the output colour space on the Deliver page. A mismatch between timeline and export colour space shifts the image. Verify with the scopes before and after render.
The render queue stalls on one job
Cancel the stuck job, open the Render Queue panel, and check the output path. A full disk or a path with restricted permissions stops the queue silently. Restarting the job after freeing space usually clears it. The batch renderer in 21.1 handles sequential jobs well, but one bad output path still blocks the rest of the queue.
- macOS 15 or later
- Apple Silicon or Intel 64-bit processor
Questions on file
What does the AI assistant in DaVinci Resolve Studio 21.1 do?
The AI assistant handles media organisation and batch rendering tasks, automating repetitive housekeeping steps in the post-production workflow.
Which camera formats are supported on the Photo page in version 21.1?
The 21.1 update adds expanded support for camera formats on the Photo page, allowing more raw stills to be imported directly without external conversion.
Sign in · Create an account to add a field note.
No field notes yet. A measurement, a version, a machine — they appear after moderation.