Design
LightBurn 2.0.05
DesignUpdated
| Requirement | On file |
|---|---|
| macOS | macOS 10.13 or later |
| CPU | Intel 64-bit |
| Download | 67 MB |
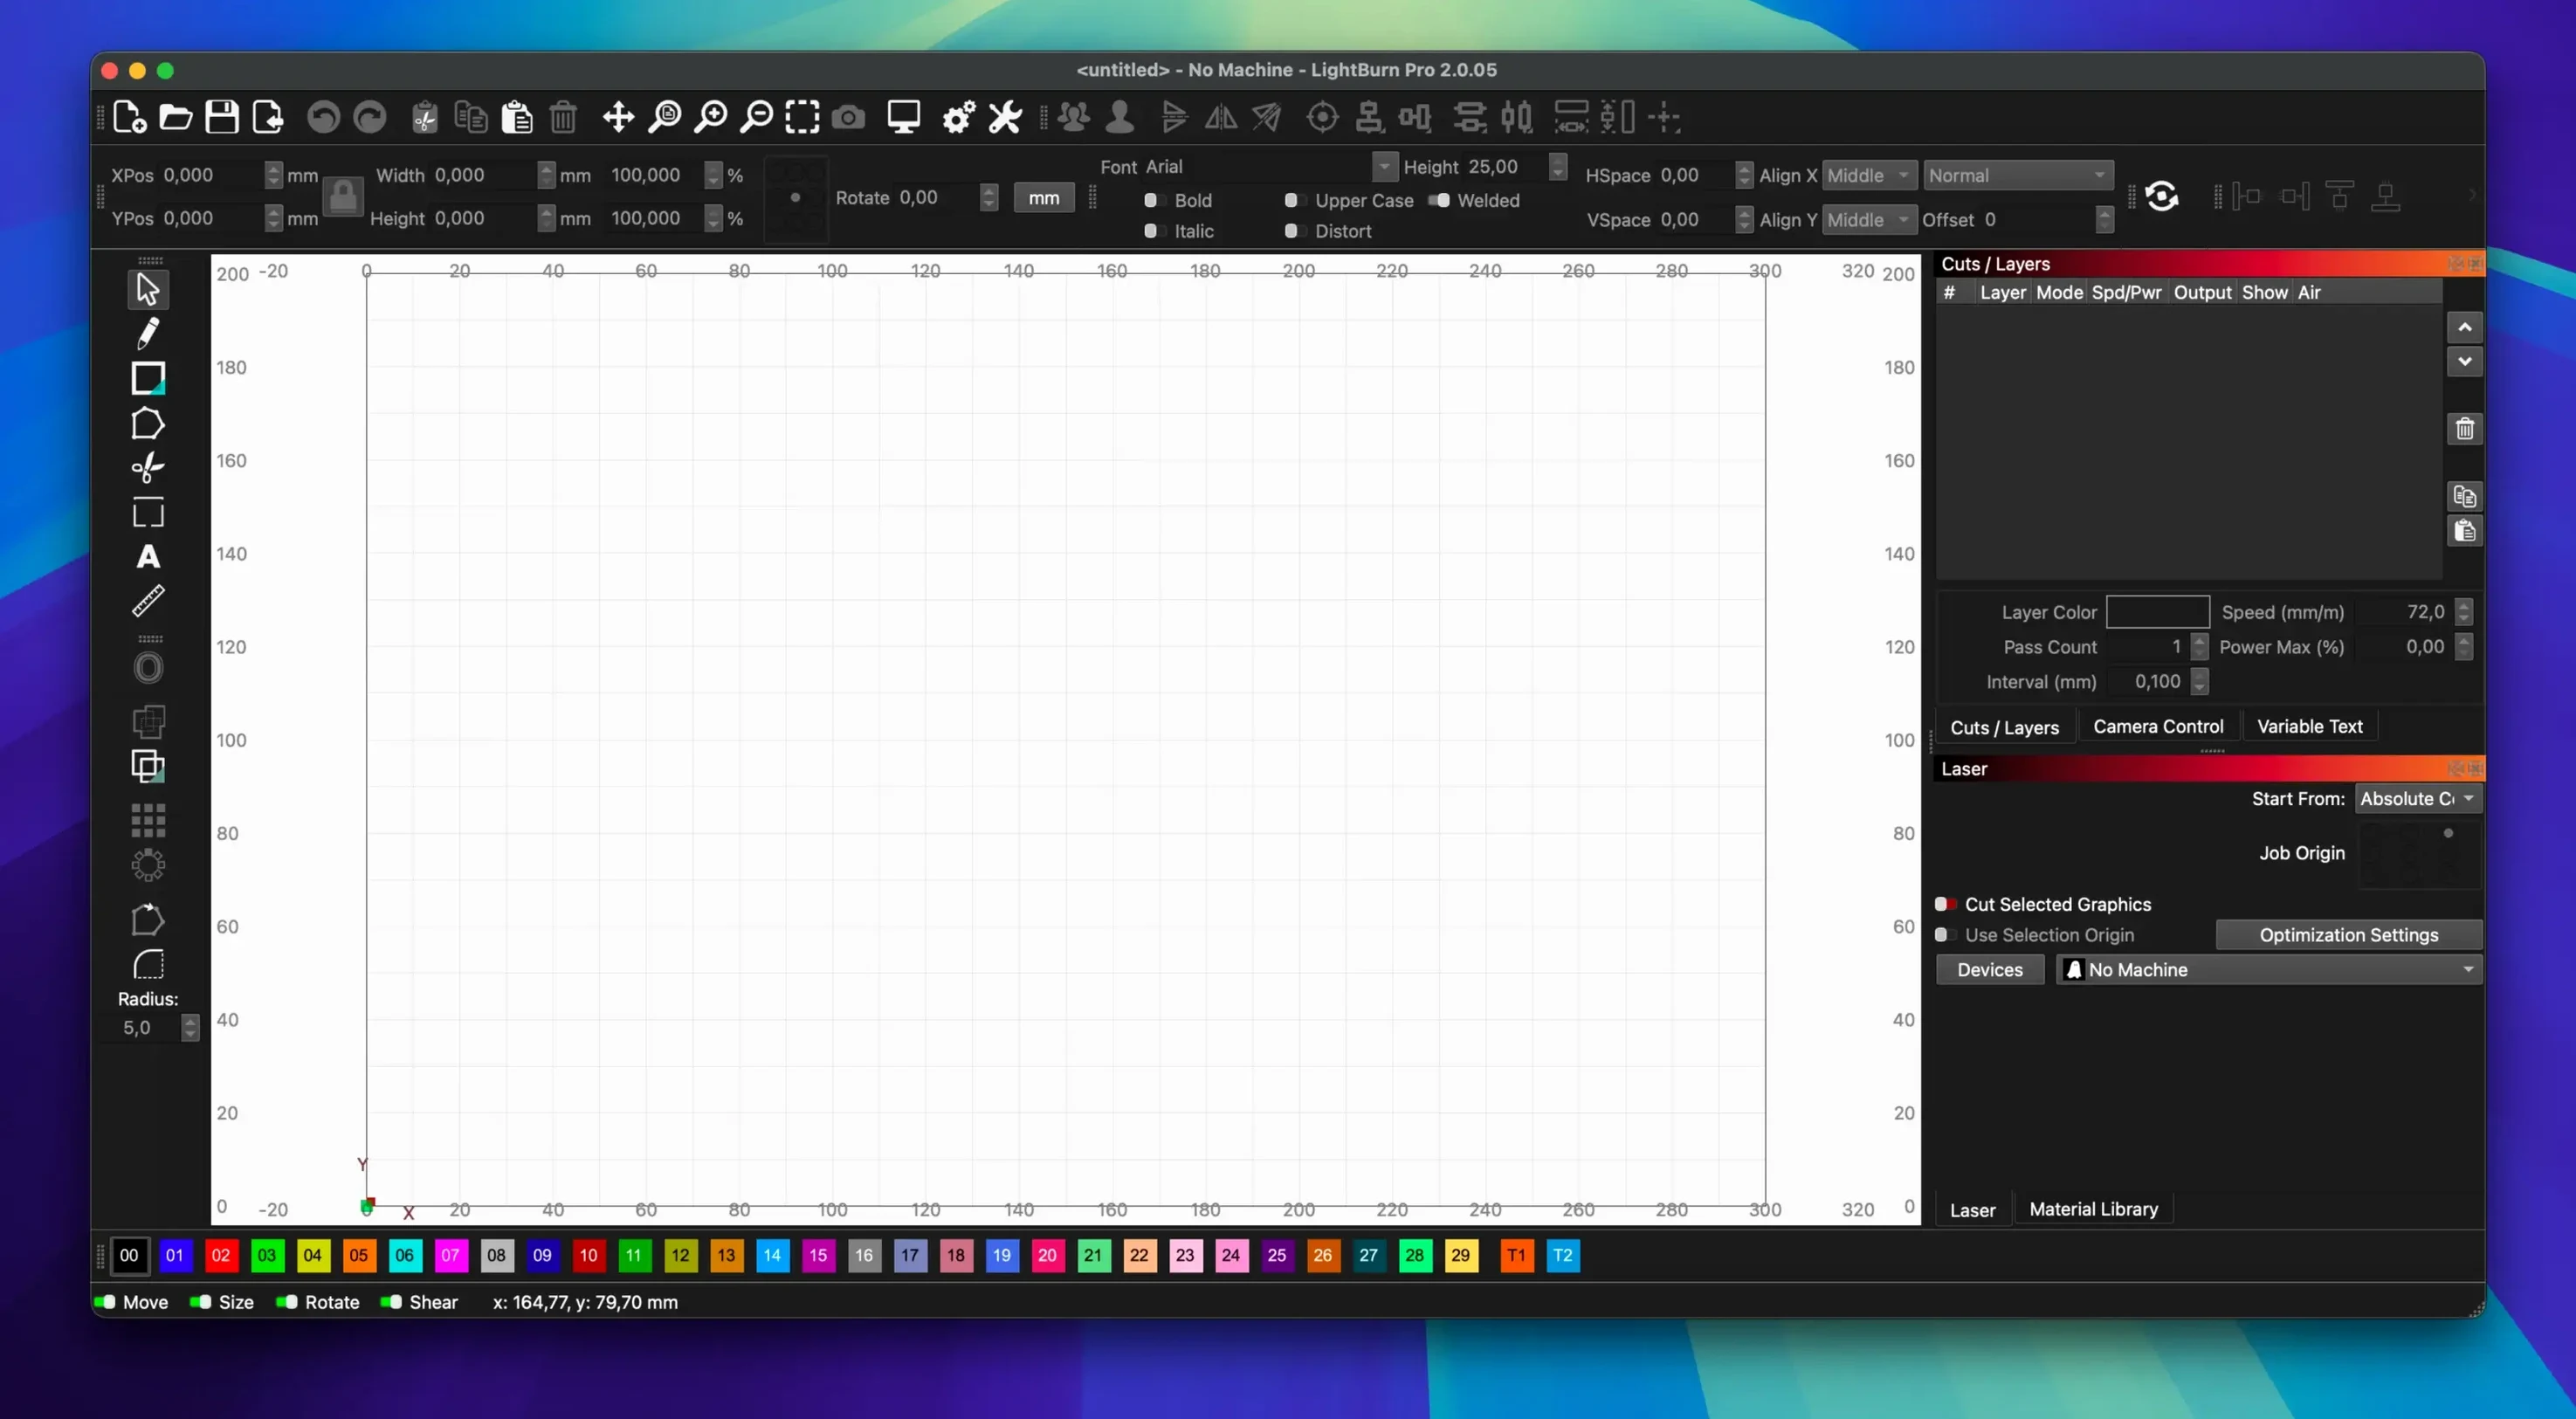
LightBurn is layout, editing, and control software for laser cutters — a single application that replaces the typical chain of design tool, intermediary program, and machine sender.
What does LightBurn actually do?
It provides a complete workspace for laser work: you design or import artwork, set material-specific parameters like power and speed, and then send the job directly to the machine. There is no need for a separate GCode sender or control panel.
Controllers that skip the extra setup
LightBurn connects directly to a wide range of lasers. It supports most GCode, DSP, and Galvo controllers, covering many of the common diode, CO2, and fibre machines in use today.
Drag in vectors and rasters without converting
The software imports standard vector and raster formats including AI, SVG, DXF, PDF, PNG, and JPG, so it fits into existing design workflows without extra conversion steps.
Who is version 2.0.05 for?
How LightBurn Compares with Similar Mac Apps
Three applications tend to come up when Mac users look at laser software: LightBurn, LaserGRBL, and K40 Whisperer. They occupy different points on the capability curve, and the gap between them is wide enough that the choice often makes itself once you know what each one actually does.
LaserGRBL is a free, open-source sender for GRBL-based diode lasers. It handles image engraving reasonably well — import a PNG, set dithering, and go — but it has no vector editing tools. If you need to tweak a shape, add text, or run a boolean operation, you do that elsewhere and re-import. The interface is functional but bare, and it lacks DSP and Galvo support. For a simple diode setup on a budget, it works. For anything that involves more than one material preset or a rotary axis, it runs out of road quickly.
K40 Whisperer is purpose-built for the cheap CO2 machines that ship with a M2 Nano controller. It talks directly to that controller and handles SVG imports, power ramping, and basic engraving. The editor stops at moving and scaling — no node editing, no offset tool, no shape creation. It also does not connect to anything other than the M2 Nano, so the moment you upgrade your controller, K40 Whisperer becomes irrelevant. For the specific K40 crowd, it is a practical stopgap; beyond that narrow niche, it offers nothing.
LightBurn sits in a different category. It starts where those tools stop — native vector editing, material libraries, camera support, rotary axis control, and a connection list that spans GRBL, DSP, and Galvo controllers. The difference shows most clearly in a mixed-material job. With LightBurn, you assign three cut layers with different power and speed values, reorder the passes, and send them as one job. With LaserGRBL or K40 Whisperer, you run three separate sessions and hope nothing shifts between them.
The trade-off is complexity. LightBurn has more controls on screen at any given moment, and a first-time user opening the Cut Settings Editor faces a dense panel of numbers. LaserGRBL and K40 Whisperer feel simpler because they do less. For someone running a single diode engraver on GRBL, a LightBurn torrent search might surface out of curiosity about what the paid tool adds — and what it adds is everything beyond the first engrave-and-hope workflow.
From USB connection to finished plywood coasters
Imagine a Tuesday morning in a small workshop. The machine is a 50 W CO2 laser with a Ruida DSP controller, connected via USB. The job is a batch of plywood coasters with an engraved logo and a cut outline.
1. Power up and connect. The laser is switched on first, then the Mac. LightBurn is launched. The Laser window shows a green "Ready" indicator within seconds — the Ruida is recognised automatically on the assigned serial port.
2. Load the artwork. The logo arrives as an SVG from a designer. Dragging it onto the canvas places it at cursor position. A quick glance at the Layers panel confirms the file brought in two layers: black fill for engraving, red stroke for the cut line.
3. Set up the material. The Material Library is opened and "Plywood 3mm" is selected from a saved preset. The preset loads 18% power at 300 mm/s for engraving and 70% power at 17 mm/s for the cut — values tuned over a dozen previous runs on the same ply batch.
4. Arrange the layout. The coaster design is duplicated nine times using the Array tool (3×3 grid, 5 mm spacing). The whole set is dragged to the workspace origin, which corresponds to the top-left corner of the machine bed where a jig holds the plywood sheet.
5. Frame and focus. The "Frame" button in the Move window traces the bounding rectangle with the red dot pointer. The sheet is nudged 2 mm left to centre it under the framing trace. Focus is checked with the bed-height spacer.
6. Preview the job. The Preview window runs a simulation. Engraving paths show as thin blue lines; cuts appear in red. The estimated time reads 14 minutes 22 seconds. Cut order is verified — all engraves run before the cut passes, so parts do not drop free mid-job.
7. Start and monitor. The "Start" button sends the job. The machine begins engraving the first row of logos. The progress bar advances, the elapsed-time counter ticks, and the air assist hisses steadily. The operator stays nearby, watching for flare-ups on the ply surface.
8. Finish and retrieve. The head returns to home, the exhaust fan runs for another 30 seconds, and the nine coasters lift cleanly from the sheet. The job log in LightBurn records 14 minutes 18 seconds — four seconds faster than the estimate.
Dark Mode landed as a full interface redraw
Version 2.0 was the structural shift. Dark Mode arrived first — not a cosmetic toggle, but a full interface redraw that matters in a workshop where screen glare fights overhead fluorescents. The Edit Nodes toolbar appeared alongside it, turning what was previously a right-click-and-hope affair into a visible set of options for adding, deleting, and breaking nodes on a selected path. The Camera Calibration routine was reworked with a guided overlay system that reduced the average calibration time from roughly ten minutes to something closer to three.
On the Mac side, version 2.0 raised the floor to macOS 11 for the main release line, while older builds remain listed for users stuck on macOS 10.13 through 10.15. The current 2.0.05 release addresses three specific issues that affected everyday use: window title bars that sometimes rendered off-screen when stored offset values got corrupted (a bug that could leave the Laser window unreachable), rotary jogging that moved the opposite direction in CCW mode, and a crash triggered by SVG files containing ungrouped DEF shapes — a quirk some Illustrator exports produced.
None of these fixes sound dramatic in isolation, but a title bar off-screen meant force-quitting and losing an unsent job layout; a reversed rotary jog could snap a delicate workpiece against the chuck; an SVG crash mid-session meant restoring from the auto-save and hoping the last five minutes of edits survived. Version 2.0.05 is a quiet maintenance release that removed three sharp edges from the daily workflow.
Shift+click colour selects hidden in plain sight
LightBurn packs a number of features behind key combinations and right-click menus that do not advertise themselves in the toolbar. The ones below repay the thirty seconds it takes to learn them.
- Shift+click to select by colour. In a busy design with dozens of shapes, holding Shift and clicking a red stroke selects every red stroke on the canvas. The same works for fills. It is the fastest way to reassign a cut layer across an entire layout.
- Alt+drag to duplicate. Holding the Option key while dragging any selected shape creates an instant copy. It sounds trivial, but when laying out a grid of small parts by eye, it saves the trip to the Edit menu each time.
- Double-click the Speed/Power readout. In the Laser window, double-clicking the current speed or power value opens a direct-entry field. It is faster than opening the full Cut Settings Editor for a single-parameter tweak on a test burn.
- Right-click a layer colour for "Select All in Layer". This selects every object assigned to that layer, regardless of where it sits on the canvas. It is the cleanest way to move an entire engrave pass to a different material setting.
- Middle-click pan and scroll-wheel zoom. On a three-button mouse, the middle button pans the workspace, and the scroll wheel zooms centred on the cursor. Trackpad users get pinch-to-zoom, but the mouse method gives finer control when aligning nodes at high magnification.
- The "T" key for text. It opens the text tool without touching the toolbar. The same logic applies across the creation tools — "R" for rectangle, "E" for ellipse, "L" for line. Muscle memory builds fast.
- Ctrl+Z history depth. The undo stack goes back well past the last save point. It removes the fear of experimenting with a complex weld or offset operation, knowing that retracing steps is a keystroke away.
A Workflow: Photo Engraving on Slate from Start to Finish
Photo engraving is one of those tasks that reveals how much the software matters. A diode laser, a piece of black slate, and a JPEG from a phone — the output can look like a smudged mess or a sharp, tonally rich image. The difference sits in the preparation steps inside LightBurn.
The source image is a 3024 × 4032 pixel JPEG of a dog, taken in afternoon light. It is dragged onto the canvas and sized to 120 × 160 mm — the dimensions of the slate blank.
Step 1: Crop and frame. The image is cropped to a 3:4 aspect ratio using the built-in crop tool, removing distracting background on the left edge. The framing rectangle is adjusted so the dog's eyes sit on the upper third line.
Step 2: Convert to grayscale and adjust contrast. The image is set to grayscale mode. The Brightness and Contrast sliders in the Image Adjust panel are nudged: brightness down 8 points to darken the midtones without crushing the shadows, contrast up 12 points to pull the dog's white chest fur away from the grey slate background.
Step 3: Choose dithering. The dithering dropdown is set to "Jarvis" — it produces a finer grain than Floyd-Steinberg on slate, with less banding across smooth gradients like the out-of-focus background. The dots-per-inch setting stays at 254 DPI, a good match for the 0.08 mm laser spot.
Step 4: Assign material settings. The Material Library entry for "Slate — black" loads a tested preset: 22% power, 6000 mm/min, single pass, line interval 0.10 mm. The preview in the Cut Settings Editor shows an estimated time of 38 minutes — long enough to need a fresh cup of coffee.
Step 5: Run a small test patch. Before committing to the full engrave, a 20 × 20 mm
Version 2.0.05 is the current release. On Apple Silicon Macs, Rosetta must be installed to run the Intel 64-bit binary.
Version 2.0.05 is a maintenance update with three fixes:
- Window management — Corrected title bar placement when stored offsets are invalid.
- Rotary control — Fixed jogging direction in CCW mode.
- SVG import — Resolved a crash when importing files containing ungrouped DEF shapes.
- Operating system: macOS 10.13 or later
- Architecture: Intel 64-bit (Rosetta required on Apple Silicon Macs)
Questions on file
What tools does LightBurn offer for preparing artwork?
It includes boolean operations, offset and weld tools for vector shaping, plus controls for brightness, contrast, and dithering on raster images. A material library with preset settings is built in.
Sign in · Create an account to add a field note.
No field notes yet. A measurement, a version, a machine — they appear after moderation.