Design
Marvelous Designer v2024.2.139
DesignUpdated
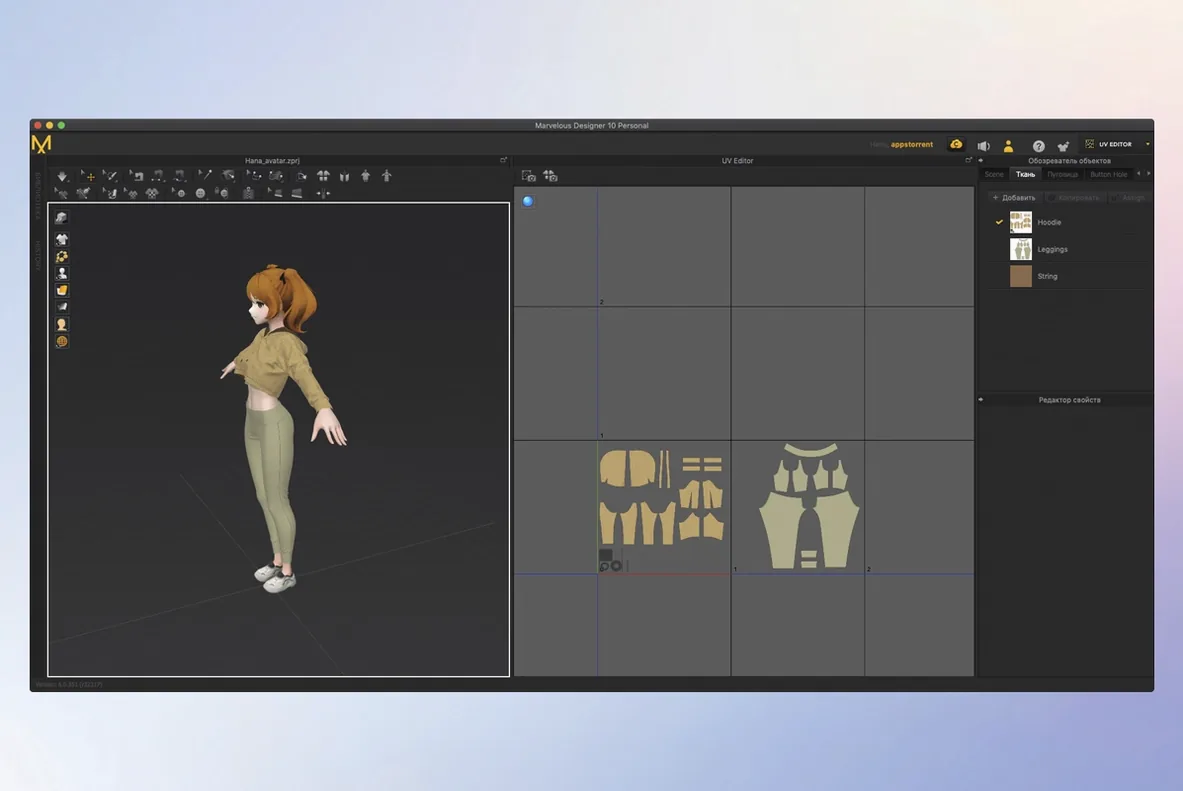
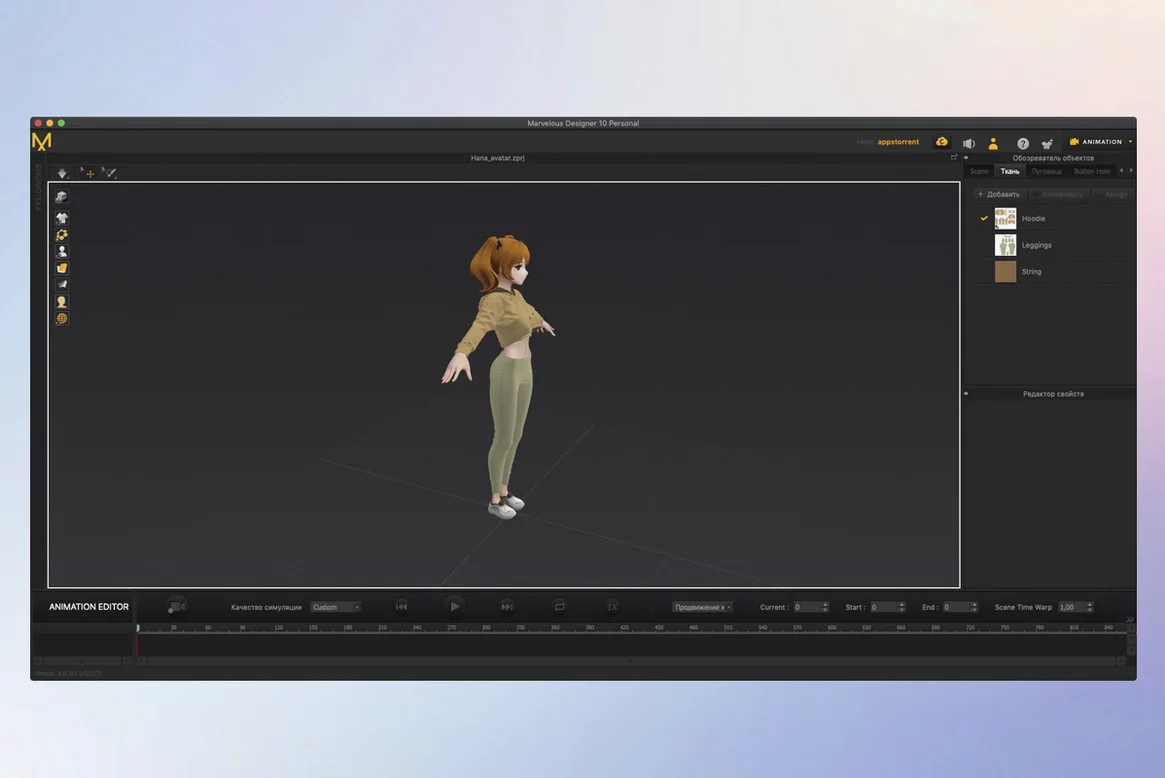
| Requirement | On file |
|---|---|
| macOS | macOS 12 or later |
| CPU | Apple Silicon, Intel 64-bit |
| Download | 1.7 GB |
Point placement and contacts govern how a seam pulls tight or a hem hangs loose. That granular control is the first thing you notice when you start draping fabric onto a 3D form in Marvelous Designer. It is a dedicated application for digital clothing creation and simulation, built for pattern makers, character artists, and technical designers who need cloth to behave like cloth.
What exactly does the software do?
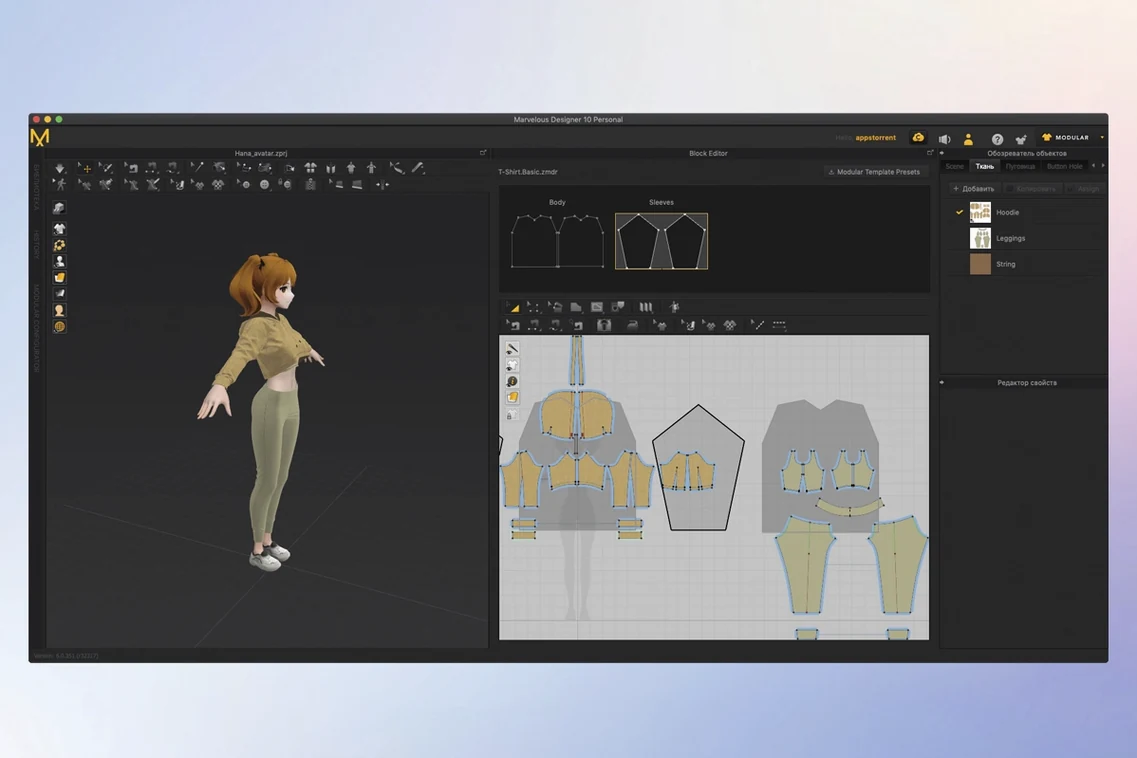
It lets you sketch 2D garment patterns, sew them together with virtual stitching, and simulate the result on a 3D avatar. The accuracy comes from particle-based physics, so the fabric weight, stretch, and drape respond to gravity and collision in real time.
Who is the typical user?
Costume designers for film and games lean on it heavily, but architectural visualisers and product designers also use it for soft furnishings. Anyone who needs a reusable character wardrobe with consistent fit across multiple poses will find the workflow logical.
Animated Cloth Caches Between Maya, 3ds Max and ZBrush
It imports and exports data with Maya, 3ds Max, Softimage, Modo, and ZBrush. You can send a posed character in, build the garments, and bring the simulated result back to your main 3D application as an animated cache.
What tools set it apart for stylised work?
The Toon Shader gives fabric a hand-drawn or cel-shaded look without leaving the application. The 3D Pencil sketches directly in the viewport, and EveryWear offers template-based rigging for rapid avatar setup.
Small conveniences you are likely to overlook
Right-click a pattern piece in the 3D window and choose Reset to 2D Position — it snaps the piece back to its flat arrangement without undoing any sewing you have set up. This alone saves minutes of dragging when a collar has drifted off-screen during simulation.
The Freeze and Deactivate toggles in the Simulation Properties panel work differently and many users miss the distinction. Freeze locks a pattern in its current draped state, still colliding with other cloth but no longer recalculating its own shape. Deactivate removes it from the simulation entirely. Use Deactivate for a belt you will replace later; use Freeze for a shirt you want to keep still while trousers settle around it.
Holding Ctrl while dragging a point in the 2D window constrains movement to the nearest pattern edge. Holding Shift while rotating snaps to 15‑degree increments. Neither shortcut is called out prominently in the toolbar, but both tighten up the drafting stage considerably.
In the 3D view, pressing F2 toggles between the textured display and a translucent wireframe. When a tight sleeve refuses to settle, the wireframe shows you exactly which internal faces are catching on the avatar’s elbow — information the fabric shader obscures.
Garment from scratch: a T‑shirt in twelve minutes
Start with the default female avatar. Delete the arrangement points on her shoulders and wrists so the simulation does not try to pin anything yet. In the 2D window, draw a front bodice with the Polygon tool — six points, shaped roughly like half a human torso. Mirror it with Ctrl+M to create the back piece, then draw a simple sleeve as a flattened tube about 180 mm wide at the cap and 140 mm at the cuff.
Select the shoulder edges on front and back pieces, right‑click, and choose Sew. Do the same for the side seams, stopping 40 mm below the armhole. Sew the sleeve cap to the armhole edge, one segment at a time, checking the sewing direction arrows point inward. Arrange the pieces around the avatar in the 3D window — front in front, back behind, sleeves to each side — then press Space to start the simulation.
The fabric drops to the floor. That is correct. Grab the neckline edge and drag it over the avatar’s head; the cloth catches on the shoulders and the side seams engage. Lower the Particle Distance to 8 mm halfway through for finer drape, then toggle GPU Simulation if your machine supports it. Within twelve minutes of the first polygon point, the avatar is wearing a fitted tee with natural folds at the armpits and a slight roll at the hem.
Three alternatives on macOS and where they differ
Blender with the Cloth brush handles simple draping well for free, but it lacks the pattern‑based sewing logic that makes Marvelous Designer predictable for production garments. You can push cloth around a sculpt, yet you cannot pin a dart, adjust seam allowance, and re‑simulate with the same precision. The Cloth brush is a sculpting aid; Marvelous Designer is a tailoring tool.
CLO Standalone shares the same simulation engine as Marvelous Designer and the interface feels nearly identical. The difference is purpose: CLO targets fashion designers who need tech packs, grading, and real‑world measurements. Marvelous Designer strips those features and leans toward the entertainment pipeline — animation caching, USD and Alembic export, and deformable avatars that a game rig understands. If you are exporting to Unreal Engine rather than to a factory, Marvelous Designer is the more direct route.
Optitex sits at the industrial end of the same spectrum. It is built for textile manufacturers and offers stress‑strain maps and marker making that Marvelous Designer does not attempt. For a character artist, Optitex brings more machinery than needed; for a technical fashion developer, Optitex may be the only tool that speaks the factory’s language. Marvelous Designer occupies the middle ground — accurate enough for a costume supervisor, nimble enough for a solo 3D generalist.
The search for marvelous designer mac often brings up these comparisons because users want to know if a cheaper or simpler tool will do. The answer hinges on whether you need seams that behave like seams.
Settings to adjust in your first ten minutes
Open Preferences → Simulation and set Default Particle Distance to 10 mm. The factory value of 20 mm speeds up early blocking but produces baggy, unconvincing folds. At 10 mm you pay a reasonable simulation cost for cloth that reads as cloth, not as low‑poly mesh.
Under Preferences → User Interface, enable Show Arrangement Points in 3D Window. Without this, a new avatar can appear to have no interaction handles, and you waste time hunting for a menu command that does not exist.
In the same panel, switch Navigation to Maya if that is your primary 3D application. The default navigation preset uses a different modifier‑key convention, and muscle memory from a DCC tool will fight it on every orbit.
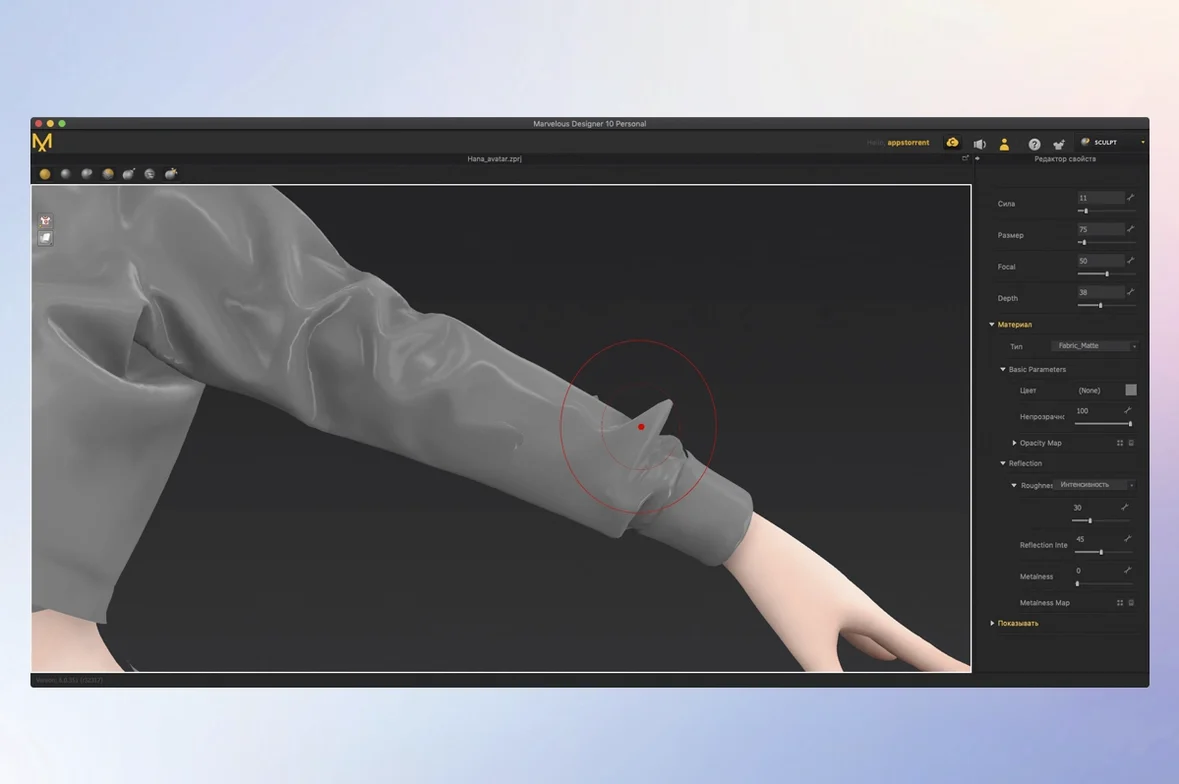
Finally, open a simple project, select any pattern piece, and in the Property Editor set Pressure to 0.2 kPa. Watch how the piece inflates slightly — this is the quickest way to verify that your simulation scale matches your avatar. If a 0.2 kPa puff looks like a balloon instead of a gentle billow, your scene units are wrong and need correction before any real work begins.
- macOS 12 or later
- Apple Silicon and Intel native support
Questions on file
Can I use Marvelous Designer for non-character work?
Yes. While it is designed for clothing, the same simulation engine handles tablecloths, curtains, and upholstery on any imported geometry.
What file formats does it exchange with other 3D tools?
It connects directly with Maya, 3ds Max, Softimage, Modo, and ZBrush through its import and export options.
Does it support stylised rendering?
The Toon Shader produces cel-shaded and hand-drawn looks for garments inside the application.
Sign in · Create an account to add a field note.
No field notes yet. A measurement, a version, a machine — they appear after moderation.