Design
Live Home 3D Pro 5.0.4
DesignUpdated
| Requirement | On file |
|---|---|
| macOS | macOS 12 or later |
| CPU | Apple Silicon, Intel 64-bit |
| Download | 615 MB |
With the level-of-detail control pulled back to a coarse setting, a complex kitchen scene with detailed cabinetry orbits smoothly, even on a machine that would otherwise start to labour. That simple slider captures the Pro edition’s practical bent: it gives you the rendering fidelity you need at any moment and scales back geometry you do not.
How does the lighting system work?
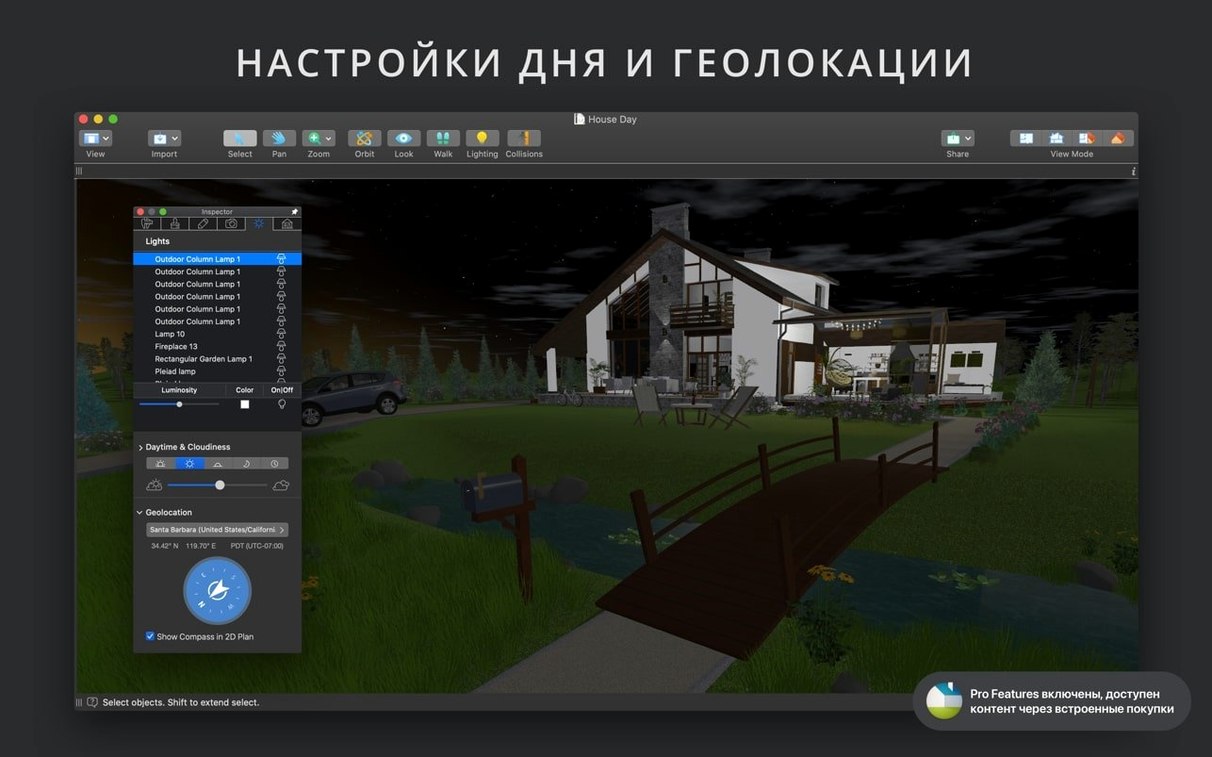
You place customisable light sources—point, spot, or directional—directly into the scene and adjust their colour, intensity, and fall-off. They calculate in real time during a 3D walkthrough, so a dark hallway immediately reads as dim and a sunlit conservatory feels bright before you export a single frame.
Stitch a walkthrough from fixed camera angles
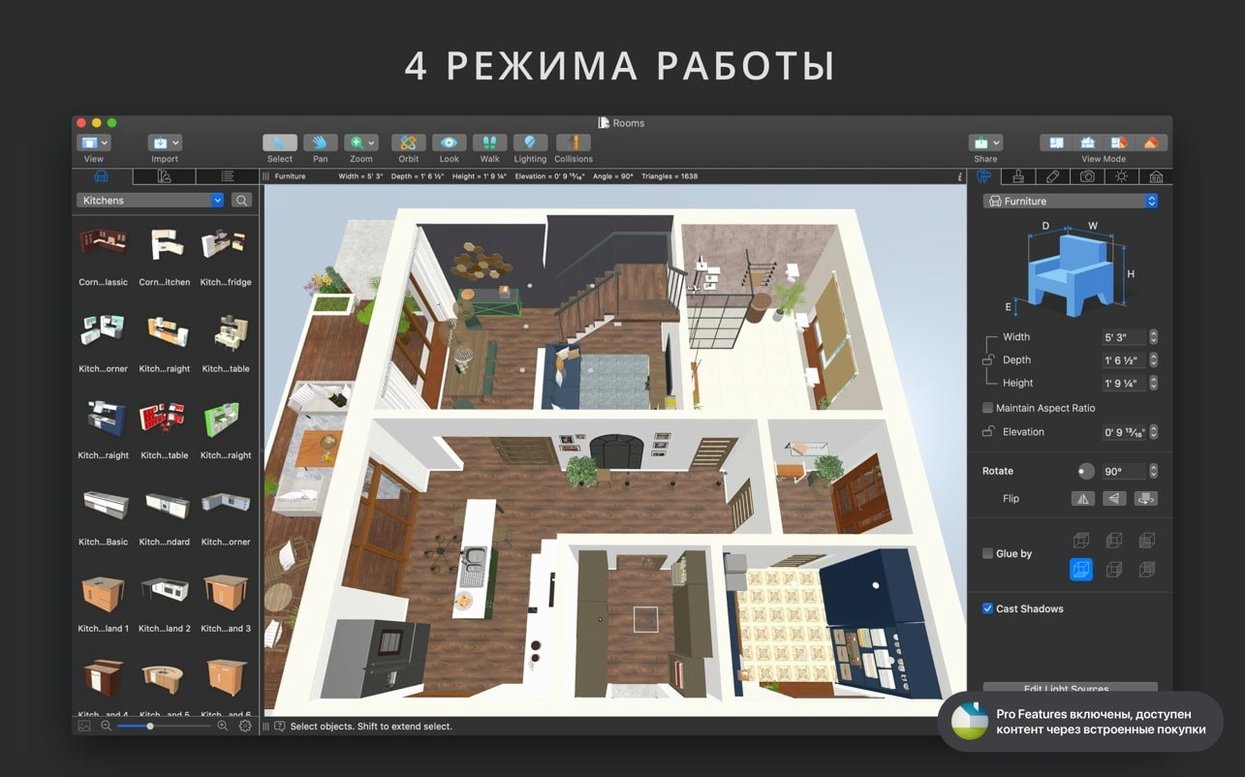
Set up several named cameras to capture distinct viewpoints: one wide-angle for the whole floor plan, another tightened on a window seat. Switching between them during a virtual walk stitches the space together without forcing you to reposition a single lens over and over.
Which 3D formats can it export?
Projects move out as COLLADA, Trimble SketchUp, VRML V2.0, X3D, FBX, or OBJ files. Still-image exports land as JPEG, TIFF, PNG, or BMP, so a rendered view can go straight into a presentation deck or a client email without a separate conversion step.
Does it handle outdoor spaces?
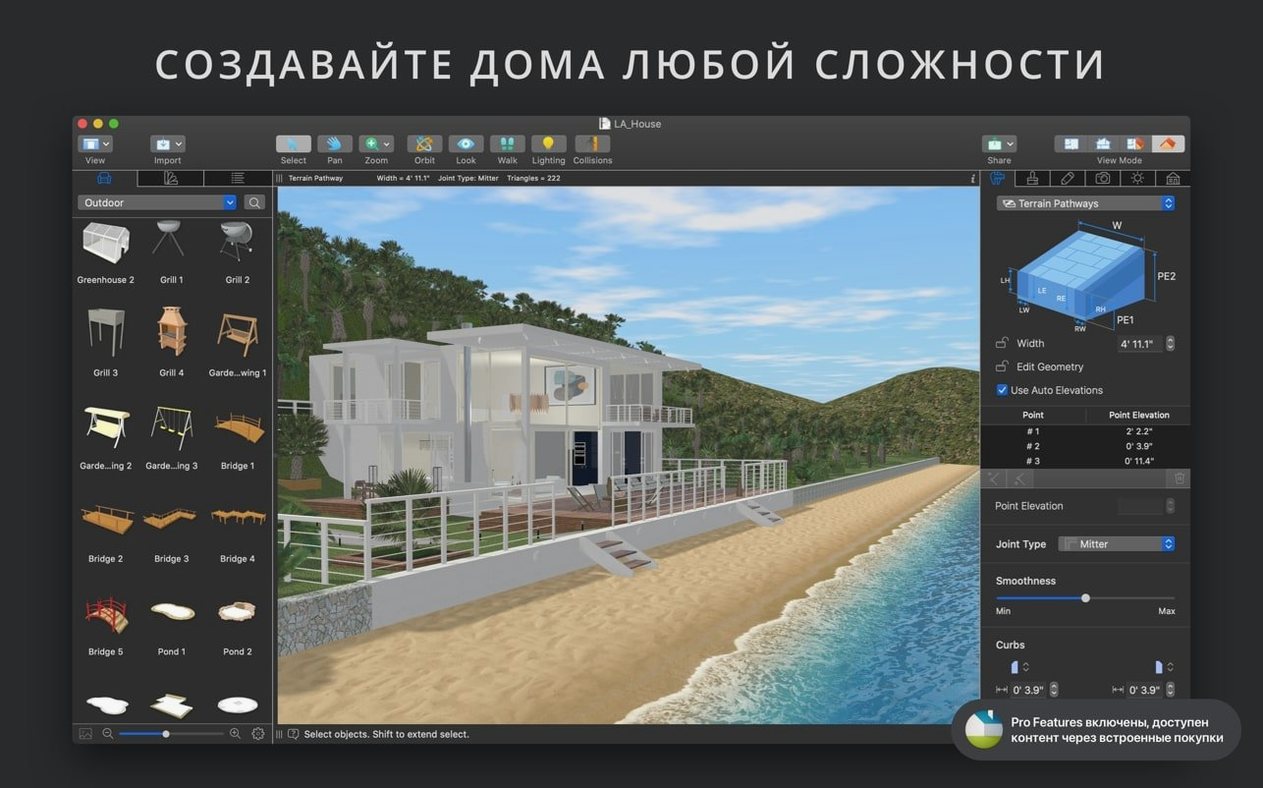
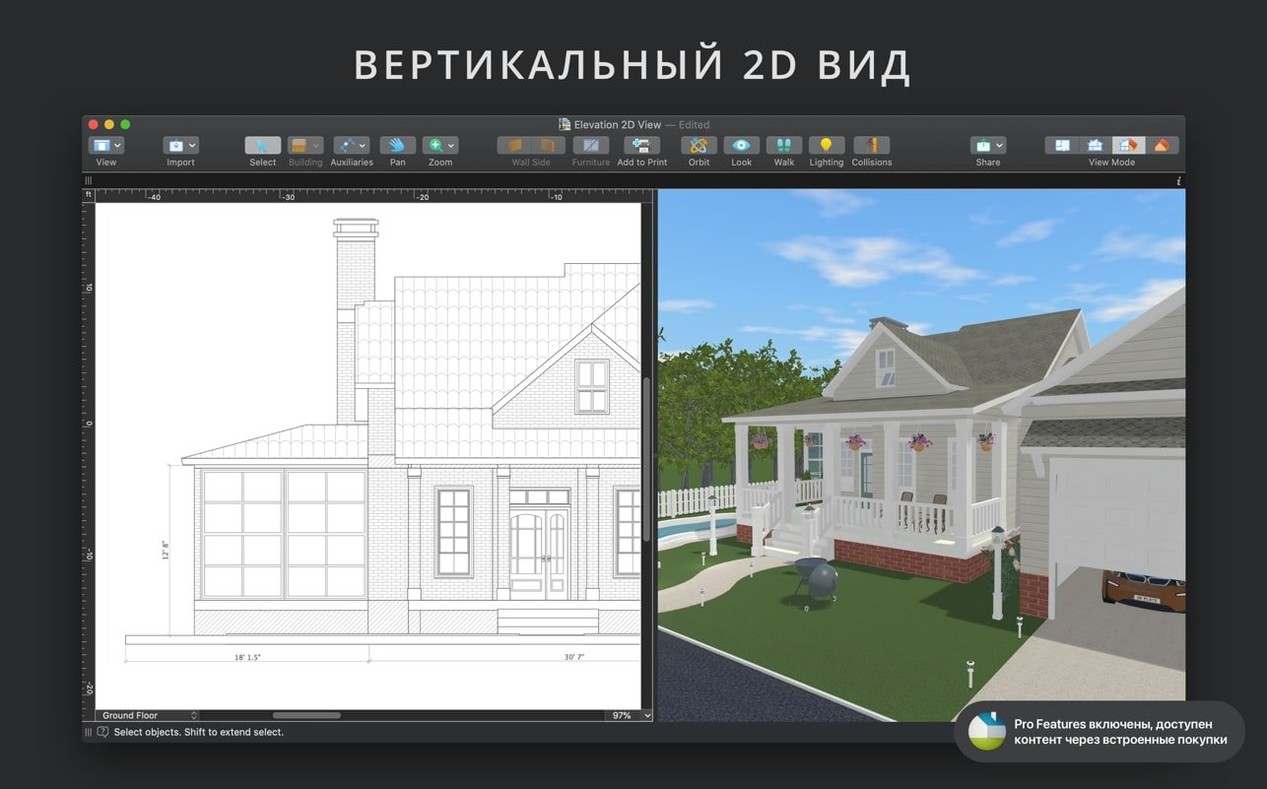
Yes. The vertical view mode flattens the site plan for landscape layouts, and the same light and camera tools that shape an interior let you model a terrace, garden path, or pool surround. iCloud support keeps the project in sync when you move between a desktop Mac and a MacBook on site.
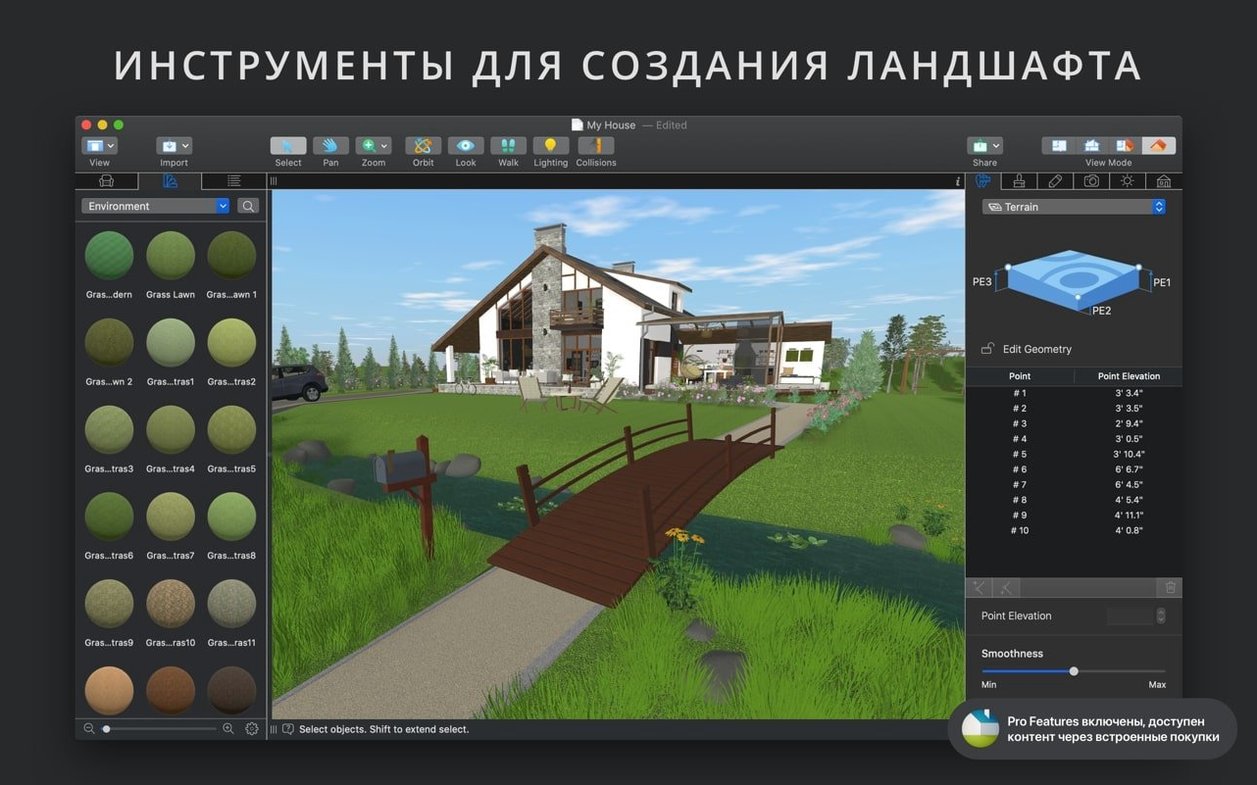
A landscape architect laying out a tiered garden with curved retaining walls will feel the difference the moment she switches to the Elevation View. Instead of guessing how a slope interacts with the house foundation, she draws the grade once and checks it from four angles. She pulls a SketchUp model of a pergola from Trimble 3D Warehouse, drops it onto the upper terrace, and opens the light source editor to add a pair of downlights to the imported object. By the time the client arrives she has a geolocated afternoon sun study and a 360° panorama ready to share via AirDrop. The terrain tools never push her toward a flat-lot assumption, which is exactly what makes the Pro edition useful for sites with actual topography.
Switch to metric before your first wall
A few defaults reward immediate adjustment. Head to the preferences pane before you start a serious project:
- Measurement units. The app defaults to feet and inches; switch to metres if your region or client works in metric. Mixed-unit drawings create unnecessary friction during dimensioning.
- Level of detail. Drop it from High to Medium if you work on an Intel Mac with a large model. You keep full material shading in 2D views but shed enough polygon weight that orbit stays responsive.
- Auto-dimension lines. Turn this on in the drawing preferences. Walls, floors, and ceilings pick up dimension labels as you place them, which saves a tedious manual step later.
- Snap sensitivity. Tighten the snap radius by a few pixels if you find yourself fighting accidental wall joins near complex corners. The guides are precise enough to reward a smaller catch zone.
- Shadow map quality. Bump it to High only for final renders; keep it at Medium during layout to avoid the soft-shadow calculation eating into interactive performance.
Build the 2D shell with dimension lines live
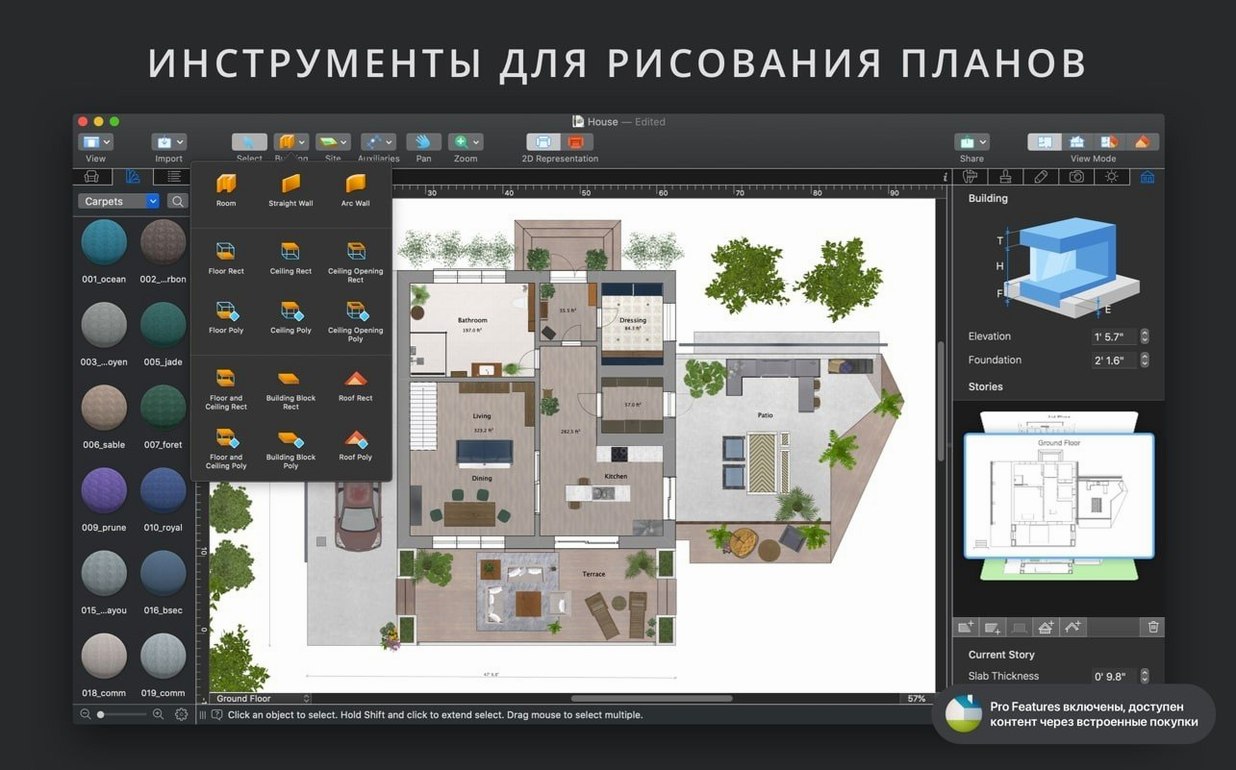
You open a blank project and set the lot size. The first step is a rough 2D shell: you draw exterior walls with the straight-wall tool, switch to the curved-wall tool for a bay window, and watch dimension lines appear alongside each segment. With the shell closed, you pull the floor height up to 3 metres and add a second storey—the unlimited-floor licence means a basement and attic are just more clicks, not a paid upgrade.
You drop into 3D view to assign materials. A Finder image of a reclaimed-wood texture becomes a floor finish through the material editor; you adjust its scale and reflectivity until it reads correctly under the default daylight. Two spot lights go into the kitchen zone, colour temperature set to 3000 K, and you toggle cloud cover from Clear to Partly Cloudy to see whether the island stays usable without overheads.
Furniture comes next. You pull a dining set from the built-in library, scale it slightly, then open Trimble 3D Warehouse to grab a specific pendant lamp. The import lands in OBJ format, and you open the light source editor to embed a warm point light into the shade geometry. Switching between cameras—one at the entry, one at the sink, one aimed at the seating area—lets you walk a client through the space without dragging the viewport mid-conversation.
Before wrapping up, you set the geolocation to Melbourne, date to late June, and time to 16:00. The windows cast long winter shadows across the living room; you move a reading chair closer to the glass. A 3840 × 2160 walkthrough video renders to disk, and you send the project file to your MacBook via iCloud for a site meeting the next morning.
Real-time finish swaps during client reviews
Interior designers working directly with clients benefit first. The ability to change a wall colour or swap a sofa in real time, with natural light recalculating on the spot, turns a design review into a collaborative session rather than a series of email attachments. The multiple-camera setup means you can prepare a guided tour that hits every room in a logical sequence without fumbling with the trackpad.
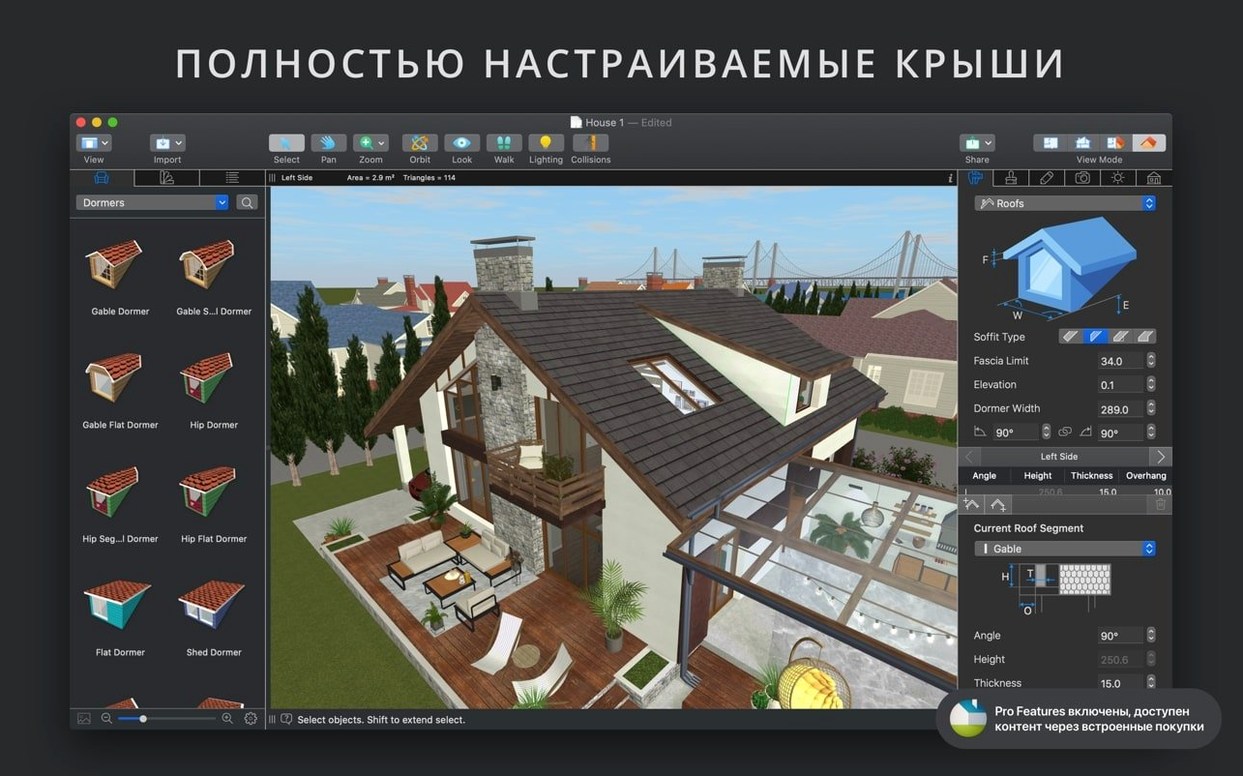
Small-practice architects and building designers who need a fast massing tool before moving to a BIM environment find the unlimited floors and custom roof assistant genuinely useful. The twelve roof templates cover most residential forms, and the attic types let you test dormer placements without modelling each from scratch. Export to COLLADA or FBX keeps the geometry clean enough for downstream work.
Landscape designers gain from the vertical view mode and the terrain editing, which are rare in software that started as an interior tool. Grading a site, placing hardscape elements, and running a sun study for planting decisions all happen inside the same file that holds the house model. The geolocation lighting is accurate enough to flag problem areas—a patio that never sees morning sun in July, for instance—before a single paver is ordered.
Homeowners planning a renovation or a new build sit at the gentler end of the curve. The built-in video tutorials and the help assistant remove the intimidation factor, and the gallery of sample projects provides a starting point that can be pulled apart and reassembled. A user who simply wants to test furniture layouts and paint colours against realistic daylight will never need to touch the material editor or the light source editor, but they are there if curiosity grows into something more serious.
- Maintenance — a fix in the standalone Pro app in version 5.0.4
- macOS 12 or later
- Apple Silicon and Intel Macs
Sign in · Create an account to add a field note.
No field notes yet. A measurement, a version, a machine — they appear after moderation.