Photo
Affinity Photo 2.6.5
PhotoUpdated
| Requirement | On file |
|---|---|
| macOS | macOS 10.15 or later |
| CPU | Apple Silicon, Intel 64-bit |
| Download | 789 MB |
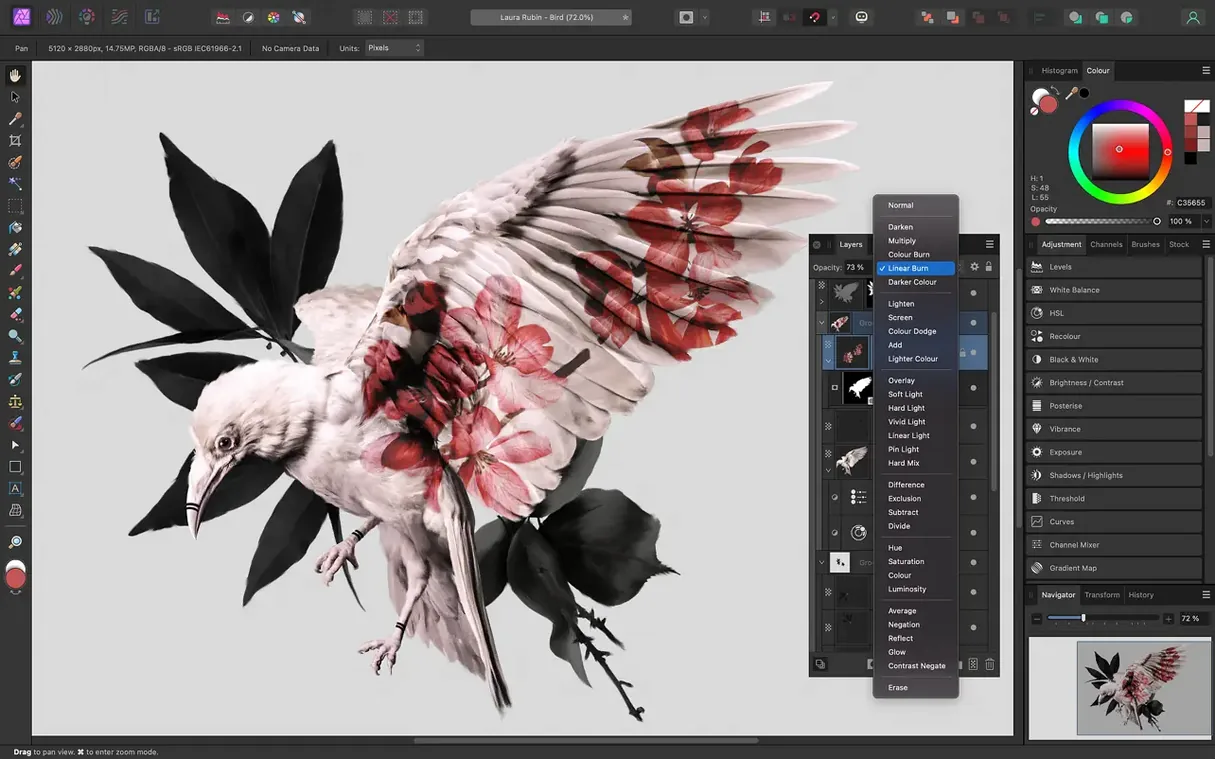
If you are used to the layer stack in Photoshop but want a renderer that handles 32-bit HDR without collapsing to 8-bit for every filter, Affinity Photo 2 maps that muscle memory to a deeper pipeline. It reads your PSDs, respects your blend modes, and then gives you LAB, CMYK, and linear compositing that the old workhorse does not expose as directly.
Precision retouching and colour spaces
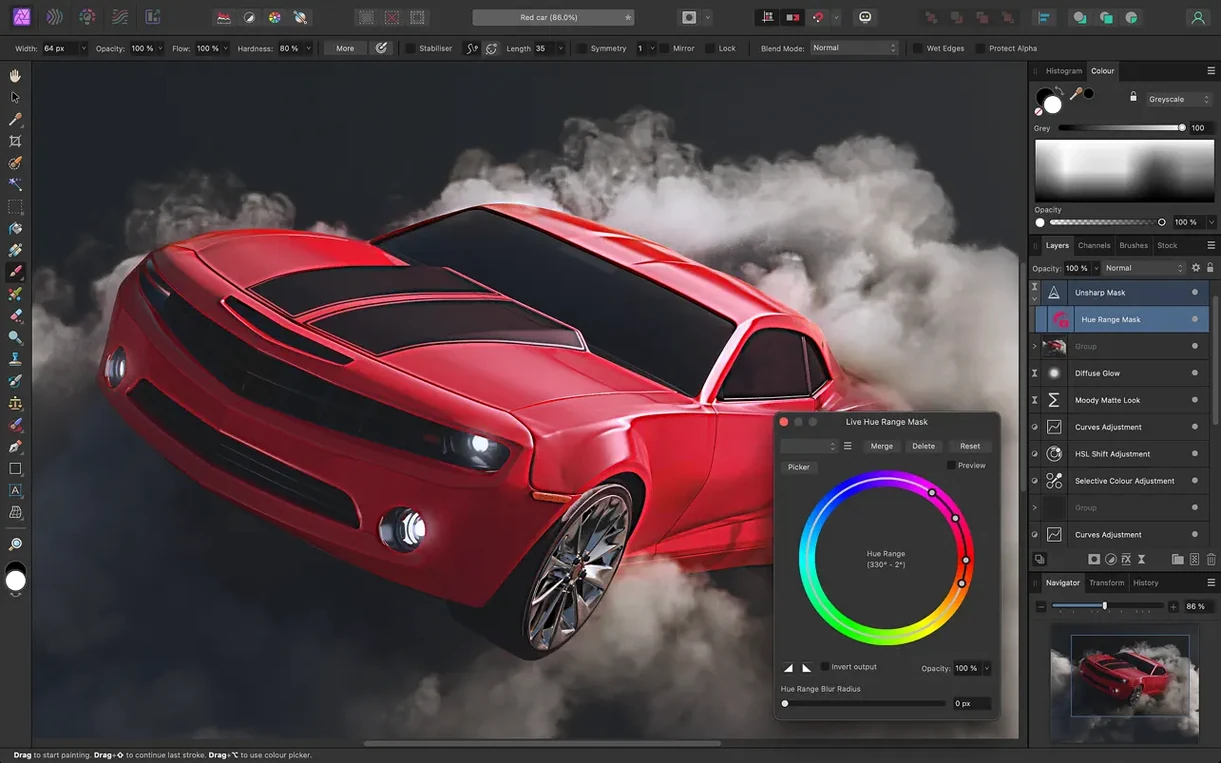
The frequency separation filter is built-in, not a manual layer-stack recipe — set the radius and the app splits texture from tone for skin work. For colour-critical edits, the app moves between RGB, CMYK, LAB, and greyscale without flattening. Live filter layers and adjustment layers remain editable, and the edit history can be saved inside the document so a session picks up where you left off. Lens corrections tackle chromatic aberration, edge fringing, and vignetting from one panel, while the noise reduction sliders give you per-channel control in a 16-bit or 32-bit float environment.
Layer architecture and file handling
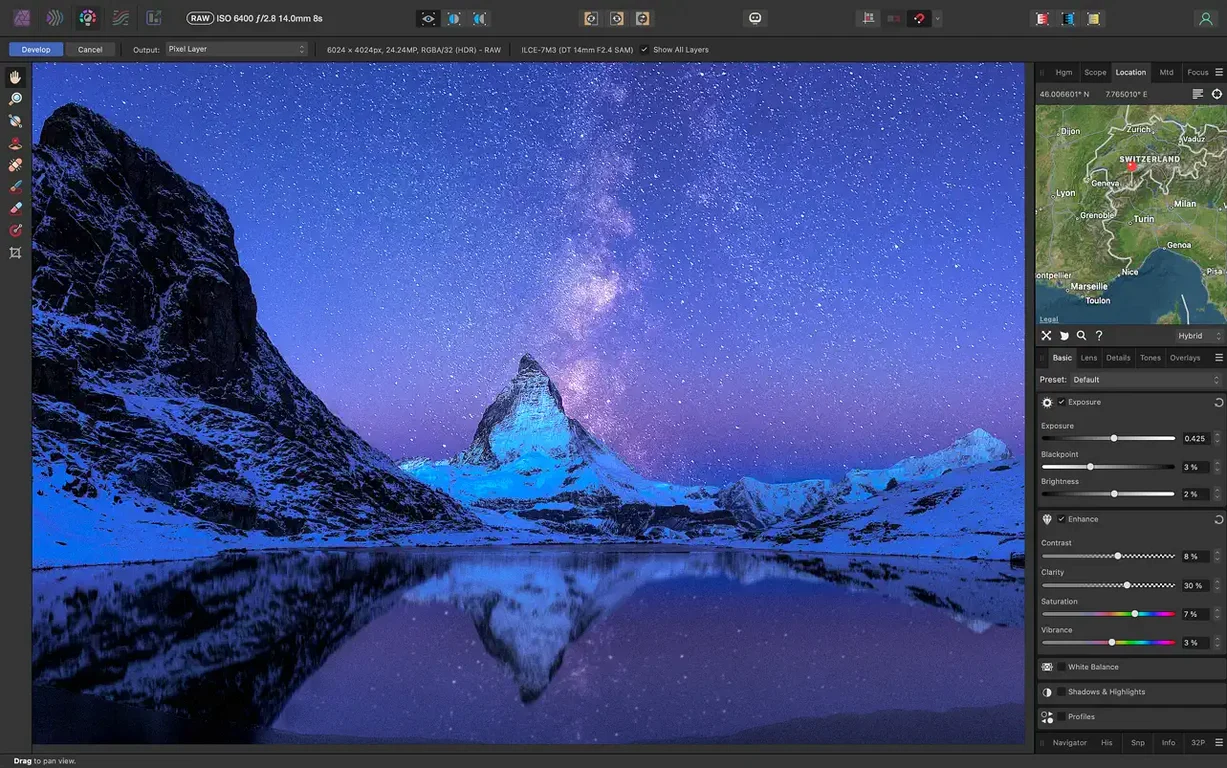
Unlimited layers, nested groups, and mask stacks are the baseline. What matters for a working retoucher is that Affinity Photo reads and writes PSD files alongside TIFF, EXR, HDR, SVG, EPS, and PDF with no intermediate export step for feedback rounds. The raw processor applies exposure, black point, clarity, vibrance, white balance, shadows, and highlights before you even rasterise, so the develop stage behaves like a parametric pre-edit rather than a baked conversion.
Why clicking a pixel grabs the wrong layer
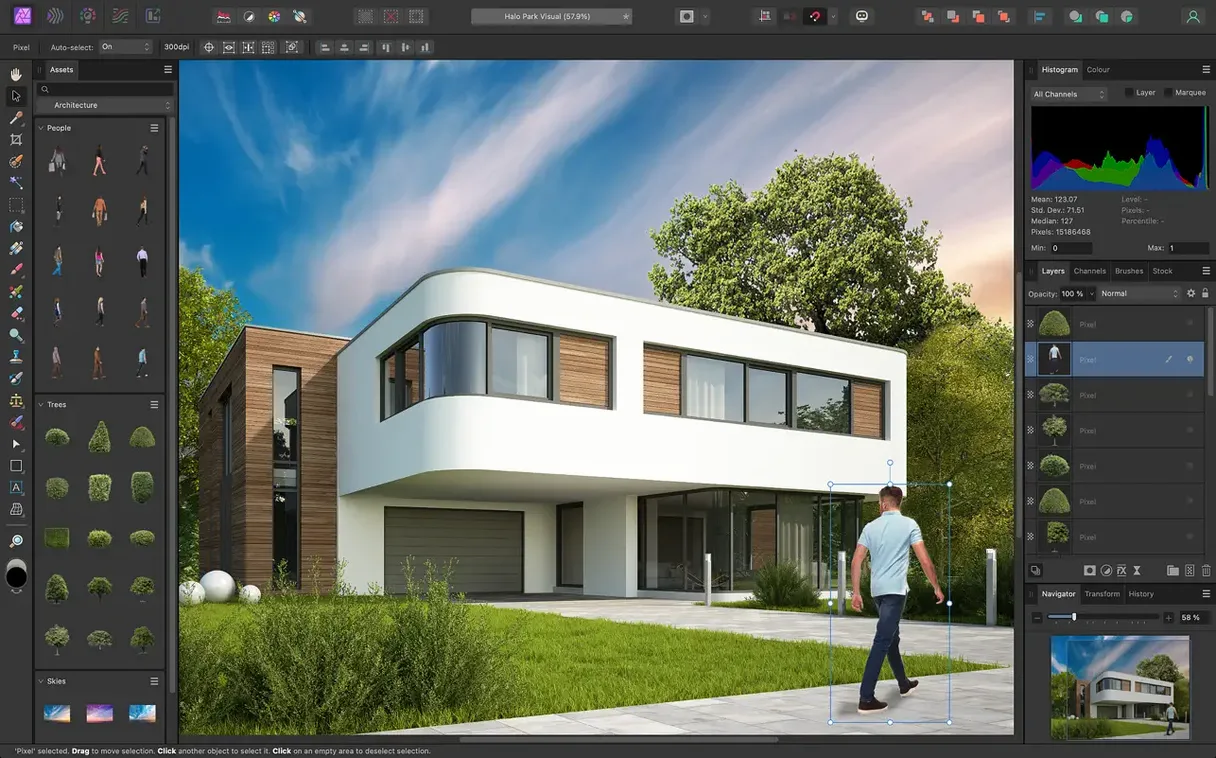
A few friction points show up repeatedly once you move beyond casual edits. The first is layer selection behaviour. When you click a pixel on the canvas, Affinity Photo selects the topmost visible layer that contains content at that point. If you have a stack of adjustment layers above your pixel layer, you will often grab the adjustment rather than the layer you intended. Fix it by holding Option while clicking — a small popover lists every layer under the cursor, and you pick the one you want. Once you internalise that, the frustration vanishes.
Another snag: the Clone Brush and Healing Brush tools sample from a source point, but after an undo or a tool switch the source resets. That trips up retouchers who undo a stroke and expect the sample origin to stay put. The workaround is to use a dedicated empty pixel layer set to Current Layer & Below in the tool's context bar. Sample from the layers beneath, paint onto the empty layer, and your source stays independent of undos. It also keeps the clone work nondestructive, which is the whole point of the app's architecture.
RAW users occasionally see a sharpness drop when they develop an image and land in the Photo Persona. The Develop Persona applies its own sharpening and noise reduction, but those settings do not carry over as live adjustments — they bake into the developed pixel layer. If the result looks soft, check that you did not leave the Detail Refinement slider at zero in the Develop assistant. Better yet, dial sharpening back to a neutral value in Develop and apply a live Unsharp Mask filter layer once you are in the main workspace. That keeps the sharpening editable and avoids doubling up.
One more: the app sometimes opens a 16-bit TIFF and shows it as 8-bit in the document title bar. That is almost always because the file contains an embedded colour profile the app cannot map cleanly. Reassign the profile via Document > Convert Format / ICC Profile and confirm the bit depth in the dialog before clicking Convert. The pixel data stays intact, and the title bar updates to reflect the true bit depth.
Tap Q to sculpt selections with any brush
The Quick Mask toggle lives at the bottom of the toolbar but gets overlooked because people reach for the selection tools first. Tap Q to enter Quick Mask mode, paint with any brush to define a selection area, then tap Q again to turn it into marching ants. Faster than the Selection Brush for irregular shapes, and you can soften the mask edge with a low-hardness brush instead of feathering after the fact.
The Blend Options panel — the gear icon at the top of the Layers panel — controls per-channel blending, not just opacity. For compositing work, you can drag the Underlying Composition Ranges sliders to blend based on the luminance of the layers below, with a split-slider option (Option-drag the handle) for smooth transitions. Photoshop veterans know this as Blend If, and Affinity Photo clones the behaviour exactly.
Studio panel presets are another time-saver hidden in plain sight. Pull down Window > Studio Presets and save your panel layout for different tasks — one for retouching with the Histogram and Scopes open, another for compositing with the Channels and Sources panels visible. Switching between them takes two clicks and reshapes the workspace faster than dragging panels around every session.
The File > Place command creates an embedded or linked image layer, but fewer people realise that dragging a file from Finder onto an open document does the same thing with one step. Even fewer know that holding Shift while dragging places the file as an embedded document that retains its own layer structure, editable via a double-click. That turns a multi-layer logo file into a single smart object-like layer without flattening anything.
A compositor's morning workflow
A matte painter opens a 32-bit EXR environment shot from a plate library. The dynamic range is intact — specular highlights sit above 1.0, and the shadows carry detail that an 8-bit preview would crush. She drops a Gradient Map adjustment layer set to the Soft Light blend mode to tint the midtones warm without touching the highlights. A live Displace filter, driven by a separate cloud-render layer set to invisible, warps the distant tree line so it matches the footage she will composite later. The filter stack stays live, so she can adjust the displacement strength after seeing how the foreground plate sits against it. She saves the document with history included and hands it off to the lighting artist, who can scrub back through her edit steps without a written log.
Replay one develop preset across hundreds of RAW files
Photographers who shoot tethered or process large RAW batches get the most from the Develop Persona's parametric approach and the macro recorder, which can replay a develop preset across hundreds of frames. Colour work that moves between RGB and CMYK — packaging designers, pre-press operators, fine-art printers — gains from the native CMYK mode and the soft-proof adjustment layer that shows out-of-gamut warnings without leaving the main workspace.
Compositors and matte painters working in 32-bit float with EXR and HDR plates find the linear compositing engine a genuine differentiator. Affinity Photo doesn't clamp values above 1.0 internally, so a highlight pass with pixel values at 4.3 blends into a base plate at 0.8 and the math stays correct through every subsequent adjustment layer. Retouchers who want frequency separation as a single filter rather than a seven-layer recipe will adopt it for that alone, but they stay for the nondestructive clone workflow and the per-channel blend options.
Graphics tablet users — Wacom, XP-Pen, Huion — get pressure, tilt, and barrel-button shortcuts recognised at the brush engine level, with a real-time preview of the brush tip shape and size that updates as they vary pressure. That makes the brush feel more like a physical tool than a cursor with a radius setting.
Variable pressure profiles now work directly on vector strokes
Version 2.6 brought a reworked Stroke Width Tool that applies variable pressure profiles to vector strokes directly on the canvas — useful for designers who draw masks with the Pen Tool and want tapered edges without switching to a pixel brush. The Pixel Brush tool gained a multi-brush painting mode that strokes several parallel brush tips at once, which speeds up texture work for hair and fabric retouching.
The Move Tool now snaps to the bounds of hidden layers when alignment handles are active, so positioning a layer relative to a reference object no longer requires toggling visibility on and off. The Export Persona gained a layer-state export option: you can export a single file with multiple layer-visibility combinations as separate slices, which saves repetitive export passes for UI designers generating sprite sheets or icon sets.
Affinity Photo 2 also quietly improved PSD round-tripping. Smart objects from Photoshop now import as embedded documents where possible, and text layers that previously rasterised on import now stay editable if the font is available on the Mac. Adjustment layers in imported PSDs map more faithfully to their Affinity equivalents — a Curves layer with a complex point curve survives the trip with fewer control-point approximations than earlier builds.
- macOS 10.15 Catalina or later
- Apple Silicon and Intel Macs
Questions on file
Does Affinity Photo support 32-bit HDR compositing?
Yes, it edits 32-bit-per-channel images and keeps the full float precision through live filters, adjustments, and blend modes without down-converting to 8-bit.
Can I open and save Photoshop files without losing my layers?
Affinity Photo opens, edits, and saves PSD files while preserving layers, masks, and blend modes where the feature set overlaps.
Sign in · Create an account to add a field note.
No field notes yet. A measurement, a version, a machine — they appear after moderation.