
Photo
Aiarty Image Enhancer 3.14
PhotoUpdated
| Requirement | On file |
|---|---|
| macOS | macOS 11 or later |
| CPU | Apple Silicon, Intel 64-bit |
| Download | 129 MB |
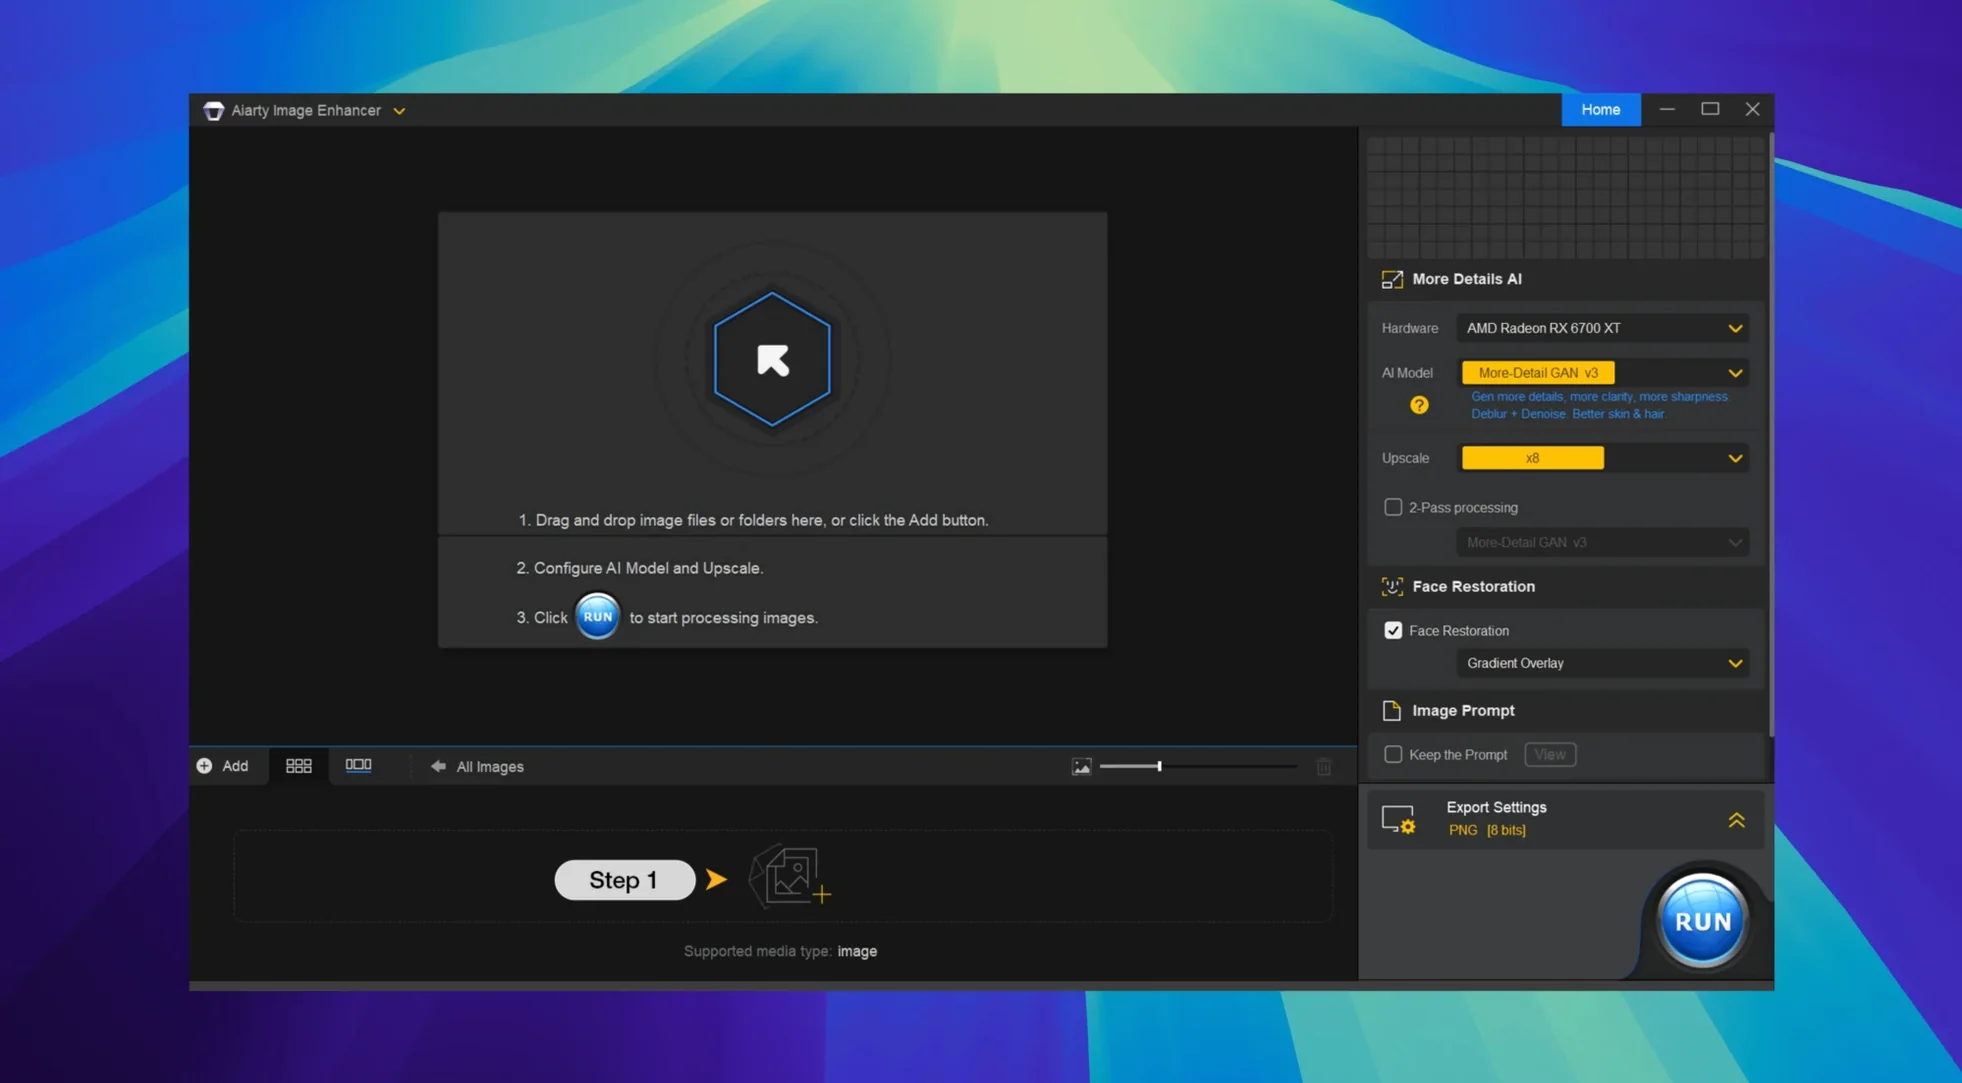
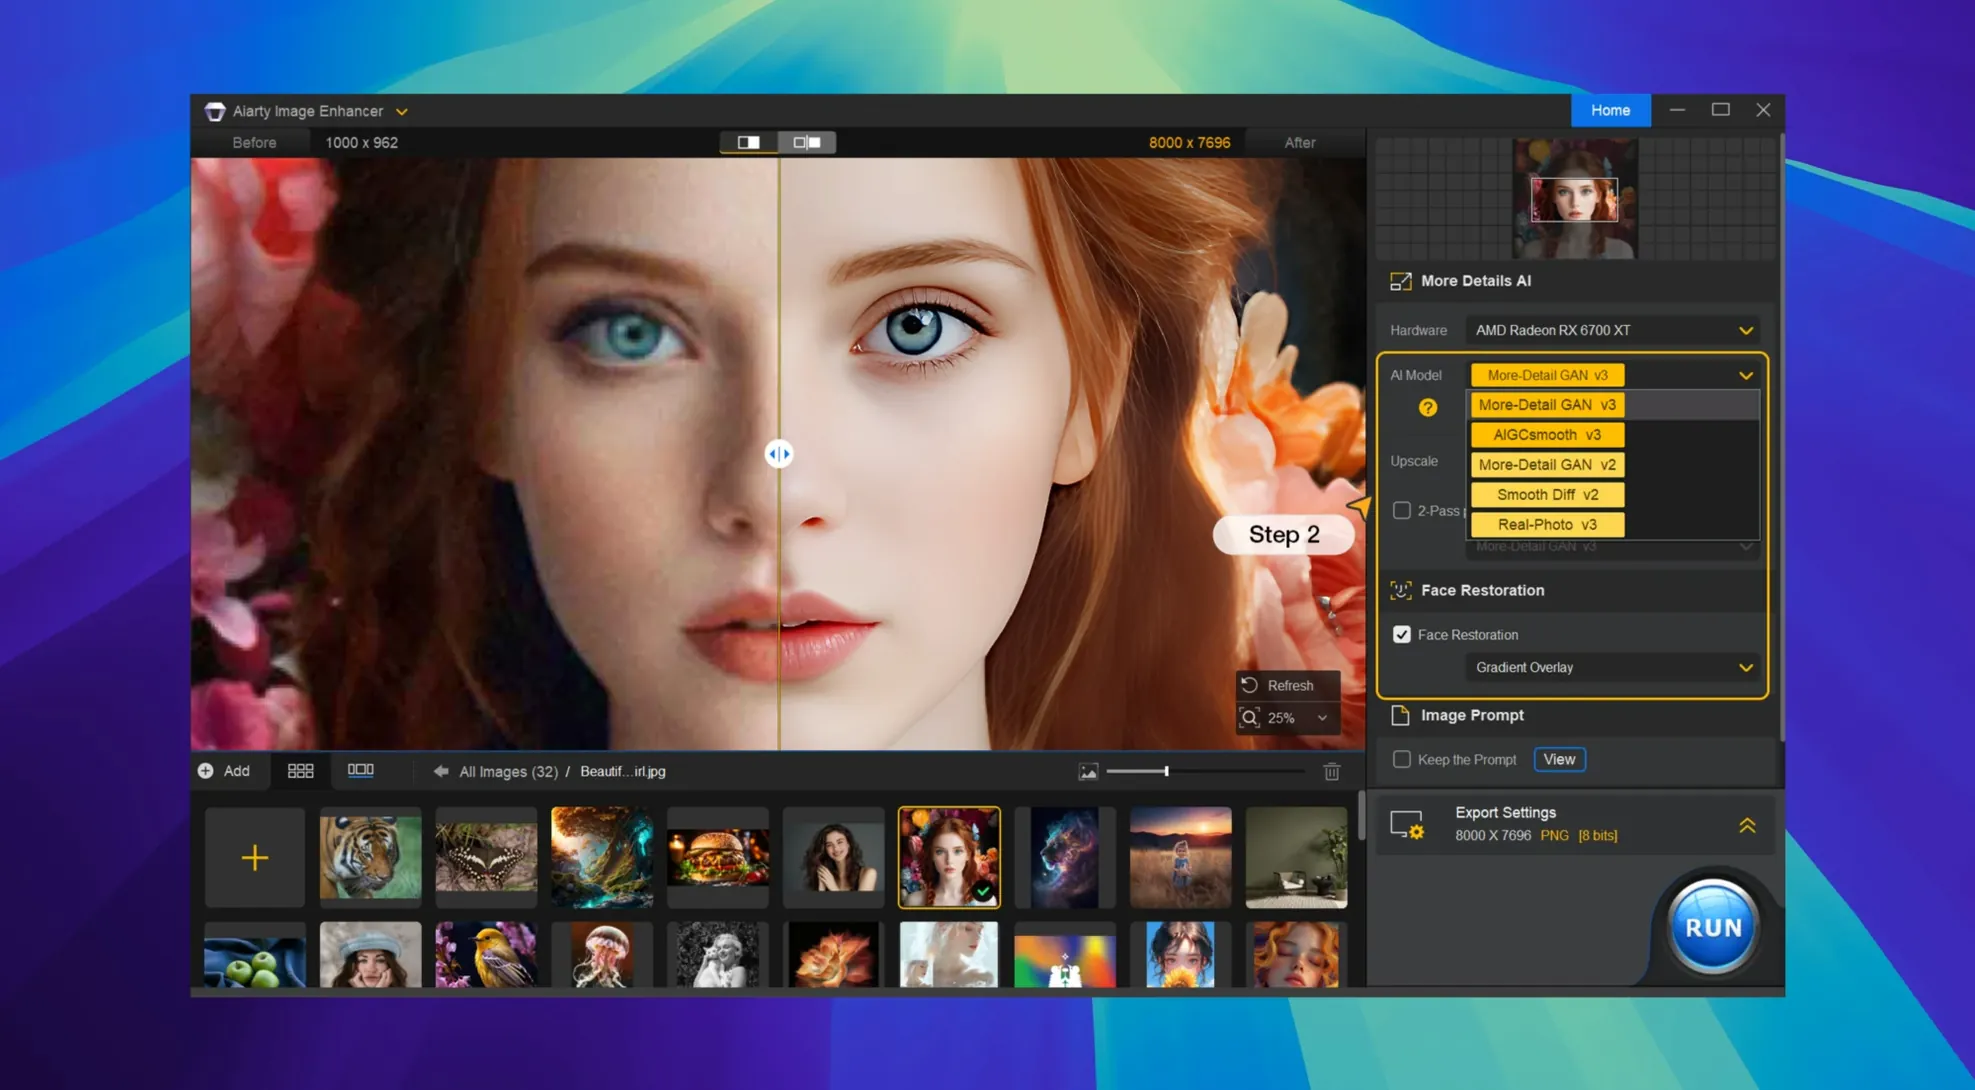
A batch of old scans from a 35mm compact — camera grain, scanner noise, soft corners where the lens fell off. The files are too small for a decent print. Aiarty Image Enhancer 3.14 reads the folder of JPEGs and TIFFs without complaint, and the first frame opens with a split view: original on the left, processing preview on the right. The default AI model pulls the luminance noise out of a sky while holding the texture in a brick wall behind the subject. A second pass at 4× upscale sharpens eyelashes and the knit pattern of a jumper — details the original scan had buried in grain.
Upscaling to 32K and restoring lost fabric weaves
- Upscaling low-resolution or heavily compressed photos to 32K output.
- Removing luminance and colour noise from high-ISO digital shots and scanned film.
- Rebuilding fine textures — skin pores, hair strands, fabric weaves — that compression or soft optics erased.
- Processing RAW files alongside common bitmap formats: JPEG, PNG, TIFF, WebP, BMP, and AVIF.
- Correcting motion blur and slight focus misses with the deblur model.
macOS 11+ requirement and the 32K processing time climb
- The app needs macOS 11 or later and runs natively on Apple Silicon and Intel Macs.
- Interface languages cover English, German, Traditional Chinese, Simplified Chinese, and Japanese.
- 32K output is available, though processing time scales steeply with resolution and model complexity.
M1 Max benchmark: 6-second denoise vs. 45-second generative 4× upscale
On an M1 Max with 32 GB of RAM, a 24-megapixel JPEG through the default denoise-and-sharpen model finishes in 6–8 seconds. The same file pushed to 4× upscale with the generative detail model takes closer to 45 seconds. Activity Monitor shows the app saturating the GPU for the entire processing window — Neural Engine utilisation hovers around 60%, and RAM pressure stays low. The app does not hammer the SSD with swap, which matters when you queue 80 frames from a wedding shoot.
Stability across a four-hour session with mixed RAW and TIFF files is solid. No crashes on the M1 Max machine, and only one freeze on an older Intel iMac — recovered by force-quitting and reopening, with the queue intact. The app does not auto-save the queue to disk between sessions, so closing the window mid-batch means losing the list. A small irritation rather than a workflow killer.
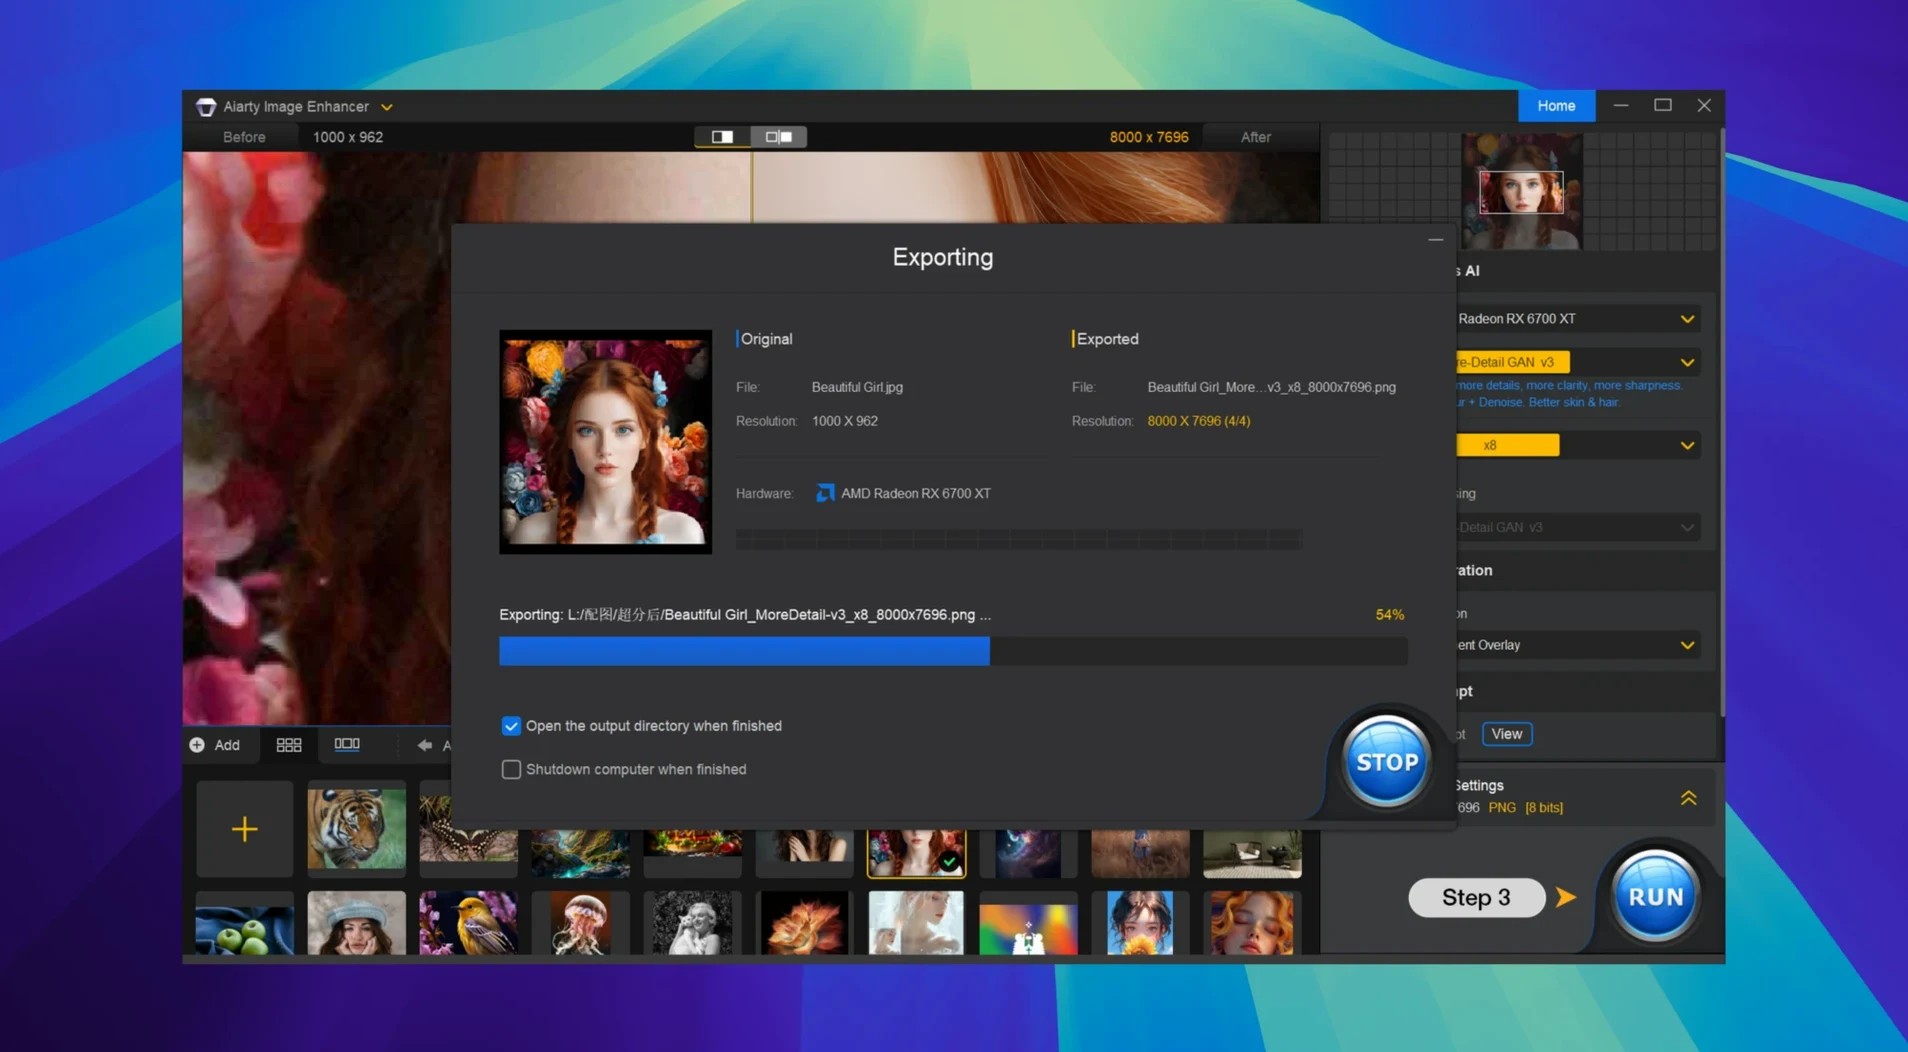
Background processing behaviour is sensible. Aiarty Image Enhancer throttles back when another GPU-heavy app — DaVinci Resolve, for instance — is rendering simultaneously. You can set the number of parallel processes in preferences; default is 2, and dropping it to 1 keeps the machine responsive for email and browsing while the batch churns. Exporting 50 frames at 2× upscale to PNG takes roughly 22 minutes on the M1 Max, with the fans audible but not intrusive.
Sharpening the soft back of a ring at f/11 and ISO 800
Someone shooting jewellery for an online store works with a 20-megapixel APS-C body and a macro lens. Depth of field at f/11 still leaves the back of a ring soft, and the ISO 800 needed for decent shutter speed in a light tent introduces faint chroma noise in the shadows. The final images need to be at least 4000 px on the long edge for the store’s zoom feature.
In Lightroom Classic, the photographer sends a selection of TIFF exports to Aiarty Image Enhancer via the plugin. The deblur model tightens the soft metal edges without adding halos — a common artefact with unsharp mask sharpening. The denoiser pulls the colour speckles from the shadow areas inside the ring band while preserving the subtle brushed-metal grain. A 1.5× upscale to hit the 4000 px target runs in under 15 seconds per frame. The photographer checks the split-view preview at 100% on three frames to confirm settings, then runs the batch. Twenty minutes later, the whole set is ready for the web team — no manual retouching needed for noise or sharpness.
Workflow: restoring a scanned family print
Start with a flatbed scan of a faded 6×4-inch print — 600 dpi, saved as TIFF, roughly 14 megapixels. The paper texture is visible, and a crease runs across the top-right corner where the print was folded. Open the file in Aiarty Image Enhancer.
- Choose the Restore model from the AI model dropdown. This model targets compression artefacts, paper texture, and mild physical damage without over-smoothing facial features.
- Set Output Scale to 1× — the resolution is already sufficient for an A4 reprint, and the goal here is quality repair, not enlargement.
- Drag the split-view slider across the crease area. The preview shows the model filling the fold line with plausible texture sampled from the surrounding paper and fabric. If the result looks waxy, drop the AI Strength slider from the default 80 to 65—70.
- Enable Face Refinement — this tells the model to treat detected facial regions with a lighter touch, preserving pores and eyelash detail that a global restore might flatten.
- Check the EXIF metadata panel. The scan has no camera data, but Aiarty preserves the TIFF colour profile and resolution tags. The original sRGB profile stays embedded — important if the file goes to a print lab that rejects untagged images.
- Export as TIFF, 16-bit, no compression. The output file is roughly 80 MB, clean of paper texture and crease artefacts, with skin tones intact and fabric detail in clothing that looks natural at 100% magnification.
The whole process from opening the scan to export takes under two minutes. For a batch of 30 prints from the same album, save the settings as a preset and apply across the folder — Aiarty processes them sequentially, and the consistent output means no frame-by-frame tweaking.
Switching output from JPEG 90% to 16-bit TIFF
The default configuration works for a general "improve this photo" task, but three adjustments make a noticeable difference for specific workloads.
Output format and bit depth. The app defaults to JPEG at 90% quality. Switch this to TIFF, 16-bit if the output goes into Lightroom or Photoshop for further editing — 8-bit JPEGs posterise quickly when you push shadows or apply heavy colour grading. For web-only delivery, PNG preserves text and line-art sharpness better than JPEG at the same file size.
AI model selection per image type. The auto mode picks a model based on image analysis, and it is right about 80% of the time. For high-ISO digital shots, manually selecting the Denoise model yields cleaner shadows than the default balanced model. For scanned film, the Restore model handles grain structure better — the denoiser sometimes mistakes tight film grain for noise and smears fine detail.
Parallel processing count. Found under Preferences > Performance. The default 2 works for most machines, but on an 8 GB MacBook Air the app can stall when the system runs out of unified memory. Setting this to 1 keeps exports slower but stable on lower-RAM machines. On a Mac Studio with 64 GB, bumping to 4 cuts batch time by roughly 35% without affecting other apps.
GPU preference. On Intel Macs with a discrete GPU, the app defaults to the integrated graphics for lower power draw. Forcing the discrete GPU in Preferences cuts processing time by half on a 2019 16-inch MacBook Pro — worth the fan noise during a long batch. Apple Silicon machines handle this automatically, and the setting has no effect there.
- macOS 11 or later
- Apple Silicon or Intel processor
Questions on file
Which file formats does Aiarty Image Enhancer support on Mac?
It opens JPEG, PNG, TIFF, WebP, BMP, AVIF, and RAW files for enhancement and upscaling.
What image problems can Aiarty Image Enhancer fix?
It uses deep learning models to denoise, deblur, restore lost detail, and upscale images — from sharpening facial features to cleaning up compressed or grainy photos.
Sign in · Create an account to add a field note.
No field notes yet. A measurement, a version, a machine — they appear after moderation.