Photo
Clip Studio Paint 4.1.4
PhotoUpdated
| Requirement | On file |
|---|---|
| macOS | macOS 14 or later |
| CPU | Apple Silicon, Intel 64-bit |
| Download | 403 MB |
If you have used Manga Studio 4 EX or Debut, Clip Studio Paint is the direct successor that imports those files. It brings the same focus on line art and panel layouts but extends it into general illustration and frame-by-frame animation. The current version 4.1.4 runs on macOS 14 and later, on both Intel and Apple Silicon Macs.
OpenGL 3.3 GPU and 8 GB memory baseline
You need at least 2 GB of memory, though 8 GB or more is recommended. A GPU compatible with OpenGL 3.3 is required, and a pen tablet with pressure sensitivity is supported for natural brush strokes. Some functions need an internet connection. The interface ships in seven languages, including English, Japanese, and the newly added Simplified Chinese.
Scale vector line art and pose 3D figures on one canvas
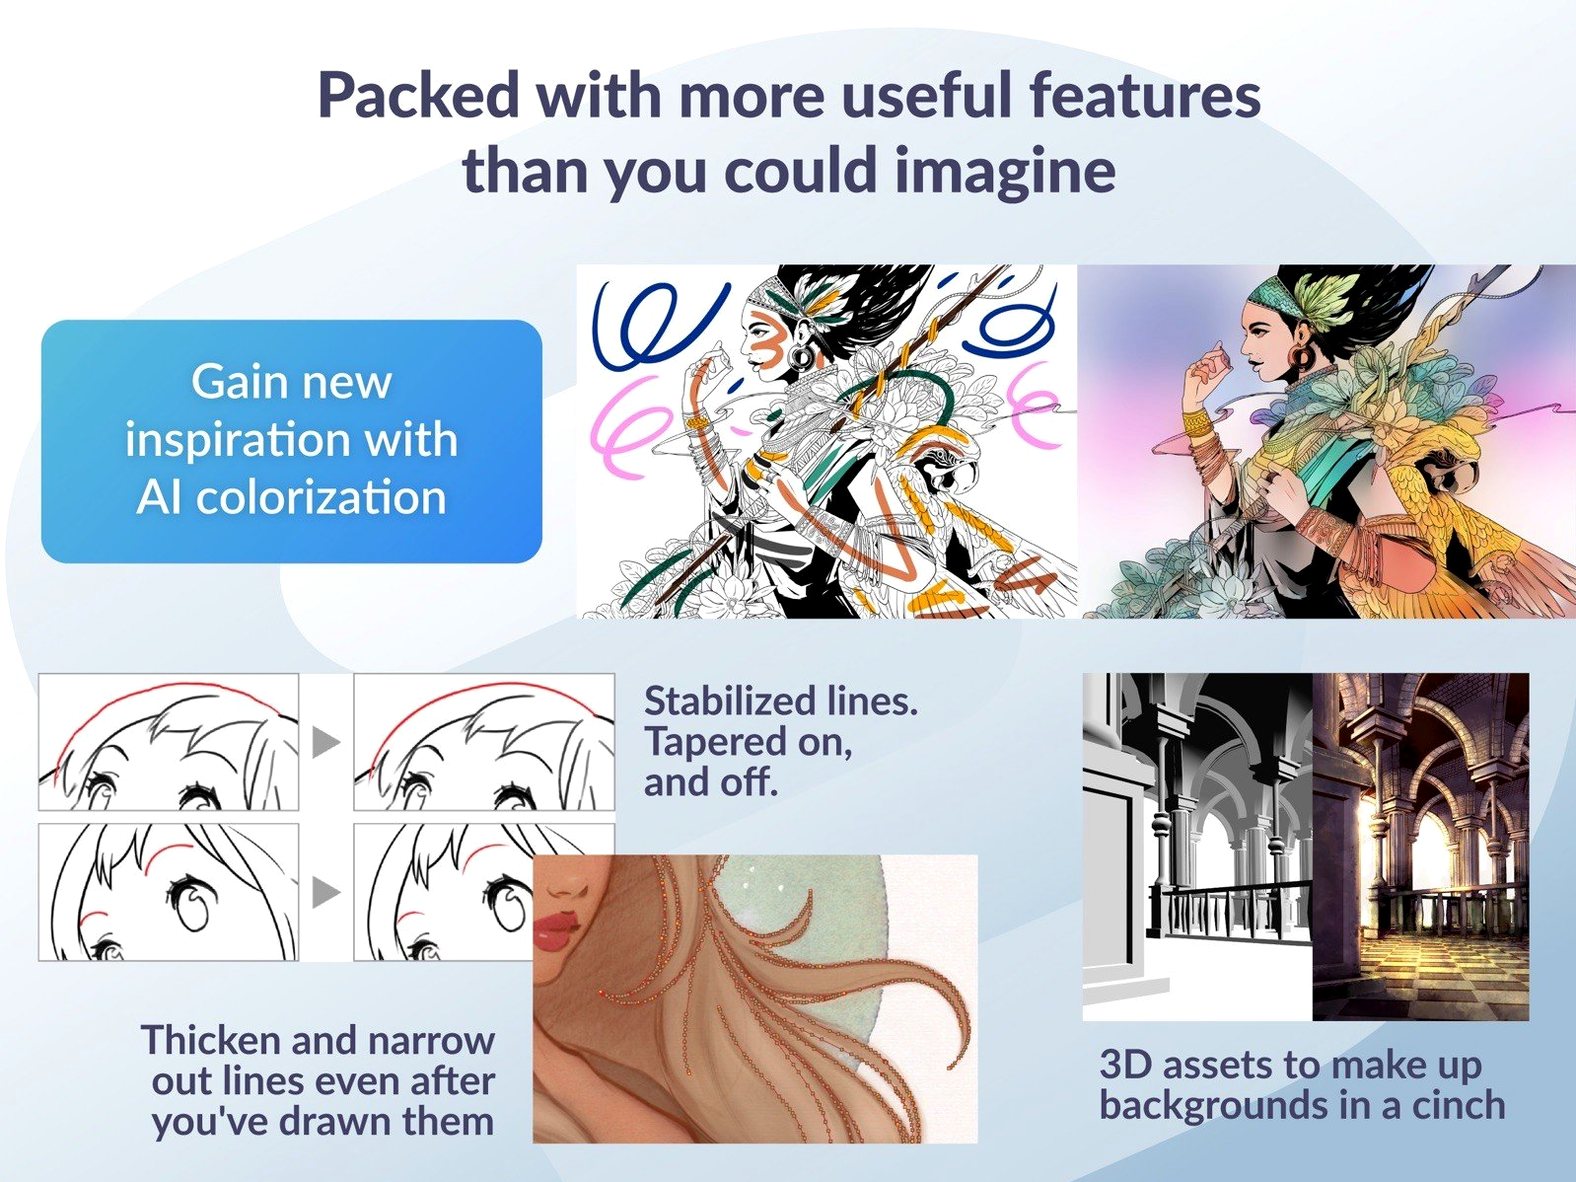
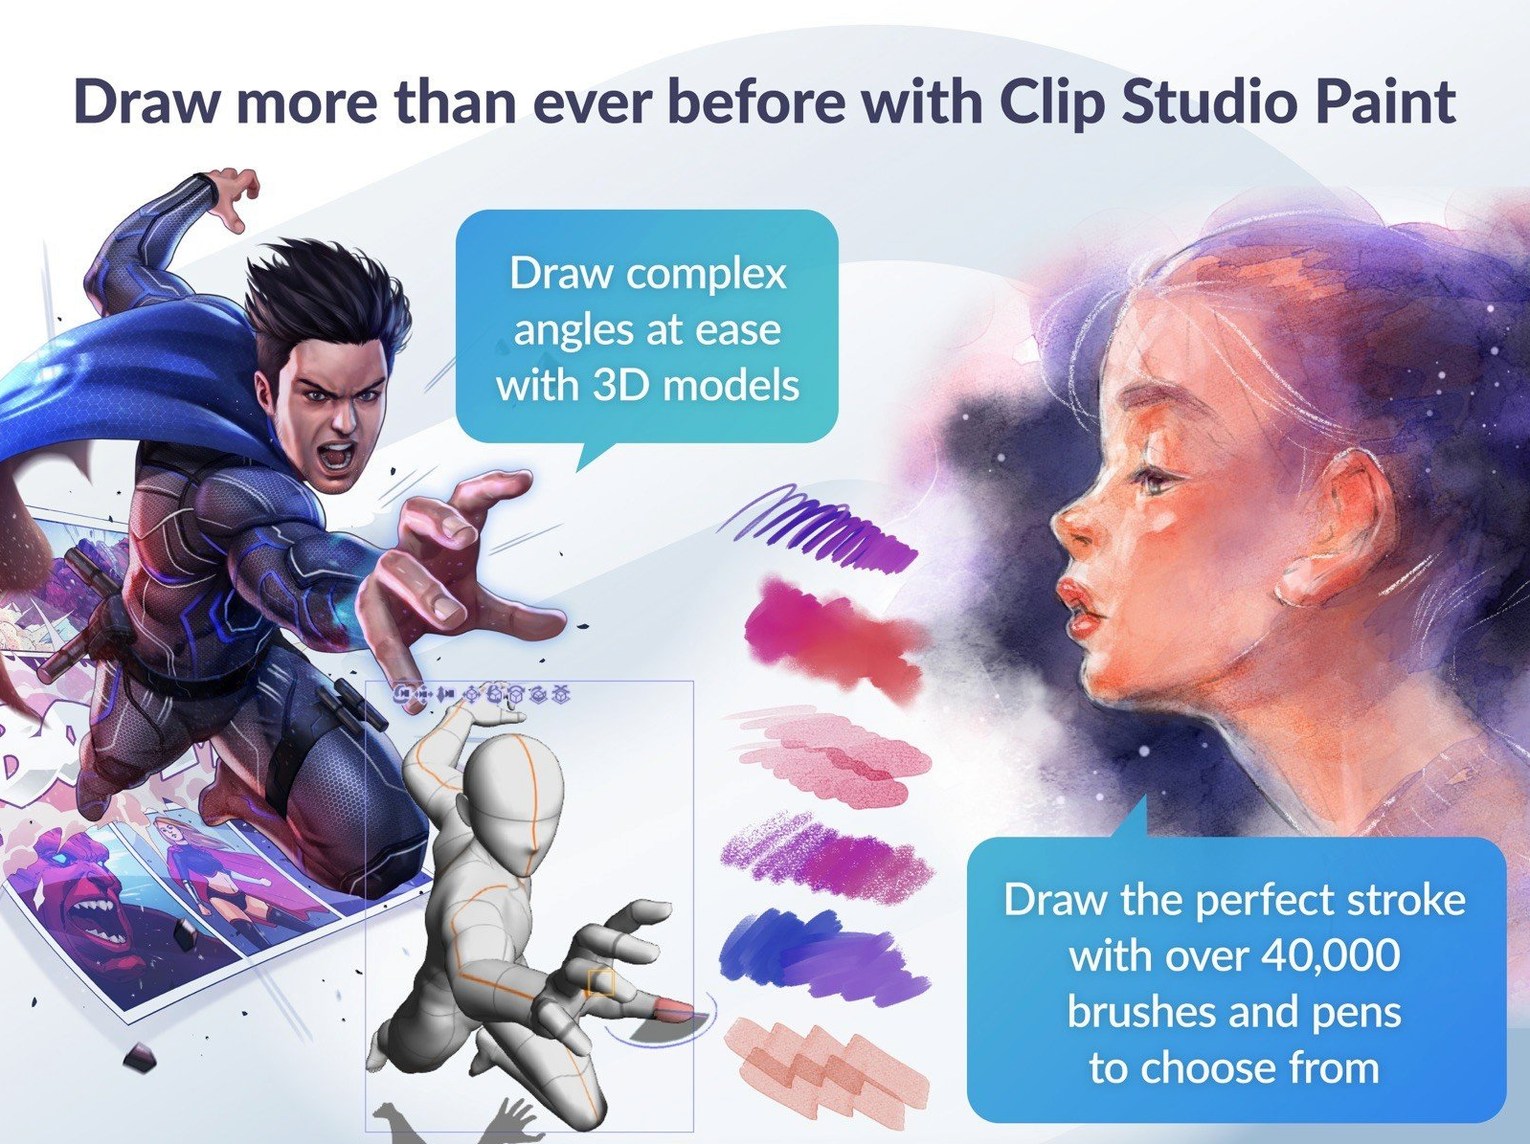
The tool handles a broad range of tasks from a single canvas. Vector layers let you scale line art without loss, onion skin display supports animation timing, and 3D figure imports help with pose reference. For file exchange, layered PSD import and export works in both directions. Finished animations can be exported as sequential image series, GIFs, or movie files. The 4.1.4 update smoothed out a few rough edges on macOS 15: PSD files of certain sizes now appear correctly in Finder, .clip file previews work with Quick Look, and a force-close bug tied to the Running color mixing mode was fixed.
Native M-series binary, no Rosetta toggle needed
The first question is almost always about Apple Silicon. Clip Studio Paint runs natively on M-series chips, not through Rosetta, so the installer places the correct binary for your Mac. No separate download, no toggle to flip.
People also ask whether the EX and PRO versions share the same installer. They do. You choose on first launch, and if you switch later, you pick the other mode from the same installed application. The feature set changes, not the binary.
A less obvious concern: what happens to custom brushes and materials during an update. The 4.1.4 installer does not touch the user library folder where materials live. Brushes, workspaces, and downloaded assets stay in place. CELSYS stores them separately from the application bundle, so an in-place update preserves them. If you are moving from a much older version, the first launch rebuilds the material database, which can take a minute or two with a large collection. That is normal.
Some artists worry about tablet drivers. Wacom, XP-Pen, Huion, and iPad via Sidecar all work, but the pressure curve and tilt response depend on the tablet driver, not Clip Studio Paint itself. If strokes feel laggy on an M-series Mac, the culprit is usually an outdated driver, not the application. Version 4.1.4 expects tablet events through macOS standard APIs, so any tablet that advertises pressure support in System Settings should pass data correctly.
Line art trapped on a raster layer with no recovery
The most common mistake is painting everything on a single raster layer and then discovering the line art cannot be separated from the colour. The vector layer type is the safety net here. Beginners who draw directly onto a vector layer can adjust line weight, erase up to intersections, and move control points later. The eraser has a vector mode that snaps to crossing lines — it feels like an undo for specific strokes rather than a destructive wipe.
Another early pitfall is ignoring the layer expression mode. A layer set to "Monochrome" cannot show anti-aliased edges, which surprises people who switch from a colour canvas. For clean screentone or comic export, monochrome is useful; for illustration, "Color" or "Gray" avoids the jagged, 1-bit look.
Animation newcomers often leave onion skin on while exporting a movie file, then wonder why the output shows ghosted frames. Onion skin is a canvas preview, not a render pass. The timeline exports only the active cel content, so the ghosted frames visible on-screen do not appear in the final GIF or movie unless you manually bake them onto a layer.
The 3D figure system trips people who expect it to behave like a posing tool in a 3D package. Dragging a material onto the canvas places it in a default pose. To pose it, you need the Object tool selected, not the Move tool. Version 4.1.4 changed the drag-and-drop behaviour when a 3D layer is selected outside a frame folder: the material now drops onto the selected layer rather than creating a new one, which catches returning users off guard.
Cold launch under four seconds on M2 with large canvases
On an M2 MacBook Air with 16 GB of memory, the application launches cold in under four seconds. Canvas rotation and zoom feel fluid at canvas sizes up to 6000 by 4000 pixels with a dozen layers. Brushes with heavy texture, like the oil paint flat brush at 200 pixels, can introduce a half-second lag on the first stroke after switching tools; after that initial load, subsequent strokes are immediate.
Memory pressure stays moderate for most workflows. A 20-layer illustration at A3 300 dpi with a couple of 3D figure references sits around 1.8 to 2.4 GB of RAM. The animation timeline adds overhead — a 48-frame sequence with eight layers pushes usage closer to 4 GB, which is still within the recommended 8 GB ceiling. The application releases memory when you close a canvas, a detail that matters on 8 GB machines where every megabyte counts.
Stability on 4.1.4 is an improvement over the previous dot release. The fixed force-close bug that triggered with Running color mixing mode was a genuine workflow breaker for painters who blend on-canvas. The fix is confirmed in the changelog, and in practice the color mixing panel now stays predictable. Quick Filters and Quick Effects no longer leave edge artifacts in the preview, so what you see on the canvas matches the flattened result. One remaining quirk: switching between many large .clip files in quick succession can cause a three- to five-second beachball while the thumbnail cache rebuilds, even on fast SSDs.
Bind Tab to hide every palette for a clean sketch view
On day one, assign the Tab key to toggle all palettes. The default workspace crowds the canvas, and hiding the interface for sketching, then bringing it back for colour work, becomes second nature quickly. You find this under Shortcut Settings in the File menu.
Spend fifteen minutes with the Sub View palette. Drag a folder of reference images into it, and you can sample colours directly from any image without opening it as a layer. Illustrators who work from photo refs save hours this way over the first week.
Set your auto-save interval to five minutes in Preferences. The default is longer, and nothing stings more than losing an hour of line art to a macOS update reboot. The recovery file appears in the Clip Studio launcher, not inside the application, which is not obvious at first.
If you draw with a tablet, open the Tablet settings area and test the pressure curve with the built-in tester. The default curve suits light-handed sketchers; heavier hands benefit from a firmer curve that narrows the pressure range. Spend ten minutes adjusting it, then lock it in and forget it.
When you browse the assets library, download to a local folder rather than loading materials one at a time. The library can be sluggish over a slow connection, and batch downloading brushes, tones, and 3D figures in a quiet moment builds a toolkit that is available offline.
Multi-page chapter manager with panel and tone tools
Comic and manga artists working with panel layouts, speech bubbles, and screentones live in the tool's strongest territory. The EX version handles multi-page story files with a page manager that treats a chapter as a single project, not a folder of disconnected canvases. For anyone shipping a 32-page issue, that structure alone removes a layer of file management.
Illustrators who switch between vector line art and raster painting find the hybrid layer system hard to replace. A single canvas can hold vector ink lines above raster colour flats, with adjustments clipped between them. The PSD round-trip works well enough that collaboration with Photoshop users is practical, though text layers and certain adjustment layers simplify on export.
Animators doing short loops or hand-drawn GIFs benefit from the timeline and light table. The light table layers semi-transparent reference frames beneath the active cel, so in-betweening feels more like tracing with context than guessing. The export options cover the common web formats without a separate compositing step.
Casual sketchers who only need a dozen brushes and a clean canvas will find the interface heavy. The toolset rewards users who invest time in customising palettes, shortcuts, and materials. Those who want a lightweight sketchpad are better served elsewhere, but anyone building a long-term workflow around line control, panel-based storytelling, or frame-by-frame movement will grow into the feature set rather than out of it.
Display language — Simplified Chinese added.
macOS integration — Quick Look previewing of .clip files improved on macOS 15.
Stability — Fixed several macOS, animation, and export issues.
- macOS 14 or later (Intel and Apple Silicon)
- 2 GB memory minimum (8 GB or more recommended)
- OpenGL 3.3 compatible GPU
- Pen tablet with pressure sensitivity (optional, supported)
- Internet connection for some functions
Sign in · Create an account to add a field note.
No field notes yet. A measurement, a version, a machine — they appear after moderation.