Photo
Capture One 16.8.6.25
PhotoUpdated
| Requirement | On file |
|---|---|
| macOS | macOS 12 or later |
| CPU | Apple Silicon, Intel 64-bit |
| Download | 1.2 GB |
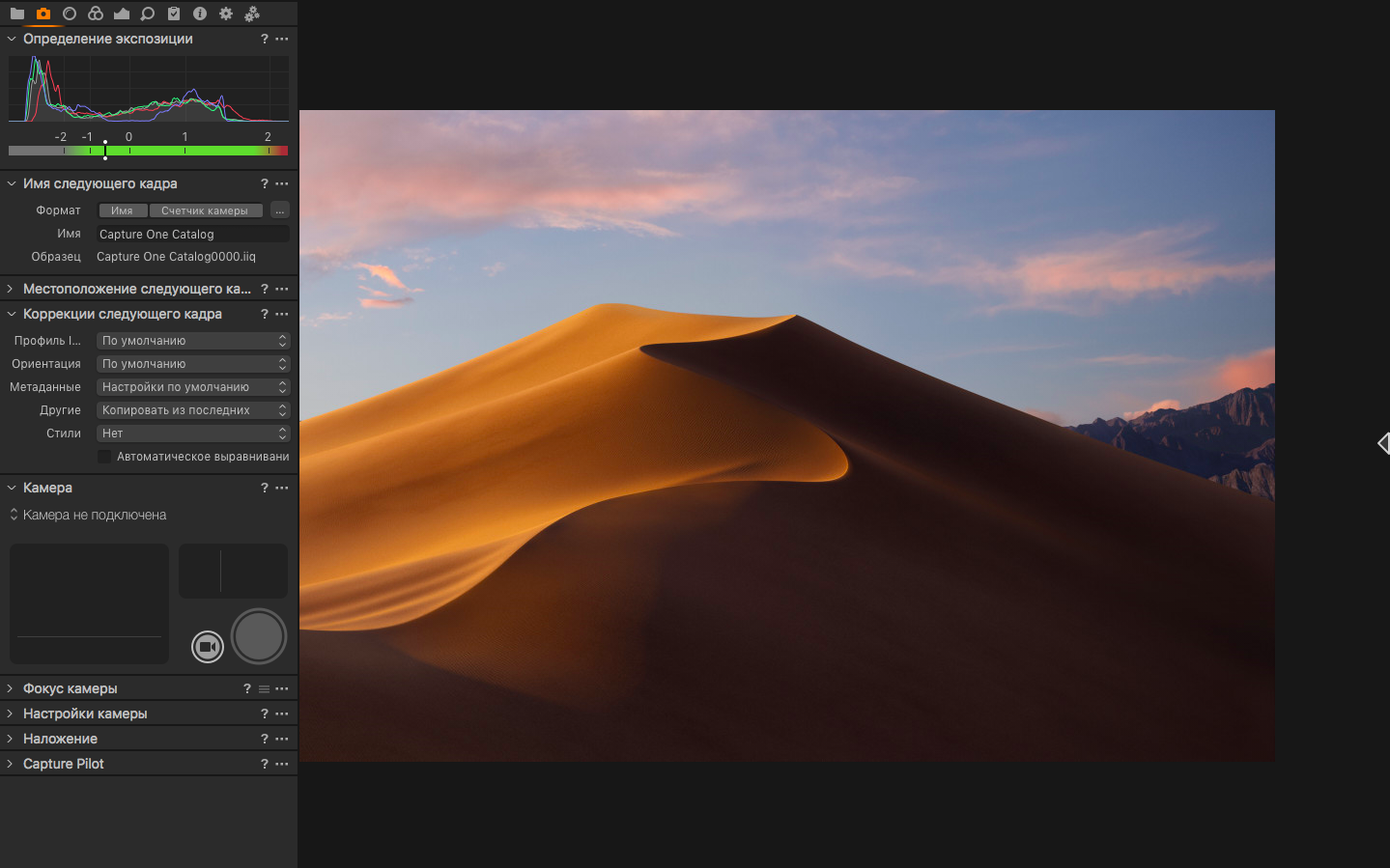
A camera sensor records data; a monitor displays photons. The space between is where a photograph either holds its colour or loses it. Capture One exists for that translation step—turning raw sensor data into a finished image with controlled colour, detail and, when the shoot demands it, a cabled feed straight from the camera.
macOS 12+ and a single Apple‑Silicon‑native binary
- macOS 12 (Monterey) or later
- Apple Silicon or Intel 64‑bit processor
The 16.8 build runs natively on both architectures. No separate installer is needed; the same binary covers M-series and Intel Macs.
Layer‑based RAW engine with colour‑temperature sliders
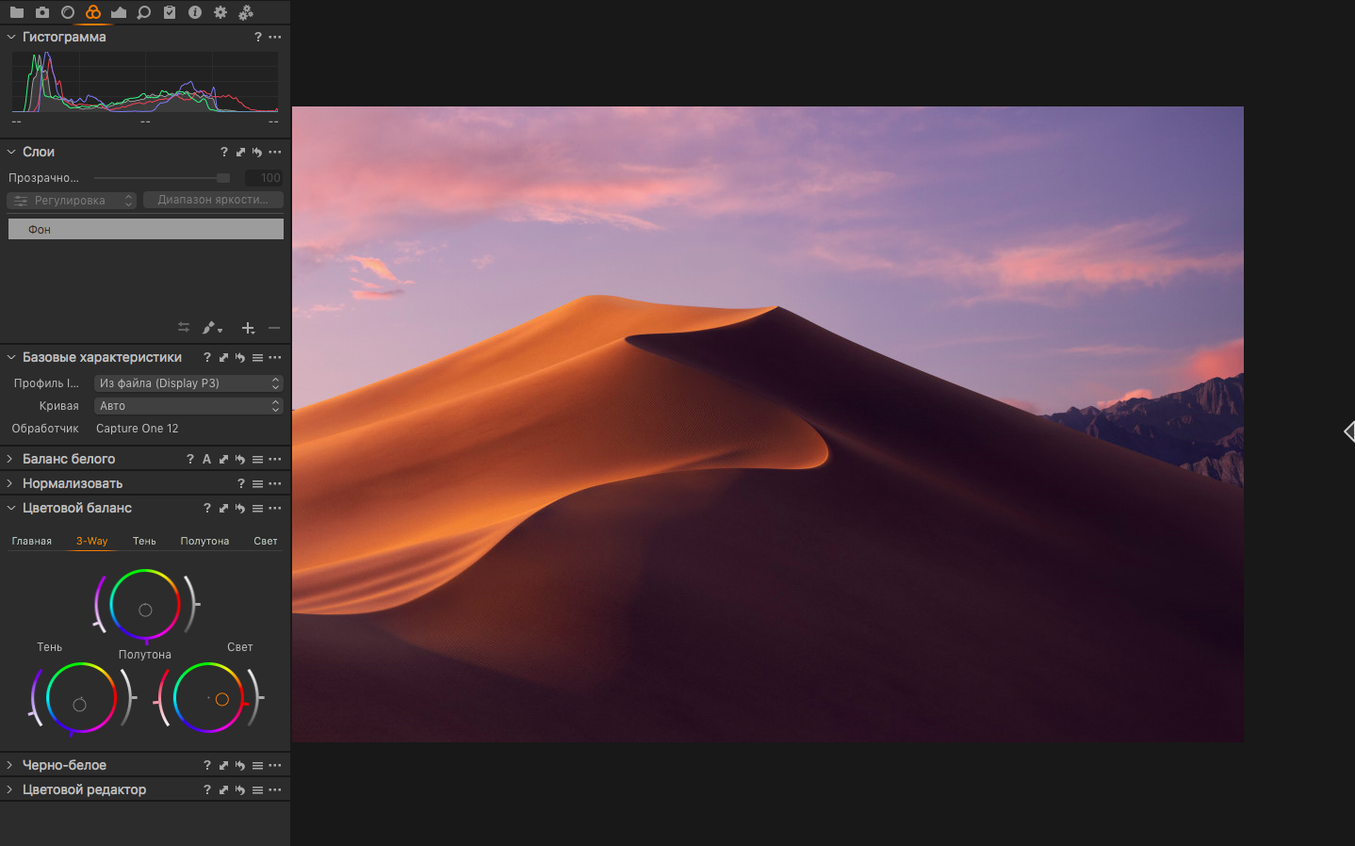
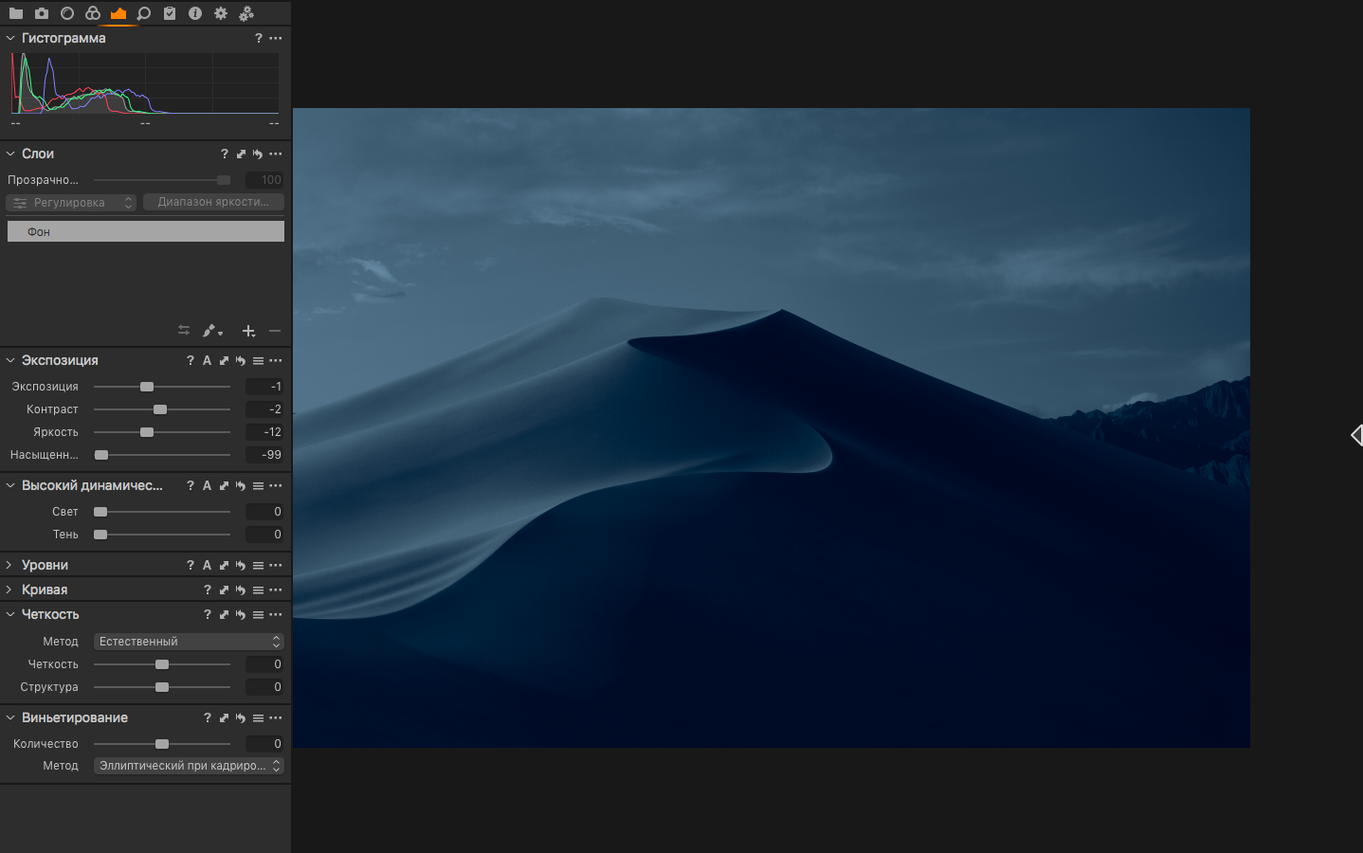
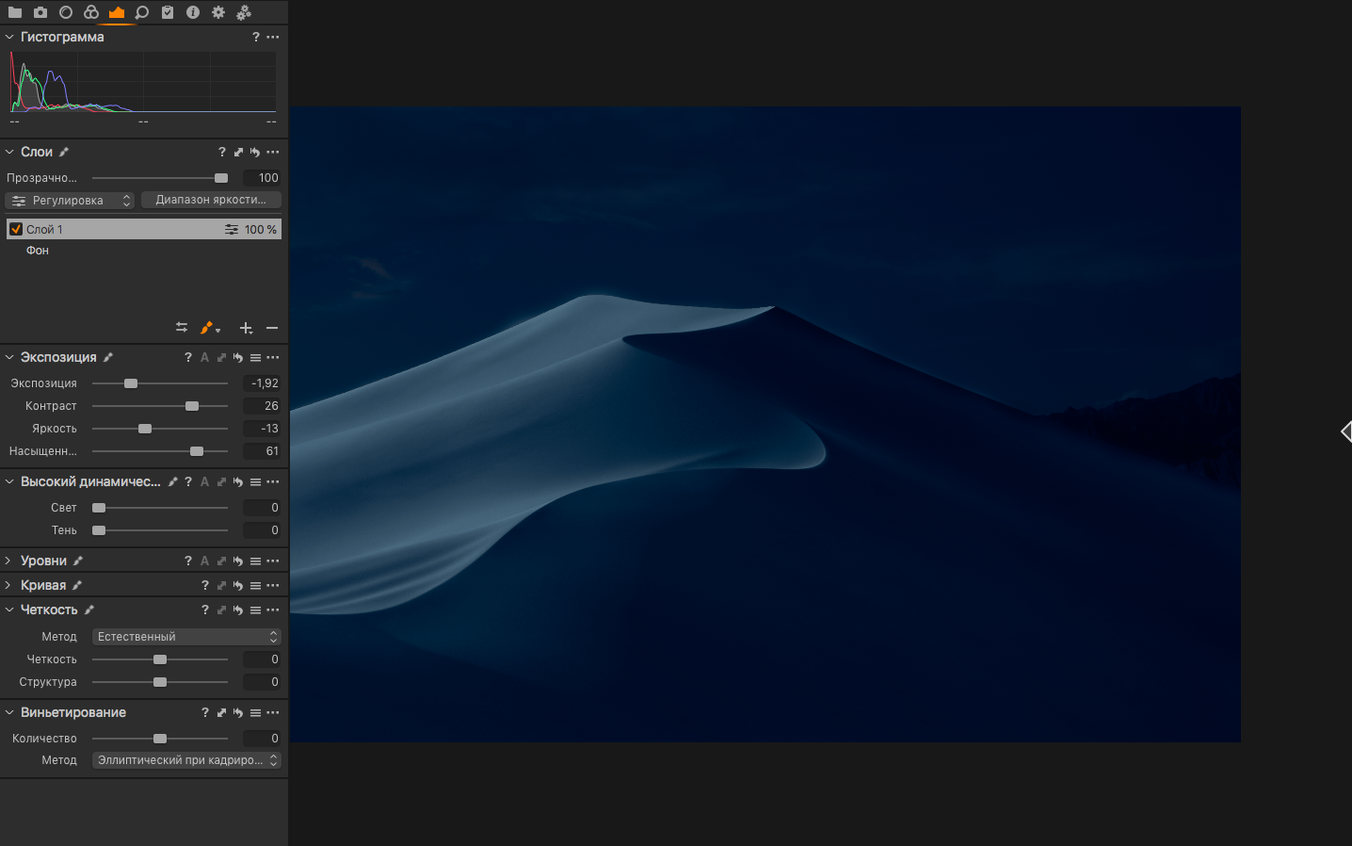
At its core, Capture One is a RAW converter with a layer-based editing engine. White balance is handled through colour temperature and tint sliders rather than presets alone. Colour noise reduction tackles chroma artefacts while leaving luminance grain intact. You can spin off multiple correction variants from a single raw file—useful when a client needs both a neutral product shot and a high-contrast version from the same frame.
Batch and single-image export cover full-size TIFF (RGB or CMYK) and JPEG. Tethering support spans over 500 camera models, with wireless improvements landing in 16.8 alongside enhanced denoise, assisted review and new contact sheet layouts. The interface ships in Russian, English, German, Spanish, Italian, Simplified Chinese, Korean, Portuguese, Ukrainian, French and Japanese.
Overlooking the Base Characteristics default curve
New users often treat Capture One like a Lightroom clone and trip over the same half-dozen things. The most common one: ignoring the Base Characteristics panel. Every raw file lands in the editor with a default curve applied, and that curve depends on which ICC profile is selected. If the profile says "Auto" and the image looks flat, the fix is not more contrast—it is picking the right camera profile first. Phase One ships custom profiles for most supported bodies.
Another trap is the Process Recipe system. A beginner adjusts export dimensions in the recipe, then wonders why the output looks soft. The recipe's sharpening settings override what is set in the viewer. Two people can export the same variant and get different results because their recipes differ. The fix: check the recipe's Adjustments tab before blaming the editor.
White balance eyedropper misuse is also worth flagging. Clicking on a surface that looks grey on screen does not guarantee a neutral reading. A white wall with a slight colour cast, a grey card held in shadow, or a patch with JPEG compression artefacts all throw the measurement. The eyedropper needs a spectrally neutral target—14% grey card, not the model's shirt.
Over-layering is the last big one. Capture One lets you stack up to 16 adjustment layers. Beginners sometimes build five layers for exposure tweaks that could live on one. Each layer adds a slight processing cost during export, and diagnostic work gets harder when a tonal shift is scattered across three opacity-reduced layers. Start with one layer per problem, not one layer per slider.
Normalise tool for consistent exposure across a batch
Cursor tool switching
Pressing B for the brush and G for the gradient tool is obvious after a week. What most people miss is that holding Option while dragging with the brush temporarily switches to the eraser. No mode toggle, no toolbar click. You paint, you erase, you keep moving.
Copy adjustments with a clipboard trick
Copying adjustments between variants usually means using the Adjustment Clipboard. But you can also Command-drag an adjustment layer from the Layers panel onto another thumbnail in the browser. The layer lands intact, including its mask. Faster than opening the clipboard tool for a single transfer.
Normalise exposure across a batch
Select five images shot under the same strobe setup, open the Normalise tool, pick "Exposure" as the reference parameter, and click on one image. Capture One adjusts the others to match the exposure of the reference shot. A single click replaces manually matching histograms across a set.
Proof margin overlays
In the View menu, "Show Proof Margin" draws a soft-proof boundary around the image based on the selected output profile and paper size. It costs nothing to leave it on during editing, and it catches images that will get cropped by the printer before they reach the client.
Speed Edit keys
By default, holding Shift plus a number key temporarily assigns a function to the scroll wheel or arrow keys. Shift-1 gives you Exposure on the wheel; Shift-2 gives you Contrast. You do not need to open a panel or grab a slider—just hold the key and scroll. In the 16.8 builds, the feature also works with the Loupe and Viewer zoom, which is useful during tethered review when the screen is already full of tools.
Tethered‑first architecture versus catalogue‑centric rivals
Capture One vs Adobe Lightroom Classic
Lightroom Classic organises a library; Capture One organises a session. The session model keeps all files—raws, settings, output—inside a single folder hierarchy that can live on an external drive. Lightroom's catalogue approach suits people managing tens of thousands of images across years. In a studio where three people need to access today's shoot without importing, the session model wins.
Colour handling is the sharper divider. Capture One's colour editor works in a perceptually uniform colour space and lets you target hues with a precision that Lightroom's HSL panel does not match. Skin tone corrections that take two masked layers in Lightroom often take one colour-range selection in Capture One. The trade-off: Lightroom has better lens profile coverage for obscure glass, and its HDR merge is built-in rather than requiring a round-trip to another tool.
Capture One vs DxO PhotoLab
DxO PhotoLab leads with lens corrections and optical sharpening. Its profiles are measured per lens-body combination at multiple apertures and focal lengths, and the results show—edges stay crisp without halos in a way that generic sharpening cannot replicate. Capture One's sharpening is good but lens-agnostic.
Where Capture One pulls ahead is workflow speed for tethered shoots and colour grading. DxO has no tethering. Its colour wheel is functional but lacks the skintone uniformity tool and the colour balance wheel's luminance-linked behaviour. A photographer who shoots portraits straight to a MacBook will feel the absence of Live View tethering within the first hour. DxO suits the landscape shooter processing 40 frames from a hike; Capture One suits the commercial photographer delivering 400 selects by lunchtime.
Capture One vs RawTherapee
RawTherapee is open-source and runs on almost anything. Its demosaicing algorithms, particularly AMaZE and LMMSE, hold their own against commercial converters on fine detail. The feature list overlaps: floating-point processing, CIECAM02 colour appearance modelling, wavelet-based sharpening. What the list does not capture is interface speed and session logic. RawTherapee processes images one at a time by default; batch work requires queue setup. Tethering exists only via third-party scripts. Capture One's entire layout is built around a shoot-to-export pipeline that RawTherapee's interface resists.
The gap is not about raw image quality—it is about how many decisions you can make per minute when a client is standing behind you. Capture One reduces the clicks between capture and proof print; RawTherapee rewards slow, deliberate post-processing on a single frame.
Build one Process Recipe before editing your first image
- Set up one Process Recipe immediately. The default recipe uses JPEG at 100% quality with no output sharpening. Build a recipe for your most common output—full-resolution TIFF, sRGB JPEG at 80% with screen sharpening, whatever matches your delivery format. Name it clearly. Every export after that is two clicks instead of six.
- Calibrate the viewer background. Right-click the viewer background, choose a mid-grey rather than white or black. A 50% grey surround reduces eye fatigue and stops your pupils from adjusting contrast perception between images. The same menu sets the proof margin colour.
- Spend 15 minutes on keyboard shortcut customisation. Open Edit > Edit Keyboard Shortcuts and search for the five adjustments you use most. Assign them to keys you can reach without looking. The default set is sensible, but a personalised shortcut for "Add Filled Adjustment Layer" or "Toggle Mask Visibility" saves more time than any hardware upgrade.
- Create a default Session template. Set up a session with your preferred folder structure—Capture, Selects, Output, Trash—and save it as a template via File > Save as Template. New sessions inherit the structure. You never need to create folders manually again.
- Run the denoise on five high-ISO files early. The enhanced denoise engine in 16.8 is worth testing against your own camera's noise pattern before you need it on a deadline. Find your tolerance for the chroma and luminance sliders on your gear, not on a tutorial video shot on a different sensor.
- Check the OpenCL/Neural Engine setting. Under Capture One > Preferences > General, the hardware acceleration toggle makes a measurable difference on M-series Macs. On some configurations, the Neural Engine path is faster for denoise but slower for export. Test both with a batch of 20 images and note which one finishes first.
Studio tethered workflows with two‑second previews
Studio portrait and fashion photographers are the natural home. The tethering pipeline—camera to Mac, image on screen within two seconds, client review, tagged selects—is the core loop that Capture One was built around. No other raw converter handles a Phase One IQ4 back feeding 150-megapixel frames over a USB-C cable with the same reliability. For a photographer who shoots 800 frames in a morning and needs 12 selects proofed by lunch, the session model and assisted review tools cut out the organisational overhead that a catalogue-based editor adds.
Colour-critical product photographers benefit for a different reason. The colour editor's uniformity sliders and the skin tone tool matter less than the ability to output CMYK TIFFs with a known rendering intent straight from the raw file. When a product shot must match a Pantone swatch on a packaging proof, the round-trip through RGB in another converter introduces variables that Capture One's pipeline avoids.
Architectural and fine-art reproduction photographers get value from the keystone correction tools and the LCC (Lens Cast Calibration) workflow. LCC profiles correct for colour cast and falloff across the frame—common with wide-angle lenses on technical cameras—using a reference shot of a diffusion panel. Capture One applies the correction parametrically, not destructively, so the raw data stays intact underneath.
Users who would find Capture One overbuilt: casual raw shooters who edit 20 frames from a weekend trip, anyone who relies heavily on a catalogue-based DAM with facial recognition and map modules, and photographers who need extensive plug-in ecosystems for compositing or HDR merging. The software is a precision tool for a specific pipeline. It rewards users who need that pipeline and frustrates those who do not.
- Denoise — Enhanced engine added for cleaner high-ISO and long-exposure frames.
- Review — Assisted review introduced to speed up culling sessions.
- Contact sheets — New layout options for contact sheet generation.
- macOS 12 or later
- Apple Silicon or Intel 64‑bit processor
Questions on file
Does Capture One 16.8 run on Apple Silicon Macs?
Yes, version 16.8 runs natively on both Apple Silicon and Intel 64-bit Macs from a single installer.
What export formats does Capture One support?
It exports to full-size TIFF in RGB or CMYK and to JPEG, in both single-image and batch modes.
Sign in · Create an account to add a field note.
No field notes yet. A measurement, a version, a machine — they appear after moderation.