VST Plugins
WaveLab Pro 13.0.30
VST PluginsUpdated
| Requirement | On file |
|---|---|
| macOS | macOS 13 or later |
| CPU | Apple Silicon, Intel 64-bit |
Dolby Atmos master montages can now include channel-based surround files. That specific expansion of the Master Montage sits at the centre of version 13.0.30, and it points to where Steinberg is taking this mastering workstation. Before getting to the processing, the format and host support determine whether it fits a studio setup.
Which plug-in and file formats does it handle?
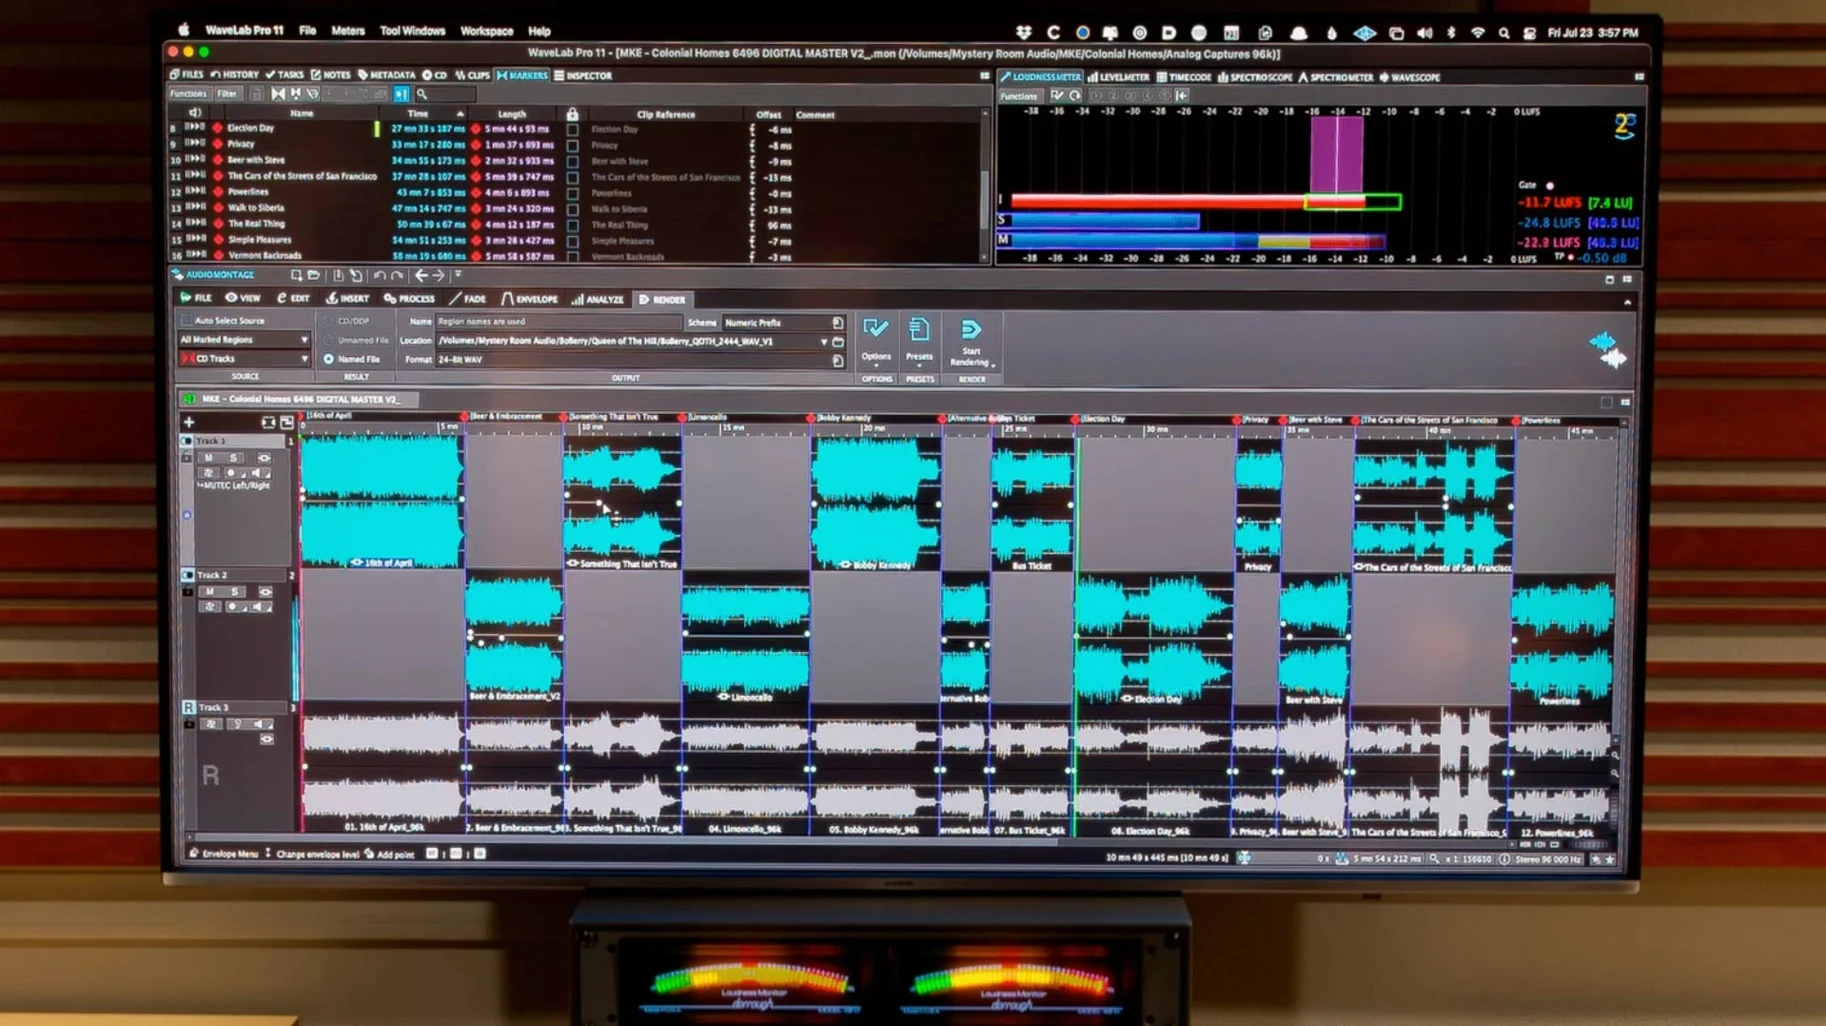
WaveLab Pro loads VST 3 plug-ins natively. Spectral editing works directly on the waveform, and the Master Montage handles channel-based surround files inside a Dolby Atmos project. Audio ranges transfer to other applications with or without effects applied, using either drag and drop or copy and paste across platforms.
What are the host and macOS requirements?
The software runs as a standalone mastering editor and also integrates inside Cubase 13, Nuendo 13, Reaper 7, and Studio One 6.5. The build supports Apple silicon and Intel 64-bit Macs, with a full installer listed for macOS 13, 14, and 15.
Which editing and restoration tools are included?
The spectral editing view allows surgical work on frequency content. Audio restoration tools are built in. A peak-scaling option automatically sizes waveform peaks to the visible area, which helps when working with quiet passages that would otherwise appear flat on screen.
Auto-scale peaks and silence default fade-ins
A fresh install of WaveLab Pro 13.0.30 arrives with defaults that favour a general-purpose starting point. Three adjustments make an immediate difference to daily work.
First, open Preferences > Audio Montage > Peak Display and enable auto-scale waveform peaks in the visible area. The option is mentioned in the feature list for good reason. Without it, quiet sections of a master montage look like a flat line until you manually zoom the amplitude scale. With it on, the waveform always fills the available height, so you can spot clicks and low-level anomalies without zooming vertically every few seconds.
Second, go to Preferences > Transport and set the post-roll to 0.5 seconds. The factory setting plays past the stop point long enough to lose your place in a dense montage. Half a second gives enough context without overshooting the region you are working on.
Third, if you use Cubase 13, Nuendo 13, Reaper 7, or Studio One 6.5 as your main DAW, check Preferences > ARA and confirm the plug-in bridge is active. The ARA connection is what lets you transfer audio ranges with or without effects between WaveLab and the host. When it is off, you lose the drag-and-drop and copy-paste cross-application workflow. Turning it on takes ten seconds; discovering it was off after an hour of trying to move clips back and forth takes longer.
Drag a stereo mix from a DAW into the Master Montage
Imagine a stereo mix file that needs final EQ, loudness normalisation, and a fade-out before export. The session starts outside WaveLab: the mix sits in a DAW timeline. You open the DAW, select the clip range, and drag it straight into the WaveLab Pro audio editor window. The ARA handshake transfers the audio, and the waveform appears sample-accurate on screen.
You switch to the spectral editing view with a single key command. A low-frequency hum is visible as a thin horizontal band around 50 Hz. You lasso the region, apply a gentle spectral attenuation of about 6 dB, and switch back to the waveform view. The hum is gone, and the fundamental of the bass guitar is untouched.
Next, you insert a linear-phase EQ in the Master Section, pull down 2 dB at 300 Hz, and add a high-shelf boost of 1.5 dB above 8 kHz. The peak display auto-scales as you work, so even the quiet tail of the reverb at the end of the track remains visible. You open the Master Montage, place the processed file on a track, and add a channel-based surround file alongside it — the stereo mix serves as the downmix reference while the surround file plays through the Dolby Atmos renderer.
You set a fade-out by dragging the fade handle on the montage clip, adjusting the curve shape with a right-click until the release feels natural. The loudness meter runs in the Control Window, showing integrated LUFS and true-peak values updated in real time. You export the montage as a 24-bit WAV file, and the entire session — from DAW drag-in to final export — takes under fifteen minutes.
Build a Default_Master.mon with four tracks
Spend the first thirty minutes building a template montage. Open a blank Master Montage, add three stereo tracks and one channel-based surround track, then save it as Default_Master.mon. Every future project starts from a known signal flow rather than an empty canvas.
Map the spectral editing toggle to a key you can hit without looking. The default shortcut is buried in a submenu. Assigning it to something like Shift+S means you jump between waveform and spectral views in a single keystroke, which turns spectral repair from a deliberate process into a reflex.
Test the auto-scale peak setting on a file with a wide dynamic range — a classical recording or a podcast with long silences works well. Watch how the waveform behaves when you zoom horizontally. If the peaks ever clip the display bounds, adjust the headroom margin in Preferences from the default 3 dB to 6 dB.
Drag a small audio snippet from your DAW into WaveLab Pro and back again, with and without effects, just to confirm the ARA bridge is working before a deadline forces you to troubleshoot. The copy-paste path across platforms uses the system clipboard, so test it with both drag-and-drop and Edit > Copy Audio Range to see which one your DAW prefers.
Skipping the Master Montage for the two-track editor
The most common mistake is treating WaveLab Pro like a two-track editor and ignoring the Master Montage entirely. The audio editor handles one file at a time. The montage handles multiple clips, crossfades, track-based effects, and now Dolby Atmos channel-based surround files. Anyone who does all their mastering in the single-file editor misses the entire sequencing and assembly layer.
Another early error is leaving the peak display at its static factory setting and then complaining the waveform looks flat. The auto-scale option exists specifically for this. People hunt through the View menu for a zoom command that does not exist, when the fix is a single checkbox in Preferences.
Beginners also drag audio out of WaveLab Pro back to the DAW without checking whether effects are rendered into the transferred clip. The ARA transfer setting has two modes: with effects and without effects. Sending a raw clip when the DAW expects the processed version — or the reverse — leads to confusion about why the mix suddenly sounds different. The transfer mode is set per operation, so checking it each time avoids the problem.
Finally, new users sometimes open spectral editing and start cutting frequencies without zooming the amplitude scale of the spectrogram. The default colour mapping can hide low-level noise. A quiet ground-loop hum might be 40 dB below the peak signal, invisible at the default dynamic range setting. Adjusting the spectrogram gain upward by 20 dB reveals noise that the waveform view never shows. For anyone working on audio restoration or forensic analysis — two use cases Steinberg explicitly mentions — missing quiet artefacts in the spectral view defeats the purpose of having it.
- Dolby Atmos master montages — can now include channel-based surround files.
- Dolby Atmos binaural monitoring — supports loading a personal HRTF profile.
- macOS 13 or later
- Apple silicon or Intel 64-bit processor
Questions on file
Does WaveLab Pro 13.0.30 support Dolby Atmos binaural monitoring?
Yes. The update lets you load a personal HRTF profile for binaural monitoring within Dolby Atmos projects.
Can I move audio between WaveLab and other DAWs?
Audio ranges can be transferred to other applications with or without effects, via drag and drop or copy and paste across platforms.
Sign in · Create an account to add a field note.
No field notes yet. A measurement, a version, a machine — they appear after moderation.