Mac Apps
CleanShot X 5.0.1
Mac AppsUpdated
| Requirement | On file |
|---|---|
| macOS | macOS 11 or later |
| CPU | Apple Silicon, Intel 64-bit |
| Download | 43 MB |
If you've ever used macOS's built-in screenshot tool (Cmd-Shift-4) and wished it did more, CleanShot X is that wish fulfilled. It replaces the basic system utility with a capture and recording toolkit that works on any Mac running macOS 11 (Big Sur) or later—both Intel and Apple Silicon models are supported natively.
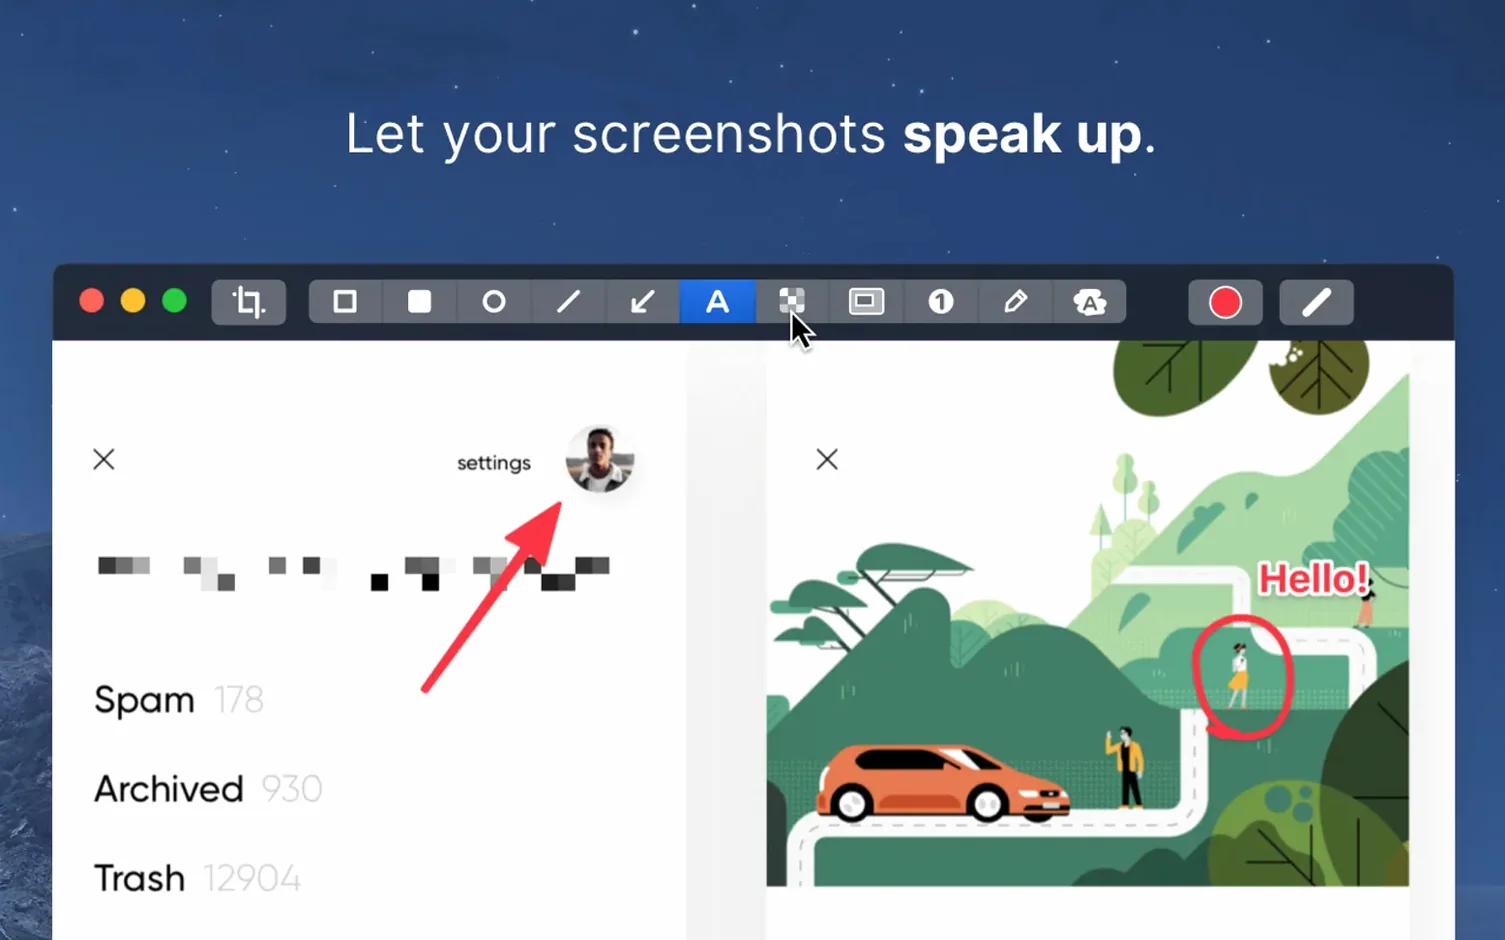
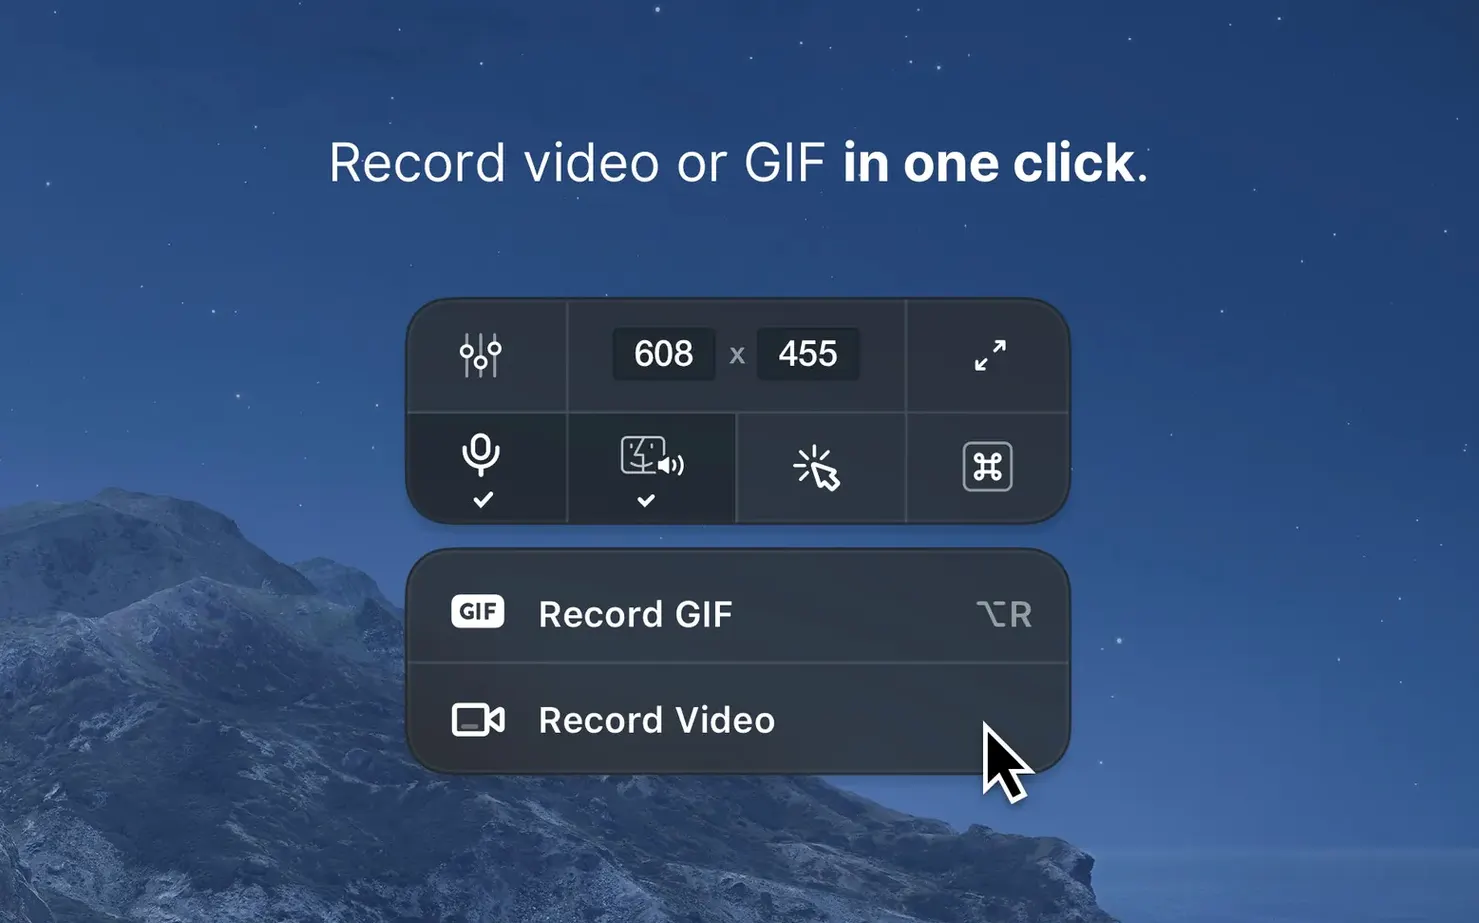
The workflow is a numbered sequence: first, you trigger a capture. Before the shutter fires, you can set a timer, hide desktop icons, or disable notifications to keep the frame clean. Second, you choose the output—a still screenshot, a video recording, or a GIF. You can also switch between Retina and standard resolution at this stage. Third, the app presents an annotation and editing overlay where you mark up the result. That's the core loop, and it all lives in one interface without bouncing between separate utilities.
When Cmd-Shift-4 Still Triggers the macOS Tool
CleanShot X replaces the macOS screenshot shortcuts, and that substitution is the source of most initial friction. If you press Cmd-Shift-4 and the system tool still appears instead of CleanShot X, check the app's Preferences → General tab. The toggle labelled "Override system shortcuts" must be on. On some Macs, macOS will also ask you to grant accessibility permissions again after an update—if the shortcuts stop working after a macOS point release, revisit System Settings → Privacy & Security → Accessibility and re-tick CleanShot X.
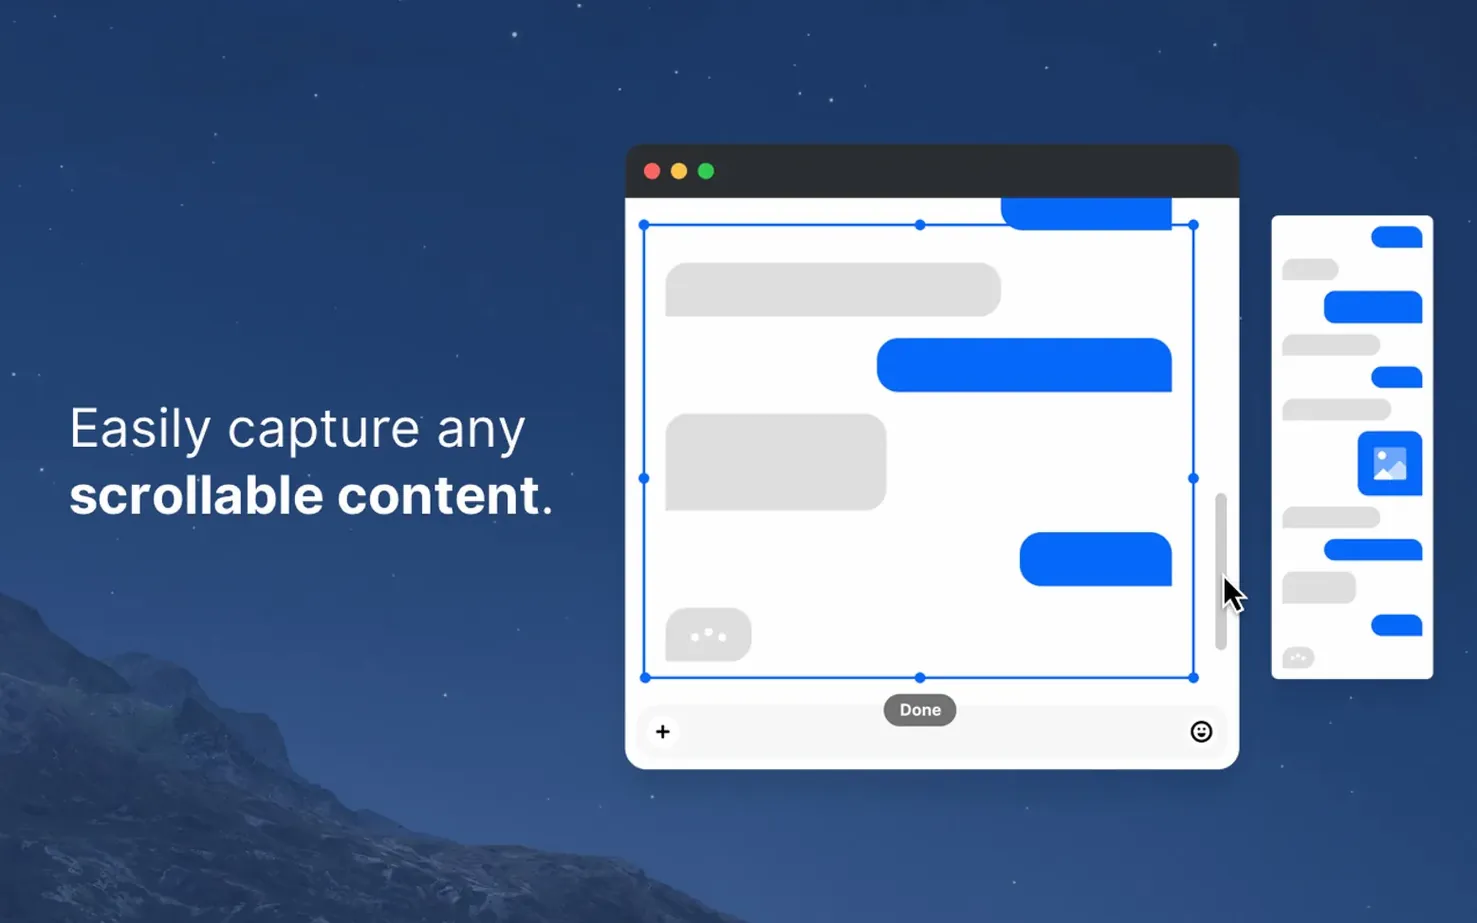
Another recurring issue: the scrolling capture refuses to detect a scrollable area. This often happens in apps that draw their own scroll views (Chrome is a frequent offender). The fix is to switch the capture mode from "Auto-detect scroll area" to "Manual scroll" in the capture overlay. You then click inside the window and scroll yourself while CleanShot X stitches the frames. It takes a couple of tries to get the rhythm right—steady, medium-speed scrolling works better than fast flicking.
Recordings that come out at the wrong resolution usually trace back to the Retina/standard toggle. If you're recording for a platform that expects 1080p and your Mac has a Retina display, switch the capture resolution to "Standard (1x)" before you start. Otherwise you get a 2x recording that looks oversized when uploaded. The toggle sits in the capture toolbar, right next to the timer button.
For users who find the annotation tools slow to respond on older Intel Macs running macOS 12 or 13: turning off "Animate annotations" in the editor preferences lightens the GPU load. The difference is noticeable on machines with integrated graphics from 2017–2019.
Ignoring the Post-Capture Overlay
The most common beginner mistake is treating CleanShot X like a simple screenshot app and ignoring the post-capture overlay entirely. New users often grab a screenshot, save it immediately, then open Preview or another editor to add arrows and text. The built-in editor opens automatically after every capture for a reason—it saves that second round-trip and keeps the original clean if you use the "Save as" option instead of overwriting.
Another pattern: beginners leave desktop icons on during video recordings, especially the "Selfie" overlay that shows a webcam feed. The app can hide desktop icons with a single checkbox in the capture toolbar, but many people don't notice it until they review a recording full of file clutter. The same applies to notification suppression—it's a separate toggle, not automatic, so it needs to be enabled each session if you want it.
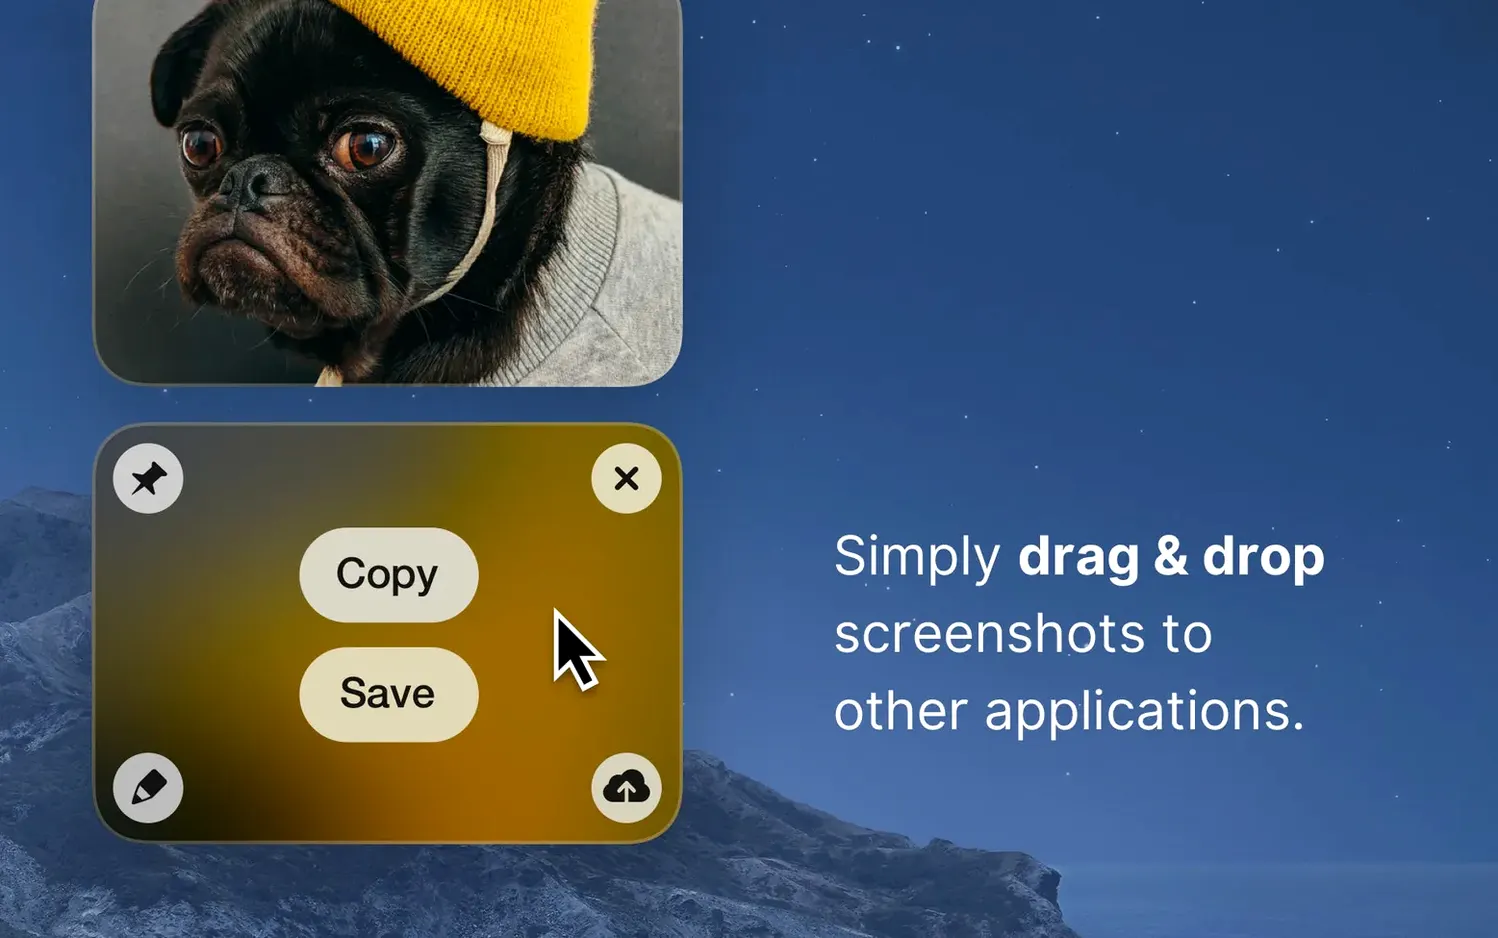
Misunderstanding the pin feature leads to confusion. Pinned screenshots float above all windows, but they also persist after a restart of the app unless you manually close them. Beginners sometimes accumulate a dozen pinned images without realising they're consuming memory. A quick way to clear them: right-click any pinned image and select "Close all floating screenshots."
Finally, some newcomers assume the GIF recorder captures system audio. It doesn't—GIF is a silent format by definition. If you need audio with motion, use the video recorder and export to MP4 instead. The GIF option is purely for short, silent demonstrations and loops.
Annotating a Layout Glitch for a Bug Report
Here's how a session flows when you're preparing a bug report with supporting visuals, using CleanShot X on a MacBook Pro.
9:14 AM. You notice a layout glitch in a web app. You press Cmd-Shift-5—your custom shortcut that triggers CleanShot X's full capture toolbar. The screen dims slightly and the crosshair appears. You drag a rectangle around the glitch, then pause. Before clicking "Capture," you tick the "Hide desktop icons" box in the toolbar because your desktop is a mess today.
9:15 AM. You click Capture. The editor opens instantly with the screenshot. You select the arrow tool, draw an arrow pointing at the broken element, then add a text annotation below it: "Padding missing on Safari 18.2." You change the text background to a high-contrast yellow so it stands out. You press Cmd-C to copy the annotated image to the clipboard, then Cmd-S to save a copy to your Desktop in PNG format.
9:17 AM. The bug also needs a screen recording to show the interaction that triggers it. You press Cmd-Shift-5 again, but this time you switch the capture mode to "Record Video" using the segmented control at the bottom of the toolbar. You select the browser window as the capture area. You enable "Do Not Disturb during recording" to block Slack notifications from popping into the frame. You click Record.
9:19 AM. You reproduce the bug in 45 seconds, then click the Stop button in the menu bar. CleanShot X opens the recording in its trimmer. You drag the start and end markers to cut a clean 30-second clip, then export as MP4. The file lands on your Desktop, 12 MB for a 30-second 1080p recording.
9:21 AM. You drag both files—the annotated PNG and the trimmed MP4—into your bug tracker and submit the report. The whole process used one app, no external editors, and produced files small enough to attach without compression.
Rebuilt Annotation Engine for 5K and 6K Screenshots
CleanShot X 5.0 landed on 1 September 2026 as a major update, and the differences from the 4.x line are practical rather than cosmetic. The annotation engine was rebuilt, which shows most clearly when working with large 5K or 6K Retina screenshots—text annotations and shapes now render without the half-second lag that was common on 4.x builds, especially on Macs with less than 16 GB of RAM.
The scrolling capture algorithm received a significant overhaul. Vertical scrolling captures that previously failed on dynamic-content pages (infinite scroll feeds, complex CSS layouts) now complete reliably. The manual scroll fallback is still available, but the auto-detect mode handles more edge cases than it did in 4.8.x.
For screen recordings, version 5.0 introduced a new encoder setting that lets you choose between quality and file size. The default is balanced, but you can now bias toward smaller files for quick sharing or higher quality for archive recordings. The difference is visible in the export dialogue—it's a simple slider, not buried in a preferences pane.
The 5.0.1 point release is a bug-fix update with no new features. The developer's changelog says it addresses "minor bug fixes and improvements," which in practice translates to resolved crashes on macOS 15 beta builds and a fix for the occasional black-frame-at-start issue in MP4 exports that some users reported in 5.0.0.
A Workflow: Creating Annotated Documentation Screenshots
Suppose you're writing documentation for a macOS app and you need 15 screenshots, all with consistent annotation styling—same arrow colour, same text font size, same highlight opacity. Here's how to produce that batch efficiently with CleanShot X.
Step 1: Set up the annotation defaults. Open CleanShot X's editor from the menu bar icon (no capture needed). Set the arrow colour to a specific hex value—say #E2554D for a muted red that matches the documentation brand. Set text annotations to 14pt SF Pro, white on a semi-transparent dark background. Set the highlighter to 30% opacity yellow. Close the editor. These settings persist across captures for the rest of your session.
Step 2: Configure capture settings. In Preferences, set the default save format to PNG, Retina resolution to "2x," and the file naming pattern to sequential numbering with a custom prefix like "docs-001." Enable "Copy to clipboard automatically" so you can paste directly into your documentation tool without opening Finder each time.
Step 3: Capture the first screen. Press Cmd-Shift-5, select "Capture Area," and draw your rectangle. The editor opens with your pre-configured annotation style ready. Add the required arrow and text label. Press Enter to save. The file saves as docs-001.png and lands on your clipboard.
Step 4: Repeat with a scroll capture. For a long settings panel that doesn't fit on screen, switch to "Scrolling Capture" mode. Select the window. CleanShot X scrolls through the full content and stitches a tall PNG. Open it in the editor, add annotations along the vertical axis, and save. The file naming increments automatically to docs-002.png.
Step 5: Record a short GIF for a procedural step. When a screenshot isn't enough to show a drag-and-drop interaction, switch to GIF recording. Select the area, record 6 seconds of dragging an item, stop, trim the ends in the trimmer, and export as GIF. The output is silent, under 3 MB, and loops automatically when embedded in documentation pages.
Step 6: Review the batch. Open the save folder in Finder, switch to gallery view, and scan through all 15 files. Any that need adjustment can be re-opened in CleanShot X's editor by double-clicking them—the annotations remain editable because the app embeds metadata in the PNG. Re-export any corrected files, and the documentation set is complete.
This batch approach eliminates the need to re-configure annotation tools between captures and keeps the visual style consistent across an entire documentation project without post-processing in a separate image editor.
- macOS 11 or later
- Intel or Apple Silicon Mac
Sign in · Create an account to add a field note.
No field notes yet. A measurement, a version, a machine — they appear after moderation.