Mac Apps
Exposure X7 7.3.0
Mac AppsUpdated
| Requirement | On file |
|---|---|
| macOS | macOS 10.13 or later |
| CPU | Apple Silicon, Intel 64-bit |
| Download | 551 MB |
A flat, underexposed raw file can hold an enormous amount of recoverable data, but dragging a single exposure slider often lifts the whole frame into a washed-out haze. The real problem is isolating the adjustment so shadows open up without burning the highlights you want to keep. Exposure X7 tackles that with a masking system built on colour and luminance data rather than just brush strokes.
Its 3D colour masking plots pixels on a cube where each axis represents a component of the image. Dragging a selection through that space grabs a specific tonal range—say, the deep greens in a forest canopy—and leaves the sky and skin tones untouched. The selection updates live, so you see the mask as a coloured overlay while you refine it. That same logic extends to luminance masks, which let you pull up midtones without adding noise to the shadows.
The tool runs on the GPU, which keeps the masking and layer compositing responsive even on 45-megapixel files. Non-destructive layers hold every adjustment, and the automatic corrections give you a starting point that respects the camera profile. Version 7.3.0 added native handling for HEIC files from recent iPhones and expanded raw support for bodies like the Panasonic Lumix S5 IIX and Sony RX100M7, while fixing a corrupt rendering path for Sony A7 IV lossless compressed frames.
You can use it as a standalone editor or drop it into Photoshop CS6/CC 2015 or newer as a plugin, feeding a layered, masked file back to the host. The interface ships in English, German, and French, and the whole pipeline—from ingest to export—runs on macOS 10.13 or later on both Intel and Apple Silicon machines.
From Card to Edits on 140 Sony Raws
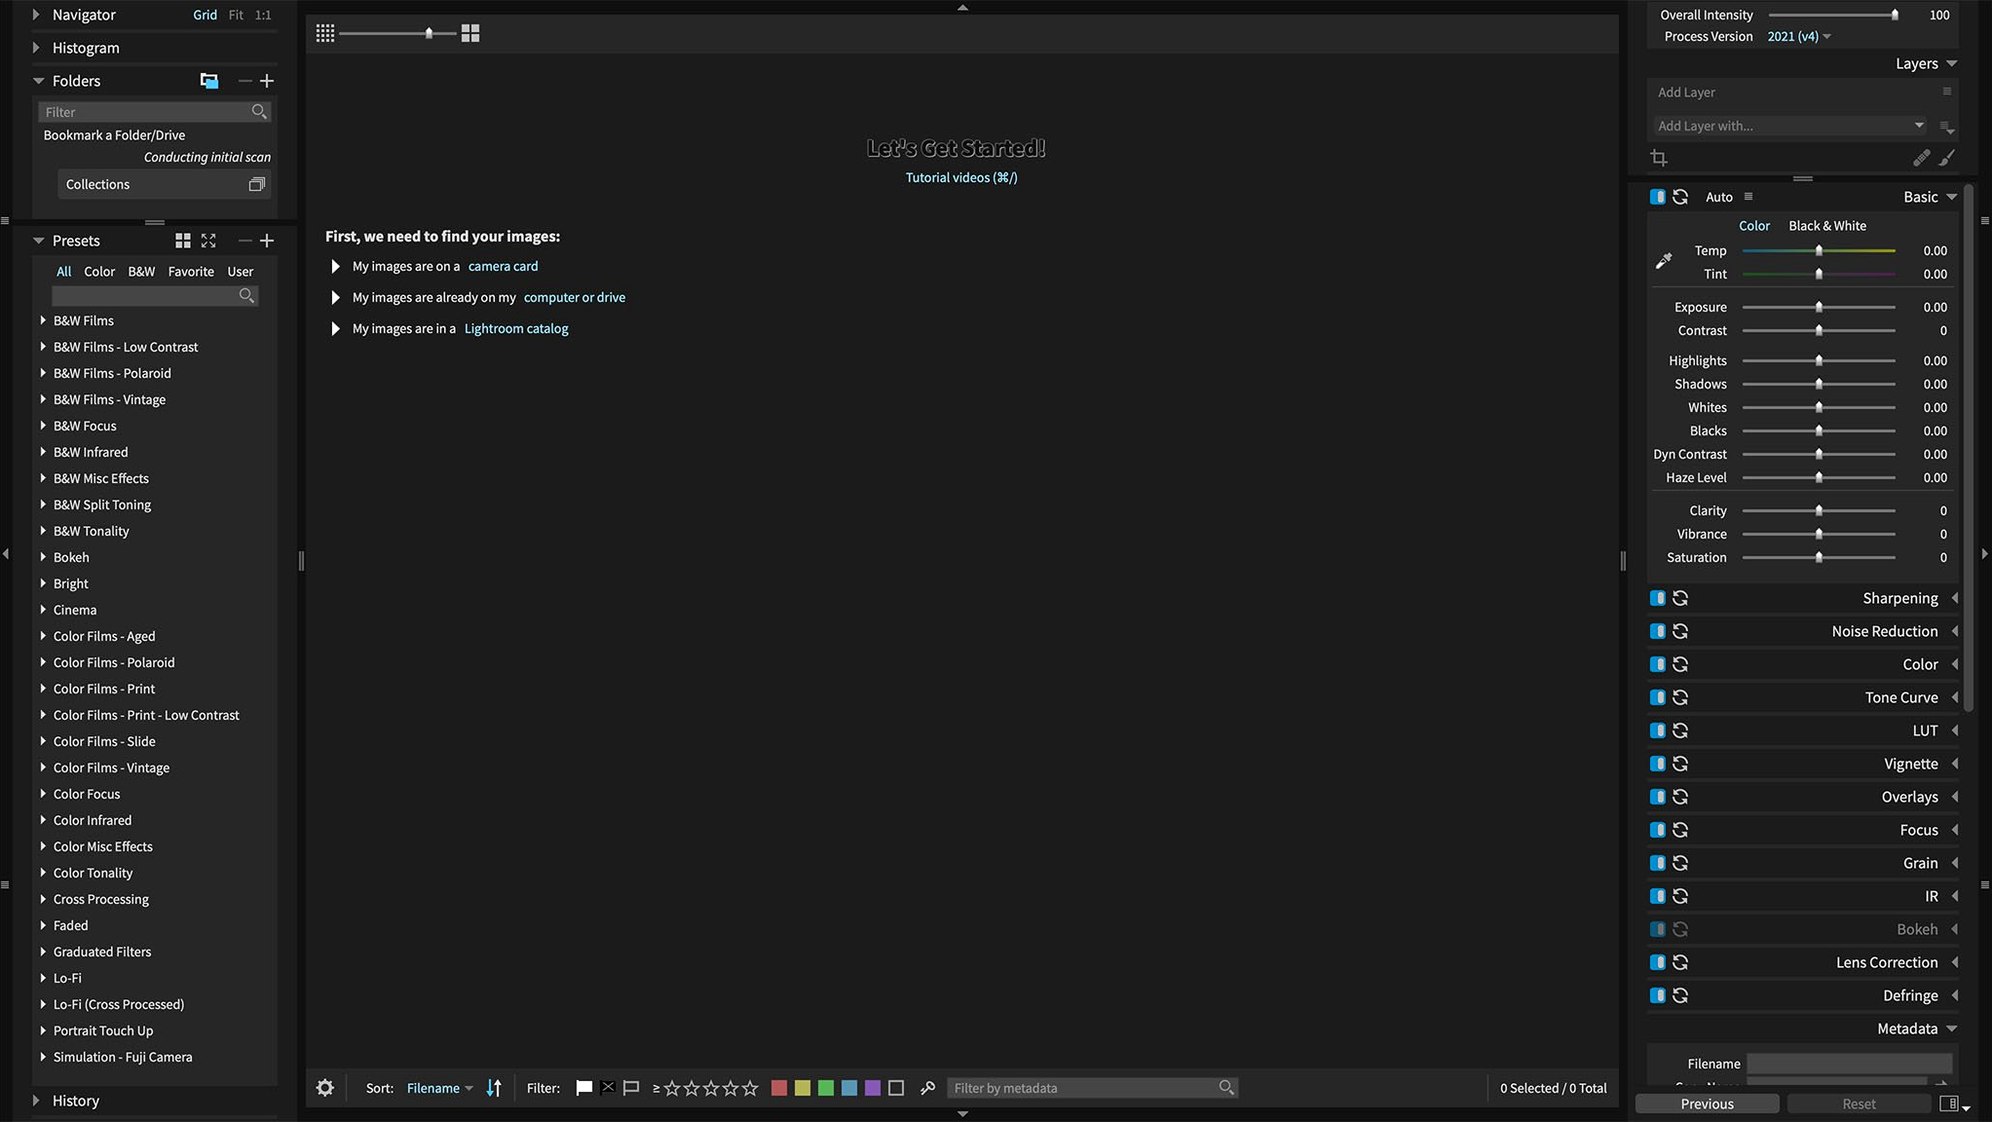
You come back from a morning shoot with 140 raw files from a Sony body, a mix of portraits and landscape. You connect the card, copy the folder to your desktop, and launch Exposure X7 as a standalone app. There is no catalog import wizard waiting for you—the app reads the folder structure as it sits on disk. You point the left-hand folder tree to the parent folder and every image appears in the grid within seconds, even the 85-megapixel pixel-shift shots. No import lock-in, no database to maintain.
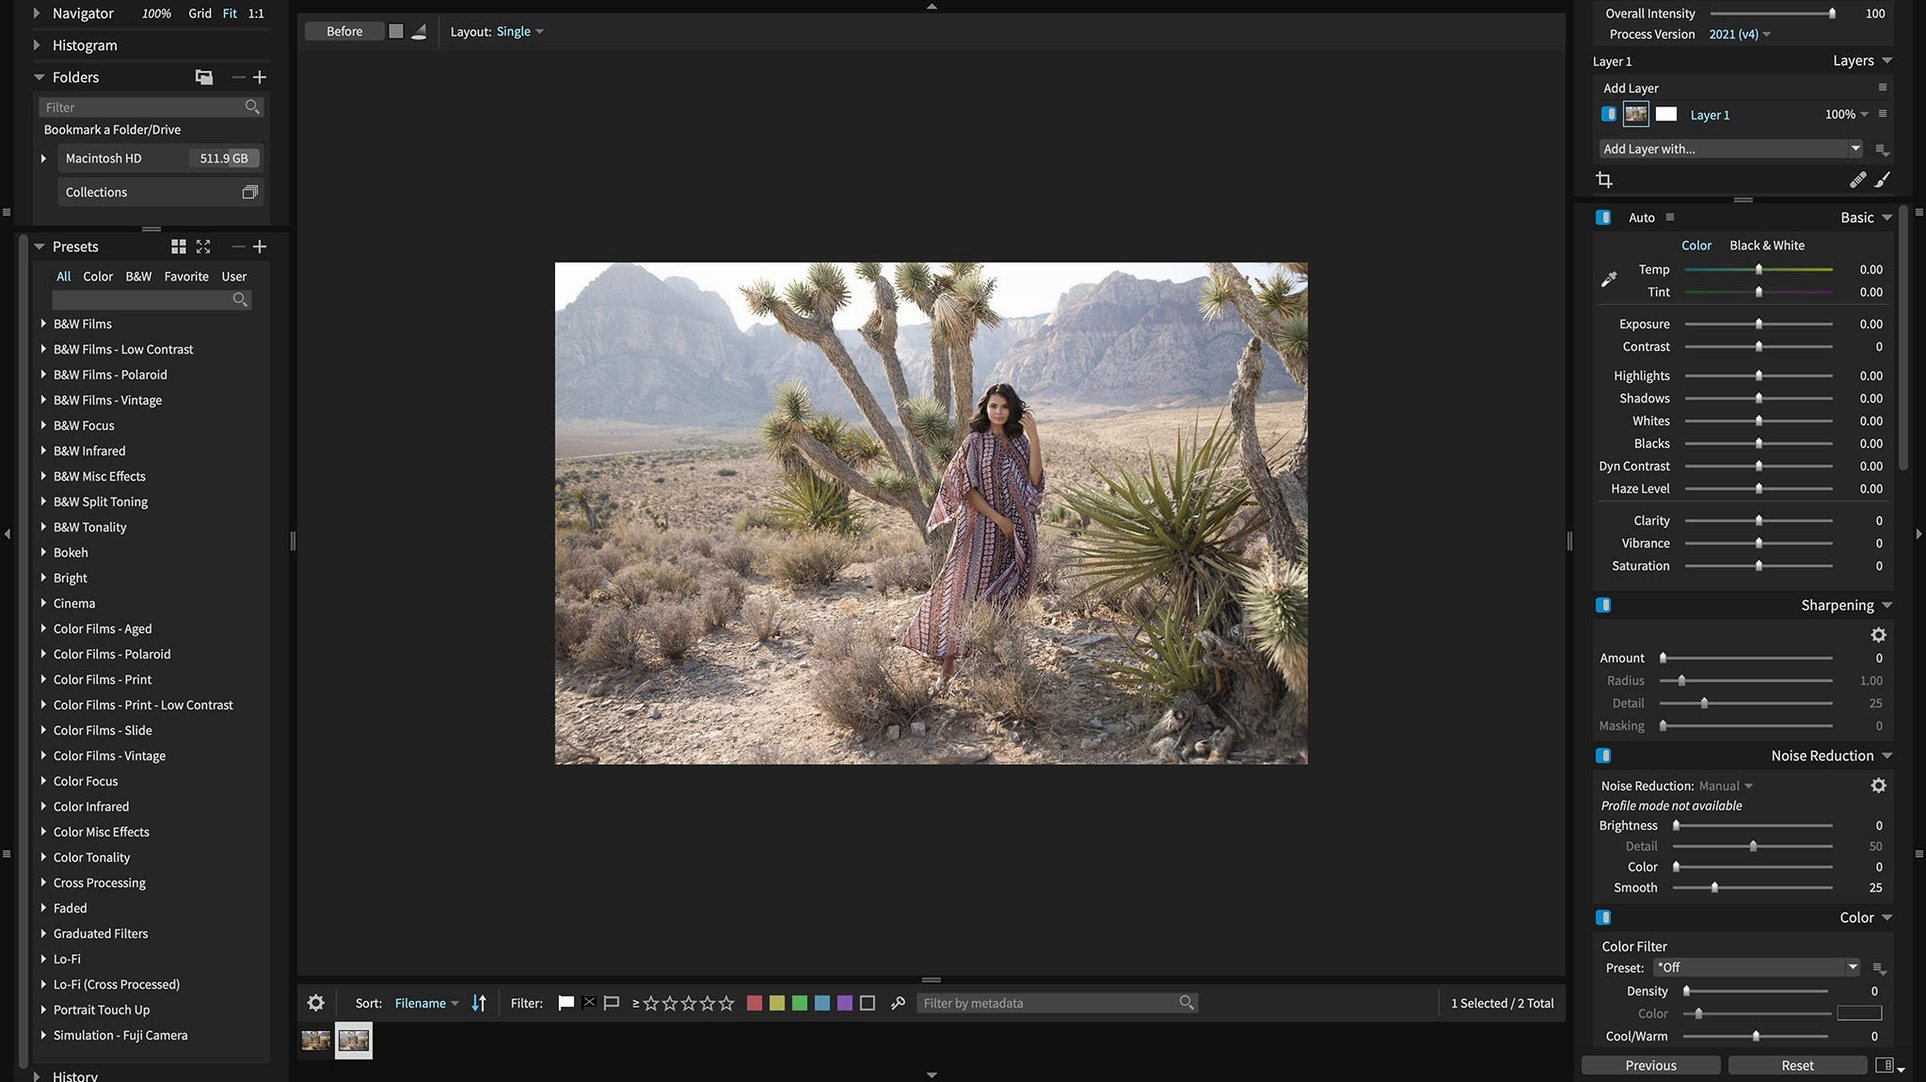
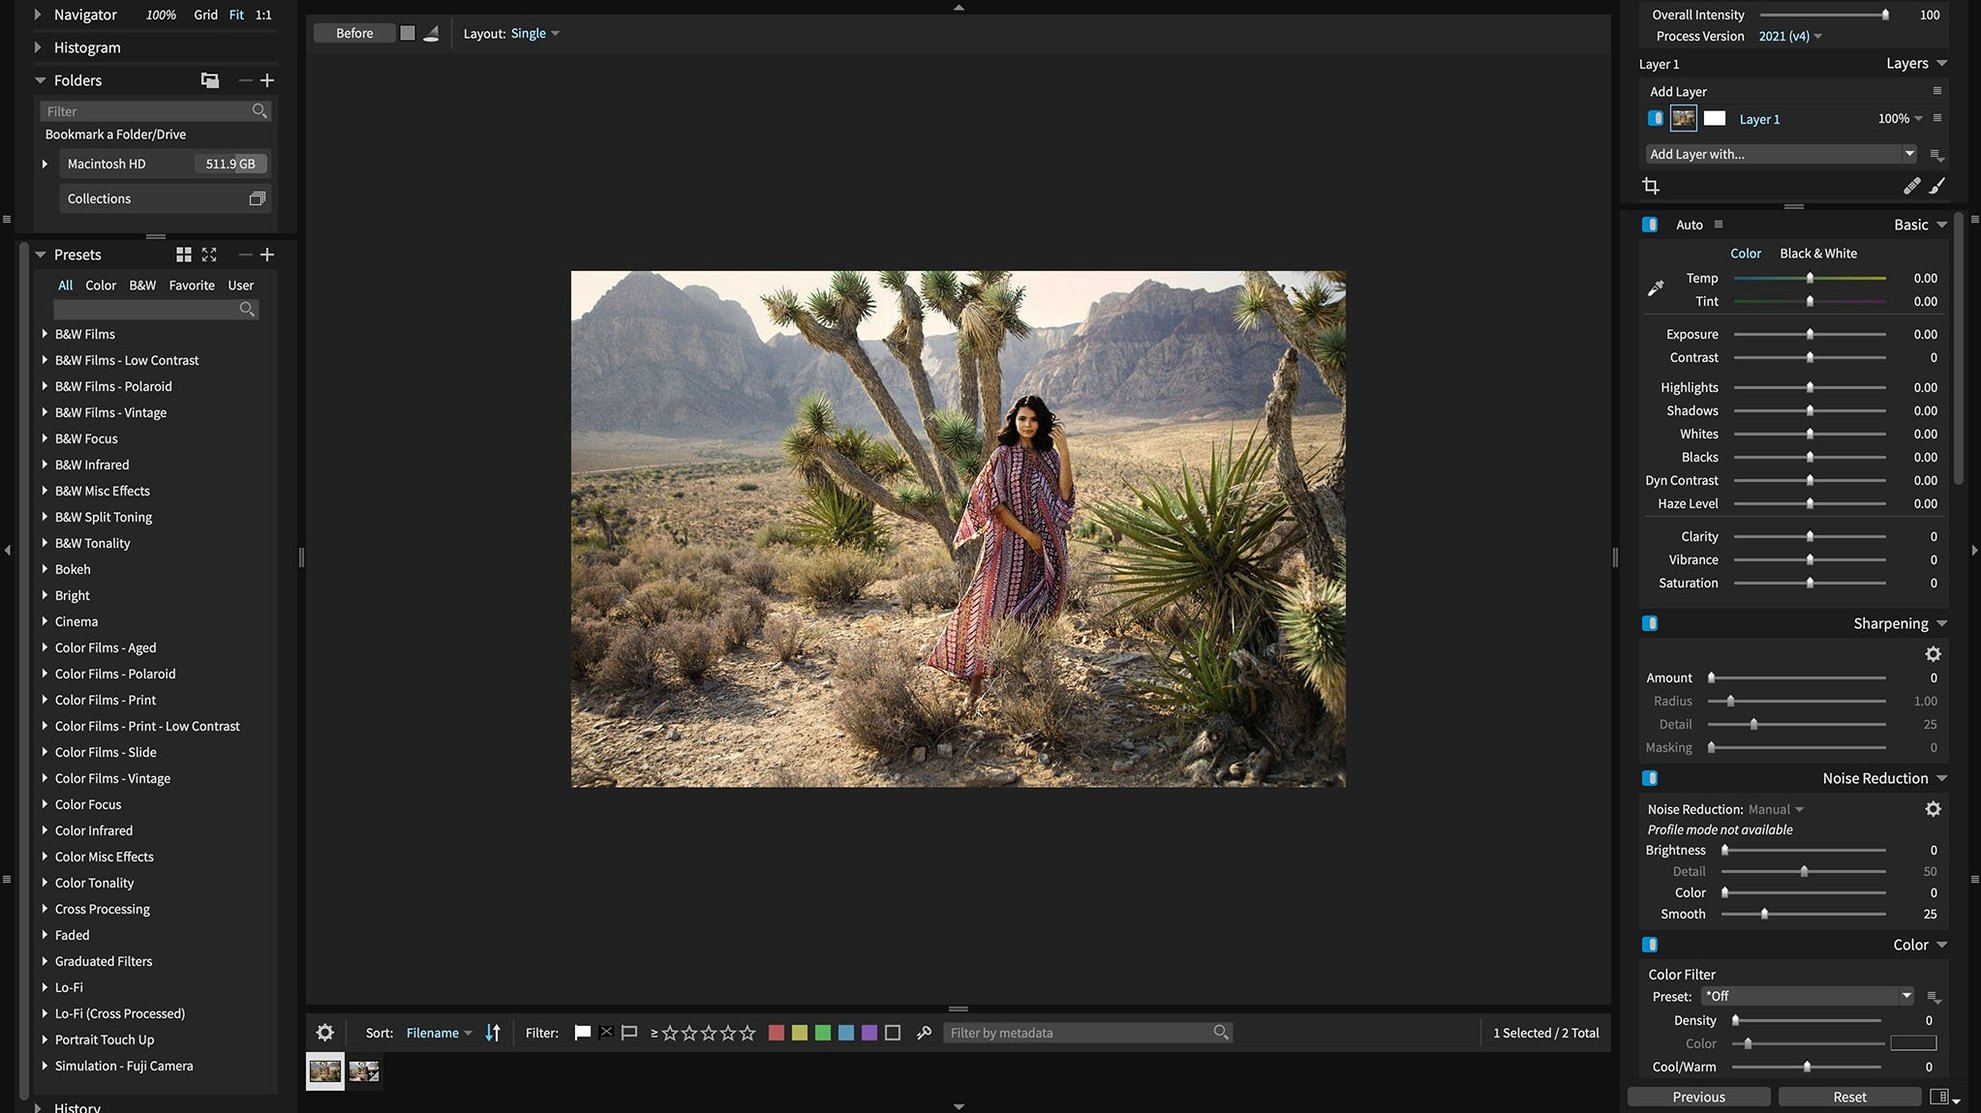
You skim the grid with the arrow keys, flagging the obvious rejects with a tap of the X key. A few frames look flat but have good composition, so you open the first one. The automatic adjustment reads the Sony colour profile and corrects the white balance and exposure close to where you would have landed manually. It is a conservative starting point, not a heavy-handed Instagram curve.
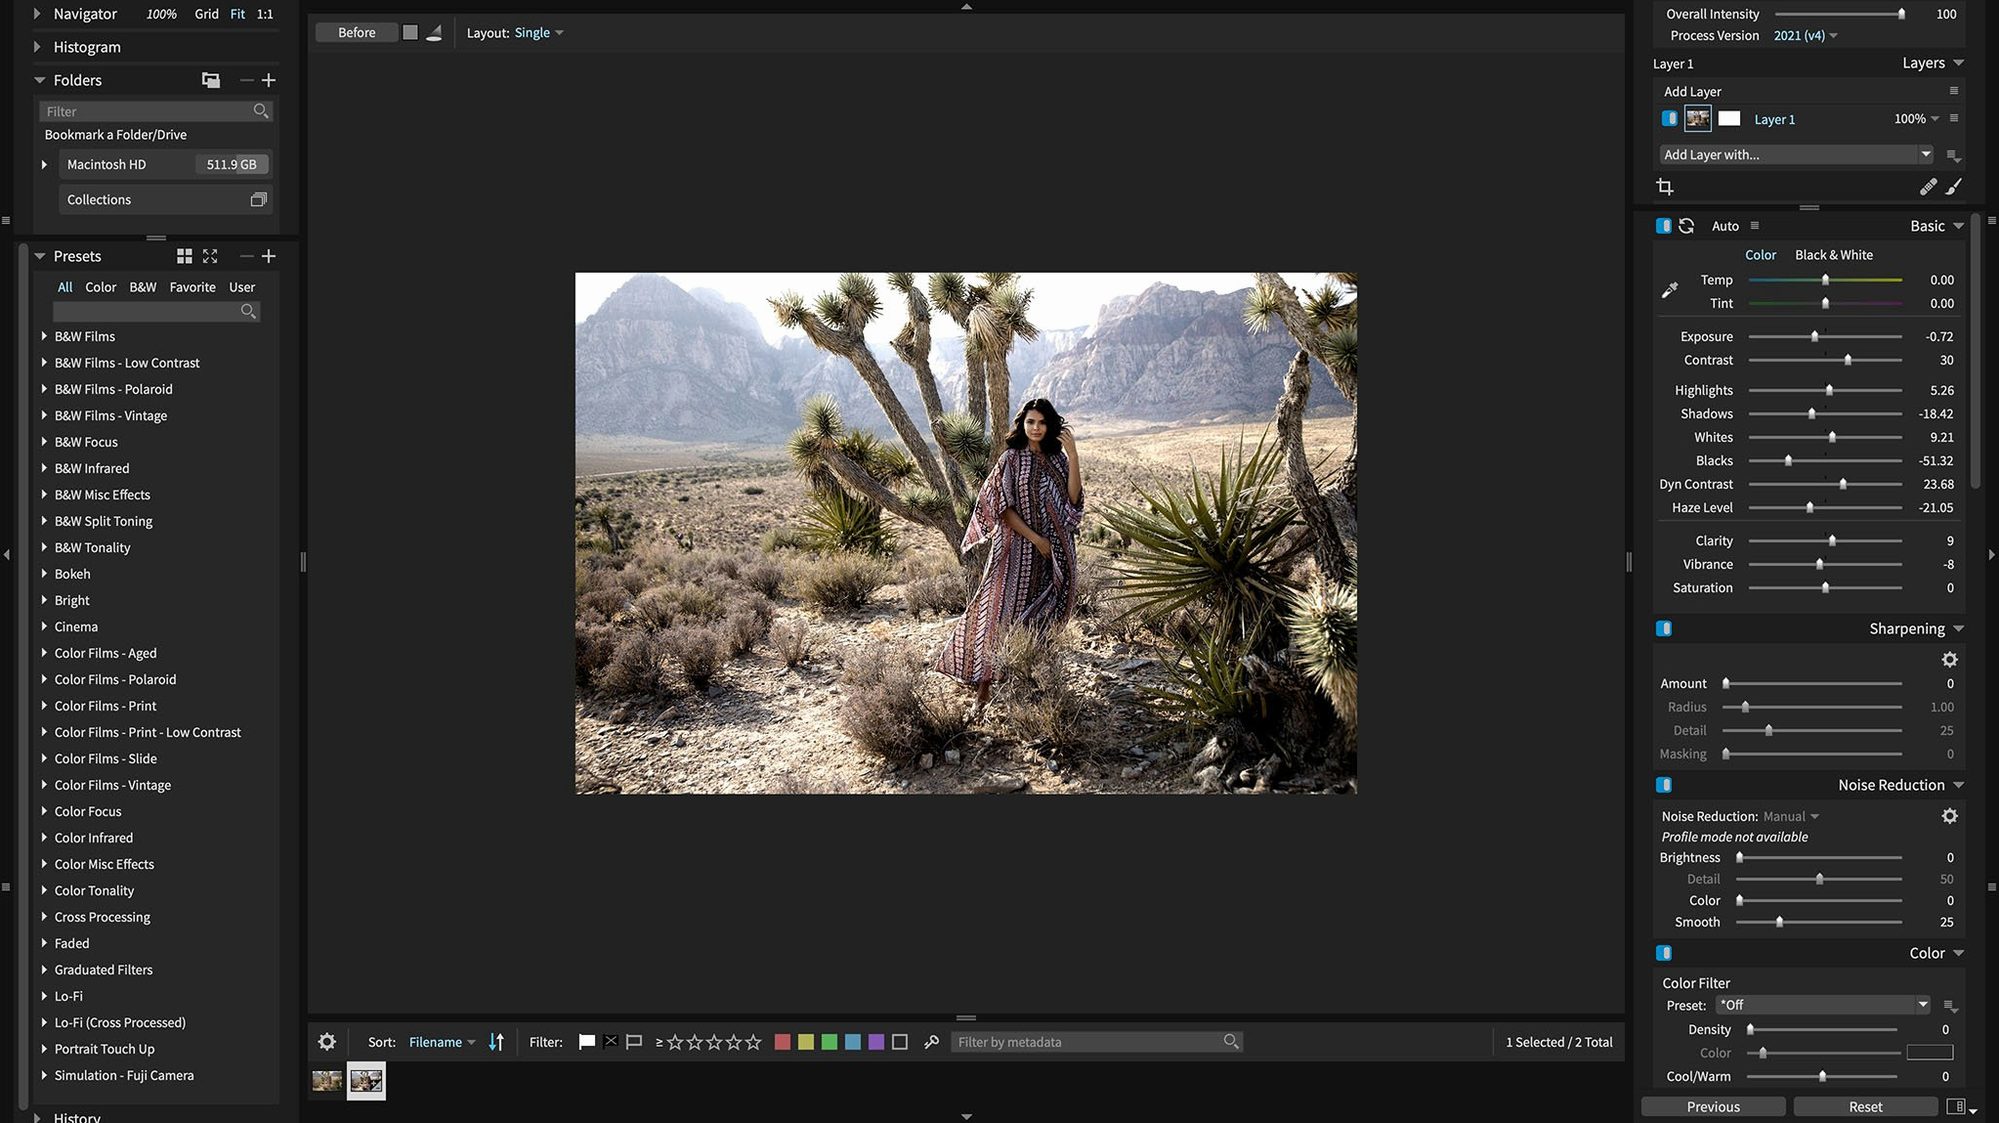
Next you go straight to the masking panel. The background behind the subject is a pale beige wall that blew out slightly, while the face is correctly exposed. A simple radial gradient would bleed into the hair, so you pick the 3D colour mask tool instead. You click on the wall tone, and the cube view lights up a cluster of points near the top-right corner—bright, low-saturation yellows. You drag to expand the selection into that region, watching the coloured overlay spread across the wall and stop cleanly at the edge of the hair. A quick refinement with the fuzziness slider softens the transition by 6 points. With the mask active, you pull exposure down by 0.7 stops and add a touch of cyan in the split-tone controls to cool the background without touching the skin.
A second portrait needs more work. You duplicate the base layer—Cmd-J does what you expect—and add a luminance mask on the new layer targeting the mid-tones. Raising clarity inside that mask brings out the texture of a wool jumper without sharpening the noise in the shadows under the chin. The GPU keeps the brush strokes and layer stack compositing at full resolution without beachballing, even with three masks active on a 61-megapixel file.
For the landscapes, you browse the preset browser and hover over the "Pan F Plus" black-and-white film preset. The preview renders instantly in the navigator pane. You apply it to a shot of wet rocks on the coast, then open the preset's internal adjustments to see how it built the look—a specific colour filter mix and a subtle grain pattern. You tweak the red filter strength to darken the sky further, then save the modified preset under a new name in your user library.
Export is the last step. You select the twelve edited frames, press Cmd-E, and pick a custom export preset that outputs full-resolution TIFFs to a "Processed" subfolder while generating 2048-pixel JPEGs for a client proof gallery. The batch runs in the background while you start flagging the next folder.
Calling Its Masking Engine from Lightroom
Exposure X7 does not force a choice between itself and the Adobe ecosystem. The plugin path lets you stay inside Photoshop or Lightroom Classic and call the masking engine only when you need it. From Lightroom Classic, you send a raw file or a rendered TIFF to Exposure X7 as a plugin; the app opens with its full layer and masking toolset, and when you save, it hands a flattened or layered file back into your Lightroom catalog right next to the original. The round-trip keeps your folder structure intact—no sidecar spaghetti, no extra export steps.
Photoshop users get a similar bridge. You can open a smart object from a layered Photoshop document in Exposure X7, apply its colour and luminance masks, and return the result to the stack. The plugin works with CS6 and CC 2015 or newer, so machines running older perpetual licences are not shut out. You are not duplicating work; the masking job that would take four adjustment layers and two alpha channels in Photoshop often happens in a single mask inside Exposure X7.
The app also plays well with macOS at the system level. The folder tree respects Finder tags and Spotlight comments. You can drag a folder from the desktop straight into the grid. HEIC files from a recent iPhone appear natively—version 7.3.0 added that path—so you can mix phone snapshots and raw files in the same working set without pre-converting anything. The GPU acceleration taps into Metal on Apple Silicon, and the interface runs at native resolution on Retina displays without blurring the preview at 100 percent zoom.
Pointing the GPU Setting at the Right Chip
New installs benefit from a short setup ritual. First, open the Preferences window and confirm that the GPU processing checkbox is active—Exposure X7 often detects the discrete GPU correctly, but on multi-GPU MacBook Pro machines, it can occasionally pick the integrated chip. Forcing the discrete GPU keeps the layer stack responsive when you work with files over 30 megapixels.
Spend twenty minutes with the preset browser early. Hover-and-preview works instantly, so you can fly through the 500 built-in presets and bookmark twenty that match your typical shooting conditions. Drag those into a user collection named after the project type—"Studio Portraits," "Golden Hour," "Push B&W"—so you are not searching the full list during an edit session. The presets are not black boxes; clicking the disclosure triangle next to any applied preset reveals every slider position it changed, which teaches you the tool's range faster than reading a manual.
Set up two export presets on day one. One for full-resolution archival output (16-bit TIFF, Adobe RGB, no sharpening baked in) and one for quick client proofs (JPEG, sRGB, 2048 pixels on the long edge, watermark disabled). The Quick Export menu remembers your last three presets, so after a session you right-click any image and hit the proof export without opening a dialog.
If you work across two machines, keep your image folders on an external SSD. Exposure X7 stores edits inside the folder as small sidecar files, so plugging the drive into a second Mac running the same version loads every adjustment exactly as you left it. No cloud sync, no catalog relinking ritual. And if you run into the Quick Export crash that version 7.3.0 fixed—a freeze after reordering export presets—you are already on the build that resolves it.
Camera support — Expanded for Panasonic Lumix G95D, Panasonic Lumix S5 IIX, and Sony Cyber-shot DSC-RX100M7.
HEIC support — Added ability to open HEIC photos from current iPhone models.
Translations — Refreshed Chinese, German, French, and Japanese localisations.
Sony A7 IV fix — Corrected corrupt rendering of lossless compressed raw files.
Preset crash fix — Resolved a crash when applying black and white film presets.
Export menu fix — Fixed a crash when opening the Quick Export menu after reordering export presets.
- macOS 10.13 or later (64-bit)
- Intel or Apple Silicon Mac
Questions on file
Can Exposure X7 work as a plugin for Lightroom as well as Photoshop?
Yes, it operates as a standalone editor or as a plug-in for both Adobe Photoshop (CS6 or CC 2015 and newer) and Lightroom.
Sign in · Create an account to add a field note.
No field notes yet. A measurement, a version, a machine — they appear after moderation.