Mac Apps
HitPaw Edimakor 2.6.0
Mac AppsUpdated
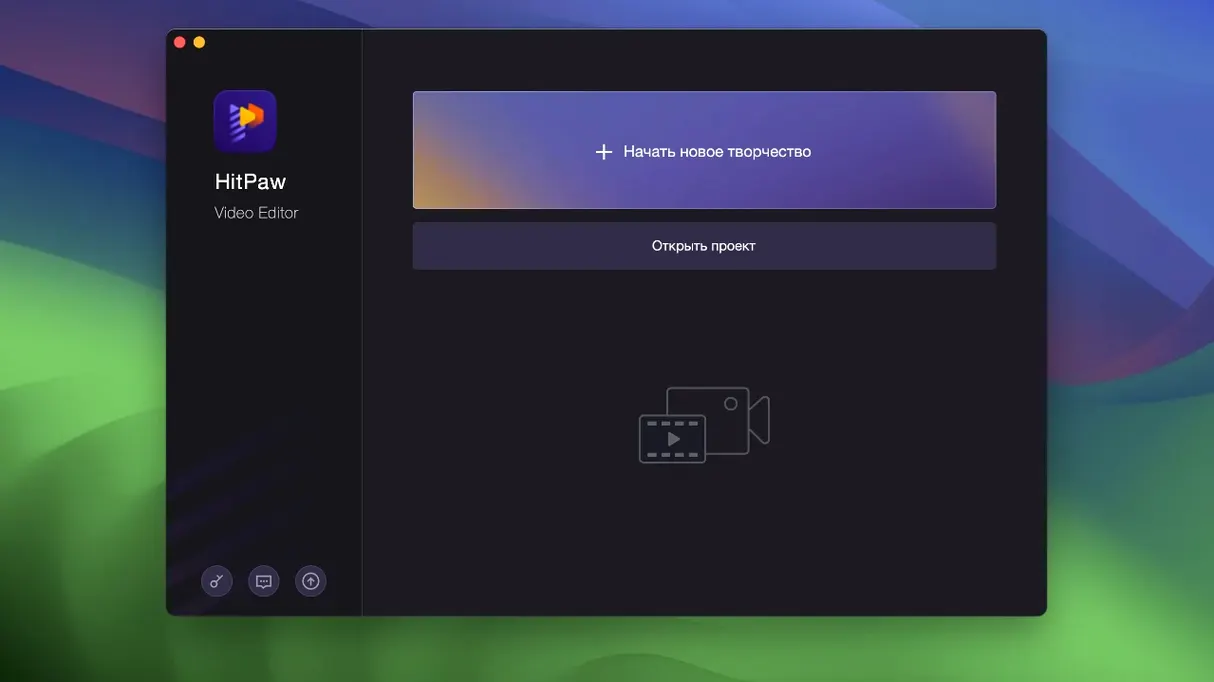
| Requirement | On file |
|---|---|
| macOS | macOS 10.15 or later |
| CPU | Intel 64-bit |
| Download | 487 MB |
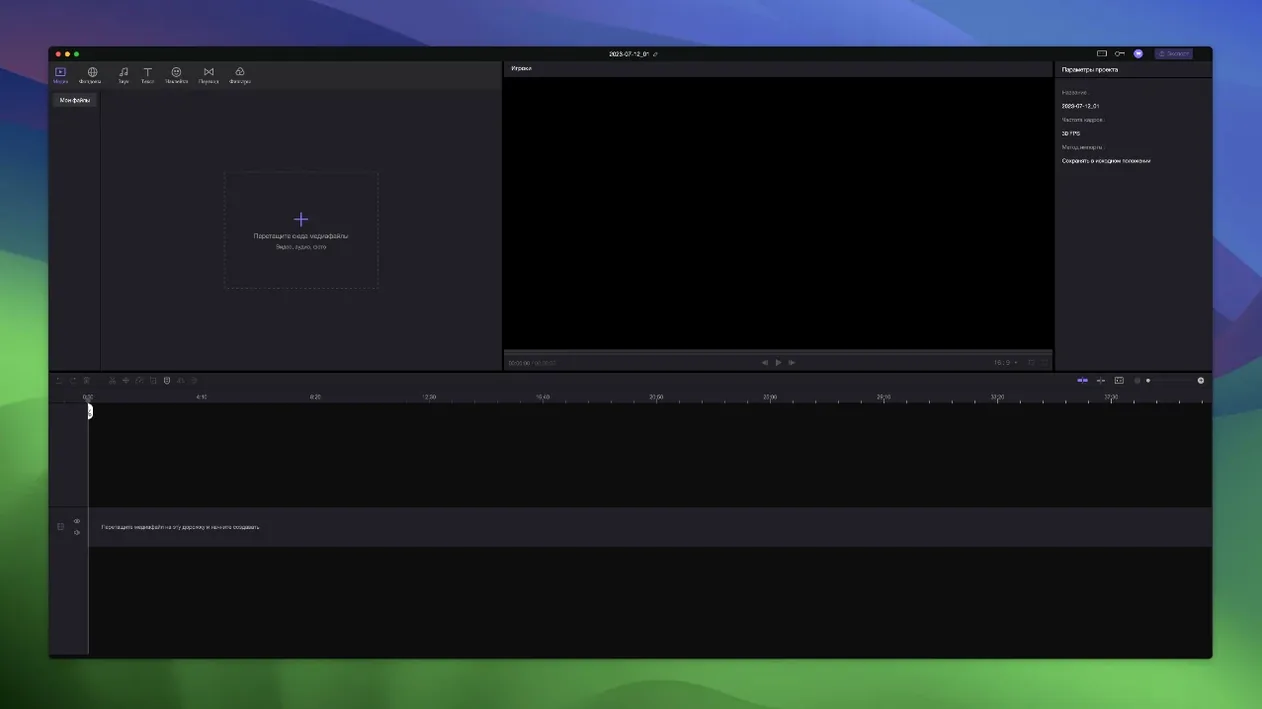
You pull a handful of 4K clips from a recent shoot into a new project because the timeline accepts mixed sources without complaint. The trimmer snaps to the cuts you need, and a subtitle track appears a few seconds after you tick the AI speech-to-text box. That sequence — assemble, trim, generate — is where Edimakor sits on a Mac: between the Finder folder of raw media and a rendered file you can hand off.
| Detail | Value |
|---|---|
| Current version | 2.6.0 |
| macOS requirement | 10.15 (Catalina) or newer |
| Architecture | Intel x86 64-bit |
| Interface languages | 16, including English, German, Japanese, Russian, Simplified Chinese |
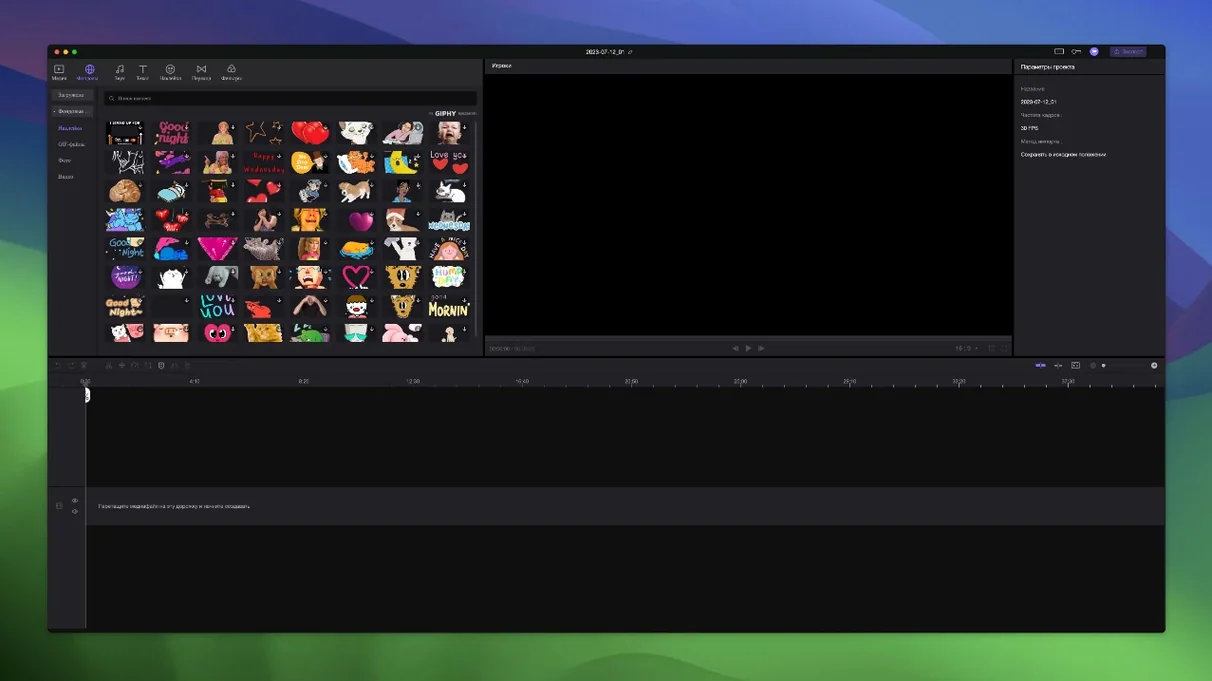
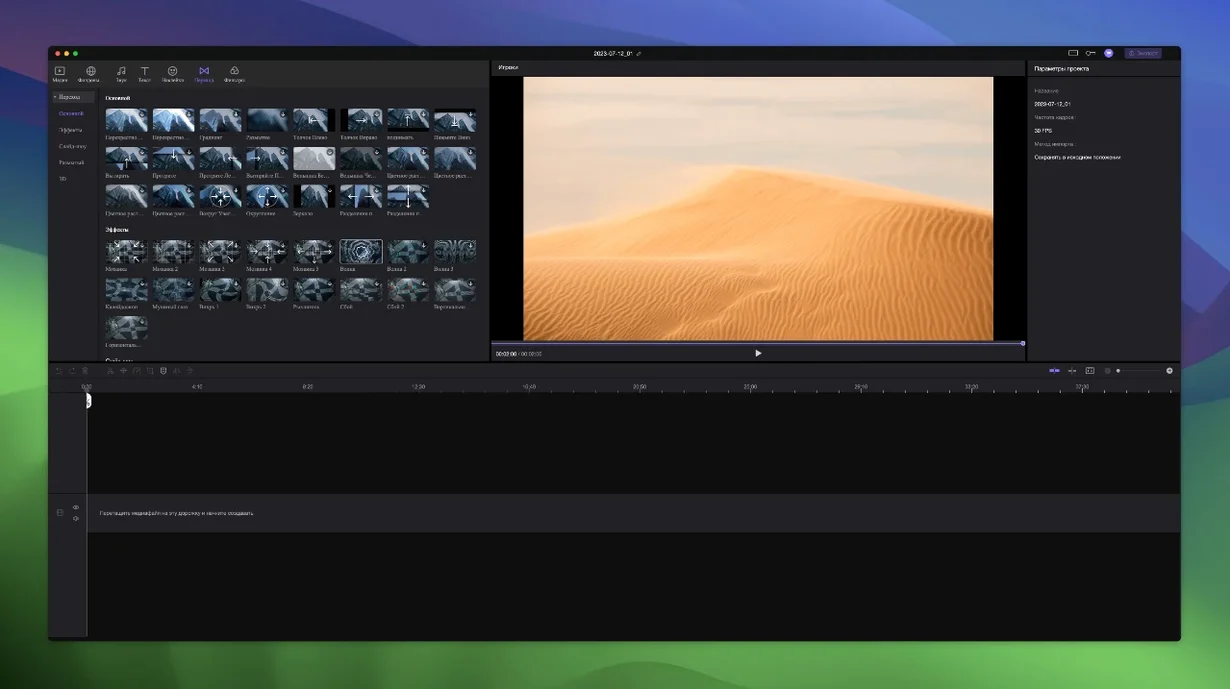
The toolset splits neatly into two layers. The bottom layer handles fundamentals: trimming, merging, splitting and a library of stickers and transition effects. The top layer is where the AI steps in — auto-subtitles, speech-to-text and a behaviour where elements from other tracks attach themselves to the main video strip automatically. That auto-attachment saves clicks when you layer B-roll or overlays and want them to travel with the primary clip during ripple edits. Edimakor fits alongside the Finder and QuickTime Player as the place a Mac user goes when cuts need more than a trim and the timeline needs to stay tidy without manual sync work.
Common Stumbling Blocks and Straightforward Fixes
A handful of repeat problems surface in user threads about Edimakor. Most trace back to how the app handles media on first import or how it leans on the Mac's graphics subsystem. Knowing the pattern ahead of time avoids a twenty-minute troubleshooting detour.
Timeline playback stutters with 4K H.265 footage. Edimakor does not transcode on import the way some heavier NLEs do. It reads the source file directly. On an Intel Mac without a discrete GPU, a 10-bit 4:2:2 HEVC clip can choke the playback engine. The quick fix: right-click the clip in the media bin, choose Create Proxy and let the app generate a quarter-resolution ProRes Light version. Edits stay frame-accurate, and the proxy swaps back to the full-resolution source at export automatically. If the proxy option is greyed out, the codec is already in a format the machine handles natively — drop the preview quality to ½ under the viewer panel and carry on.
AI speech-to-text produces garbled output for a single speaker. The engine works best with clear speech above -12 dB and minimal background hum. If the generated captions come out as word salad, open the clip in the source monitor, isolate a ten-second segment with clean dialogue, and re-run speech recognition on just that segment first. The engine recalibrates its gain and noise floor, and the full-clip pass afterwards lands with far fewer errors. Also check that the timeline's language track matches the spoken language — Edimakor defaults to the system language, which trips up users who shoot in English on a Mac set to German.
Export hangs at 98%. This one almost always involves a transition or an overlay that references a missing file. When Edimakor cannot resolve a linked asset — a sticker pack removed, a B-roll clip on an external drive that was unplugged mid-session — it will not throw an error during editing but stalls silently at the end of an export. Open the project media panel, sort by status, and re-link anything flagged with a red exclamation mark. If nothing is flagged, duplicate the timeline, flatten all tracks to a single video layer (Timeline > Flatten Tracks) and export the flattened copy. The render will complete, and you can isolate the problematic layer by comparing the two timelines.
Overlooked Shortcuts and Workflow Niceties
Some of the most useful Edimakor behaviours are not labelled in the toolbar and do not appear in the default onboarding overlay. They surface only after a few hours of cutting — or from scanning the key-command panel under Help > Keyboard Shortcuts.
Tap-select on the waveform. Instead of dragging the playhead to a precise syllable, hold Shift and click anywhere on the audio waveform in the timeline to snap to the nearest transient. Useful for lining up cuts to a kick drum or a hard consonant start. Works on any track with a visible waveform, including the AI-generated subtitle track.
Middle-click to copy attributes. Select a clip that already has the colour grade, scale and speed adjustments you want, then middle-click (or Cmd+Shift+C) and click the target clip. All motion and colour parameters paste across in one action. There is no paste-attributes dialogue — it just applies. Undo with Cmd+Z if the result is not what you expected.
Rolling trim from the keyboard. Position the playhead near an edit point and press Option+Left or Option+Right to nudge the cut point one frame at a time without opening the trim tool. The main video and its attached overlays move together, just as they do during a drag operation, so a B-roll overlay stays locked to the exact frame it was placed on.
Quick preview of transitions via hover. In the transitions panel, hovering over a transition thumbnail for more than a second plays a small loop of the effect applied to sample media. It is not instant — the first hover triggers a cache build that takes two or three seconds — but subsequent hovers are immediate. Saves dragging a dozen transitions onto the timeline just to audition them.
Habits from Other Software That Break Auto-Attach
The patterns below show up consistently in exported timelines shared in editing forums. They are not bugs; they are habits carried over from other software or assumptions about how the auto-attach feature works.
Placing all B-roll on the main video track. Edimakor allows unlimited tracks, and the auto-attach behaviour only works when overlays sit on separate tracks above the main strip. Beginners coming from a single-track phone editor often drag everything onto V1, then wonder why the AI subtitle track covers their cutaways. Put interview footage on track V1, B-roll on V2, titles on V3, and let the auto-attach system keep V2/V3 synced to V1 during ripple trims. The track order is visible in the timeline header but easy to ignore when you are in a rush.
Assuming the AI tools work offline. Speech-to-text and several of the AI background removal features need an internet connection on first use for each session. The app downloads a small language model on demand. If the Mac is in aeroplane mode or behind a firewall that blocks the HitPaw licensing check, the AI menu items remain visible but greyed out. A one-time connection while the feature initialises is enough; after that, the model runs locally until the app quits.
Ignoring the project frame-rate setting at creation. Edimakor's new-project dialogue defaults to the frame rate of the first clip imported, but only if you import through the media bin. Dragging a clip directly from Finder onto an empty timeline bypasses that detection and sets the project to 30 fps. If your footage is 25 fps PAL and you do not change the project setting before adding cuts, you will get duplicate or dropped frames on export. Set the frame rate manually in File > Project Settings before adding a second clip.
Treating the sticker library as static. The bundled sticker packs are not the only option. Any PNG sequence or GIF with an alpha channel dropped into the media bin becomes a sticker-like overlay that can be stretched and keyframed. Beginners often browse the built-in packs, find nothing that fits, and abandon the idea — when their own brand assets would work the same way.
How Edimakor Sits Next to Other Mac Editors
Edimakor occupies a middle shelf between the ultra-lightweight trimmers and the full-fat professional NLEs. Comparing it with three other Mac-native editors makes the trade-offs clearer.
Versus iMovie. iMovie ships free with macOS and handles the same trimming, merging and titling basics. Where Edimakor pulls ahead is the AI toolset — iMovie has no built-in speech-to-text subtitle generation, no auto-attach for multi-track sync, and no proxy workflow for heavy codecs. iMovie's library management is more opinionated and hides files inside a package; Edimakor references media in-place, which suits people who keep their own folder structures on external drives. The trade in the other direction: iMovie's stabilisation and colour-matching are more polished, and its export presets cover a wider range of Apple devices without manual parameter tweaking.
Versus DaVinci Resolve (free tier). Resolve is a full post-production suite: colour grading, Fusion compositing, Fairlight audio. Edimakor does none of those to the same depth. But Resolve demands a lot from the hardware — the free version on an Intel Mac with integrated graphics often drops frames during playback of 4K material, and the proxy workflow requires manual setup. Edimakor's lighter engine and one-click proxy generation make it a practical choice for quick-turnaround edits where colour grading is not the main task. Resolve's free tier also omits H.265 hardware-accelerated encoding on some Mac configurations; Edimakor uses the available encoder without restriction.
Versus CapCut (desktop). CapCut's Mac desktop app shares the AI-subtitle and auto-attach concepts with Edimakor, and both target short-form content creators. CapCut's template library is larger, and its automatic beat-sync feature is more developed. Edimakor counters with unlimited timeline tracks — CapCut caps at a fixed number — and a sticker system that accepts arbitrary PNG sequences rather than just the built-in packs. CapCut leans heavily on cloud-based AI processing; Edimakor runs its speech recognition and background removal locally after the initial model download, which matters when working on footage with privacy constraints or without a consistent connection. The interface language count also differs:
- macOS 10.15 (Catalina) or above
- Intel x86 64-bit processor
Sign in · Create an account to add a field note.
No field notes yet. A measurement, a version, a machine — they appear after moderation.