Mac Apps
Presentify 8.1.3
Mac AppsUpdated
| Requirement | On file |
|---|---|
| macOS | macOS 13 or later |
| CPU | Apple Silicon, Intel 64-bit |
| Download | 6 MB |
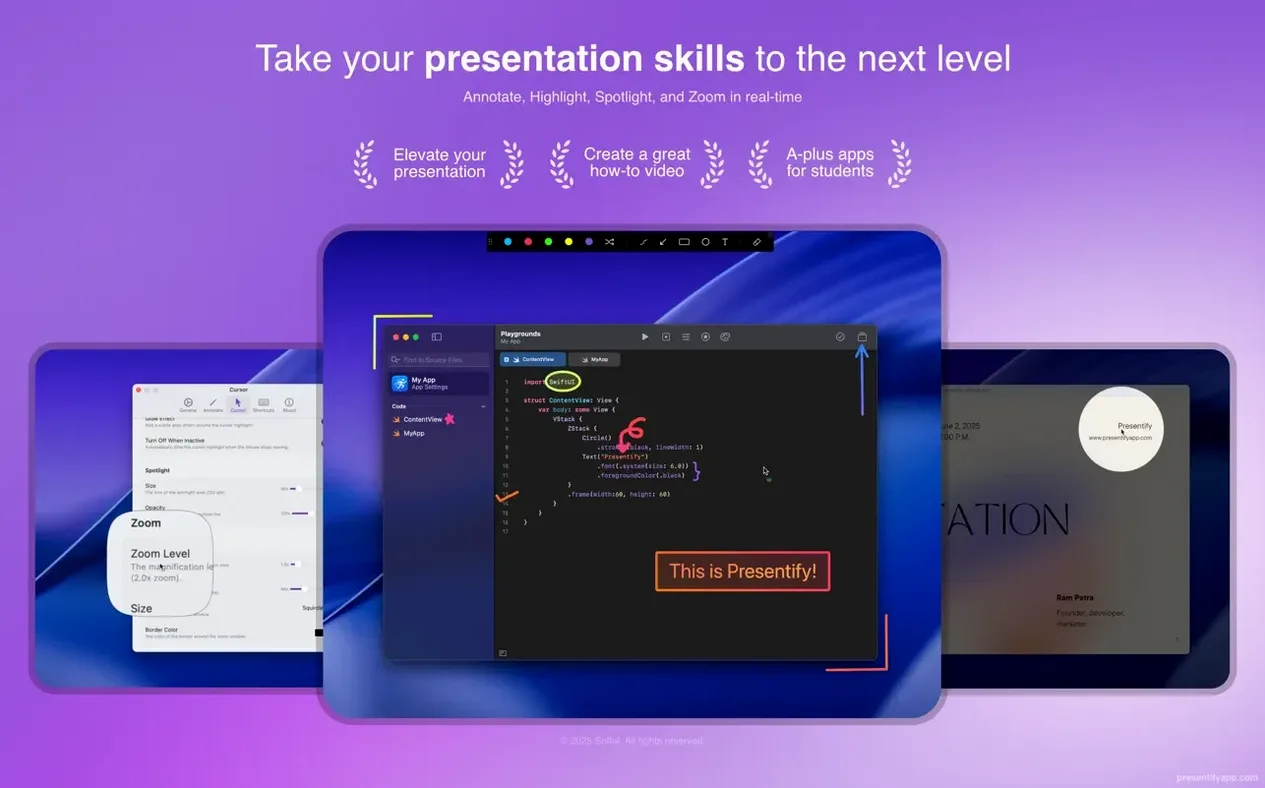
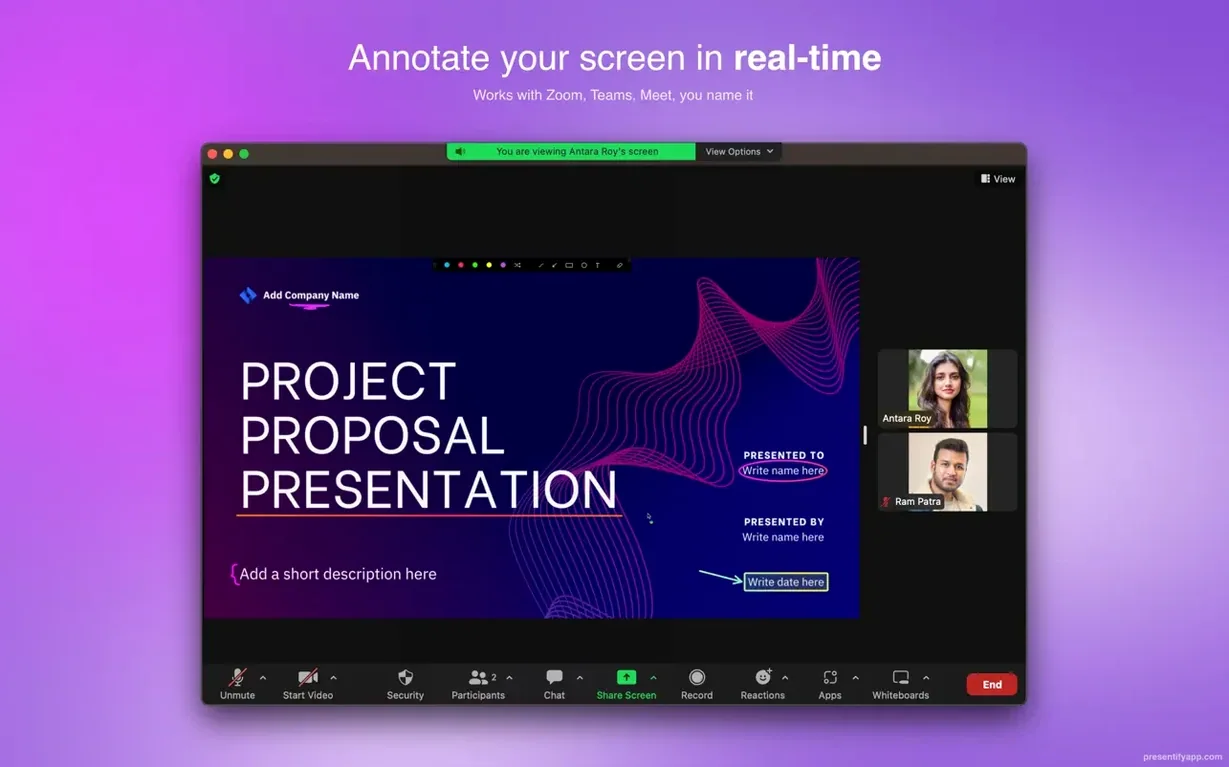
You are sharing your screen during a Zoom call, walking a colleague through a complex Figma layout. Instead of waving the cursor around frantically, you draw a quick red circle around the misaligned button, let the annotation fade, and carry on talking. Presentify sits in the menu bar precisely for this kind of lightweight, real-time markup.
Fn-Click to Reach What’s Behind Your Annotations
- Hold Fn and click through. In the default mode, annotations float above your content and normally block clicks to the app underneath. Hold the Fn key, and your cursor passes straight through to interact with buttons or text fields while the markup remains visible.
- Highlight without covering text. Pick the highlighter tool and drag across a line of code or a PDF paragraph. The colour sits behind the characters, keeping them legible — useful for code reviews where obscuring the syntax defeats the point.
- Let drawings erase themselves. Enable auto-erase in the preferences. You set a timer (a few seconds works well), and each stroke fades out on its own, so the screen stays clean without you reaching for the clear button.
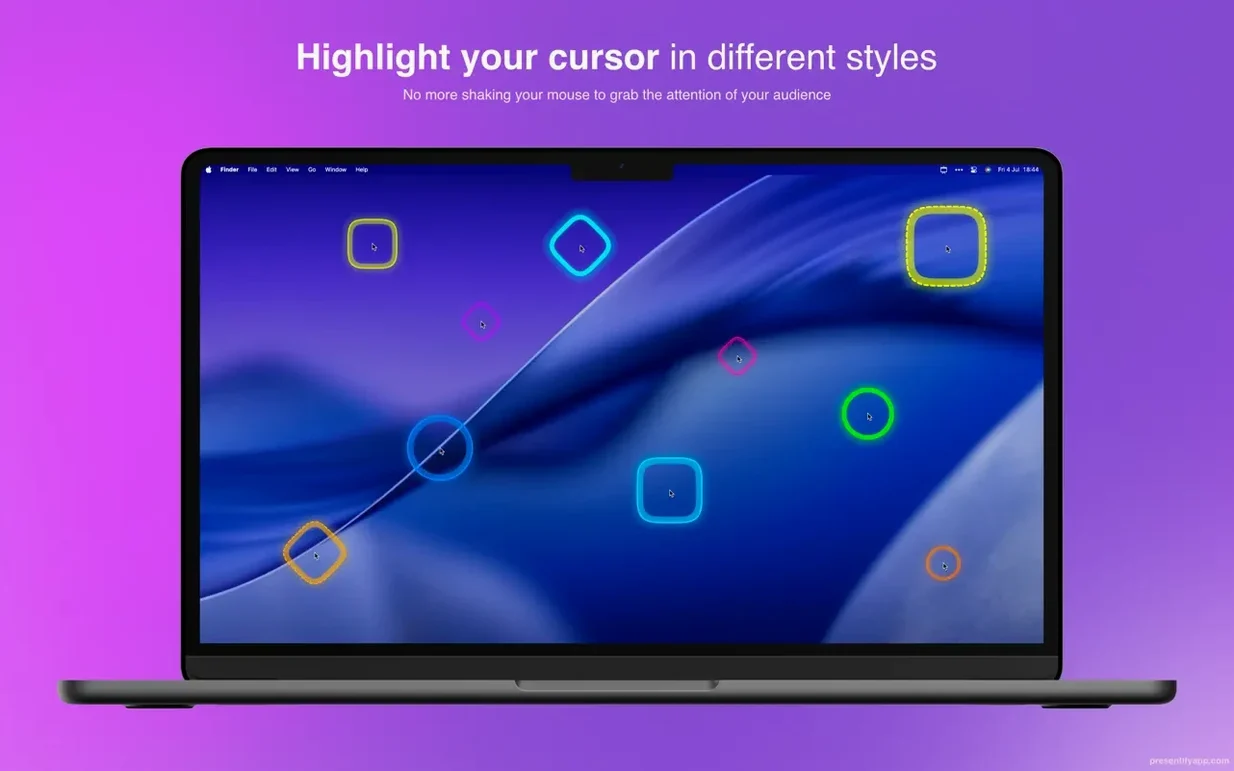
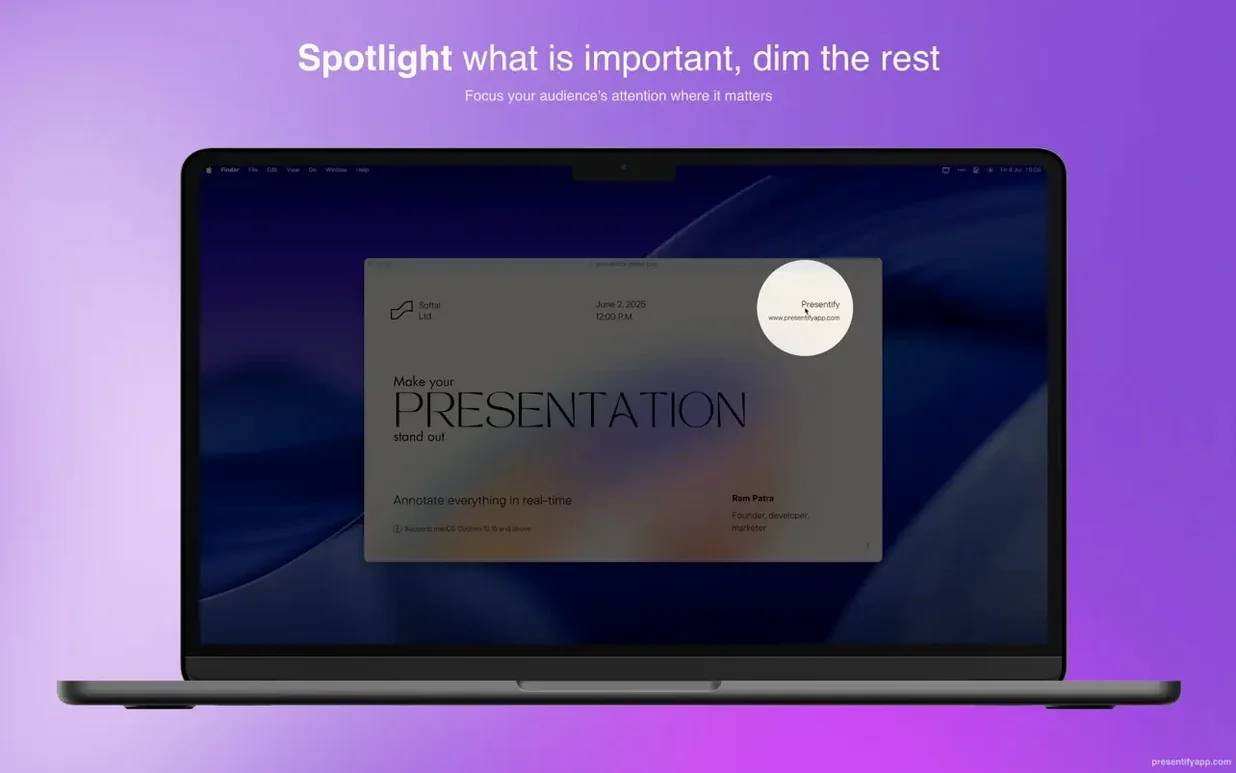
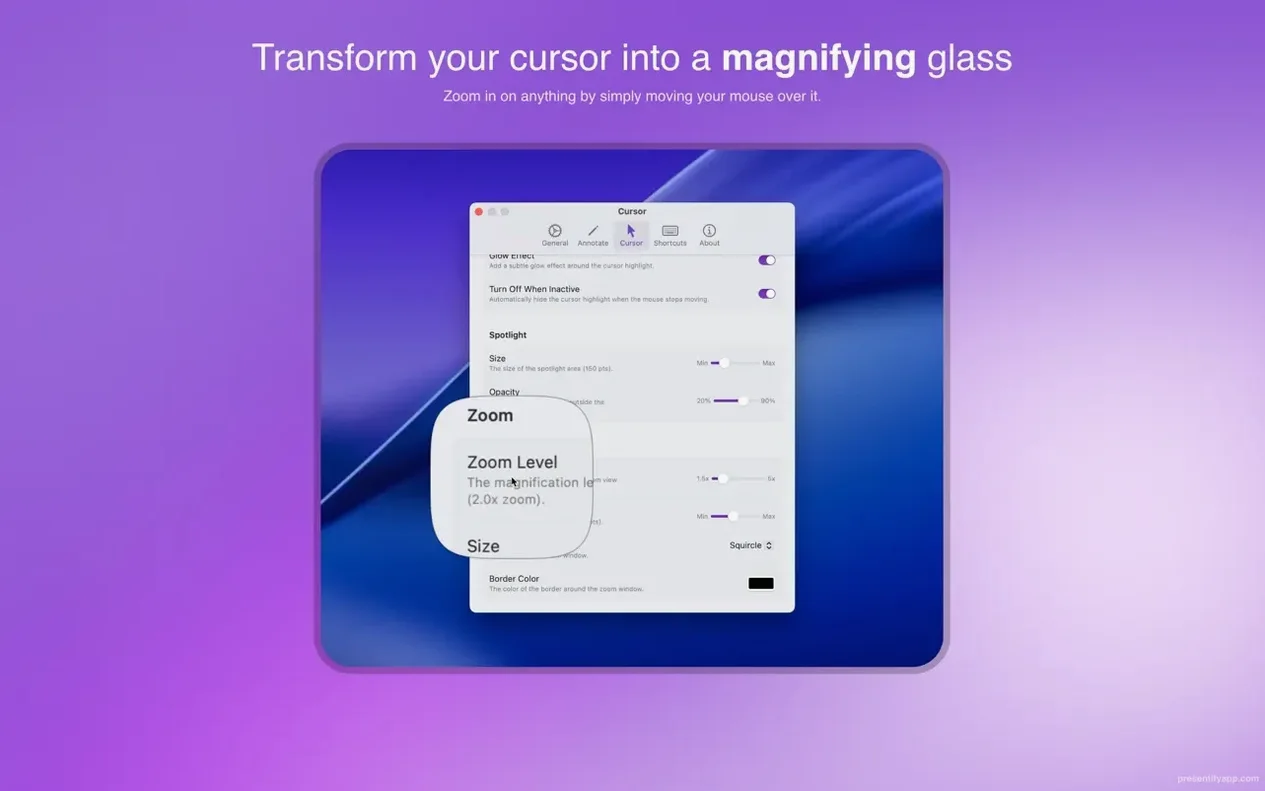
- Experiment with cursor tools. The spotlight effect darkens everything except a movable circle around the pointer, and the zoom tool magnifies the area near the cursor. Both help direct attention on dense interfaces or small UI elements.
Transparent Visual Layer Over Any Screen or Call
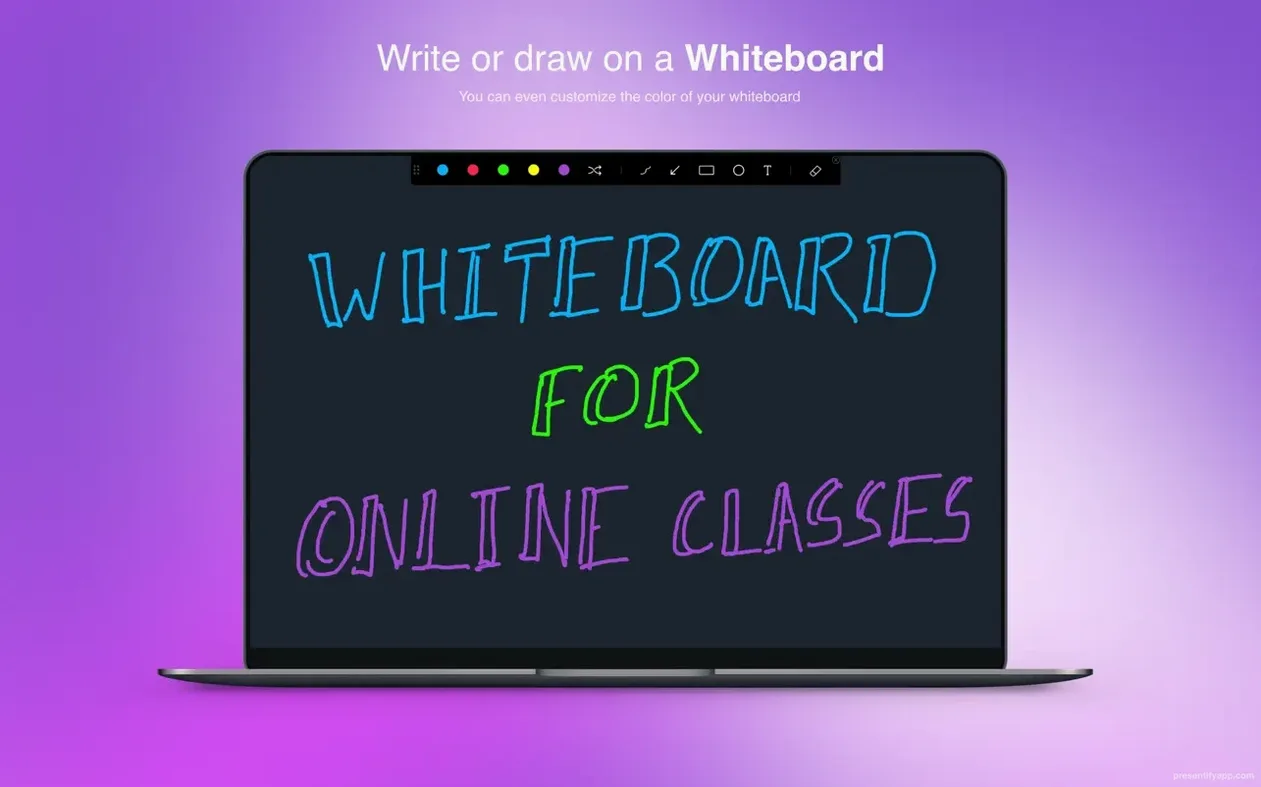
Presentify works as a transparent visual layer over any app, including full-screen videos, Keynote slides, and Xcode. It plays nicely with Google Meet, Zoom, and Skype for remote sessions. The drawing engine supports random gradient colours if you want strokes that shift through a palette without extra clicks. Everything stays live — there is no need to freeze a frame or switch to a dedicated whiteboard.
Memory Use from Idle Layer to Fast Sketching on M1
On my M1 MacBook Air (8‑core GPU, 16 GB RAM), Presentify 8.1.3 idles at roughly 45–60 MB of memory with the annotation layer active but no strokes on screen. That figure rises to about 80–95 MB during a fast sketching session with the spotlight and zoom tools switched on — still modest for a real‑time overlay that samples the display continuously. CPU usage hovers between 1 % and 4 % while annotating; I have not seen a single spin of the fan during 90‑minute Google Meet workshops.
Frame pacing matters for screen annotation, and here the app leans on Metal rendering. Strokes appear with no perceptible lag on a 120 Hz ProMotion display, and window redraws underneath do not cause flicker or tearing. The only time I noticed a brief stutter was when I scribbled rapidly on top of a 4K YouTube video playing at 2× speed — the compositor had to work harder, but the drawing itself stayed fluid.
Crashes have been rare across a month of daily use. The only reproducible hiccup involves waking the Mac from sleep while an external 1440p monitor is connected; once or twice the menu bar icon became unresponsive until I toggled the annotation layer off and on again. No annotations were lost, and the app never took down a call.
If you run an Intel Mac with a weaker iGPU, expect memory pressure to be slightly higher. The developer’s build is a universal binary, so Rosetta 2 translation is not in the picture on Apple Silicon. In short, the overhead is small enough that you forget the app is running — until you need it.
Install Worries About Trial Limits and System Access
Does Presentify work with any app I share, or only specific ones?
It operates as a system‑wide overlay, not as a plug‑in for individual applications. Anything that appears on your display — a Keynote deck, a terminal window, a full‑screen video, a web browser — can be annotated. Screen‑sharing tools like Zoom or Google Meet capture the overlay automatically because they grab the composited framebuffer. There is no special integration to configure.
Can I use a drawing tablet for finer control?
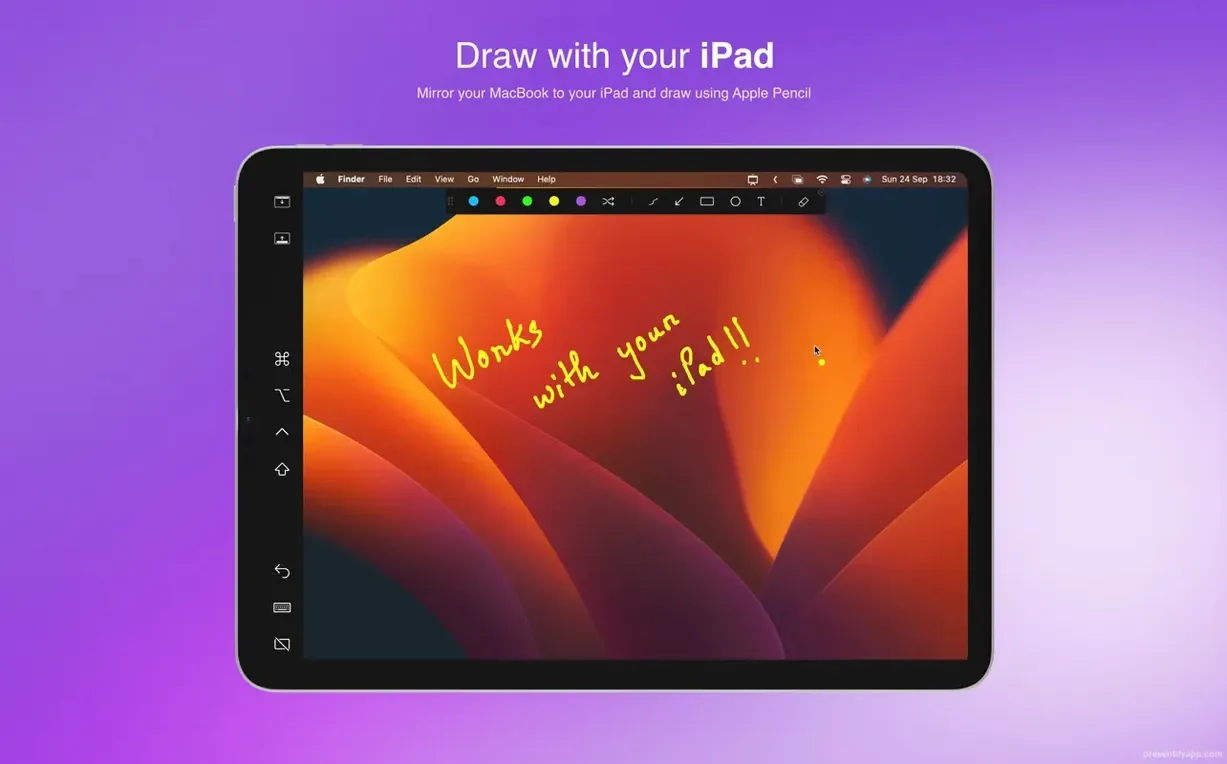
Yes. Wacom and XP‑Pen tablets are supported, and pressure sensitivity translates into variable stroke width if you enable that option in the drawing settings. I tested a basic Wacom Intuos S over USB; the pen tip registered instantly, and palm rejection on the tablet surface prevented stray marks while I rested my hand.
Will annotations show up in my recorded video, or only during live sharing?
Because Presentify draws onto the screen rather than injecting graphics into a single app, it becomes part of whatever your recording software captures. Whether you use QuickTime Player, OBS, or Zoom’s built‑in recording, the annotations appear in the final file exactly as your audience saw them live.
Does the app phone home or require an account?
No account is needed, and the app does not demand network access. You download it, drag it to Applications, and start drawing. Activation is not part of the workflow for the free version, so you can use it on a machine that is completely offline.
Why Auto-Erase Duration Is the First Default I Change
Open the preferences pane from the menu bar icon — a few defaults are sensible but not always ideal for everybody. Here is where I start.
- Auto‑erase duration. The default setting keeps annotations on screen until you clear them manually. I set the timer to 4 seconds for live code reviews and 8 seconds for slide‑based presentations. The clear‑on‑timer behaviour stops the screen from turning into a messy whiteboard, and you can still dismiss a drawing early with a hotkey.
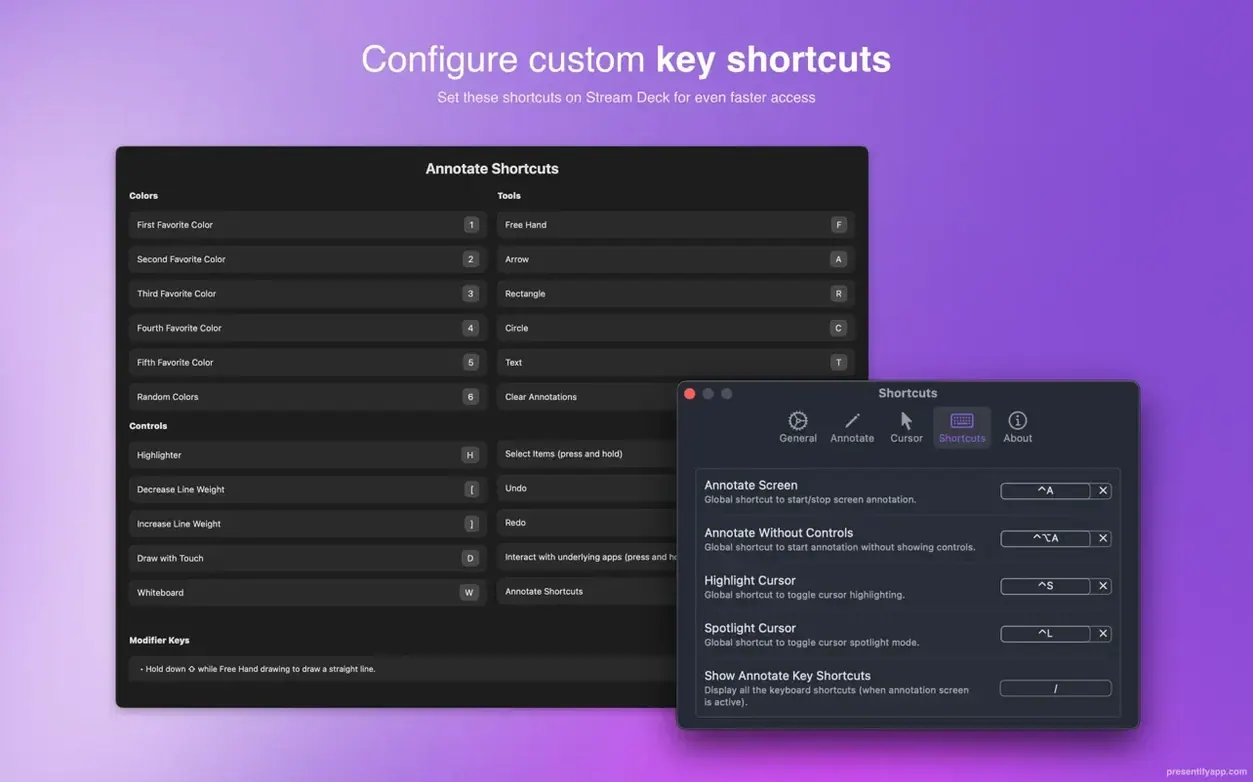
- Hotkey for “toggle annotations”. The factory shortcut is
Control‑Option‑Command‑A. I remap it toControl‑Shift‑Abecause the original chord conflicts with a system service on my machine. A single‑hand chord makes it easy to freeze the annotation layer before clicking through to an underlying app. - Cursor spotlight opacity and size. The spotlight effect ships at 70 % darkness with a medium‑sized circle. Bumping the opacity to 85 % makes the spotlight far more dramatic on bright slides, and enlarging the circle to 180 px helps when you need to highlight a whole UI panel rather than a single button.
- Random gradient colours. Enabled by default, but you can pin the palette to a single hue if your brand guidelines demand consistency. I leave gradients on for informal teaching sessions — they make successive strokes visually distinct without any extra effort.
- Start at login. Tucked under the “General” tab; tick it once and you will not have to remember to launch the app before a call.
First days with Presentify: practical tips
Day one should be quiet. Resist the urge to try every tool during a live client demo. Instead, join a solo Zoom meeting, share your screen, and draw with each tool while watching the preview thumbnail. You will quickly notice whether your mouse hand needs a larger spot size or whether the highlighter colour contrasts enough with your dark IDE theme.
After that dry run, pick two tools and ignore the rest for the first week. I suggest the freehand pen and the cursor spotlight. The pen covers 90 % of real‑world markup tasks — circling a menu item, underlining a figure, connecting two columns in a spreadsheet. The spotlight directs eyes without adding permanent ink, which is invaluable when you walk through a dense slide and want people to follow your gaze. Add the highlighter in week two, then the shapes tool once muscle memory for the hotkeys sets in.
A small but useful habit: keep the menu bar icon visible rather than letting macOS hide it. When you need to switch from the pen to the spotlight mid‑sentence, a click on the icon is faster than recalling a keyboard shortcut you have not yet internalised. You can also right‑click the icon to quickly toggle the annotation layer off if a participant asks you to click through to something and you do not want to hold Fn.
If you present from a laptop screen while referring to speaker notes on an external monitor, remember that Presentify draws on every connected display by default. That is handy when you want to annotate a slide on one screen and point at reference material on the other, but distracting if the second display shows your notes view. The preferences let you restrict annotations to a specific display; set that before you go live.
For teachers who record asynchronous lessons, combine auto‑erase with the shapes tool. Draw a rectangle around a key term, let it fade after five seconds, then draw an arrow to the next talking point. The resulting video feels polished without any post‑production editing. One colleague who teaches high‑school mathematics uses the zoom tool on graph axes while sketching tangent lines with the pen, and the recording looks like a Khan Academy clip — but produced live.
Finally, if you search for presentify mac free or presentify free download, you will find the unactivated version fully usable for short sessions. Many people test it that way before deciding whether to keep it. The core drawing and cursor tools work without restrictions, so you can run through the dry‑run routine above with nothing to lose.
- macOS 13 Ventura or later
- Apple Silicon and Intel Macs
Sign in · Create an account to add a field note.
No field notes yet. A measurement, a version, a machine — they appear after moderation.