
Audio
Absynth 6.1.0
AudioUpdated
| Requirement | On file |
|---|---|
| macOS | macOS 14 or later |
| CPU | Apple Silicon, Intel 64-bit |
| Download | 2.8 GB |
The Supercomb filter is a sensible place to start. It is a delay line tuned to a specific pitch, capable of turning a simple sawtooth wave into a ringing metallic string or a percussive pluck that decays with an almost physical resonance. Pull up an initialised patch, route an oscillator through it in the Perform window, and set the comb frequency to track the keyboard. The character changes completely with small adjustments to damping and feedback.
First workflow: building from a blank patch
For a newcomer, the signal path looks dense, but a linear sequence through the key modules reveals the core architecture quickly.
- Oscillator channels. Absynth gives you three channels, labelled A, B and C. Select a mode for Channel A from the Oscillator Module — FM, subtractive, wavetable or granular. Set it to a raw wavetable sweep and disable Channels B and C for now.
- Filter routing. Open the Filter Module and insert the Cloud Filter. This granular-based filter smears the signal into a diffuse, reverb-like wash. Adjust the density and grain size while holding a chord; the result is less a filter sweep and more a textural transformation.
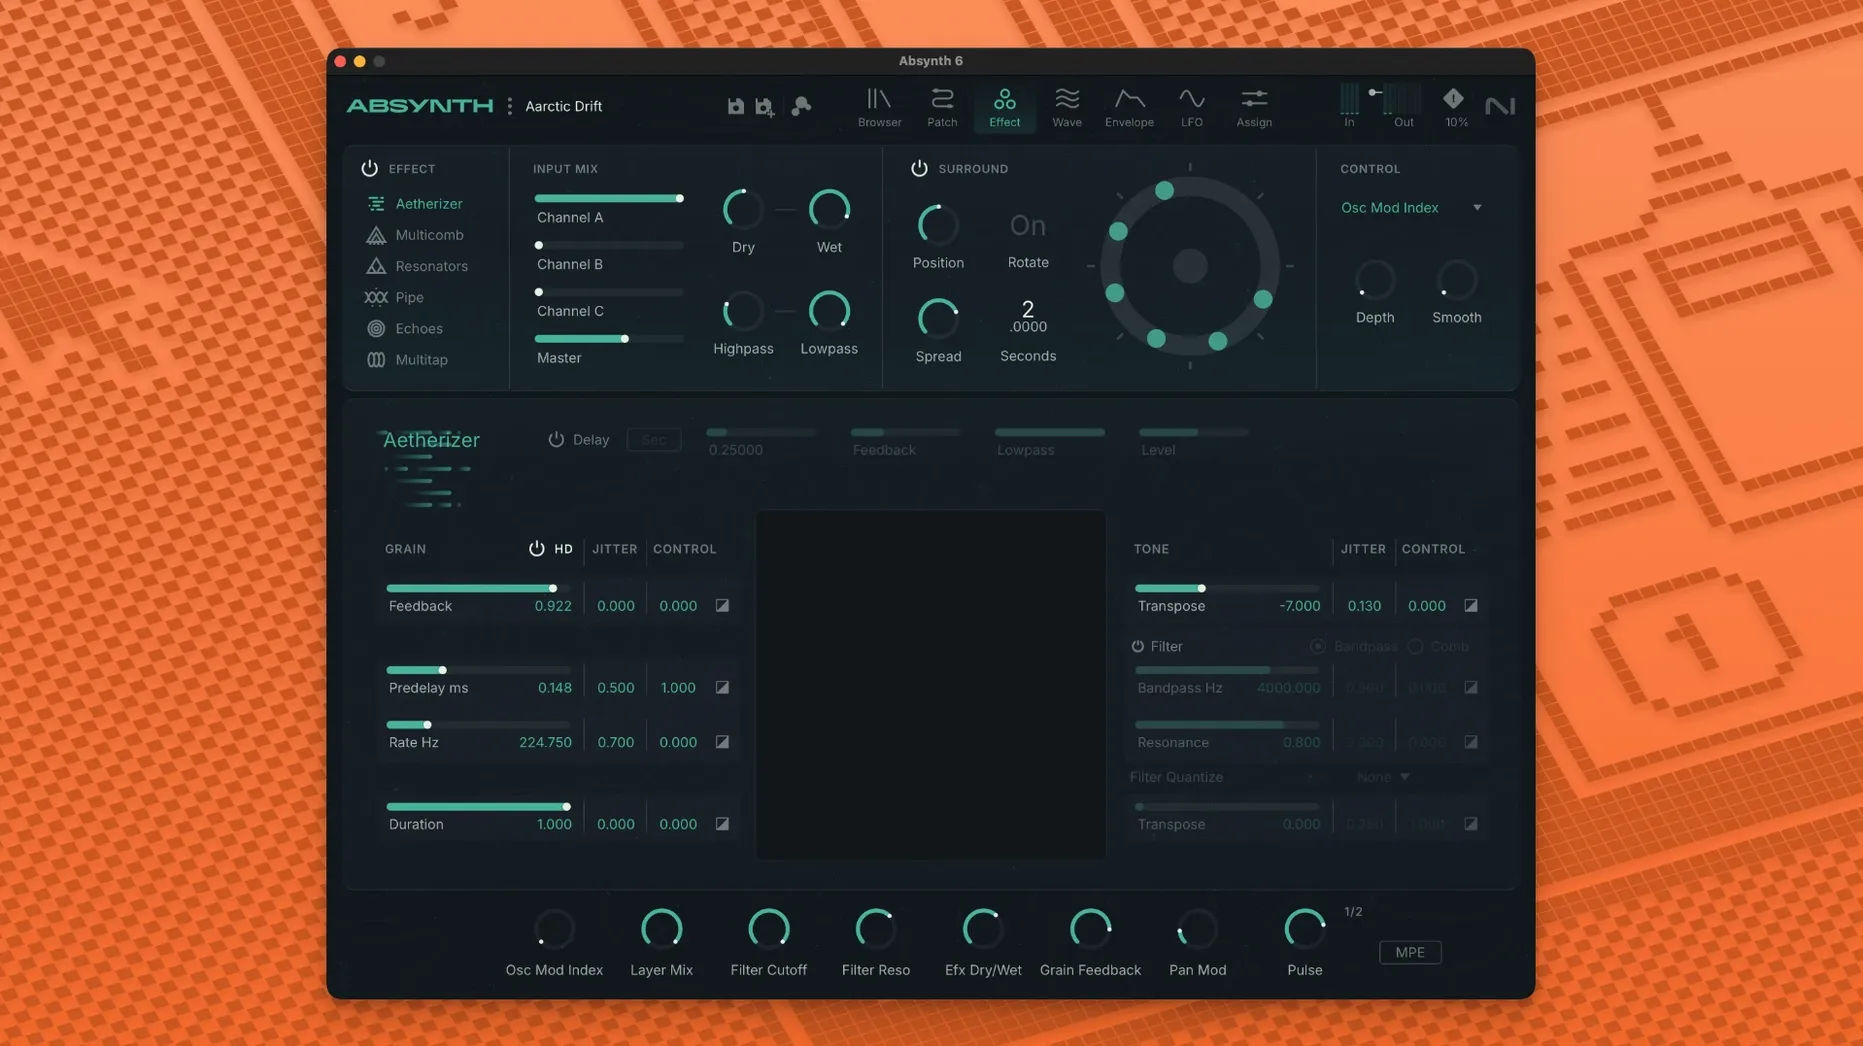
- Effects stack. Move to the Effects window and load the Aetherizer. It pitch-shifts and delays fragments of the input, producing an unstable stereo field. A small wet/dry mix adds movement to a static pad without obscuring the source.
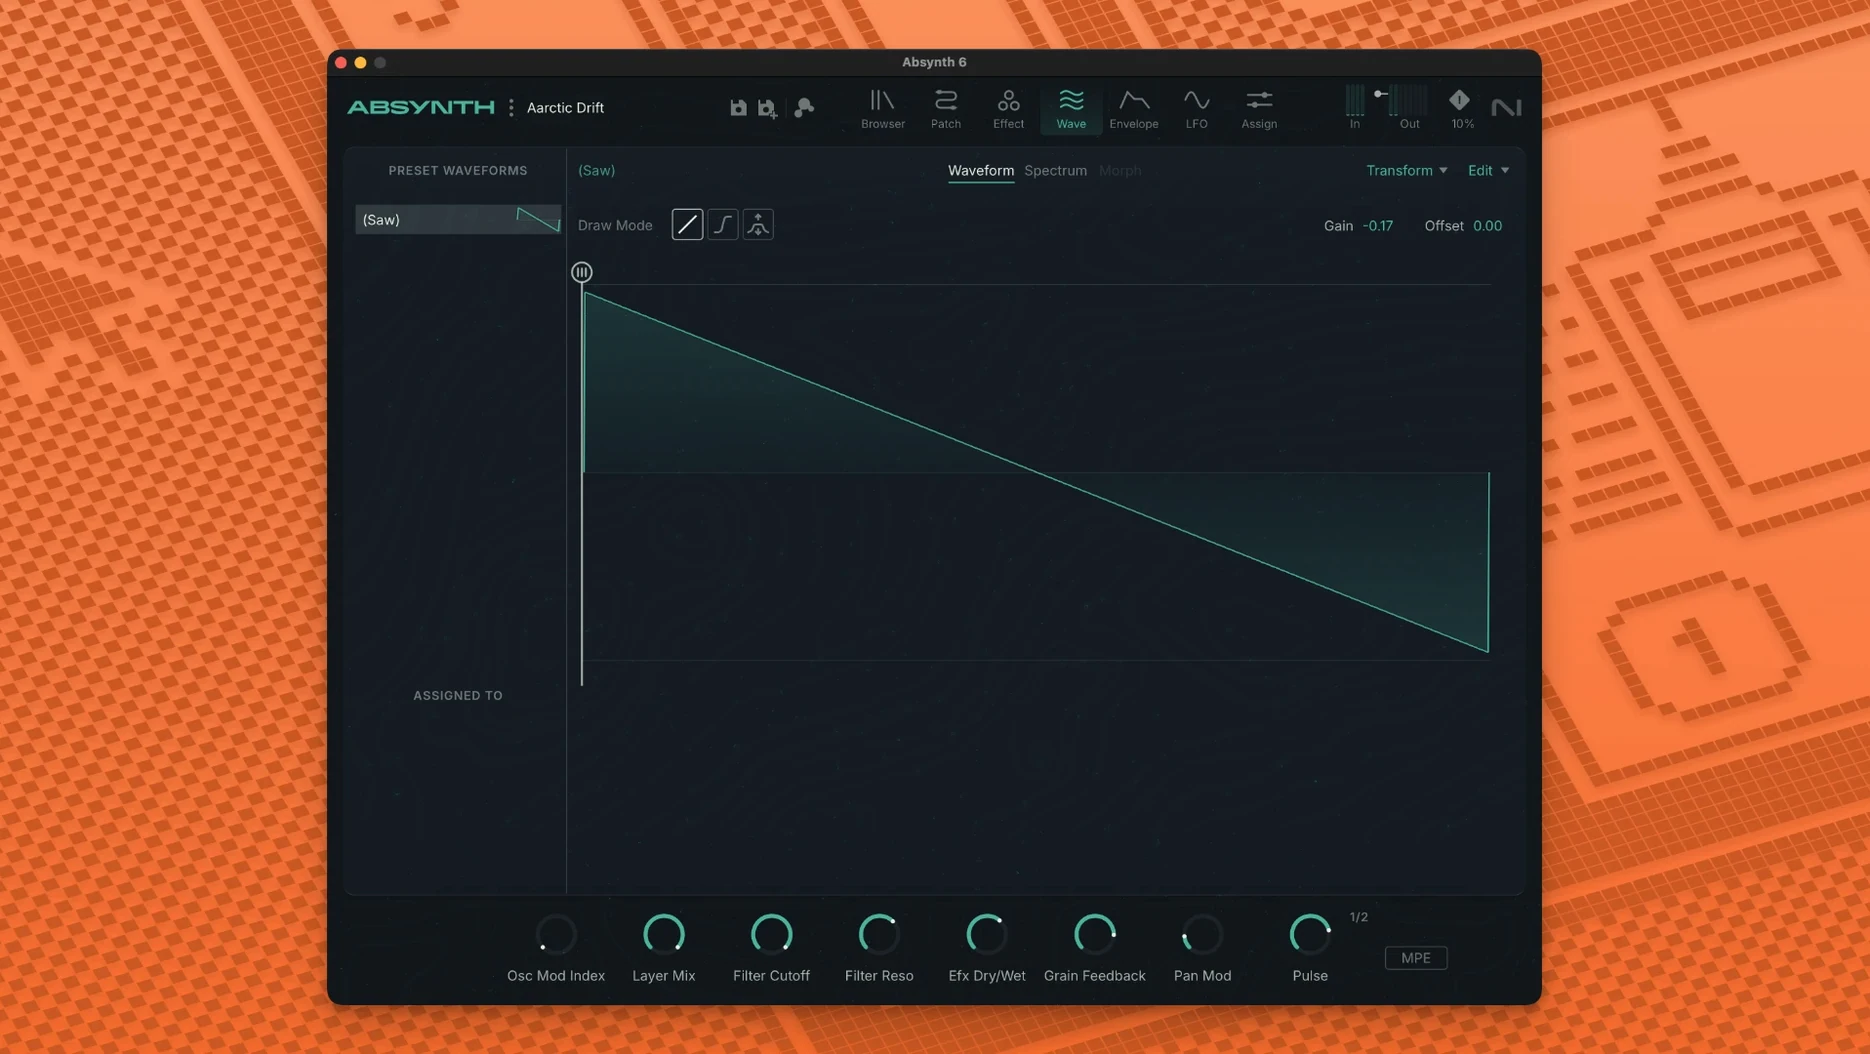
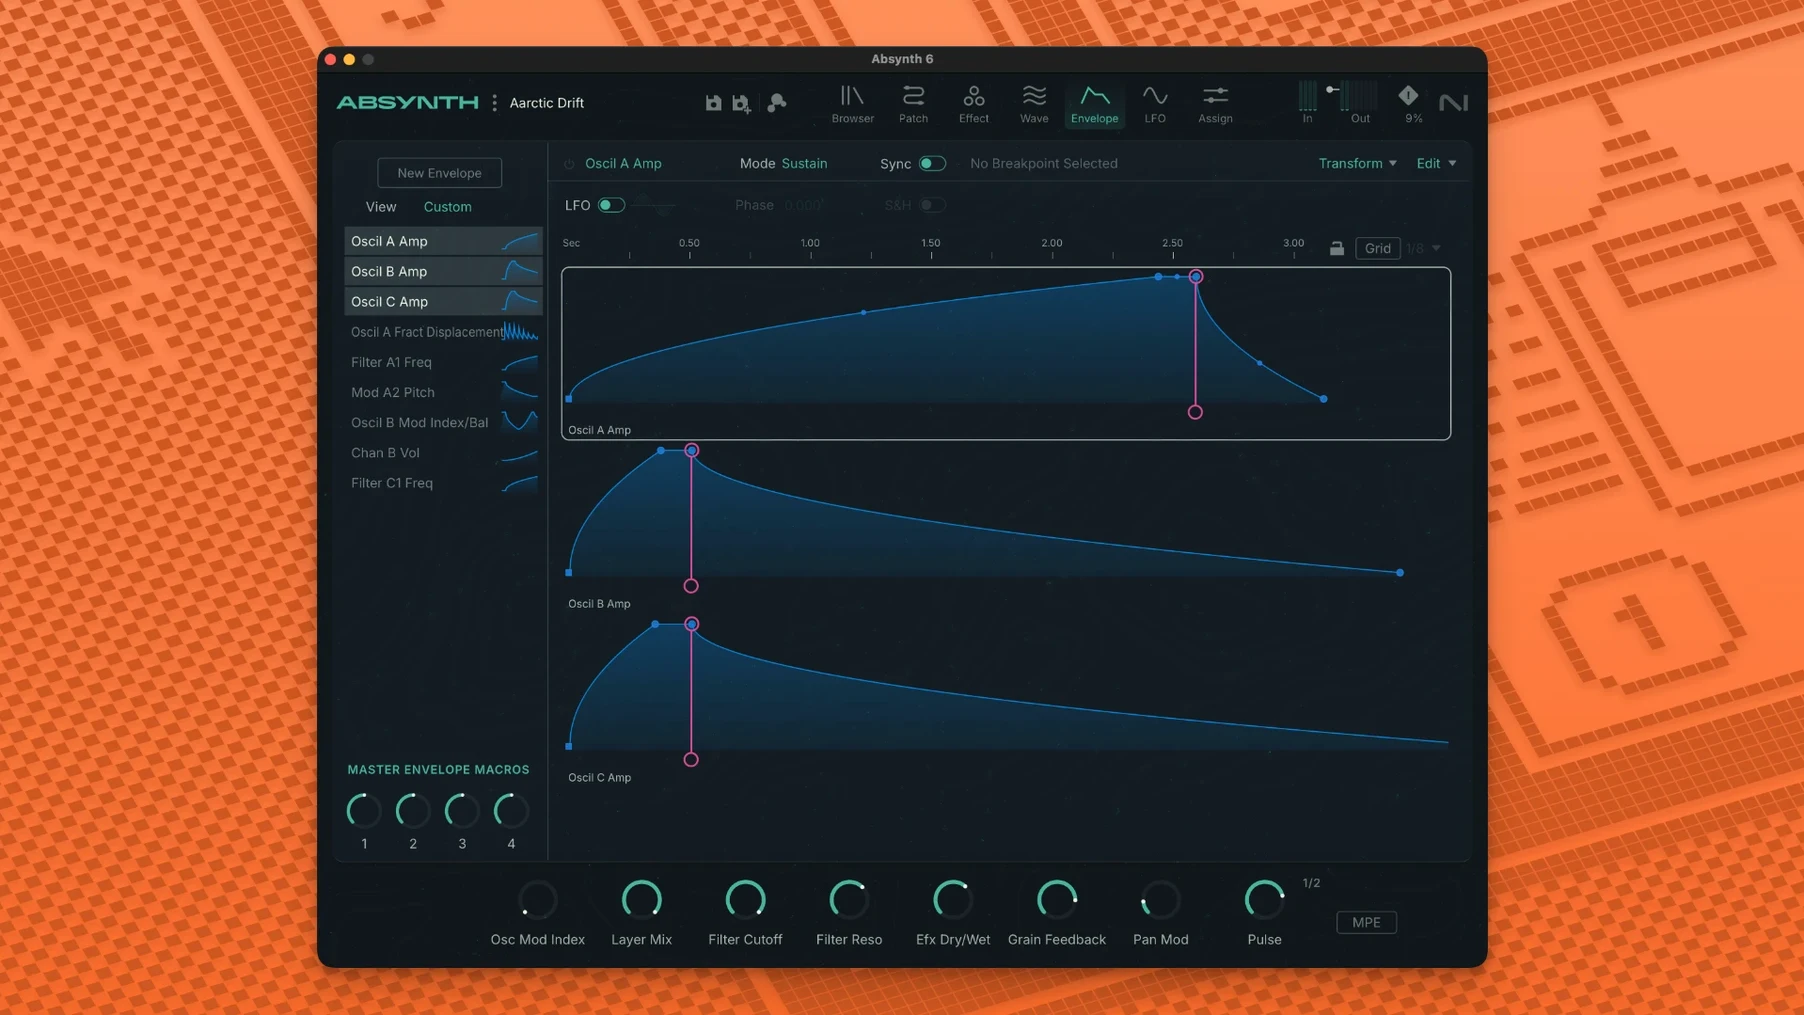
- Envelope control. Absynth's envelopes are not simple ADSR curves. Draw a multi-breakpoint shape in the envelope editor and assign it to the oscillator pitch. The synth will warp a held note through a sequence of microtonal bends over several seconds.
- Sound Mutator. Once you have a patch you like, save it and load a different factory sound into the Mutator. The tool crossbreeds characteristics of the two sources, generating variations that blend the spectral profiles in unexpected ways.
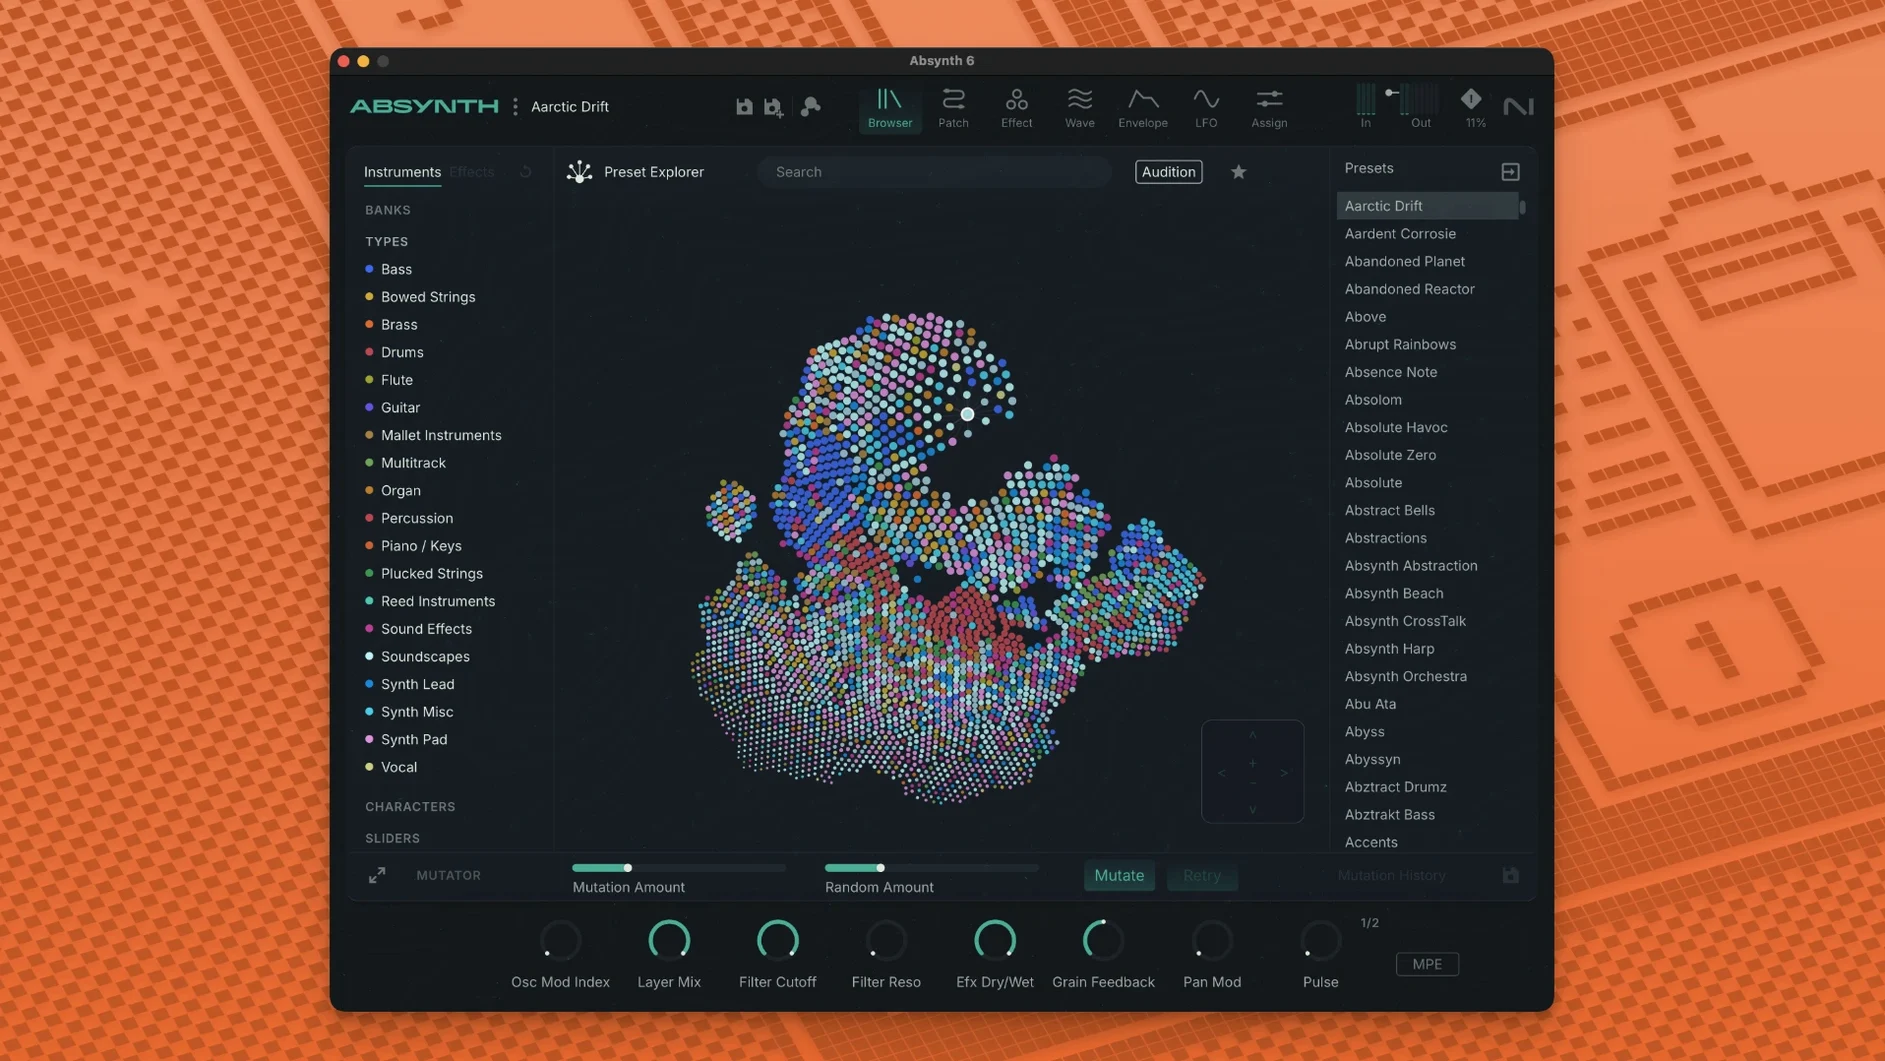
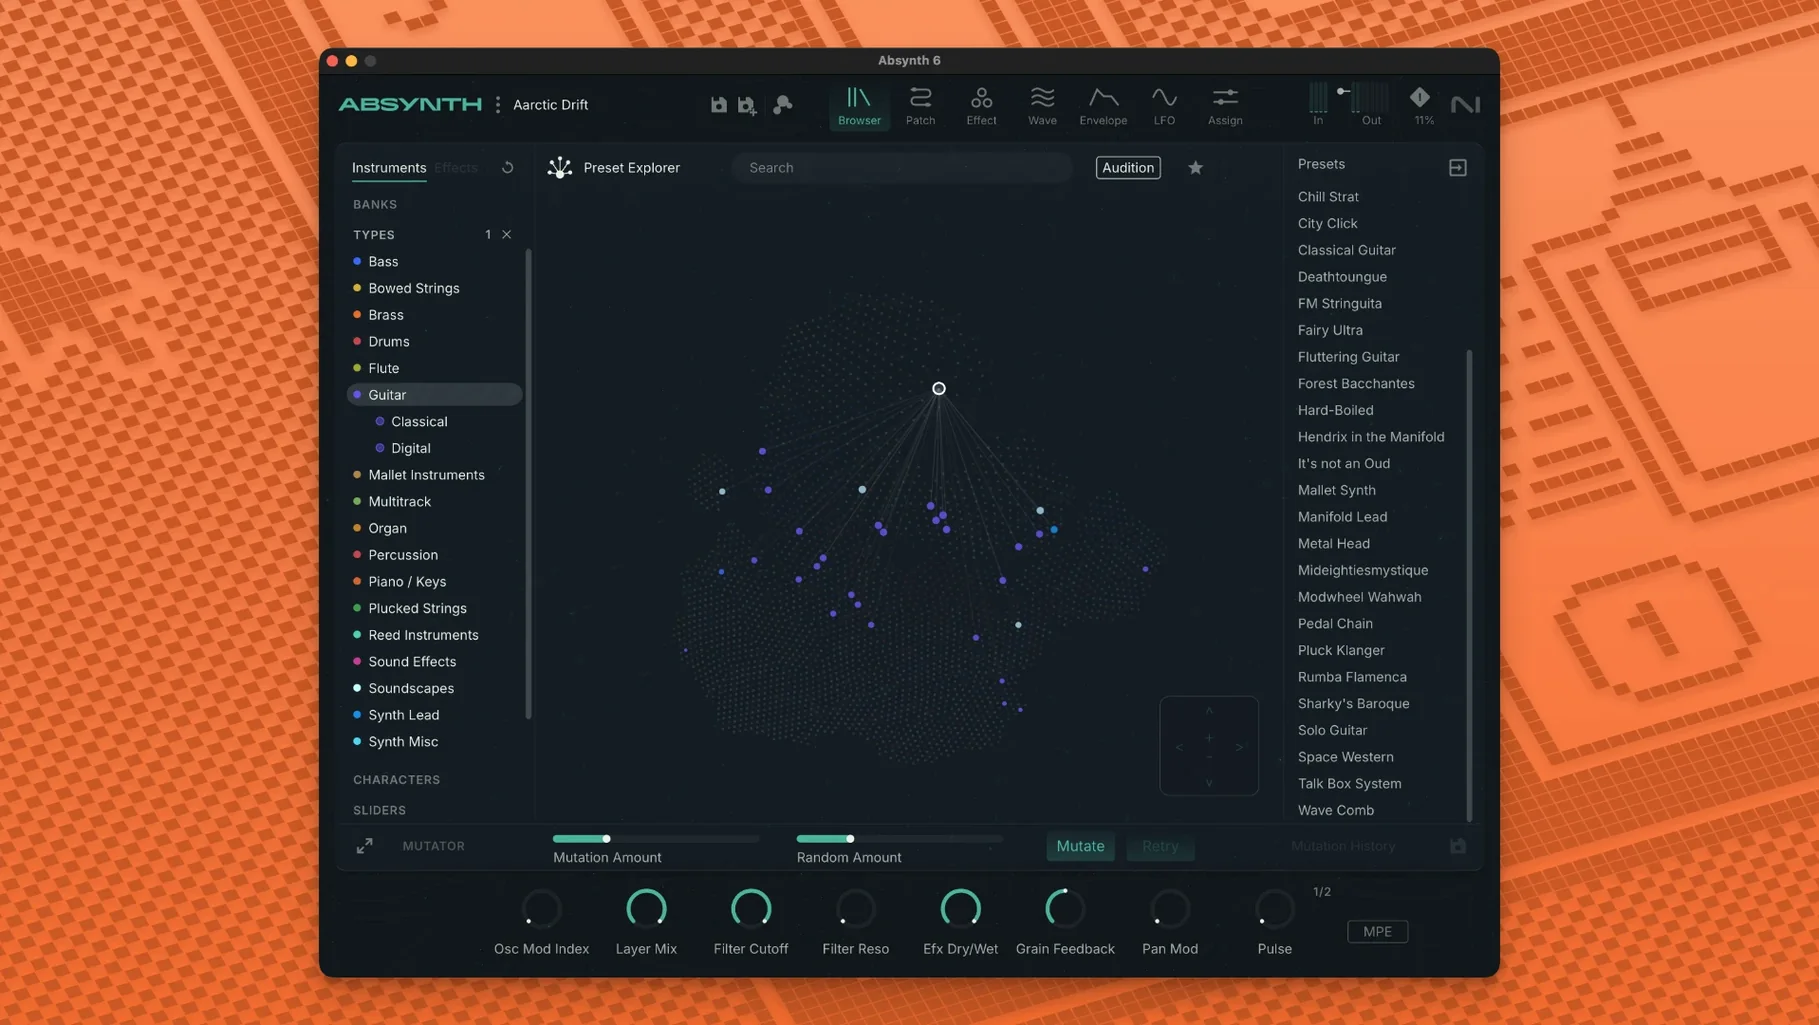
Working through these five stages reveals the instrument's internal logic: the three channels feed a filter stage, then the effects, with deep modulation available at every point. The preset browser, organised by timbre and category, is useful for deconstructing how a complex patch routes its modules, especially when you encounter surround panners set to Octaphonic output.
A specific task: designing a morphing MPE pad from scratch
Start with an empty patch and set all three channels to Granular mode. Load a short vocal sample into Channel A — something with a clear transient and a noisy tail, roughly 1.2 seconds long. Set the grain start position to 40% and modulate it with a slow LFO so the playback window drifts across the sample over 8–10 seconds. Channel B gets a wavetable oscillator: select a glassy digital table from the factory set, detune it by +7 cents, and reduce its amplitude so it sits underneath the granular voice. Channel C runs an FM pair with a ratio of 1:3.1, producing a bell-like sideband cluster. Keep its output low, just enough to add a metallic edge when you push into aftertouch.
Now open the Perform window and configure the MPE routing. Assign Channel A to respond to vertical slide (CC 74) on a per-note basis, mapped to grain density — pressing harder towards the back of an MPE controller key thickens the granular cloud. Channel B listens to polyphonic pressure, opening a low-pass filter in the Filter Module as you bear down. Channel C ignores pressure entirely but tracks per-note pitch bend with a range of ±48 semitones, allowing the FM bell to swoop independently while the other two voices hold steady.
For the effects chain, insert the Aetherizer first, set to a short delay time (under 60 ms) with moderate feedback. Follow it with the Supercomb tuned to the root pitch of your project — D2, for example — with damping at roughly 800 Hz. The comb resonance reinforces the fundamental while the Aetherizer smears the transients into a stereo wash. Pan Channel A slightly left, Channel B right, and leave the FM bell centred. The result is a pad that breathes, shifts timbre under your fingers, and never repeats exactly the same way twice.
3–4% CPU with Three Channels and Aetherizer on M1
On an M1 Mac with 16 GB of RAM, a single instance of Absynth 6.1.0 with all three channels active, Cloud Filter engaged and both Aetherizer and Supercomb running sits at roughly 3–4% CPU in Logic Pro at a 128-sample buffer. That figure doubles when you push the polyphony past eight voices with MPE data streaming, but the voice-stealing algorithm is conservative rather than jarring — long release tails are truncated cleanly rather than clicking out. On Intel machines meeting the Core i5 minimum, the same patch runs closer to 7–8% per instance, and you will want to freeze tracks once you stack four or five instances.
Loading time for the plug-in is under two seconds in AU format; the VST3 version scans a fraction faster on Apple Silicon hosts. The preset browser pulls up the 250 new factory sounds instantly — there is no database rebuild delay, which is a welcome change from earlier versions that sometimes stalled while indexing. Memory use for the plug-in process hovers around 180–220 MB for a typical patch. Granular mode with long samples pushes that upward, and loading a 30-second stereo WAV into Channel A can add another 40 MB. The 6 GB RAM recommendation feels realistic if you intend to run Absynth alongside a full orchestral template or multiple Kontakt instances.
Stability over a four-hour session is solid. No unexpected UI freezes occurred when switching between the Perform, Patch and Effect windows while playback was running, and the envelope editor stays responsive even with 68-breakpoint curves assigned to three destinations simultaneously. One quirk: the Sound Mutator can briefly beachball the interface when crossbreeding two complex patches that both use granular mode — roughly a two-second pause on M1, closer to five on older Intel silicon.
Default Amplitude Envelope Makes Patches Feel Sluggish
The most common error is ignoring the amplitude envelope in the Oscillator Module. Absynth's default envelope for each channel is not a simple gate — it applies a short fade-in and fade-out that can make a patch feel sluggish on fast passages. New users often pile on compression in their DAW to fix the attack, when the real solution is opening the envelope editor and dragging the first breakpoint to 0 ms.
Another frequent misstep involves the filter routing matrix. The three channels do not automatically feed the Filter Module in series; you need to open the routing grid and explicitly connect each channel's output to the filter input. A patch that sounds thin and dry despite heavy effects settings usually has one or more channels bypassing the filter stage entirely. The grid is small and easy to overlook on a first pass through the interface.
Beginners also tend to set the Supercomb frequency to a fixed value rather than enabling keyboard tracking. A comb tuned to 440 Hz sounds resonant and present on A4, but loses all its character two octaves lower. The "KTr" button next to the frequency parameter solves this, and missing it leads to patches that work beautifully in a narrow range and fall apart everywhere else. Finally, the Aetherizer's default wet/dry mix is 50%, which overwhelms transient-heavy sources. Pulling it back to 15–25% and automating the mix for different song sections yields far more usable results than leaving it static.
Granular Fox Barks Become Alien Vocalisations
A game audio designer sits down with a brief: create a set of alien creature vocalisations for a science-fiction title. She opens Absynth and loads a field recording of a fox bark into Channel A's granular engine, shortens the grain window to 80 ms, and randomises the start position with a sample-and-hold modulator. The result is a stuttering, glottal texture that retains the animal's formant structure but loses any recognisable phrasing.
Channel B runs an FM setup with a carrier at 180 Hz and a modulator sweeping from 0 to 900 Hz under the control of a long, hand-drawn envelope — the kind of inharmonic sweep that suggests a throat changing shape. She routes both channels through the Cloud Filter with density set high and grain size set low, creating a diffuse, breathy halo around the dry signal. The Supercomb follows, tuned to 110 Hz, adding a low resonant cavity that makes the sound feel chest-sized. She maps the mod wheel to comb feedback, so pushing it forward introduces a snarling, almost threatening resonance. Within 40 minutes she has twelve variations, each distinct enough to cover different creature sizes and emotional states, all from a single field recording and two synthesis channels.
She exports the stems as 32-bit float WAVs and drops them into the game engine's audio middleware. The entire session — Absynth, her DAW, a convolution reverb and the middleware preview tool — runs without a single overload or crash. The synth's surround panners are set to Quadraphonic for the creature's idle sounds, leaving the centre channel free for dialogue and the LFE for footsteps. The designer notes that earlier versions of her template required a separate surround panner plug-in; having it built into Absynth saves a slot in her effects chain and reduces the routing complexity in her DAW by a measurable amount.
- macOS 14 or later
- Intel Core i5 or Apple Silicon
- 4 GB RAM (6 GB recommended)
- 64-bit VST3, AU or AAX host
Questions on file
What synthesis types does Absynth 6 support?
It supports subtractive, FM, wavetable and granular synthesis, and they can be combined across three oscillator channels.
Does Absynth 6 support surround sound formats?
Yes, it supports up to eight-channel surround formats, including Quadraphonic, 5.1 and Octaphonic configurations.
Sign in · Create an account to add a field note.
No field notes yet. A measurement, a version, a machine — they appear after moderation.