Audio
Amadeus Pro 2.8.14 Beta
AudioUpdated
| Requirement | On file |
|---|---|
| macOS | OS X 10.9 or later |
| CPU | Intel 64-bit |
| Download | 18 MB |
Amadeus Pro runs on any Mac with macOS 10.9 (Mavericks) or a later version. It is a native Intel application, and it works on Apple Silicon Macs through Rosetta 2 translation. No separate Apple Silicon build is available.
Load your VST and Audio Unit plug-ins directly on the timeline
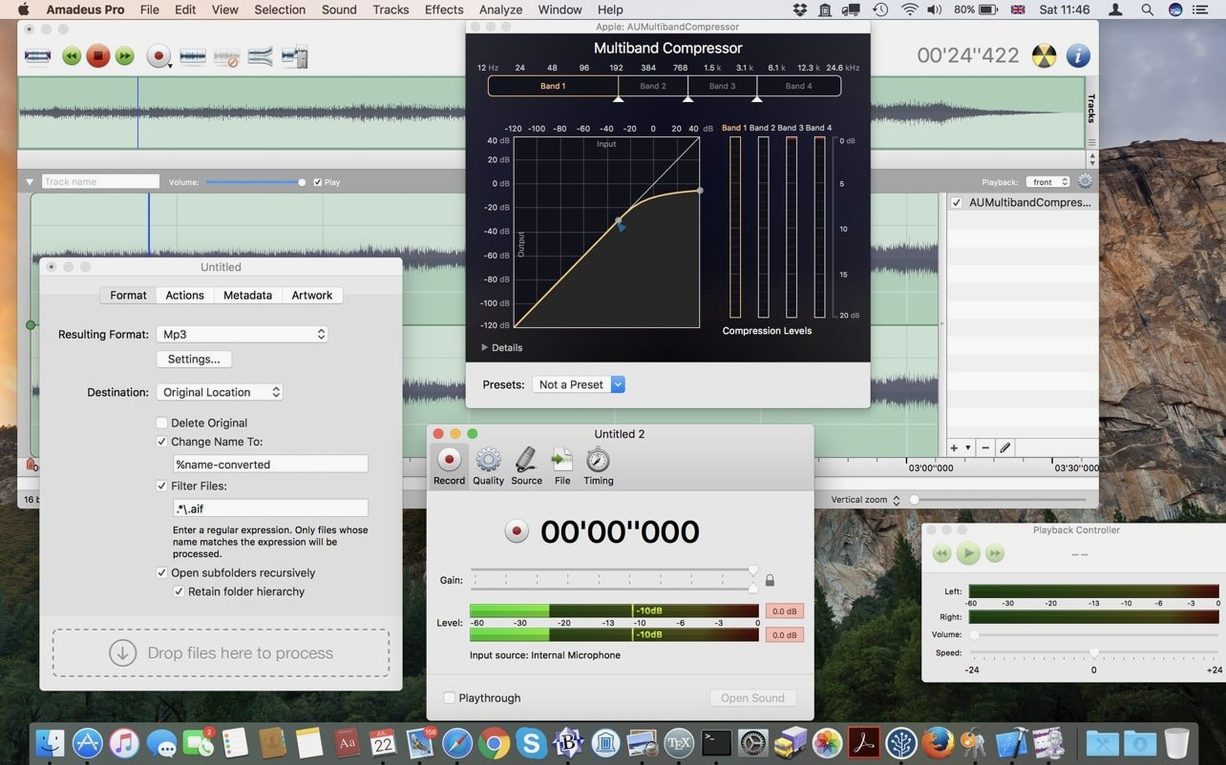
Yes. The editor loads both VST effects and macOS-native Audio Unit plug-ins. That gives you access to a wide range of third-party processors directly on the editing timeline.
Does it handle more than two tracks at once?
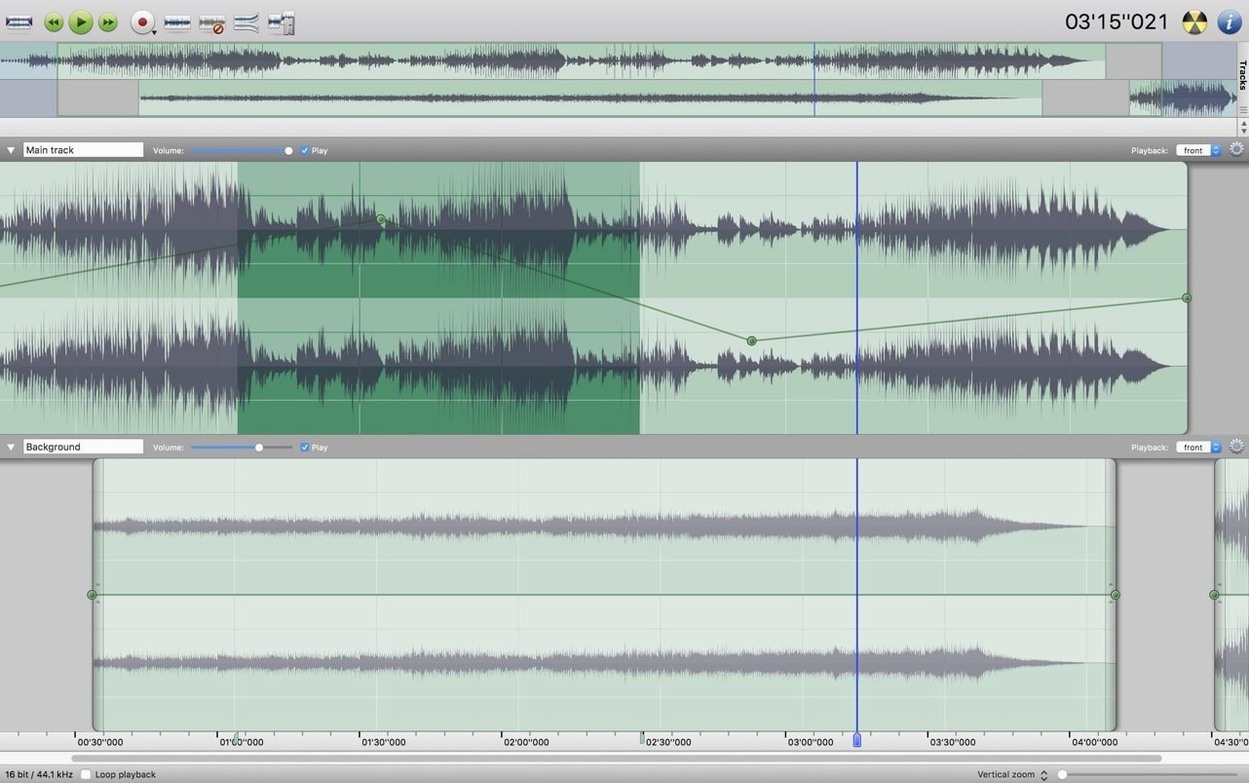
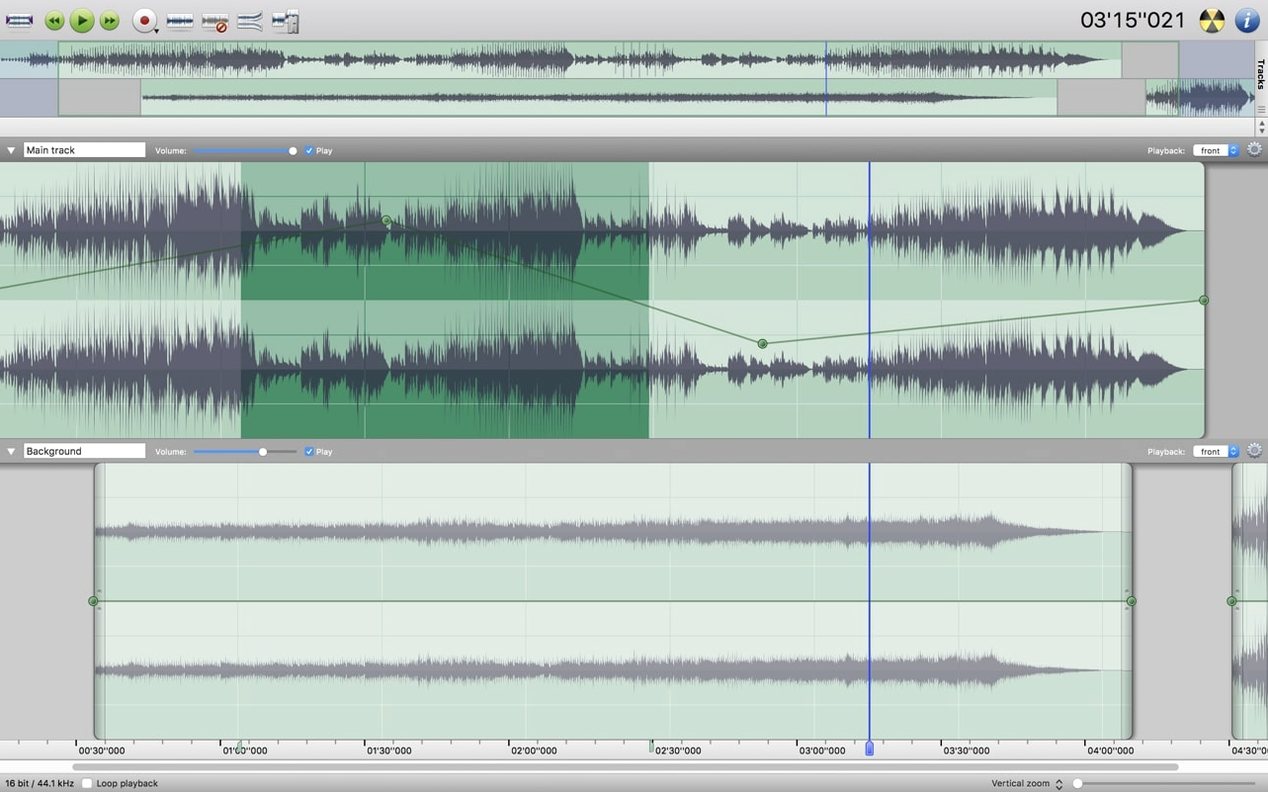
It does. Each track is edited independently, which lets you arrange and process complex multi-track projects without bouncing or flattening stems prematurely.
Can I process a folder full of files automatically?
Yes. The batch processor applies the same chain of effects and format conversions across multiple files. You can also route the output directly to disk during processing, which keeps memory use low on long batches.
Settings worth adjusting straight away
Out of the box, Amadeus Pro ships with sensible defaults, but a handful of preferences make a noticeable difference to speed and comfort. Open Amadeus Pro > Settings and step through these three areas first.
Under General, switch the Default waveform cache format to 16-bit if you are editing long recordings — interviews, live sets, digitised vinyl sides. The smaller cache files scrub faster on older Intel Macs and cut disk chatter. Keep 32-bit float only when you are stacking many plug-in gain stages. Also tick Restore last session on launch if you work on the same project across several days; it drops you straight back into your track layout and marker set without hunting through the Finder.
In the Playback pane, set Scrub speed to a value between 0.5× and 0.8× for dialogue editing. The slower scrub makes it easier to catch mouth clicks and plosives by ear. Raise it to 1.2× for music stems when you just need to confirm a crossfade. While you are there, confirm that Playhead follows selection is on — it is off by default, and without it the playhead stays put when you click a different region, which can catch you out during precise edits.
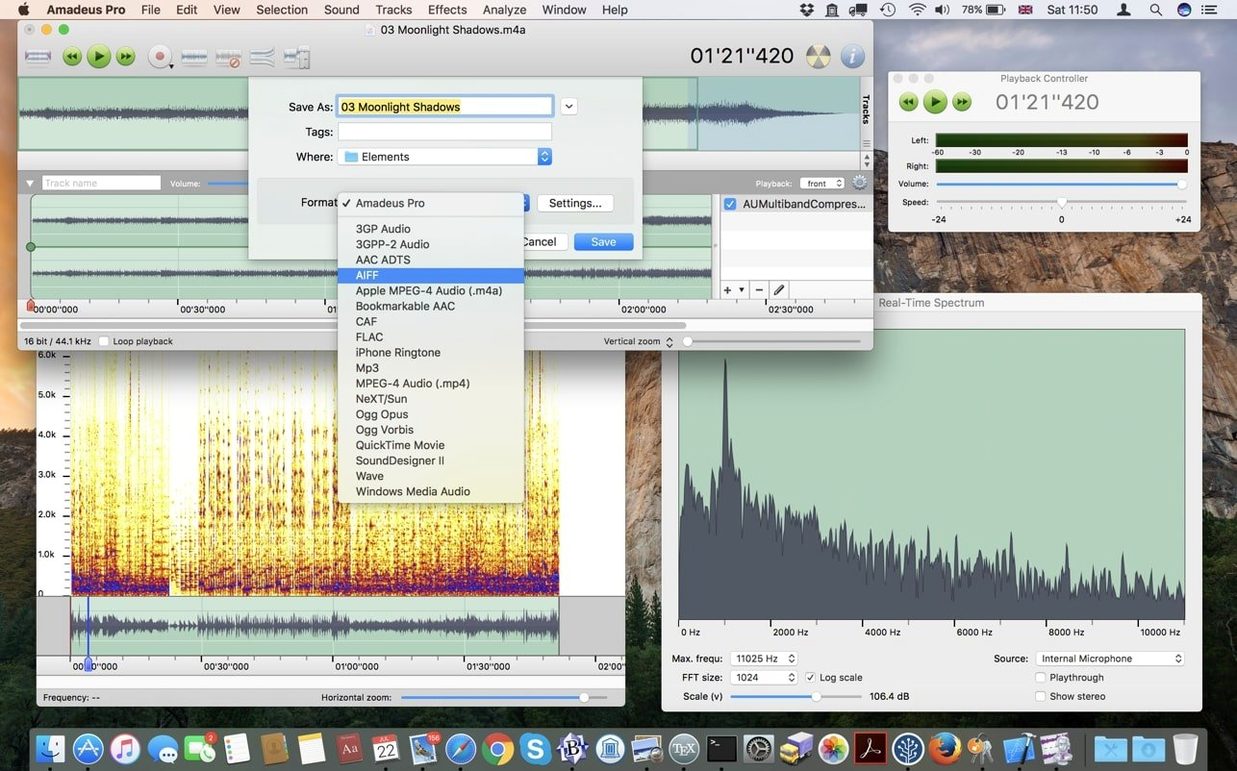
The File Formats tab controls the encoder defaults used during export and batch processing. Set MP3 encoding to VBR, quality 85–95 for rough cuts and client drafts — the files are small enough to email but still listenable. For archiving masters, switch the default AIFF bit depth to 24-bit integer. The AAC encoder defaults to 128 kbit/s CBR, which is fine for ringtones, but bump it to 192 kbit/s VBR if you regularly bounce podcast episodes or voiceover reels.
Drag-and-drop audio in and out of your other Mac apps
Amadeus Pro does not lock you inside a proprietary ecosystem. It reads and writes formats that the rest of macOS understands, which makes it straightforward to weave into a larger tool chain.
Drag and drop works in both directions. You can pull an AIFF or WAV file straight out of the Finder and drop it onto an empty track, or drag a selection from the waveform view to the desktop to export a snippet. The same behaviour extends to Apple Mail and Messages — highlight 15 seconds of a recording, drag to a chat thread, and the app renders a lightweight MP3 attachment on the fly.
For Logic Pro and GarageBand users, Amadeus Pro acts as a fast external editor. Set it as the default audio editor in Logic’s preferences, and selecting Edit in Amadeus Pro on any region opens that slice as a standalone file. Make your edits, save, and the change appears back on the Logic timeline. The round-trip works because both apps honour the same Core Audio file references.
Audio Unit plug-ins you already own — from companies like FabFilter, iZotope, or Valhalla DSP — show up automatically in the Effects menu. No rescanning, no separate plug-in manager. The same AU components Logic sees are available to Amadeus Pro. VST support broadens that further, particularly for older freeware effects that never shipped an AU version.
On the system side, Continuity Markup and Quick Look recognise the formats Amadeus Pro writes. Press Space on a bounced WAV or MP3 in the Finder to audition it without opening the app. The Share menu inside the app hooks into AirDrop and Mail directly, so sending a quick bounce to a collaborator needs two clicks and no trip to the Finder.
The one gap worth knowing: there is no Share Sheet extension for dragging selections from other apps into Amadeus Pro. You work from the Finder or from a saved file, not from a text selection in Notes.
A podcaster cutting an interview
Consider someone who records a 90-minute interview with two USB microphones aggregated as separate left and right channels in a stereo WAV. The raw file lands on the desktop. They open it in Amadeus Pro, split the stereo track into two mono tracks with Tracks > Split Stereo Track, and immediately see independent waveforms for host and guest.
They label each track with the speaker’s name using the track header, then drop markers at question boundaries by tapping M during playback. The markers appear as a vertical list in the marker pane, each one named by topic — “tour announcement,” “new bass player,” “recording setup.” Clicking a marker jumps the playhead to that point on both tracks at once.
For noise, they sample two seconds of room tone from the guest’s pre-interview silence, open Effects > Noise Reduction, capture the profile, and apply it at 12 dB reduction to the guest track only. The host track, recorded on a different mic in a quieter spot, needs no treatment. The whole noise pass takes under a minute.
Once the content is clean, they run a batch export: host track panned 20% left, guest track panned 20% right, both normalised to -16 LUFS, output as a 192 kbit/s AAC file with markers converted to chapter stops. The finished episode goes to their media host, and the markers become the chapter menu listeners see in their podcast app.
Workflow: digitising a vinyl LP side
This workflow turns a 20-minute vinyl side into a clean, tagged digital album track. You need a turntable with a USB output or a phono preamp connected to your Mac’s line input, and about 35 minutes of attentive time.
- Set the input device in Amadeus Pro > Settings > Input to your USB turntable or audio interface. Set the sample rate to 96 kHz and bit depth to 24-bit. Higher rates give the declick algorithm more samples to work with.
- Create a new stereo document with File > New. Press Record, cue the stylus onto the lead-in groove, and let the side play through. Watch the waveform build. Leave 10 seconds of silence at the tail so you have a clean noise print later.
- Stop recording when the run-out groove ends. Save the raw capture as a 96 kHz AIFF with File > Save. This is your archival master — never overwrite it.
- Highlight a one-second silent section between tracks (or the lead-out silence) and open Effects > Noise Reduction. Click Capture Profile, then select the entire waveform and apply reduction at 8–10 dB. That pulls down surface noise without dulling the top end.
- With the full side still selected, run Effects > Declick. Start with the default sensitivity of 50. Listen to a loud passage; if ticks remain, undo and raise sensitivity to 65. The algorithm targets short transient spikes, so it leaves snare hits and hi-hats largely intact.
- Normalise the side to -0.3 dB with Effects > Normalise. This lifts the overall level to a modern listening volume without clipping.
- Mark track boundaries by scrubbing to the silence between songs and pressing M. Name each marker after the track title. The marker list now doubles as a track index.
- macOS 10.9 or later
- Intel processor (Apple Silicon supported via Rosetta 2)
Questions on file
What audio analysis tools does Amadeus Pro include?
It includes a sonogram view, a spectrum analyser, and a waveform display with precise amplitude measurements.
How do I apply fades to a track?
Select a region and apply a fade-in or fade-out from the Effects menu; the envelope is drawn directly onto the waveform.
Sign in · Create an account to add a field note.
No field notes yet. A measurement, a version, a machine — they appear after moderation.