Audio
Kontakt 8.13.1
AudioUpdated
| Requirement | On file |
|---|---|
| macOS | macOS 14 or later |
| CPU | Apple Silicon, Intel 64-bit |
| Download | 1.7 GB |
A producer opens a factory strings patch, draws a few MIDI notes in the piano roll, and hears a full string section swell through the monitors.
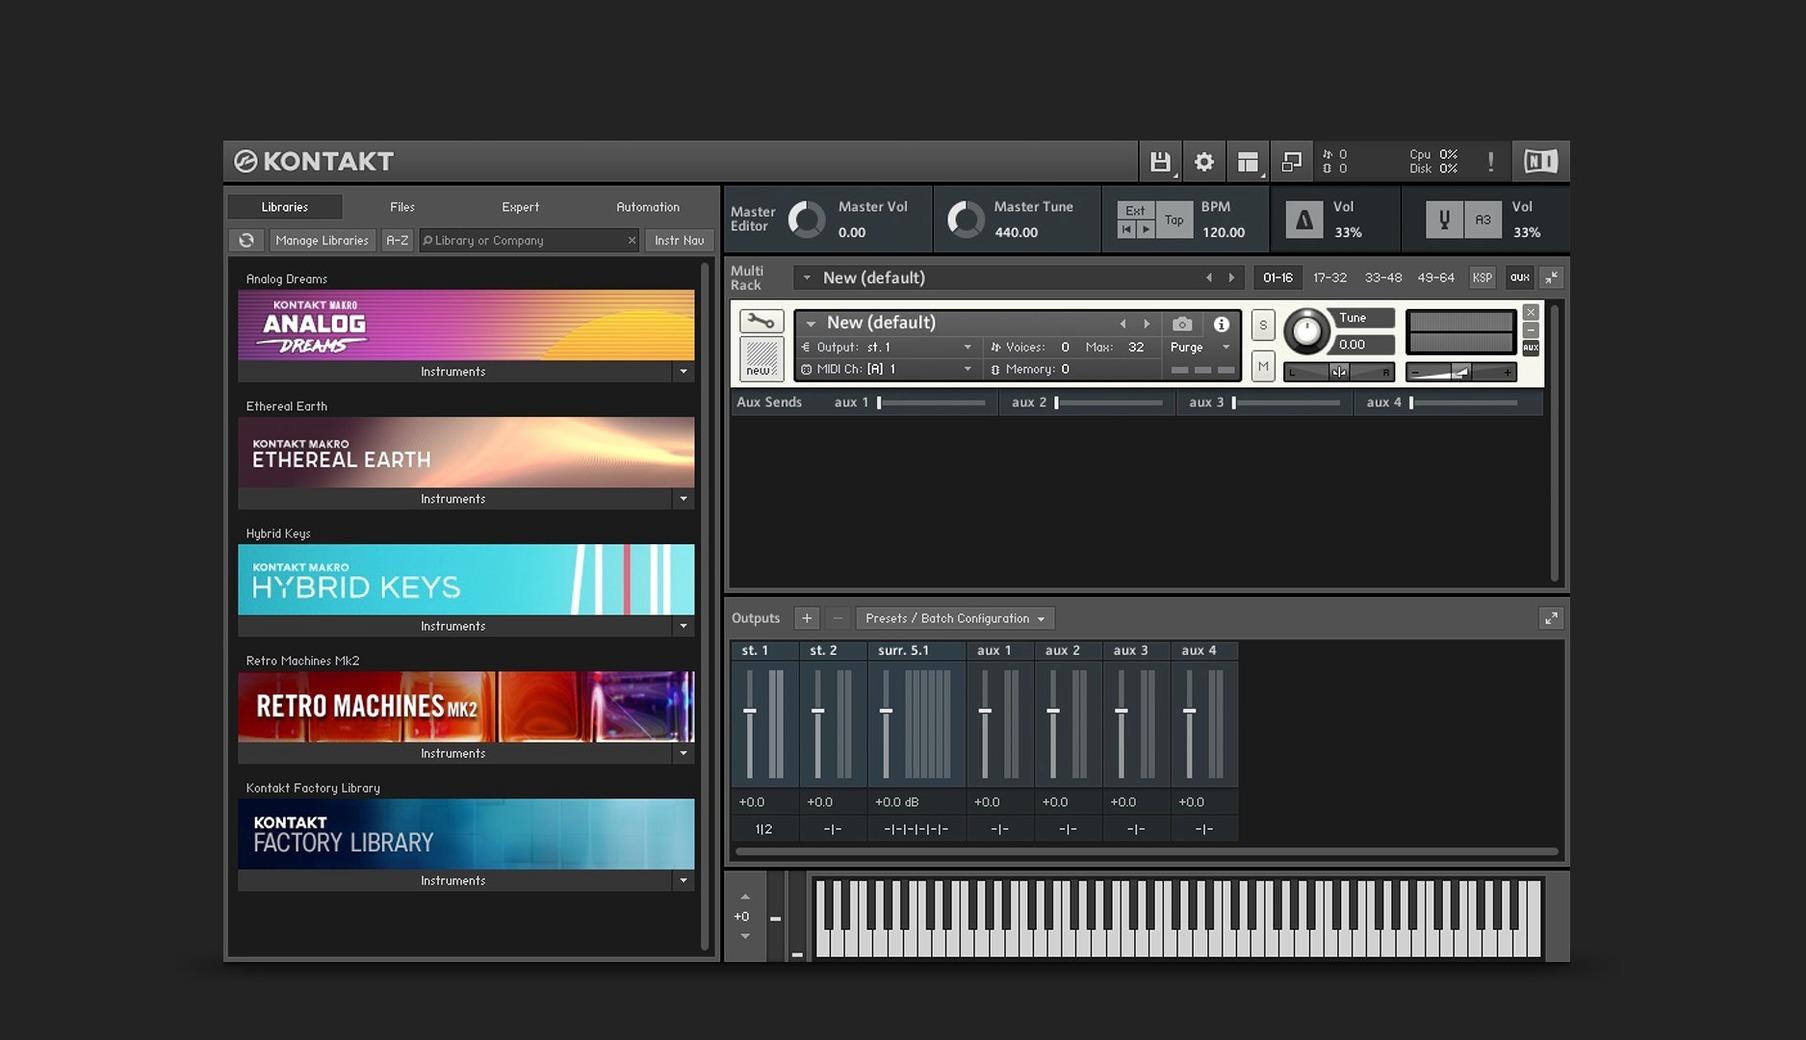
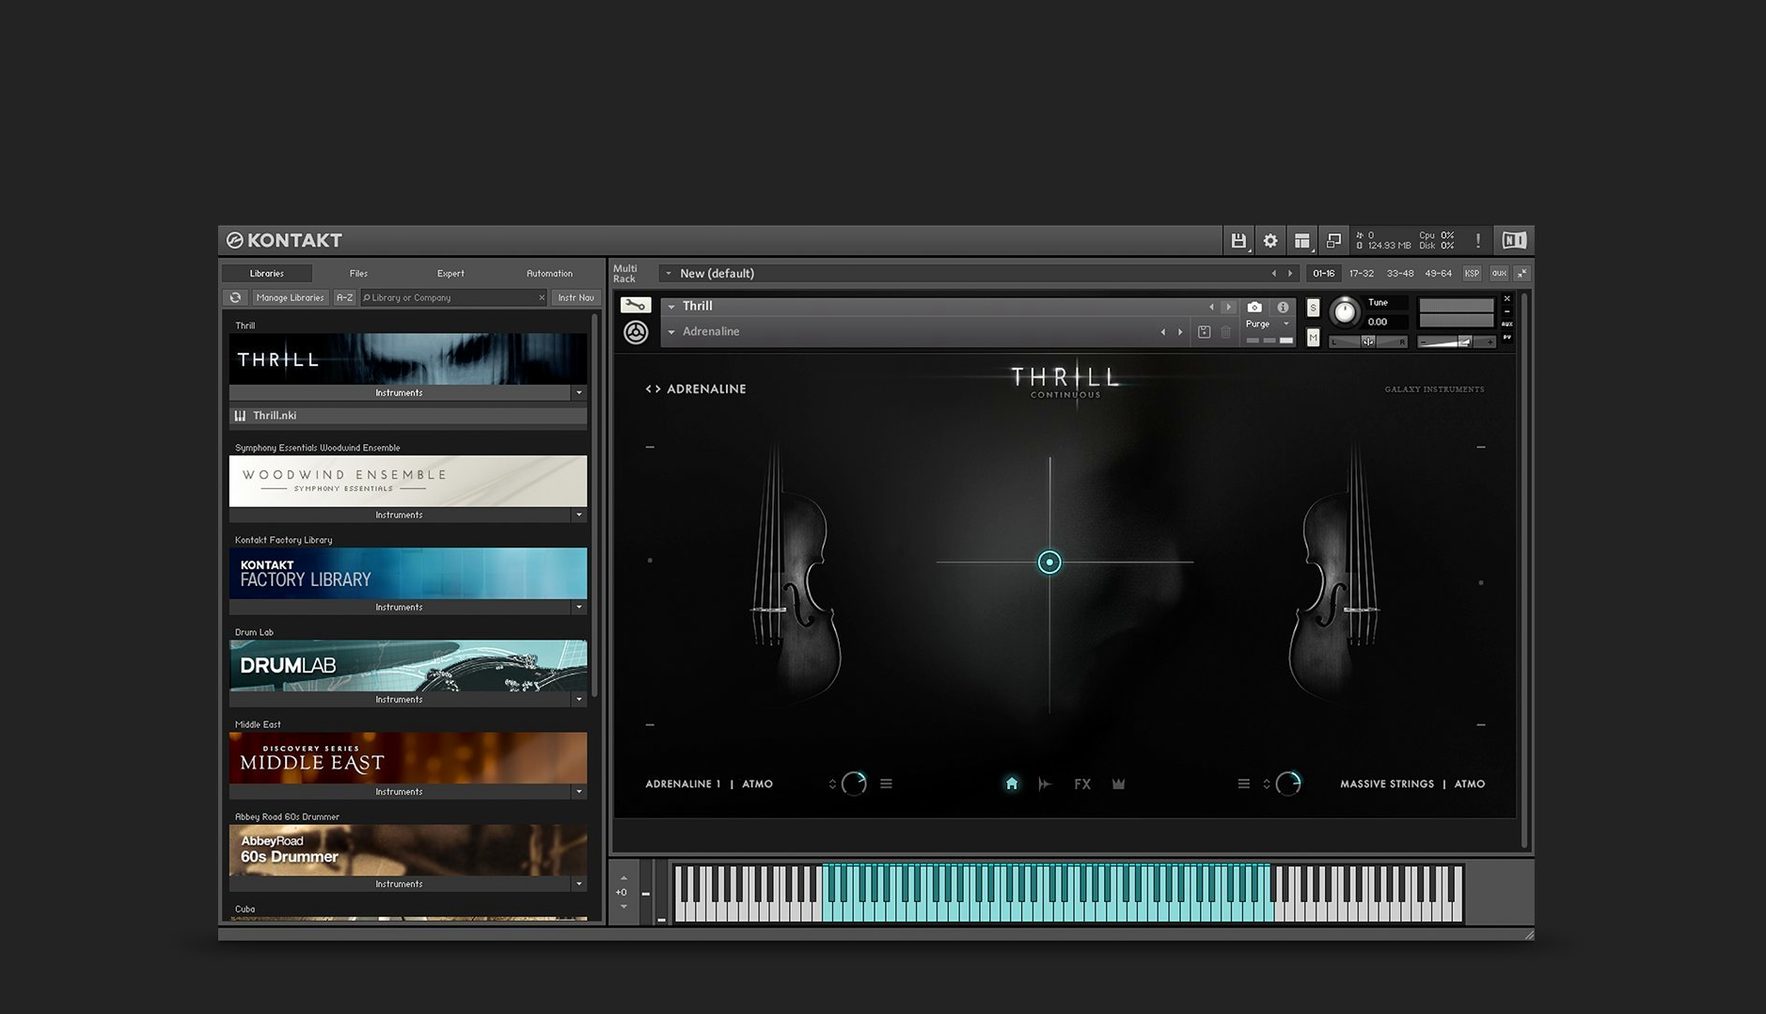
Kontakt — a software sampling platform that loads, plays and powers third-party and in-house sample-based instruments.
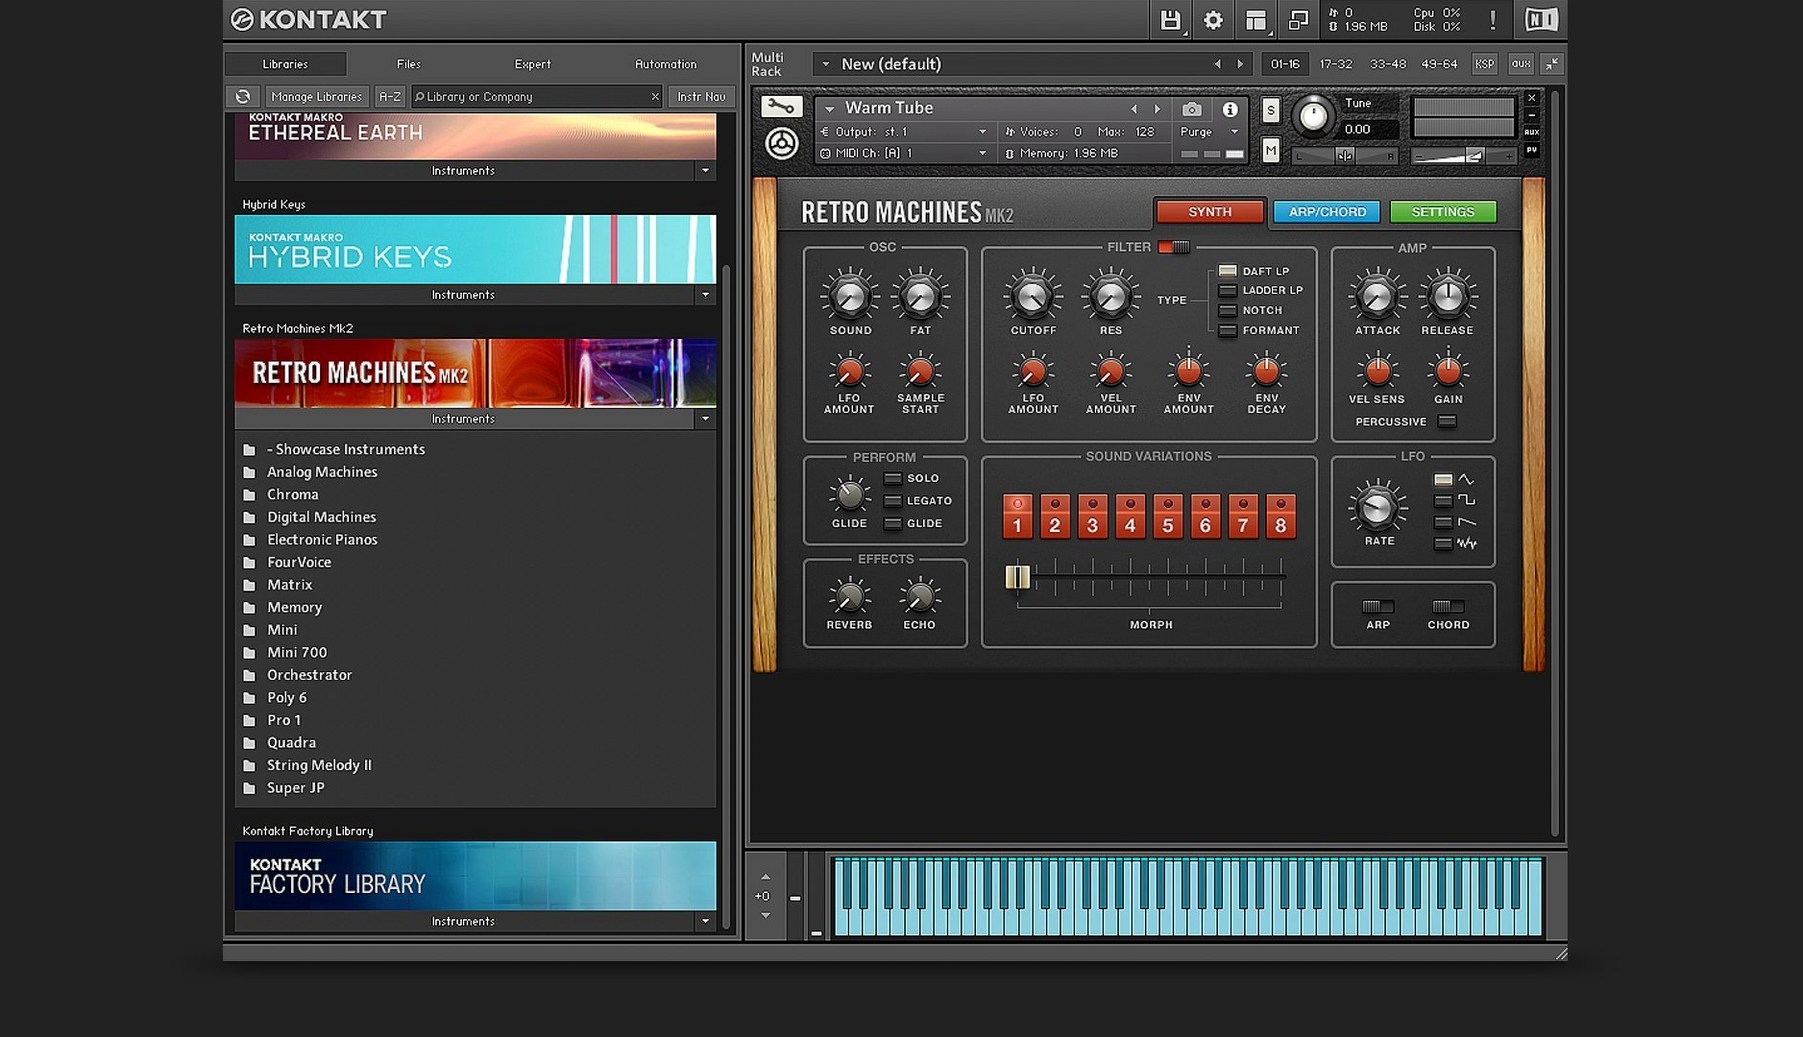
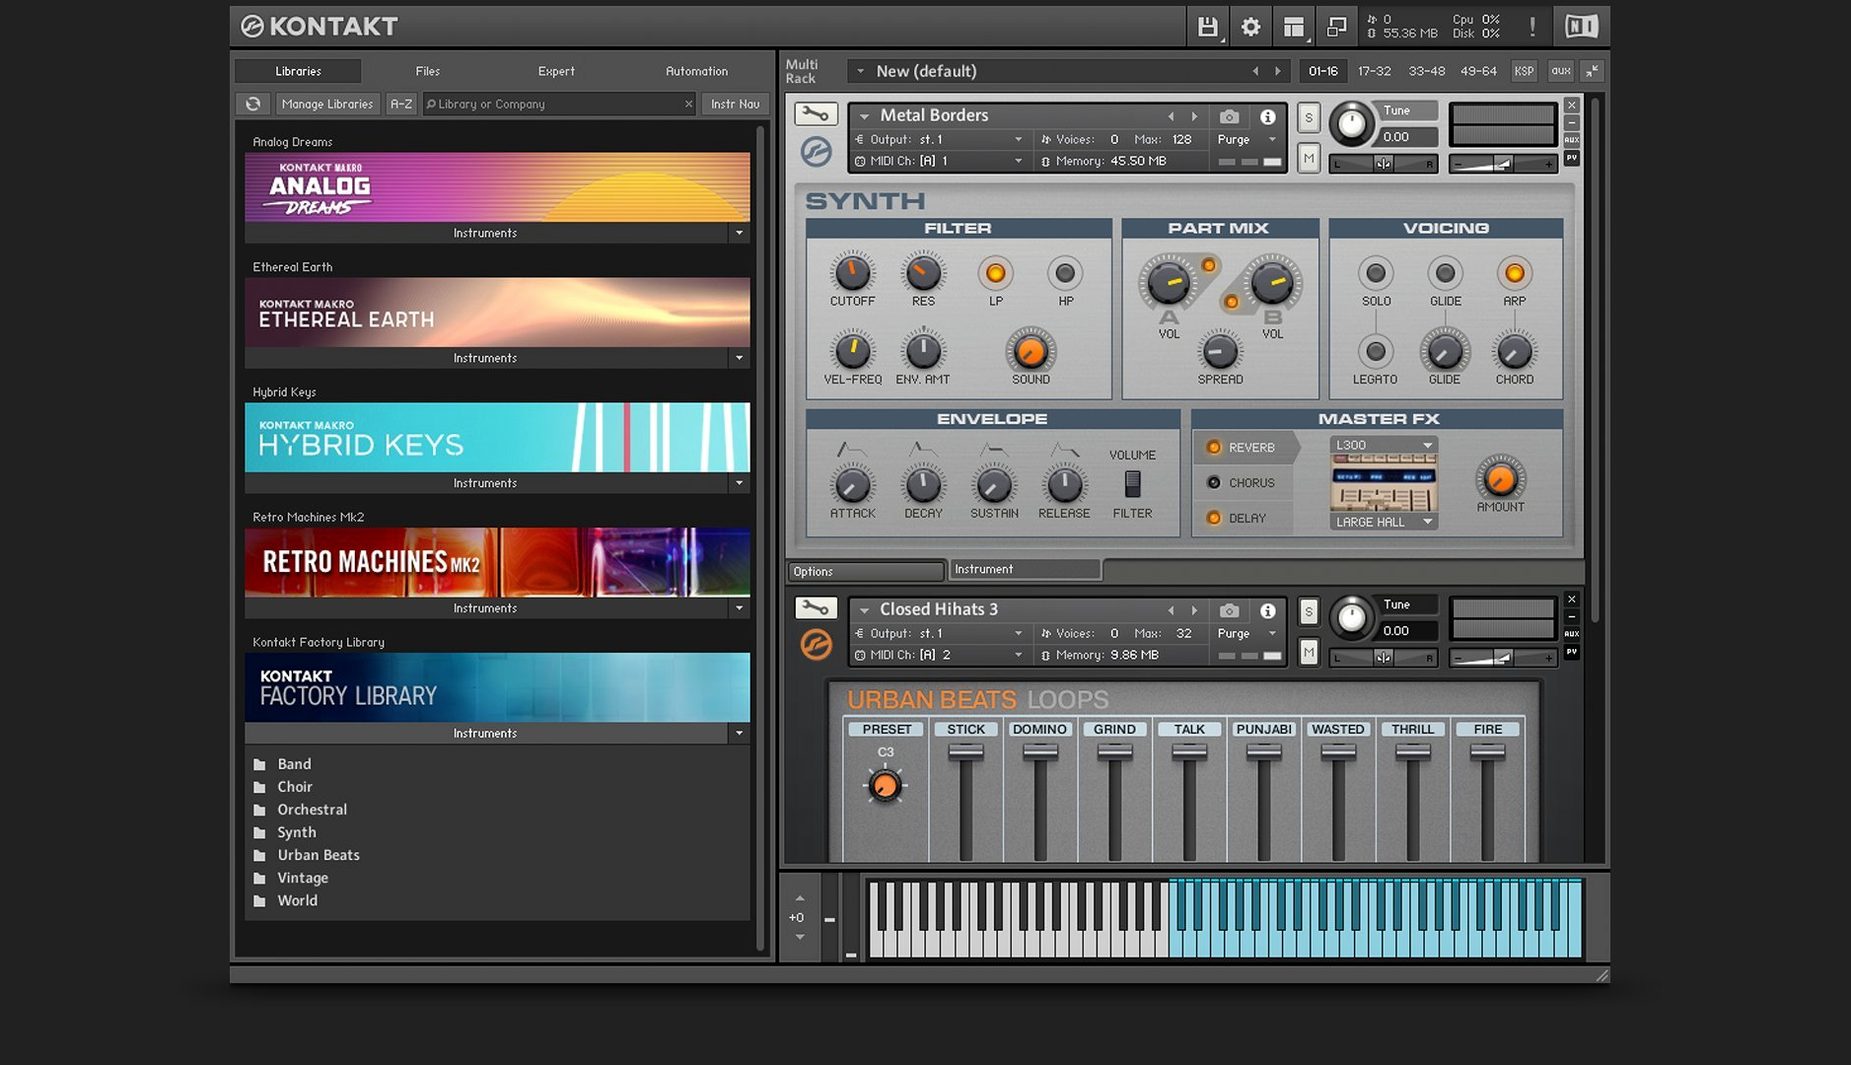
Library — the left-hand browser pane. Your collection of installed instruments, from orchestral sections to vintage drum machines. A newcomer's first stop is the factory library to audition patches and understand the range of supplied sounds.
Default view — new in version 8, this streamlined front panel shows the essential controls for a loaded instrument. It strips away the deeper editing tabs so you can focus on key switches, macro knobs and primary articulations without distraction.
Leap — a dedicated section for playing and performing loops and one-shot samples. Drag a loop in, and Leap maps it across the keyboard with real-time control over start point and pitch. Useful for quickly warping a vocal phrase or a percussion break into a playable instrument.
Tools — MIDI manipulation modules that sit between your keyboard and the sound engine. You can insert an arpeggiator, a chord generator or a phrase sequencer without touching the instrument's internal scripting.
Komplete Script — the scripting language for building custom instrument interfaces and behaviours. If you ever open an instrument and see a bespoke UI with animated controls, it was written in this.
Adaptive Resonance — an automated filter control that tames excessive resonance peaks. It prevents the harsh, whistling artifacts that can occur when a resonant filter is pushed hard, particularly on material with strong harmonic content.
Where Kontakt Pays Off Fastest
Not every Mac user needs a deep sampling platform. The people who extract real value from Kontakt tend to fall into a few clear groups, and understanding which one you sit in shapes how you approach the tool from day one.
Orchestral composers and media scorers. This group lives inside Kontakt. A typical template for a TV drama might load 40–60 instances, each hosting a different Spitfire or Orchestral Tools library. The appeal is the sheer depth of articulation switching — keyswitches, velocity layers, round-robins — all handled at the instrument level without the DAW needing to know about it. These users care most about purge-to-disk memory management and the ability to disable unused mic positions to keep a project within RAM limits.
Sound designers who build their own instruments. If you regularly record found sounds — a gate hinge, a glass strike, a servo motor — and map them across the keyboard, Kontakt's mapping editor and KSP scripting are the draw. This group uses the sampler as a blank canvas rather than a playback device for someone else's libraries. They tend to keep a second monitor dedicated to the wave editor and the group editor.
Beatmakers who treat one-shots as raw material. The Leap section gets heavy use here. A producer might drag a kick drum into Leap, tune it down seven semitones, shift the start point 40 ms in, and suddenly have a sub-bass preset that plays chromatically. The speed of that workflow — drag, adjust, play — is what keeps this group coming back rather than reaching for a dedicated drum sampler.
Keyboardists and live performers. Kontakt's standalone mode means no DAW is required. A rehearsing pianist can load The Gentleman or Noire, set the audio interface buffer to 64 samples, and play with negligible latency. The default view in version 8 makes this mode more practical by hiding the editing clutter behind a single front panel.
If you sit outside these groups — say you only ever use a handful of synth presets and never touch multisampling — you are likely carrying more tool than you need. But if your work crosses two or more of the categories above, Kontakt becomes the centrepiece of the setup rather than just another plug-in.
Signal-Killing Misconfigurations to Fix Early
Kontakt is powerful enough that small misconfigurations can block the entire signal path. These are the issues that surface most often in the first weeks.
No Sound Despite a Loaded Instrument
The most frequent culprit is MIDI channel mismatch. Kontakt instruments default to omni mode in many cases, but a library with multi-instrument setups — a drum kit spread across 16 channels, for example — expects MIDI on specific channels. Open the instrument header and check which channel is assigned. If your controller or DAW track sends on channel 1 and the snare sits on channel 3, you hear silence.
The second suspect: the instrument's internal volume or the master output routing. In the output section, confirm the loaded instrument is routed to a valid output pair. If you have custom output configurations from a previous session, a freshly loaded patch might route to an output that no longer exists.
Library Appears in Native Access but Not in Kontakt's Browser
This usually means the library was installed but not registered in Kontakt's database. Open the Kontakt preferences, go to the Libraries tab, and check whether the library appears in the list. If it does not, use the "Add Library" button and point to the folder. A rescan of the database often resolves ghost entries where the library shows in Native Access but the Kontakt browser stubbornly ignores it.
On systems where users have explored kontakt 7 mac crack or similar modified installations, database corruption is more common because the expected registry paths do not match. A clean database rebuild from the preferences pane typically fixes the mismatch.
High CPU Spikes with Dense Polyphony
Orchestral patches with eight velocity layers and four mic positions can bring an M-series Mac to its knees if every voice streams from disk simultaneously. The first lever to pull is the instrument's purge function: purge all samples, then let Kontakt load only what the MIDI data actually triggers. The second lever is reducing the number of active mic positions — close mics plus a single room pair is often enough, and the tree mics can stay disabled until the final render pass.
Also check the DFD (direct-from-disk) buffer size in Kontakt's engine settings. A larger buffer reduces CPU load at the cost of slightly higher RAM usage. On Apple Silicon machines with unified memory, the trade-off often favours a larger DFD buffer because the memory bandwidth can absorb it without audible consequence.
Plug-in Validation Failures in Logic Pro
After a Kontakt update, Logic sometimes fails the AU validation scan. The fix is usually a full reset of the Audio Units cache: quit Logic, delete the file ~/Library/Caches/AudioUnitCache/com.apple.audiounits.cache, and relaunch. If the issue persists, check that the Kontakt component file in /Library/Audio/Plug-Ins/Components has the correct permissions and matches the architecture of your Mac. Intel-only components on an Apple Silicon machine require Rosetta to be installed, though version 8.13.1 ships native ARM binaries and this should not apply.
The Right-Click Shortcut That Reveals Hidden Modulators
Some of Kontakt's most practical features sit in plain sight but go unnoticed because the interface prioritises the instrument panel over utility controls.
Quick-jump to a parameter's modulator. Right-click any knob or fader in an instrument and choose "Show modulator routings." Instead of hunting through the modulation tab, you see every source wired to that parameter. This is especially handy when a library's internal scripting assigns a mod wheel to vibrato and you want to reassign it to filter cutoff.
Batch re-save for faster loading. If you have a collection of third-party libraries that take too long to load, select them in the Files tab, right-click, and choose "Batch re-save." Kontakt rewrites the instrument files with optimised sample paths and compression settings. The time saving on a library with 2,000 samples can be noticeable — what once took twelve seconds drops to four or five. Note that batch re-save modifies the original NKI files, so back up anything irreplaceable first.
MIDI learn for hardware controllers. The MIDI learn button in the top toolbar is easy to overlook because it sits outside the instrument panel. Click it, touch a knob on your MIDI controller, then click a parameter in the instrument. The mapping persists across sessions. For live performers who use kontakt 8 for mac in standalone mode, this turns any eight-knob controller into a hands-on mixing surface without opening a DAW.
Snapshot saving without the full instrument. The camera icon in the instrument header saves a snapshot — a complete state of all parameter values — without duplicating the multi-gigabyte sample pool. This is how you save "that exact piano tone with the felt setting and the plate reverb at 23% wet" as a recallable preset that loads instantly.
Standalone-First Setup to Lock In Your MIDI Backbone
The initial hours with Kontakt determine whether it becomes a daily driver or a plug-in you occasionally open. A methodical setup avoids the latter outcome.
Day one: confirm the audio and MIDI backbone. Open Kontakt in standalone mode first, before touching a DAW. Select your audio interface in the Audio tab of the Options window. Set the sample rate to match your usual project rate — 48 kHz is the safer default for video work, 44.1 kHz for music-only projects. Set the buffer to 128 samples for a balance of responsiveness and CPU headroom. Play the factory piano and confirm you hear sound with no crackles.
Next, test MIDI input. Press a key on your controller. If the MIDI indicator in the top bar does not light up, open the MIDI tab and confirm your controller is listed and checked. Uncheck any virtual MIDI ports you do not use — they can create phantom note hangs.
Day two: organise the library browser. The factory library is only the starting point. Import your existing third-party libraries using the "Add Library" function. Spend ten minutes creating a folder structure in the Quick Load catalogue (right-click in the empty area of the rack to access it). A well-organised Quick Load menu — sorted by category, then by developer, then by instrument — saves more cumulative time than any other single habit in Kontakt.
Day three: build a template multi. Create a new multi with four empty instrument slots. Load your most-used bread-and-butter sounds: a piano, a bass, a string pad, a drum kit. Set each to a different MIDI channel (1 through 4). Save this multi to your desktop. From now on, when you launch Kontakt, load this multi and you have a playable setup in under ten seconds. Later, swap instruments in and out while keeping the channel layout intact.
Week one: learn one Tool deeply. The Tools pane offers arpeggiators, chord generators, phrase sequencers and more. Pick the Chord Tool and spend an afternoon routing it to different instruments in your multi. Understand how the voicing presets (open, close, drop 2) alter the harmonic spread across the keyboard. Once the Chord Tool becomes second nature, the other Tools follow a similar interaction pattern and the learning curve flattens considerably.
Crime Cue Deadline with Piano, Cello and Texture
It is 9:40 a.m. and a composer in a small studio in Footscray opens a Logic project for a crime drama cue. The brief asks for "tense but melodic — piano, cello, a bit of electronic texture." The deadline is 4 p.m.
She loads Kontakt as a multi-timbral instrument on a single instrument track, then creates four MIDI tracks in Logic, each routed to a different Kontakt channel. Channel 1 gets Noire — the felt piano, with the particles engine dialled to 15% for a subtle, grainy halo around each note. Channel 2 loads a Spitfire solo cello, legato articulation, vibrato controlled by the mod wheel. Channel 3 receives a custom instrument she built last year from field recordings of a railway signal box — relays clicking, a lever thunk, a bell — mapped across three octaves so the low end becomes a percussive rumble and the high end becomes a metallic tick.
Channel 4 is empty. She drags a drum loop from the browser into Leap, pitches it down an octave, moves the start point to a snare transient, and plays it back in half-time against the piano. The whole setup — four channels, three libraries, one custom instrument, one Leap patch — took under three minutes to assemble because the multi template was already saved from a previous session.
By midday she has the cue sketched. She purges unused samples across all four channels, dropping the session's RAM footprint from 3.2 GB to 1.1 GB. The rest of the afternoon is arrangement and mix. At 3:30 p.m. she bounces the stereo file and attaches it to an email. Kontakt was open the entire time and never drew attention to itself — which is, for a tool this complex, the best possible outcome.
Tools — new MIDI manipulation modules for creative processing of incoming note data.
Leap — dedicated section for playing and performing loops and one-shot samples.
Komplete UI and Komplete Script — updated framework for instrument builders to design custom interfaces.
- macOS 14 or newer
- Apple Silicon (ARM) and Intel (x86-64) support
Sign in · Create an account to add a field note.
No field notes yet. A measurement, a version, a machine — they appear after moderation.