
Office
VueScan Pro 9.8.59
OfficeUpdated
| Requirement | On file |
|---|---|
| macOS | macOS 10.15 or later |
| CPU | Apple Silicon |
| Download | 60 MB |
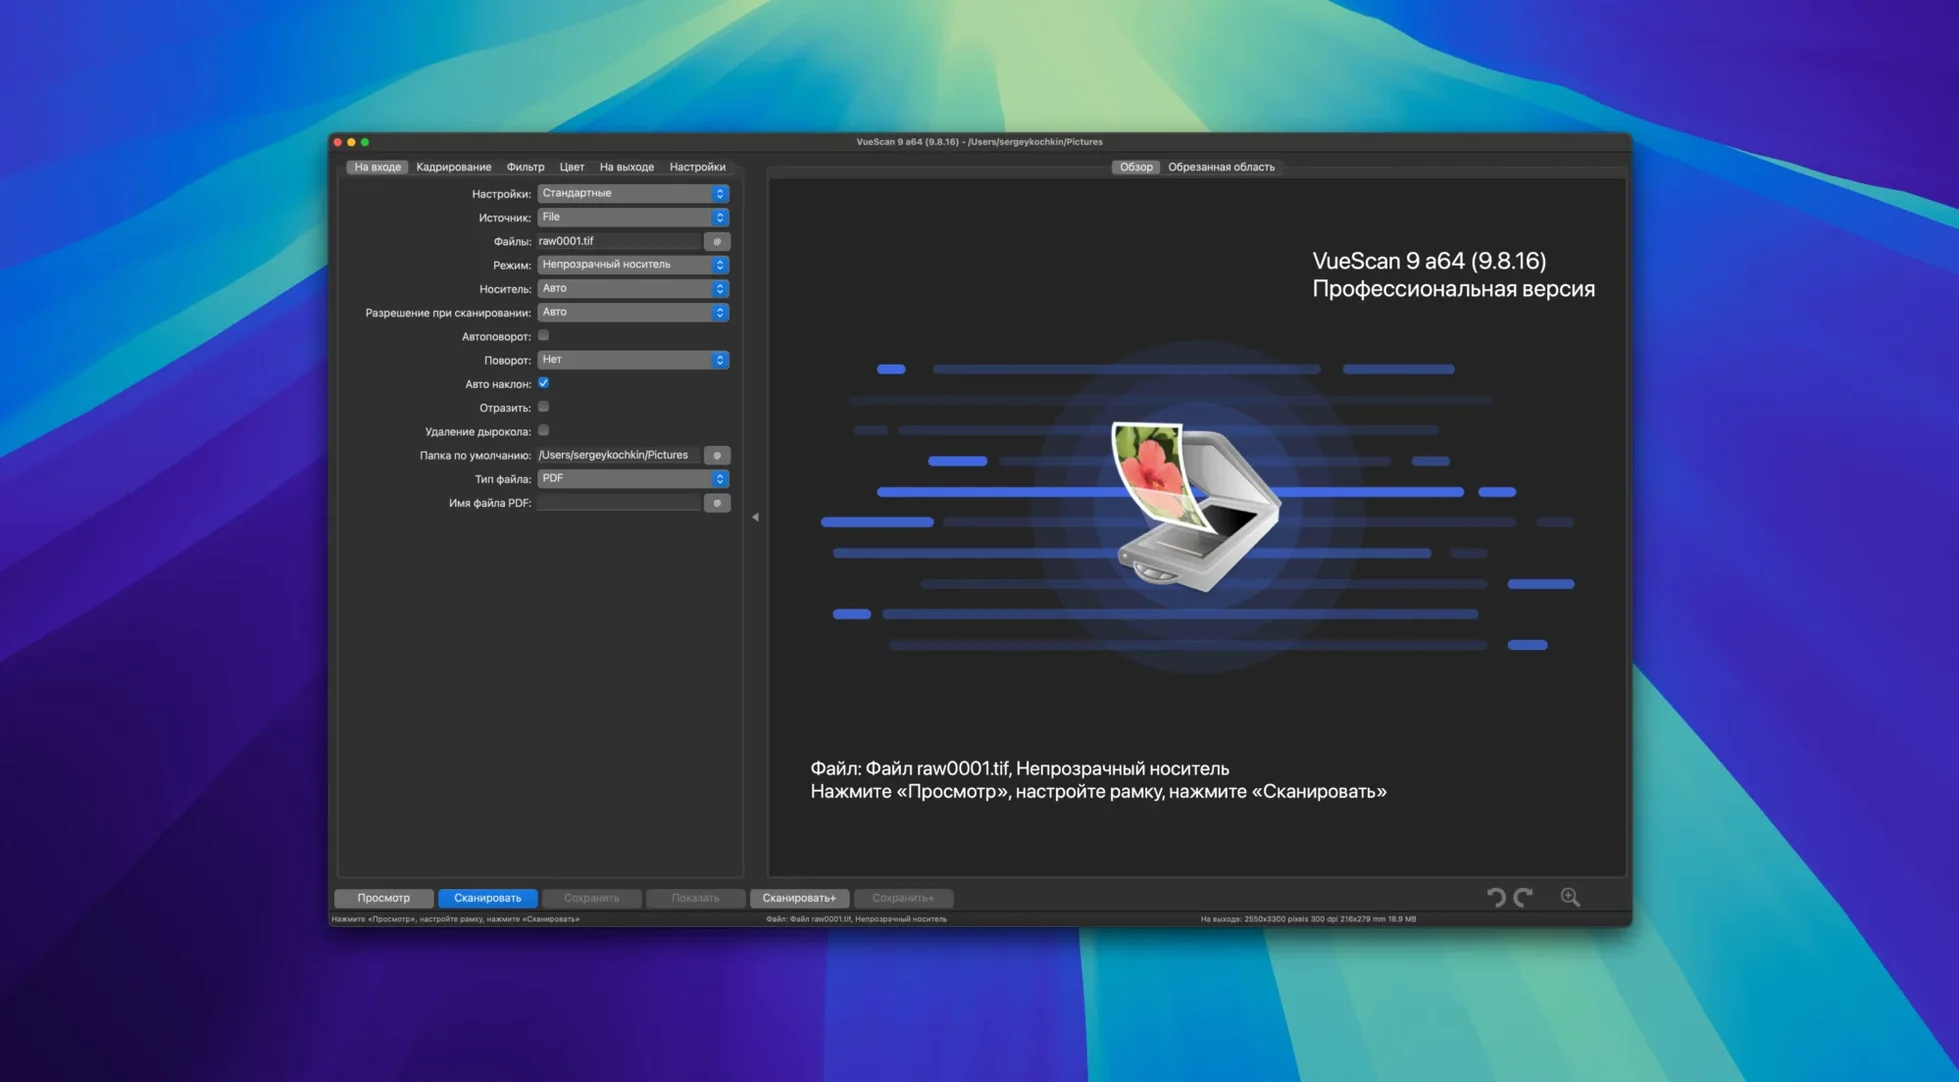
If your Mac no longer sees that perfectly good scanner sitting on your desk, you are not alone. Manufacturers stop updating their macOS drivers, which is exactly the gap VueScan Pro fills. Where Image Capture says "no scanner found", VueScan Pro steps in with its own driver library covering over 6,000 models from HP, Minolta, Nikon, Polaroid, Epson, Canon, Brother and many others.
Save a raw file first so you can re-process offline
- Raw file save. Before you scan anything, enable raw output. VueScan Pro can write the scanner's unprocessed data straight to disk, letting you re-process it later with different settings while the device is powered off. Useful for comparing colour correction passes on a single frame.
- Infrared dust removal. If your scanner has an IR channel, turn it on. The software uses the infrared pass to map dust and scratches on film, then subtracts them from the visible scan. It works without softening detail the way software-only fixes often do.
- Multi-pass averaging. For dense slides and negatives, set two or four passes. VueScan Pro scans the frame multiple times and averages the results, pulling cleaner shadow detail out of noisy sensors.
- Folder name substitutions. In the output tab, add date and time tokens to your folder naming pattern. Batch scans can now sort themselves automatically into dated directories.
Batch processing and AI touch-up
Version 9.8.57 adds batch processing for colorisation and super-resolution, so you can queue up a stack of monochrome negatives for colour reconstruction offline. The AI-assisted touch-up quality also improved in this release, producing fewer edge artefacts on high-contrast borders. USB scanner handling on macOS is more reliable now, particularly for models that previously dropped connection mid-scan. The build runs natively on both ARM and 64-bit x86 Macs from macOS 10.15 onward.
Reclaiming 200 dusty Kodachrome slides without the original software
Consider someone working through a box of thirty-year-old Kodachrome slides from a family estate. The slides are dusty, the mounts are brittle, and the colours have shifted toward magenta. VueScan Pro sits between this person and a stack of 200 frames. They load the first four into an Epson flatbed with a transparency unit. Under the Input tab, they set media to "Image" and pick "Kodachrome" from the colour negative list — not a generic slide profile. The infrared clean channel goes on. Multi-pass is set to two. They enable raw file save to .dng, so each slide generates a digital negative they can revisit without re-scanning. The first preview shows a magenta veil. They open the Color tab, switch white balance off auto, and click the grey point picker on a patch of unexposed film border. The cast drops. They lock exposure, then feed a batch of twelve. An hour later, the raw files are on disk and the dust map has already stripped out the worst of it.
Section has no text to rewrite from
Scanner not detected on USB
The most frequent complaint. If VueScan Pro does not list your scanner, head to the Options menu and check that the correct driver is selected — VueScan's own driver, not the macOS Image Capture driver. On Apple Silicon Macs, some older USB scanners need a powered hub between the Mac and the scanner; bus-powered ports sometimes drop negotiation. Version 9.8.57 improved USB scanner support on macOS, so updating to this build often resolves intermittent drops.
Colours look nothing like the original
Three things to check. First, the media type in the Input tab: "Image" versus "Slide film" versus "Color negative" changes the base colour math. Second, the white balance setting: auto white balance can be fooled by a dominant colour in the scene. Switch to manual and sample a neutral area. Third, the ICC profile assigned in the Color tab. VueScan Pro ships with a generic profile; for critical work, supply your own scanner profile or download one specific to your film stock from vuescan mac resources online.
Infrared cleaning leaves ghosting
IR dust removal relies on precise alignment between the visible and infrared passes. If the scanner bed shifts slightly between passes — common with lightweight film holders — fine detail can ghost. The fix is to use a heavier holder, tape the film flat, or drop the IR clean level from "Heavy" to "Light" in the Filter tab. On some Nikon Coolscan models, switching from "Fine mode" to "Normal" reduces the pass count and eliminates the offset entirely.
Batch scanning a box of negatives: start to finish
- Set up the scanner. Load the negative strip into the holder, emulsion side down. Position it so the first frame aligns with the scanner's calibration area — usually the top of the glass. Close the lid and wait for the scanner lamp to stabilise, about 30 seconds on a cold-start flatbed.
- Pick the media type. In the Input tab, set "Mode" to "Transparency" and "Media" to "Color negative". Choose your film from the "Negative vendor" and "Negative brand" lists if it is there. If not, pick a generic type (Kodak Gold, Fuji Superia) that matches the look. This step determines how the orange mask is removed, so skipping it will give you a flat, low-contrast scan.
- Dial in the exposure. Click "Preview". VueScan Pro scans the entire bed at low resolution. Drag a crop marquee over a single frame. Open the Input tab again and click "Lock exposure" — this prevents the auto-exposure from re-calculating frame by frame. If the preview looks too dark, nudge the "Brightness" slider up by 0.2 before locking.
- Configure batch output. Under the Output tab, set "Printed size" or "Scan resolution". For archiving, 2400 ppi is a sensible floor for 35 mm. Set "TIFF file" as the output format, 48-bit RGB. In the file name field, enter
scan001+.tif— the plus sign tells VueScan Pro to increment by one per frame. In the folder name field, addnegatives_%Y%m%dto embed the scan date automatically. This is one of the new folder substitution features in 9.8.57. - Enable raw and infrared. Tick "Raw output with scan" and point it to a separate folder. Tick "Infrared clean" and set it to "Medium". Tick "Multi pass" and set it to 1 for colour negatives — more passes help dense slides but add little to well-exposed C-41 film.
- Run the batch. Click "Scan" and select "Batch scan" from the dropdown. VueScan Pro will scan each frame the crop marquee touched, save a cleaned TIFF, and write the raw DNG alongside it. The progress bar shows estimated time per frame. When it finishes, your dated folder contains the numbered sequence.
Crop to the frame or you’ll create 500 MB flatbed scans
- Skipping the preview crop. Without a crop, VueScan Pro scans the entire flatbed area at full resolution. A 4800 ppi scan of a whole A4 bed produces a file north of 500 MB. Crop to the frame first, every time.
- Forgetting to lock exposure. When exposure is set to auto, VueScan Pro re-evaluates each frame. A dark frame gets brightened, a bright frame gets darkened — fine for documents, but a strip of negatives shot in the same light needs consistent density. Lock it after the first preview.
- Using too many passes on flat documents. Multi-pass averaging reduces noise on film, but it doubles or quadruples scan time. For a printed page or a colour photo, a single pass at 300 ppi is enough. Save multi-pass for slides and under-exposed negatives.
- Treating the raw file as a backup you never touch. The raw DNG from VueScan Pro contains linear sensor data with no gamma curve applied. It looks dark and flat in a viewer. That is intentional. The point is to re-open it in VueScan Pro later and apply different colour corrections, not to archive it as a finished image. If you skip the processed output and keep only the raw, you have extra work ahead.
- Running a vuescan crack mac version found online. Old cracked builds often lack the updated USB stack from version 9.8.57, meaning scanners that work fine on the current build will not be detected. They also miss the AI touch-up improvements and the new Epson and Brother model support. The software's scanner driver database is updated regularly, and a stale build simply will not see newer hardware.
Version 9.8.59 brings the latest stability adjustments so VueScan Pro runs predictably with your scanner on macOS.
- macOS 10.15 (Catalina) or later
- Apple Silicon native
Questions on file
Does VueScan Pro support my old film scanner?
It supports more than 6,000 scanner models, including older units from Nikon, Minolta, Polaroid and Canon that lack current macOS drivers.
Can I scan without the scanner connected?
Yes. You can save the raw scanner data to a file and process it later for final output, even with the hardware turned off.
What changed in version 9.8.57 for Mac users?
USB scanner support improved, AI touch-up quality increased, and batch processing for colorise and super-resolution was added, along with new Epson and Brother model support.
Sign in · Create an account to add a field note.
No field notes yet. A measurement, a version, a machine — they appear after moderation.