
Office
XMind Pro 26.04.01337-2026-07-11
OfficeUpdated
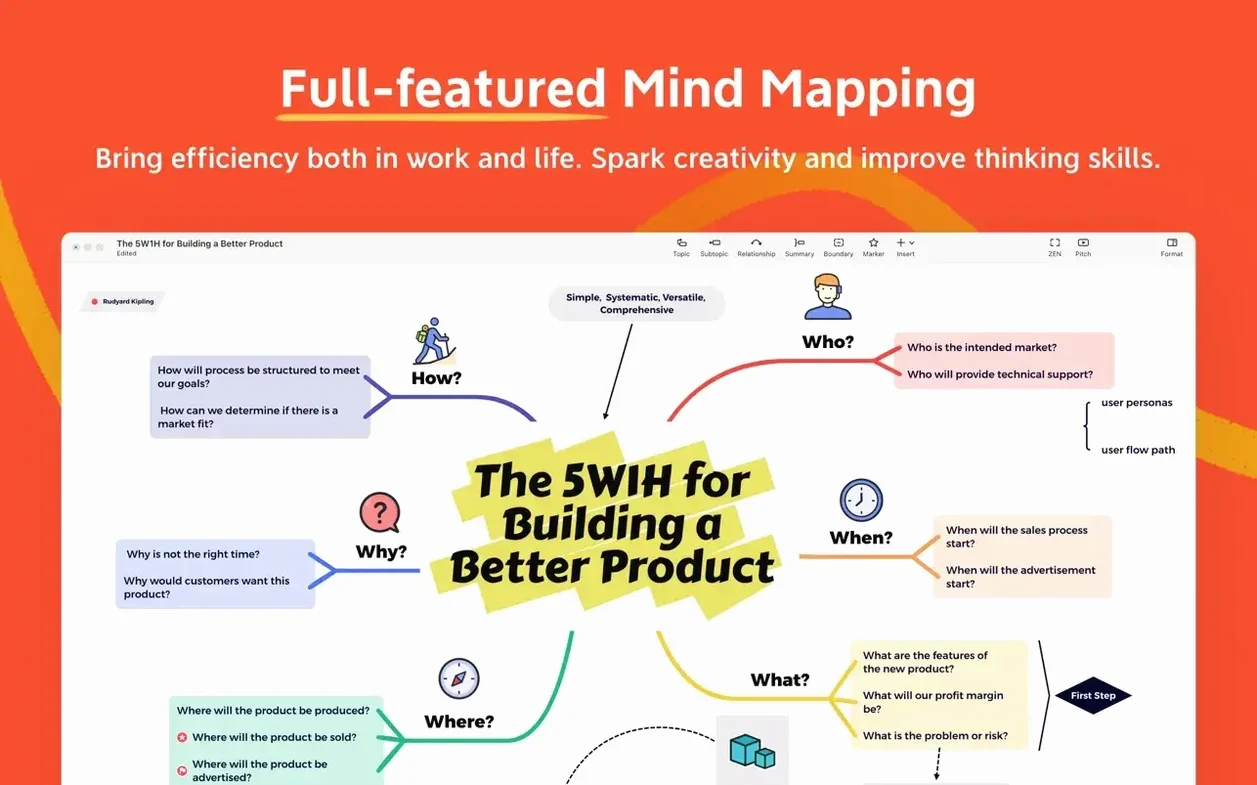



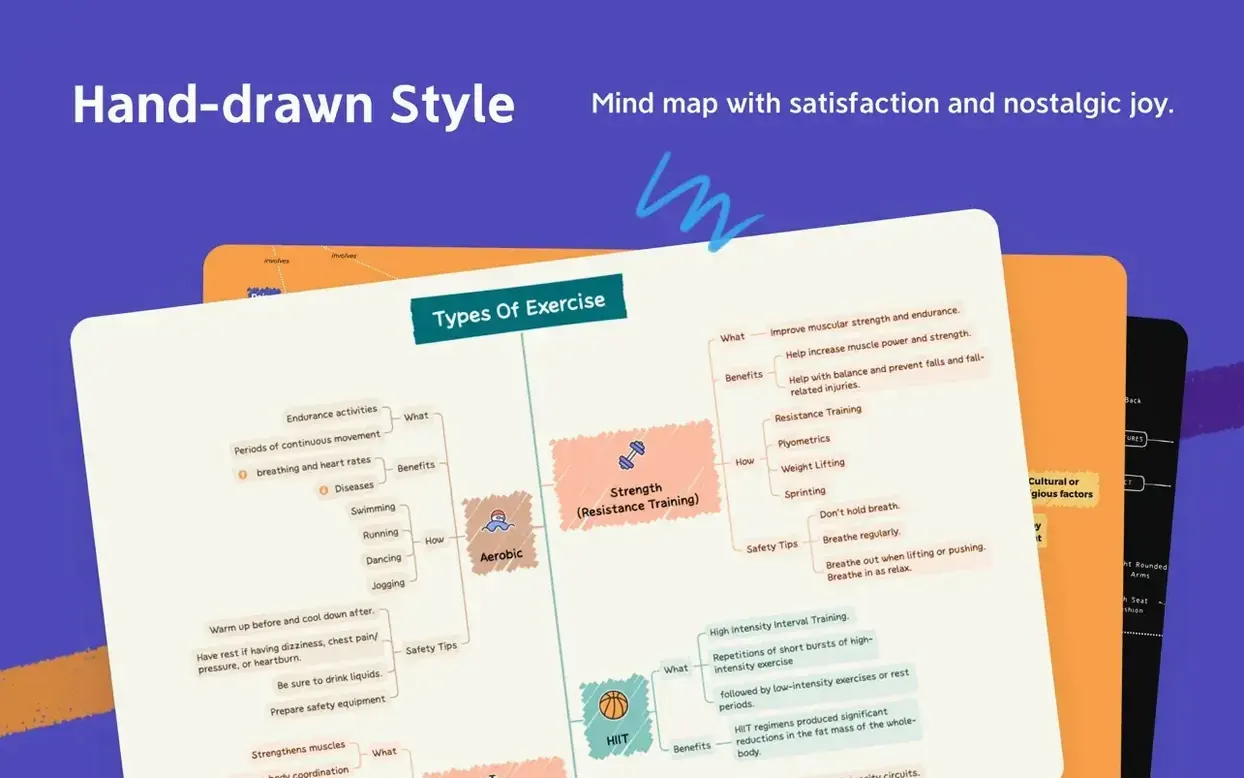

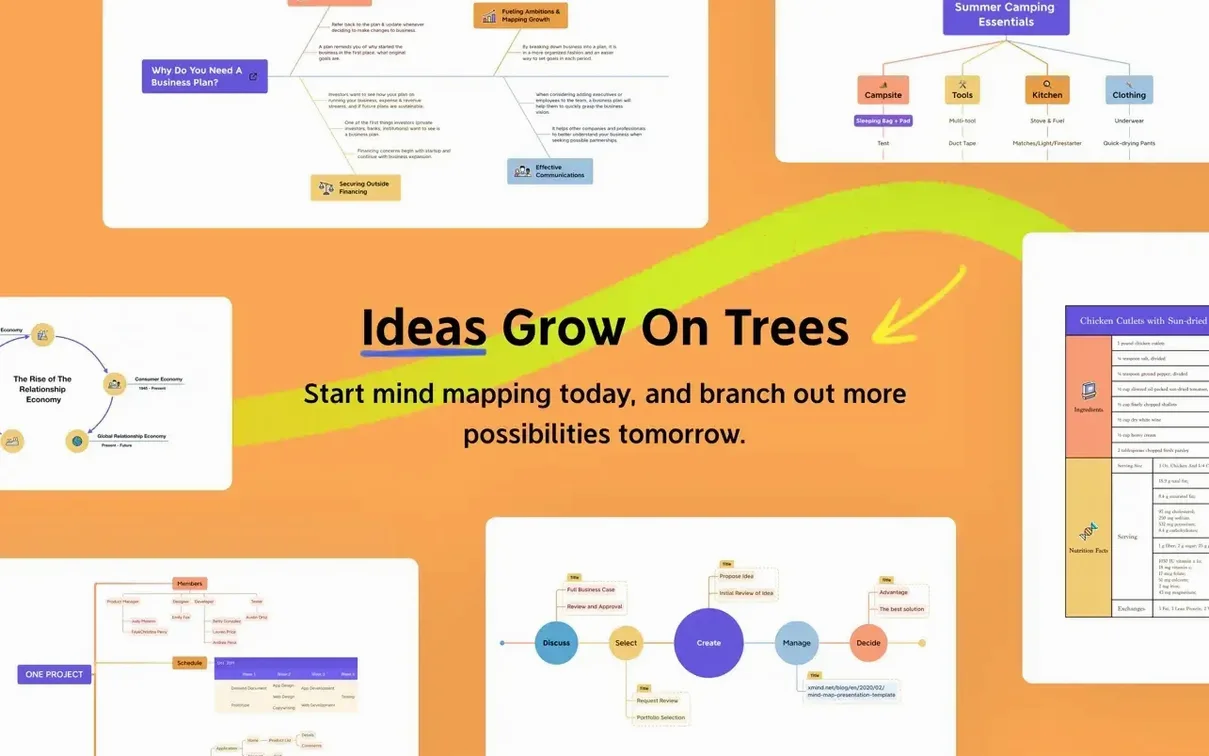
| Requirement | On file |
|---|---|
| macOS | macOS 11 or later |
| CPU | Apple Silicon, Intel 64-bit |
| Download | 301 MB |
Version 26.04.01337 is a maintenance release that keeps the engine room tidy — no new front-facing features, just the stability work that long planning sessions depend on.
- Start with the central topic and add branches without editing them. The idea is raw volume; the structure comes later.
- Switch to the Outliner view and drag rows to reorder the hierarchy. This is where the shape of the argument usually reveals itself.
- Add task details, notes and markers to the leaf nodes so the map doubles as a working plan.
- Present the result with Pitch Mode, which turns branches into slides, or export the map to Markdown for your documentation tool.
Specs
The build runs natively on Apple silicon and Intel under macOS 11 or later, with 13 interface languages. For anyone who treats a mind map as a working document rather than a pretty diagram, the outline view and export options are the parts that matter.
When the 50-Node Map Starts Crawling
Mind maps can grow unwieldy fast, and a few recurring friction points tend to surface once you pass the 50-node mark.
Map loads slowly when it contains many images. XMind stores attached images inside the .xmind file (which is a ZIP archive under the hood). Large, uncompressed photos bloat the file. Before dragging a 12 MB screenshot onto a node, resize it to something like 1200 px wide. If the map already drags, open it in XMind, select the heavy nodes, and use the Replace Image option with a smaller version.
Exports to PDF cut off branches. This often happens with maps that sprawl horizontally and use the default A4 page size. Before exporting, go to File → Print and check the preview. If the map overflows, switch the page orientation to landscape or choose a larger paper size like A3. The PDF export respects the print layout, so fixing it there usually solves it.
Markers and labels disappear in the Outliner view. The Outliner shows task priority, progress and custom markers only when the column is toggled on. Right-click the column header bar and tick whichever field has gone missing — the data is still there, just hidden.
Search skips nodes inside collapsed branches. The search box in the toolbar only looks at expanded nodes. Hit View → Expand All (or Cmd+Shift+E) before running a search, otherwise you might assume a topic is missing when it is merely folded up two levels deep.
How a Technical Writer Uses XMind Pro
A technical writer planning a 40-page software manual starts with a blank mind map and types the product name as the central topic. The first five child nodes are the main chapters: Installation, Configuration, Core Features, Troubleshooting, Reference. Each chapter gets another four to six sub-topics — procedure titles, not full sentences.
Once the skeleton is in place, the writer switches to the Outliner view and adds Notes to each leaf with the actual steps they will write later. A Progress marker (a quarter-circle icon) lands on every node that still needs content. The map now serves double duty: it is the table of contents and the writing tracker. Before a sprint planning meeting, they export the Outliner to Markdown, paste it into the team wiki, and colleagues can comment on the structure without needing XMind installed. The writer returns to the map only to tick off Progress markers as sections move to first draft.
A Task Breakdown Workflow, Start to Finish
This workflow uses the task management features built into the app to turn a brainstorming session into an actionable checklist.
- Dump everything onto the canvas. Create a new mind map, enter the project name as the central topic, and add every task that comes to mind as a child node. No ordering, no filtering — just capture.
- Group tasks under category nodes. Drag related tasks onto new parent nodes labelled by workstream: Design, Development, QA, Deployment. The map now reflects the team structure.
- Assign priority markers. Open the Marker panel (the flag icon in the toolbar) and attach priority numbers 1–4 to each task node. A small yellow flag with a digit appears next to every item, making the critical path visible at a glance.
- Set start dates and deadlines. Select a node, open the Task Info panel (Cmd+Shift+T), and fill in the date fields. The nodes gain subtle calendar icons.
- Track progress with the Gantt chart. Switch to View → Gantt Chart. The tasks appear as horizontal bars on a timeline. Dependencies and overlaps that were invisible in the tree view become obvious here.
- Export the task list for a stand-up. Use File → Export → CSV and import the resulting file into Excel or Numbers. The CSV carries over the priority markers and dates, so the spreadsheet is ready for distribution without extra formatting.
Reordering 30-Item Hierarchies Without the Drag Struggle
Editing every node in place instead of using the Outliner. The canvas is great for spatial thinking, but when you need to reorder a 30-item hierarchy, dragging branches is slow and imprecise. Beginners often spend ten minutes nudging nodes around when the Outliner would let them cut, paste and indent five rows in seconds. The Outliner is also where you can sort children alphabetically — a right-click option that has no canvas equivalent.
Ignoring the boundary object for cross-cutting concerns. A common rookie move is to duplicate a node into multiple branches because it relates to several categories. Instead, place the node in one branch and draw a Boundary around the affected topics across the map. The boundary is a visual container — a dashed rounded rectangle — that tells the reader "these items share a constraint" without breaking the tree structure.
Over-colouring branches. The format panel lets you colour every branch independently, and new users often treat it like a crayon box. By the third editing session, the map looks like a carnival tent and the colour no longer carries meaning. Stick to a palette of three or four colours, each tied to a specific category or status, and apply them through the Theme controls rather than node-by-node.
Saving only in .xmind format and losing access later. XMind Pro files are not readable by FreeMind or other tools without an export step. Beginners who archive everything as .xmind discover the lock-in effect when they switch machines or share with a colleague who uses a different app. Export a copy to .mm (FreeMind) or Markdown at the end of each major editing session — it costs ten seconds and keeps the data portable.
Hiding the sidebar too early. The Format panel and Marker panel sit in a right-hand sidebar that novices often close to reclaim screen space. Without it open, changing marker sets or adjusting line styles requires menu diving. Keep the sidebar docked until you have memorised the keyboard shortcuts for the three or four markers you use most often.
- macOS 11 (Big Sur) or a later release
- Apple Silicon or Intel processor
Questions on file
Can multiple people edit the same mind map at once?
Yes, Xmind supports collaboration where several users can work on a single map simultaneously.
Does Xmind run natively on Apple silicon?
Yes, version 26.04 runs natively on Apple silicon and Intel Macs with macOS 11 or later.
Sign in · Create an account to add a field note.
No field notes yet. A measurement, a version, a machine — they appear after moderation.