
Video
Millumin 5.14.j
VideoUpdated
| Requirement | On file |
|---|---|
| macOS | macOS 11 or later |
| CPU | Intel 64-bit |
| Download | 118 MB |
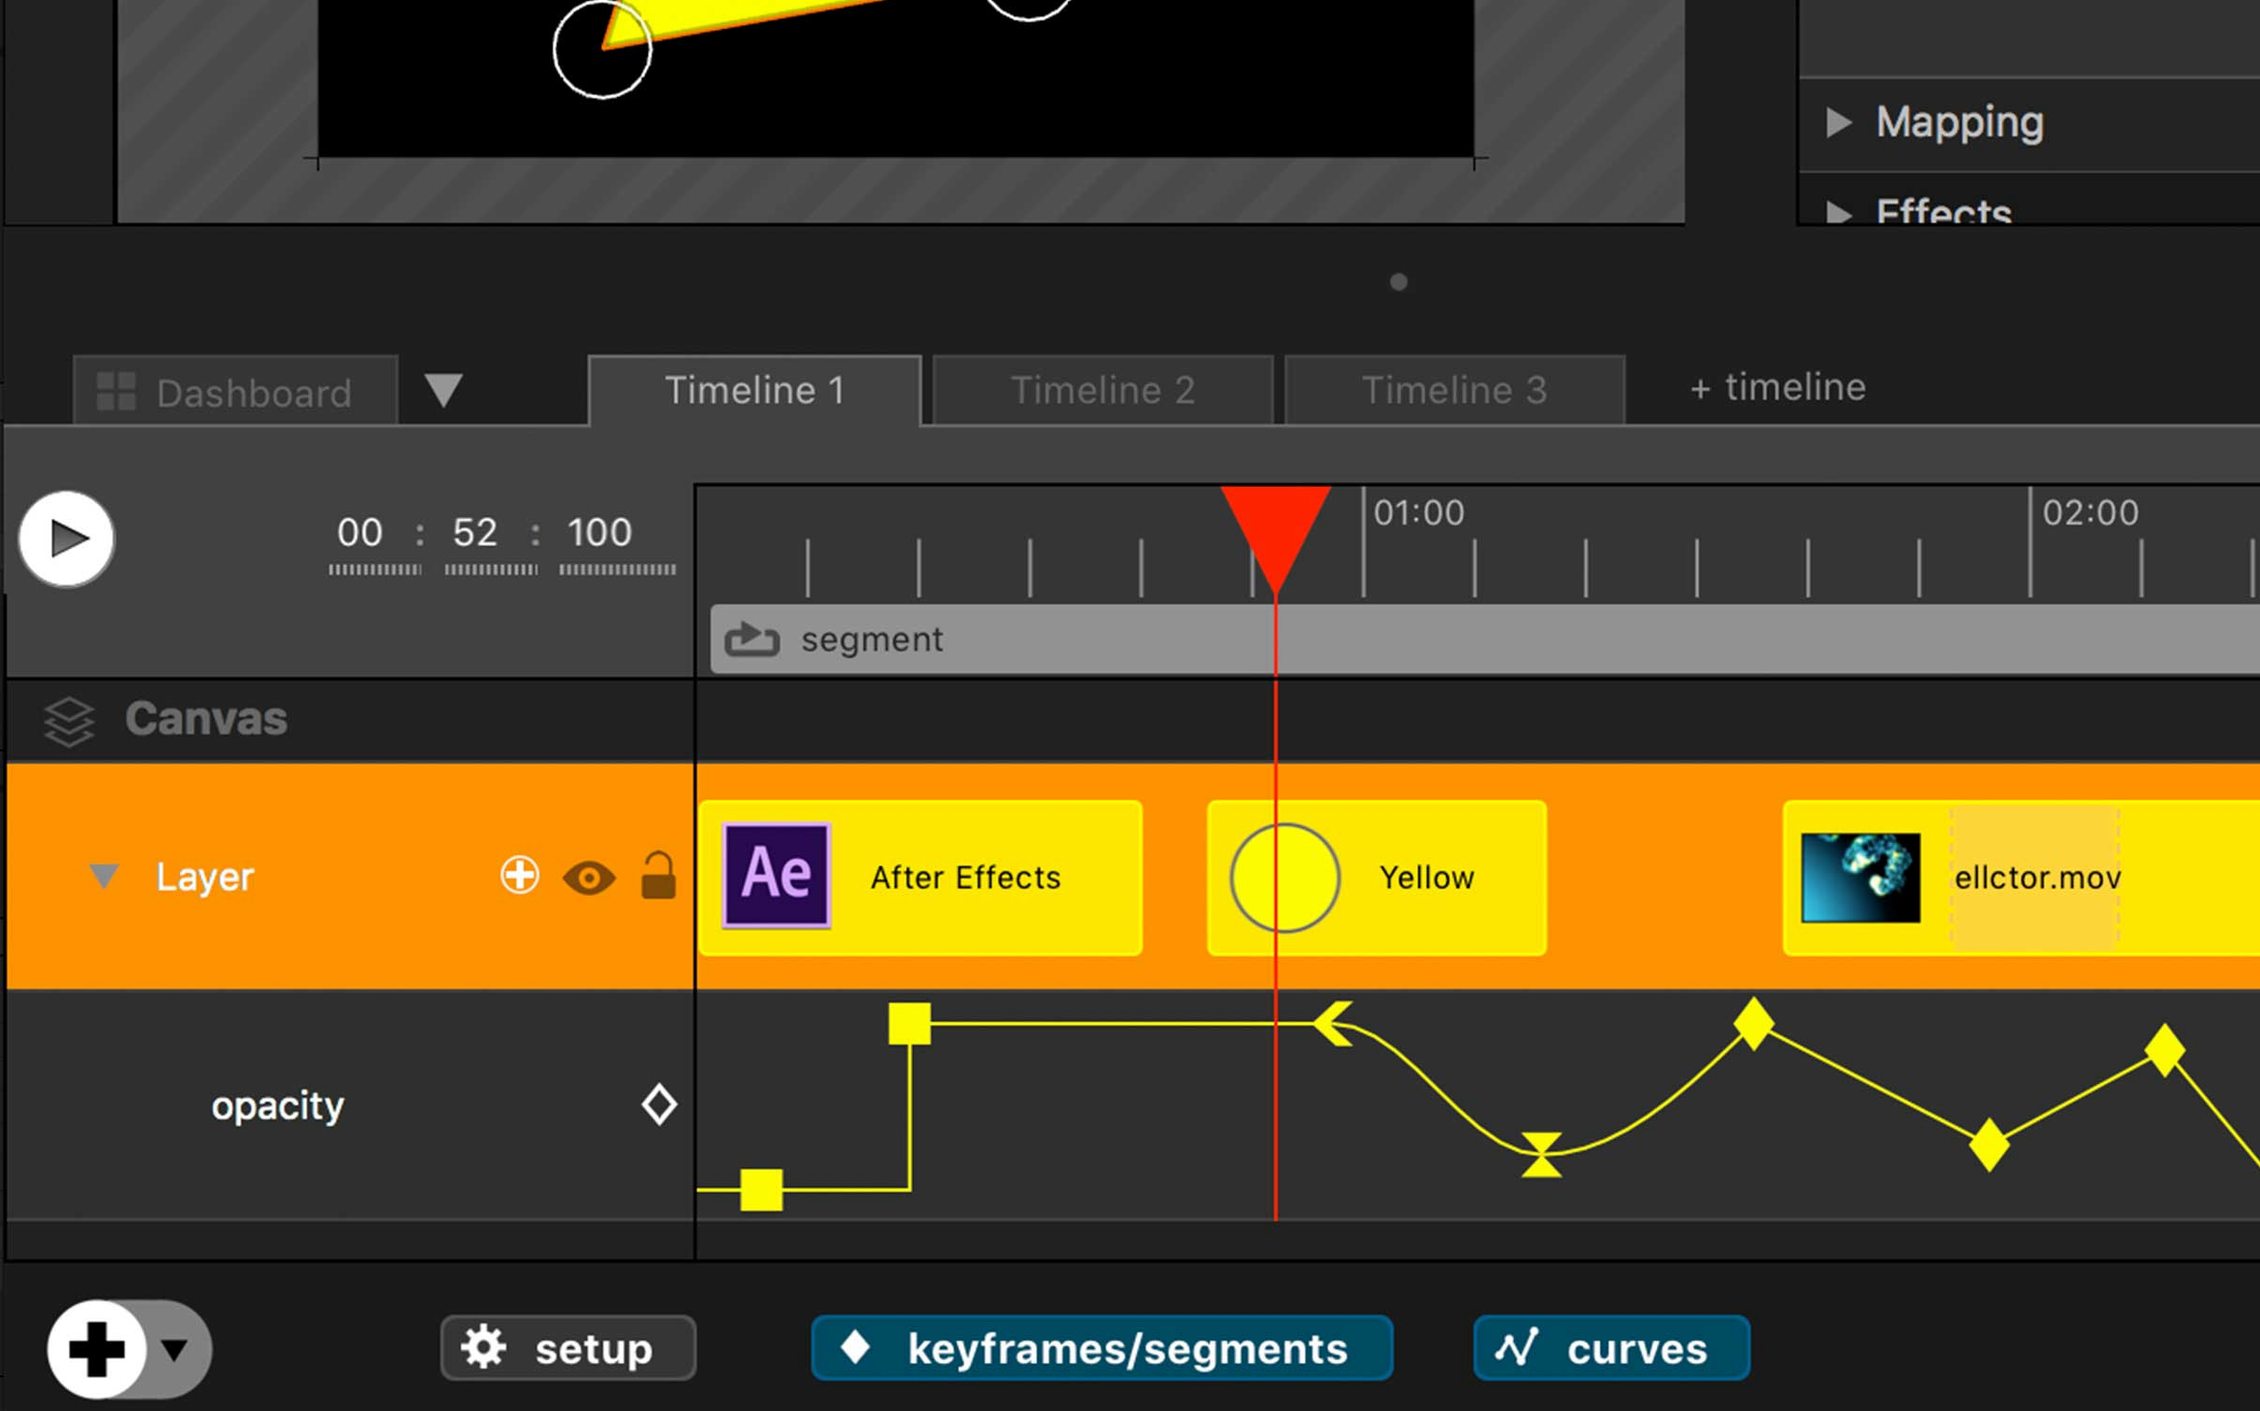
The Timeline Interaction mode shifts the playback paradigm from linear transport to direct, tactile control. Instead of starting and stopping a single sequence, you drag and scrub across a grid of cues, triggering video, lights and sound in response to a performer's movement or a live decision. It is one of several tools in Millumin V5 that turn a Mac into a show control hub.
| Detail | Spec |
|---|---|
| Developer | Anomes |
| Current version | 5.14.j |
| macOS support | Big Sur 11 through Golden Gate 27 |
| Architecture | Intel |
| Interface language | English |
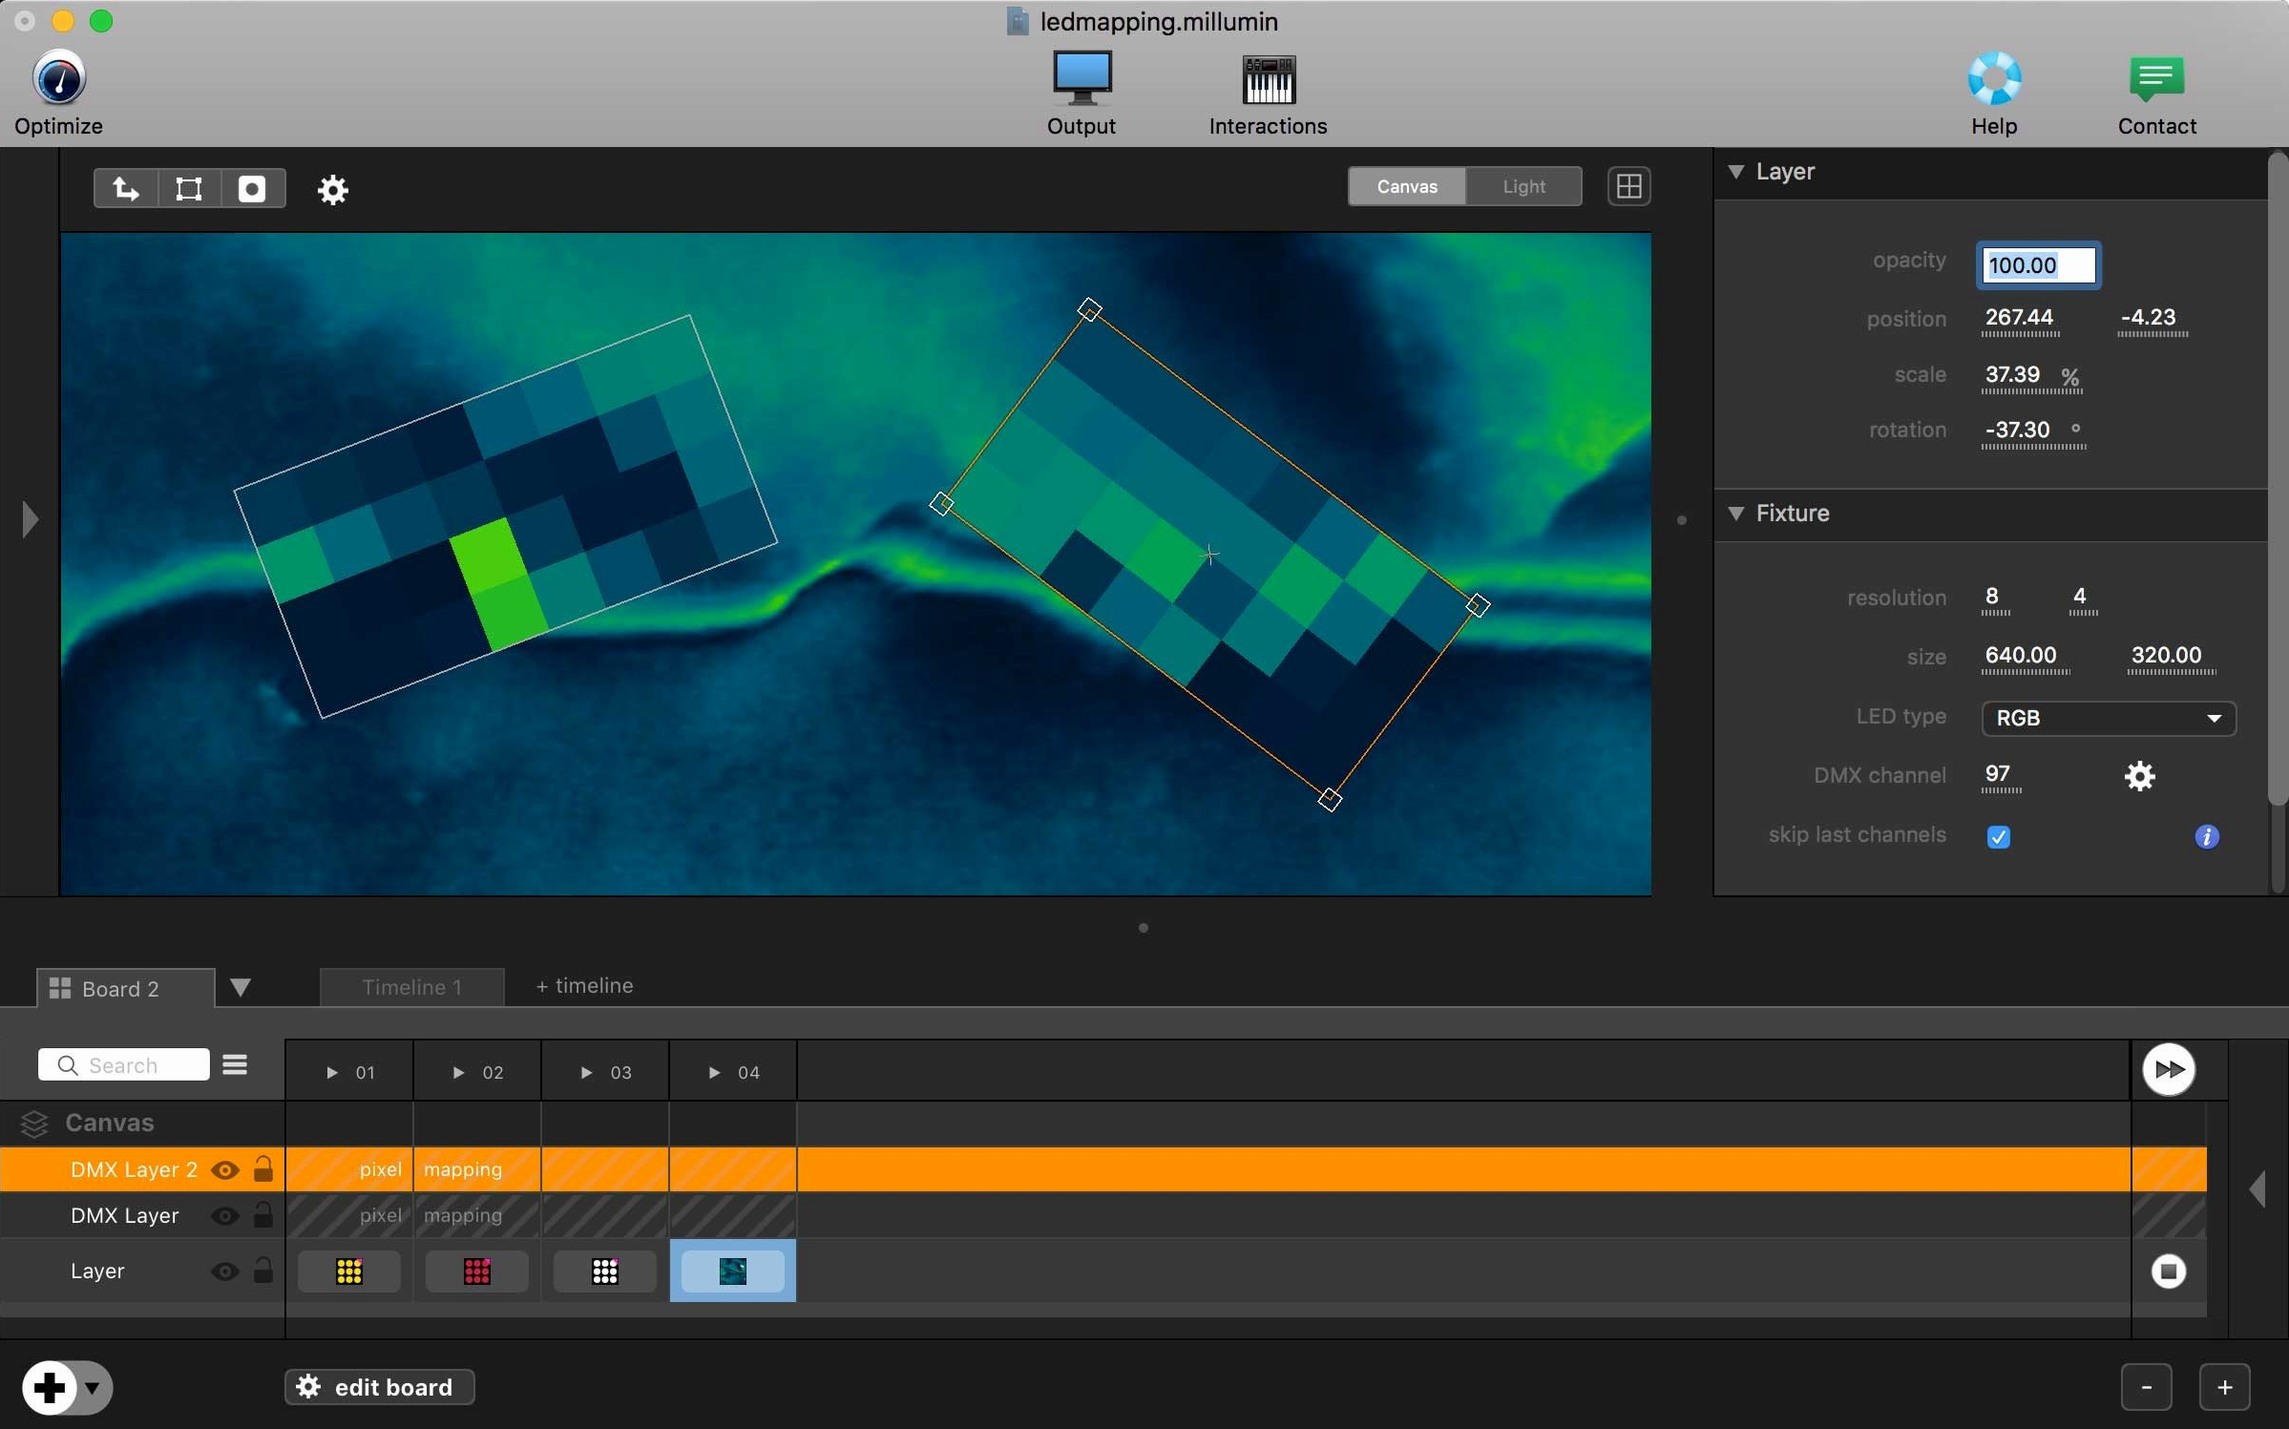
The software is built for theatre productions, dance performances, videomapping and interactive installations. A stage manager can layer projection masks on irregular surfaces, sync audio stems to lighting boards via MIDI, or let a motion sensor scrub through a video collage — all from a single timeline canvas. Contextual help opens inside the workspace, so operators rarely need to leave the show file to look up a parameter. The V5 release, dated 2025-04-29, runs on Intel hardware from macOS Big Sur up to the latest Golden Gate 27 build, keeping it available on both older booth machines and current systems.
Save Before You Cue to Keep Relative Paths Intact
Start with a blank project and save it immediately — Millumin writes media references by relative path, so a missing show file mid-rehearsal means rebuilding every cue from scratch. Name the file after the venue and date, not the show title alone.
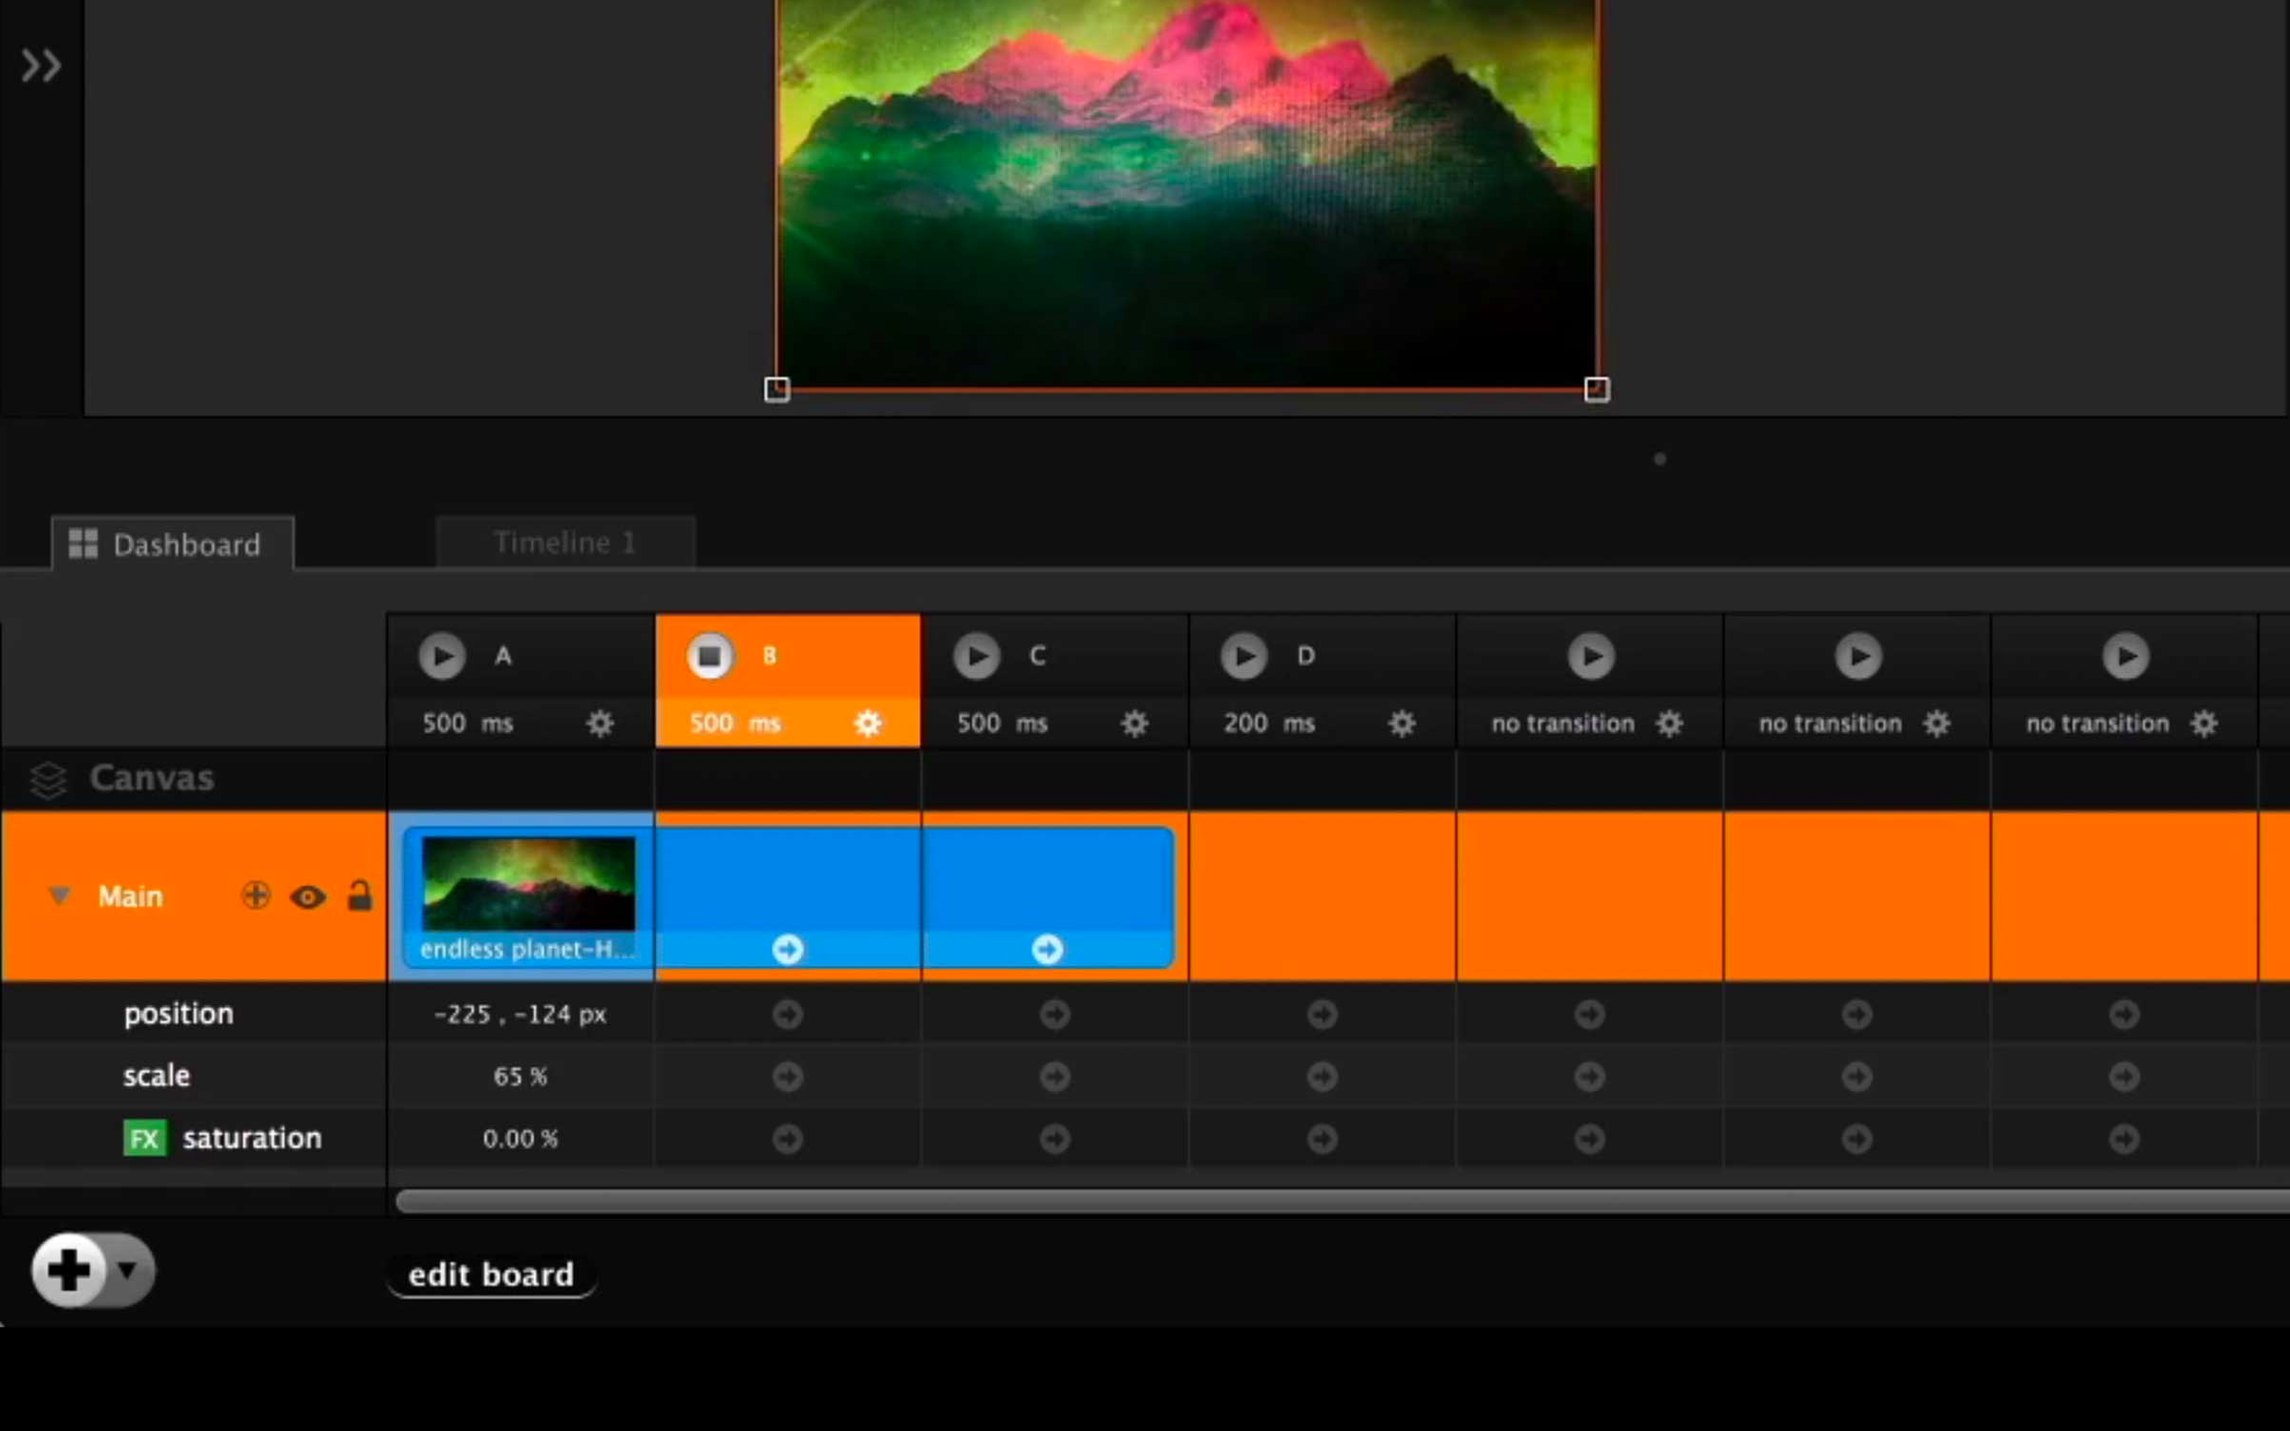
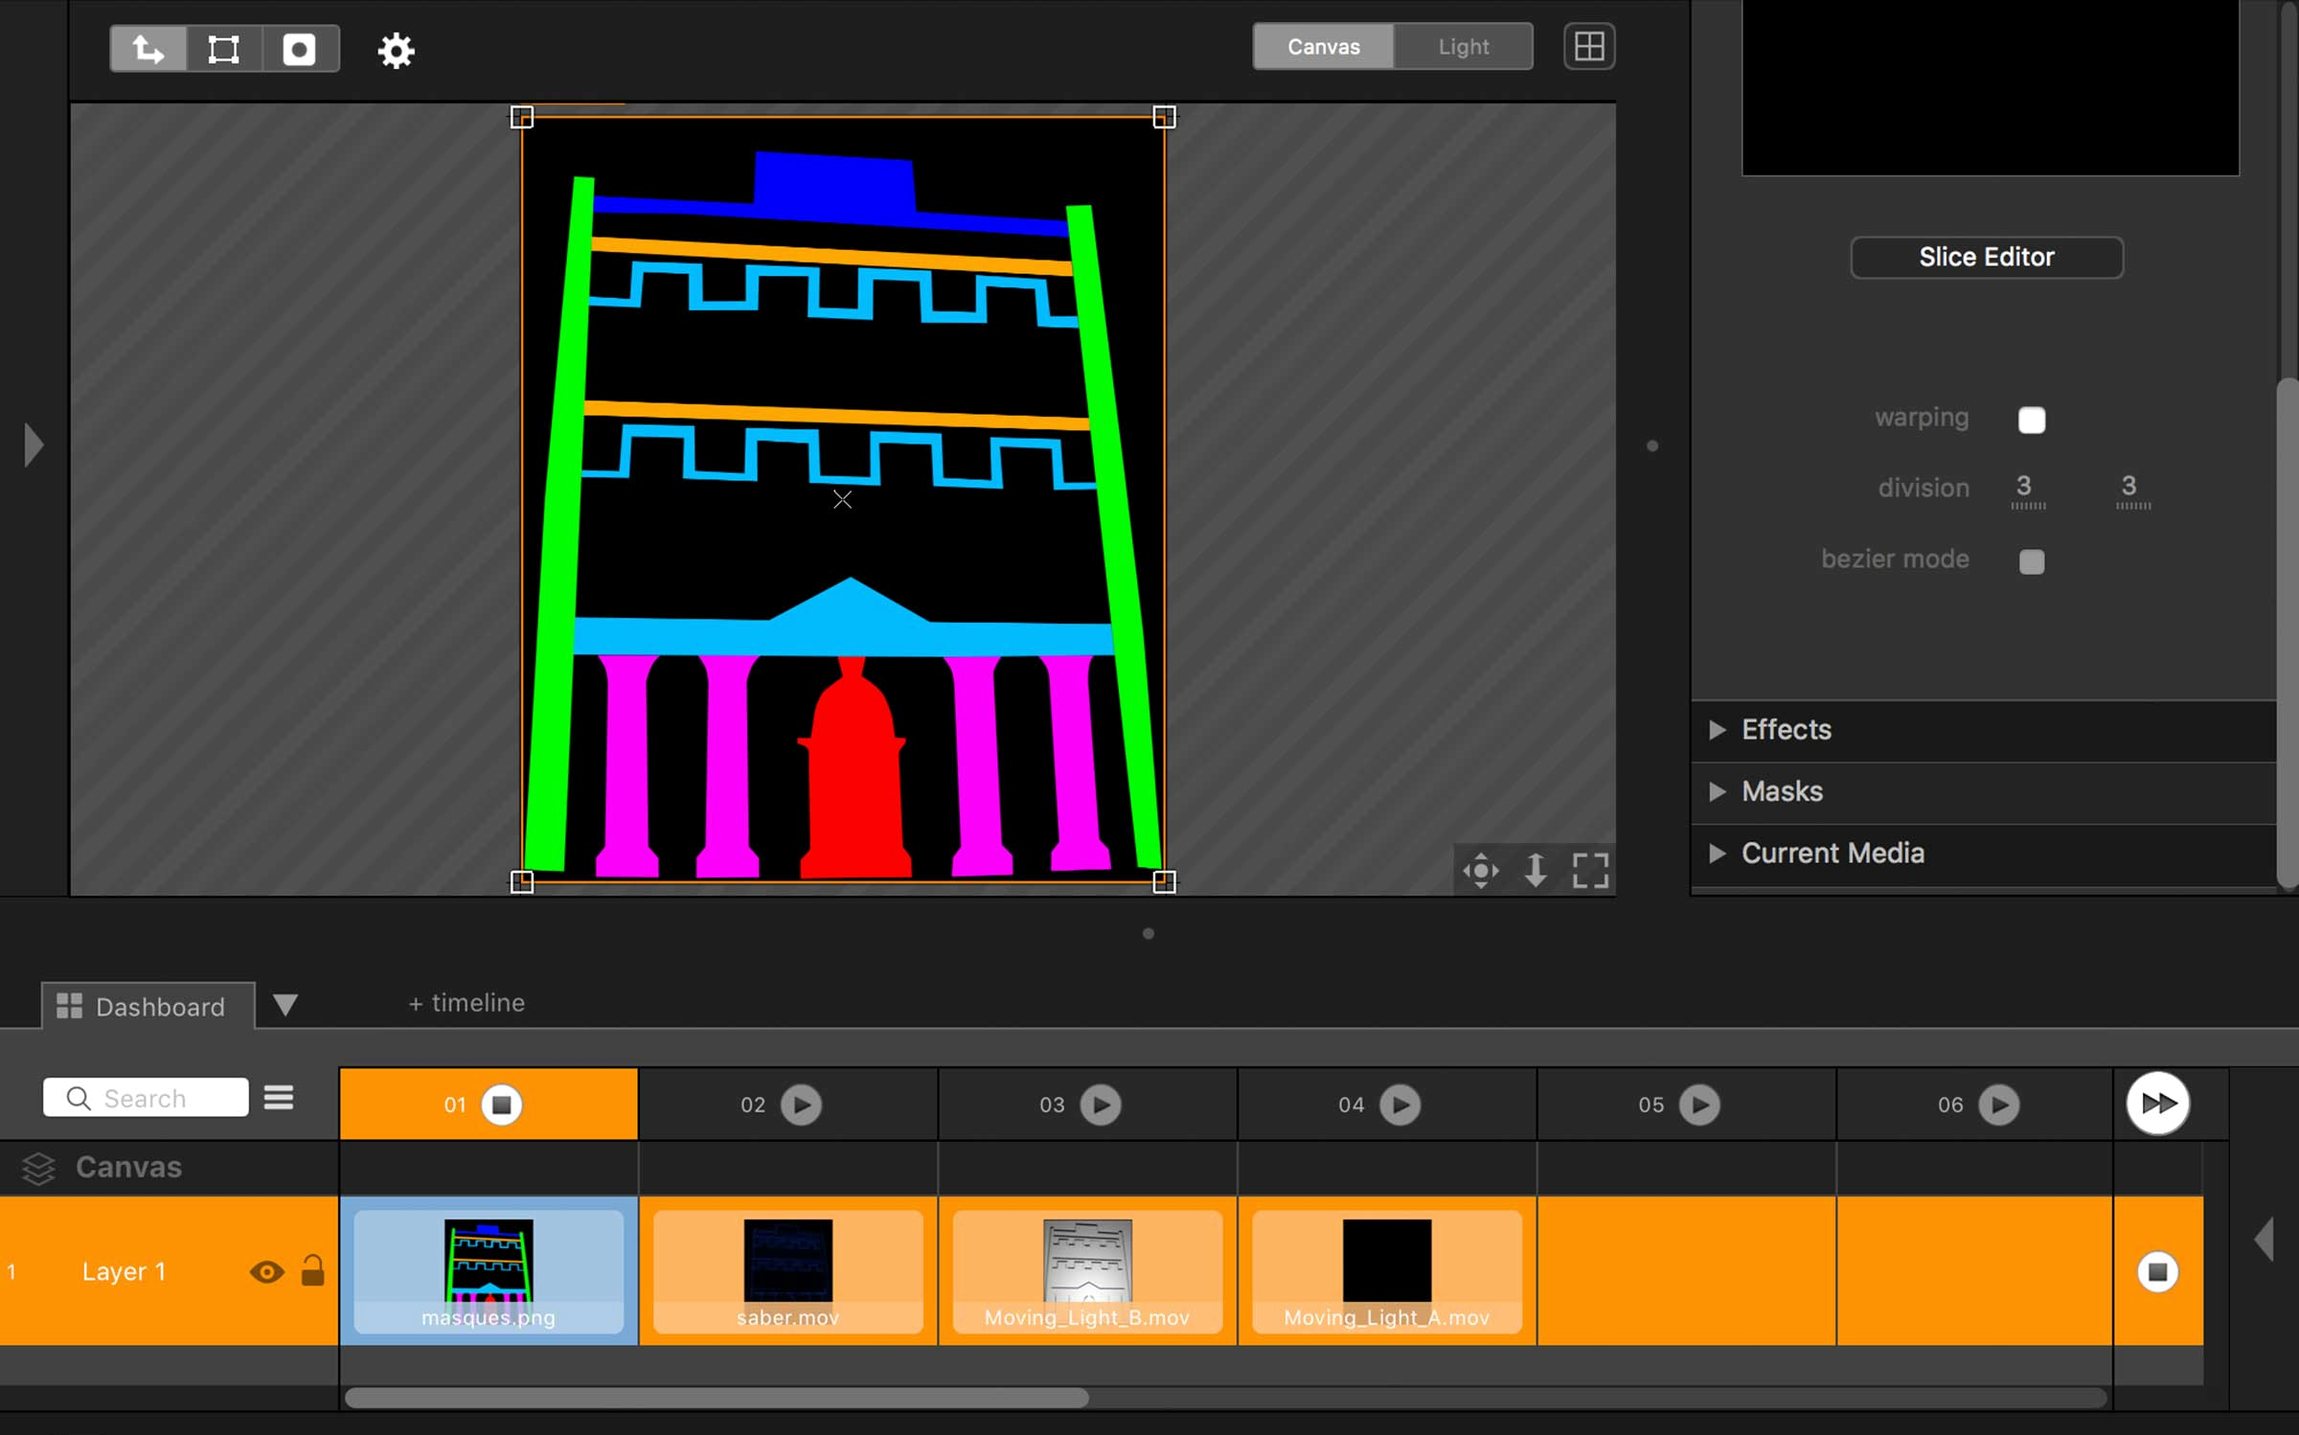
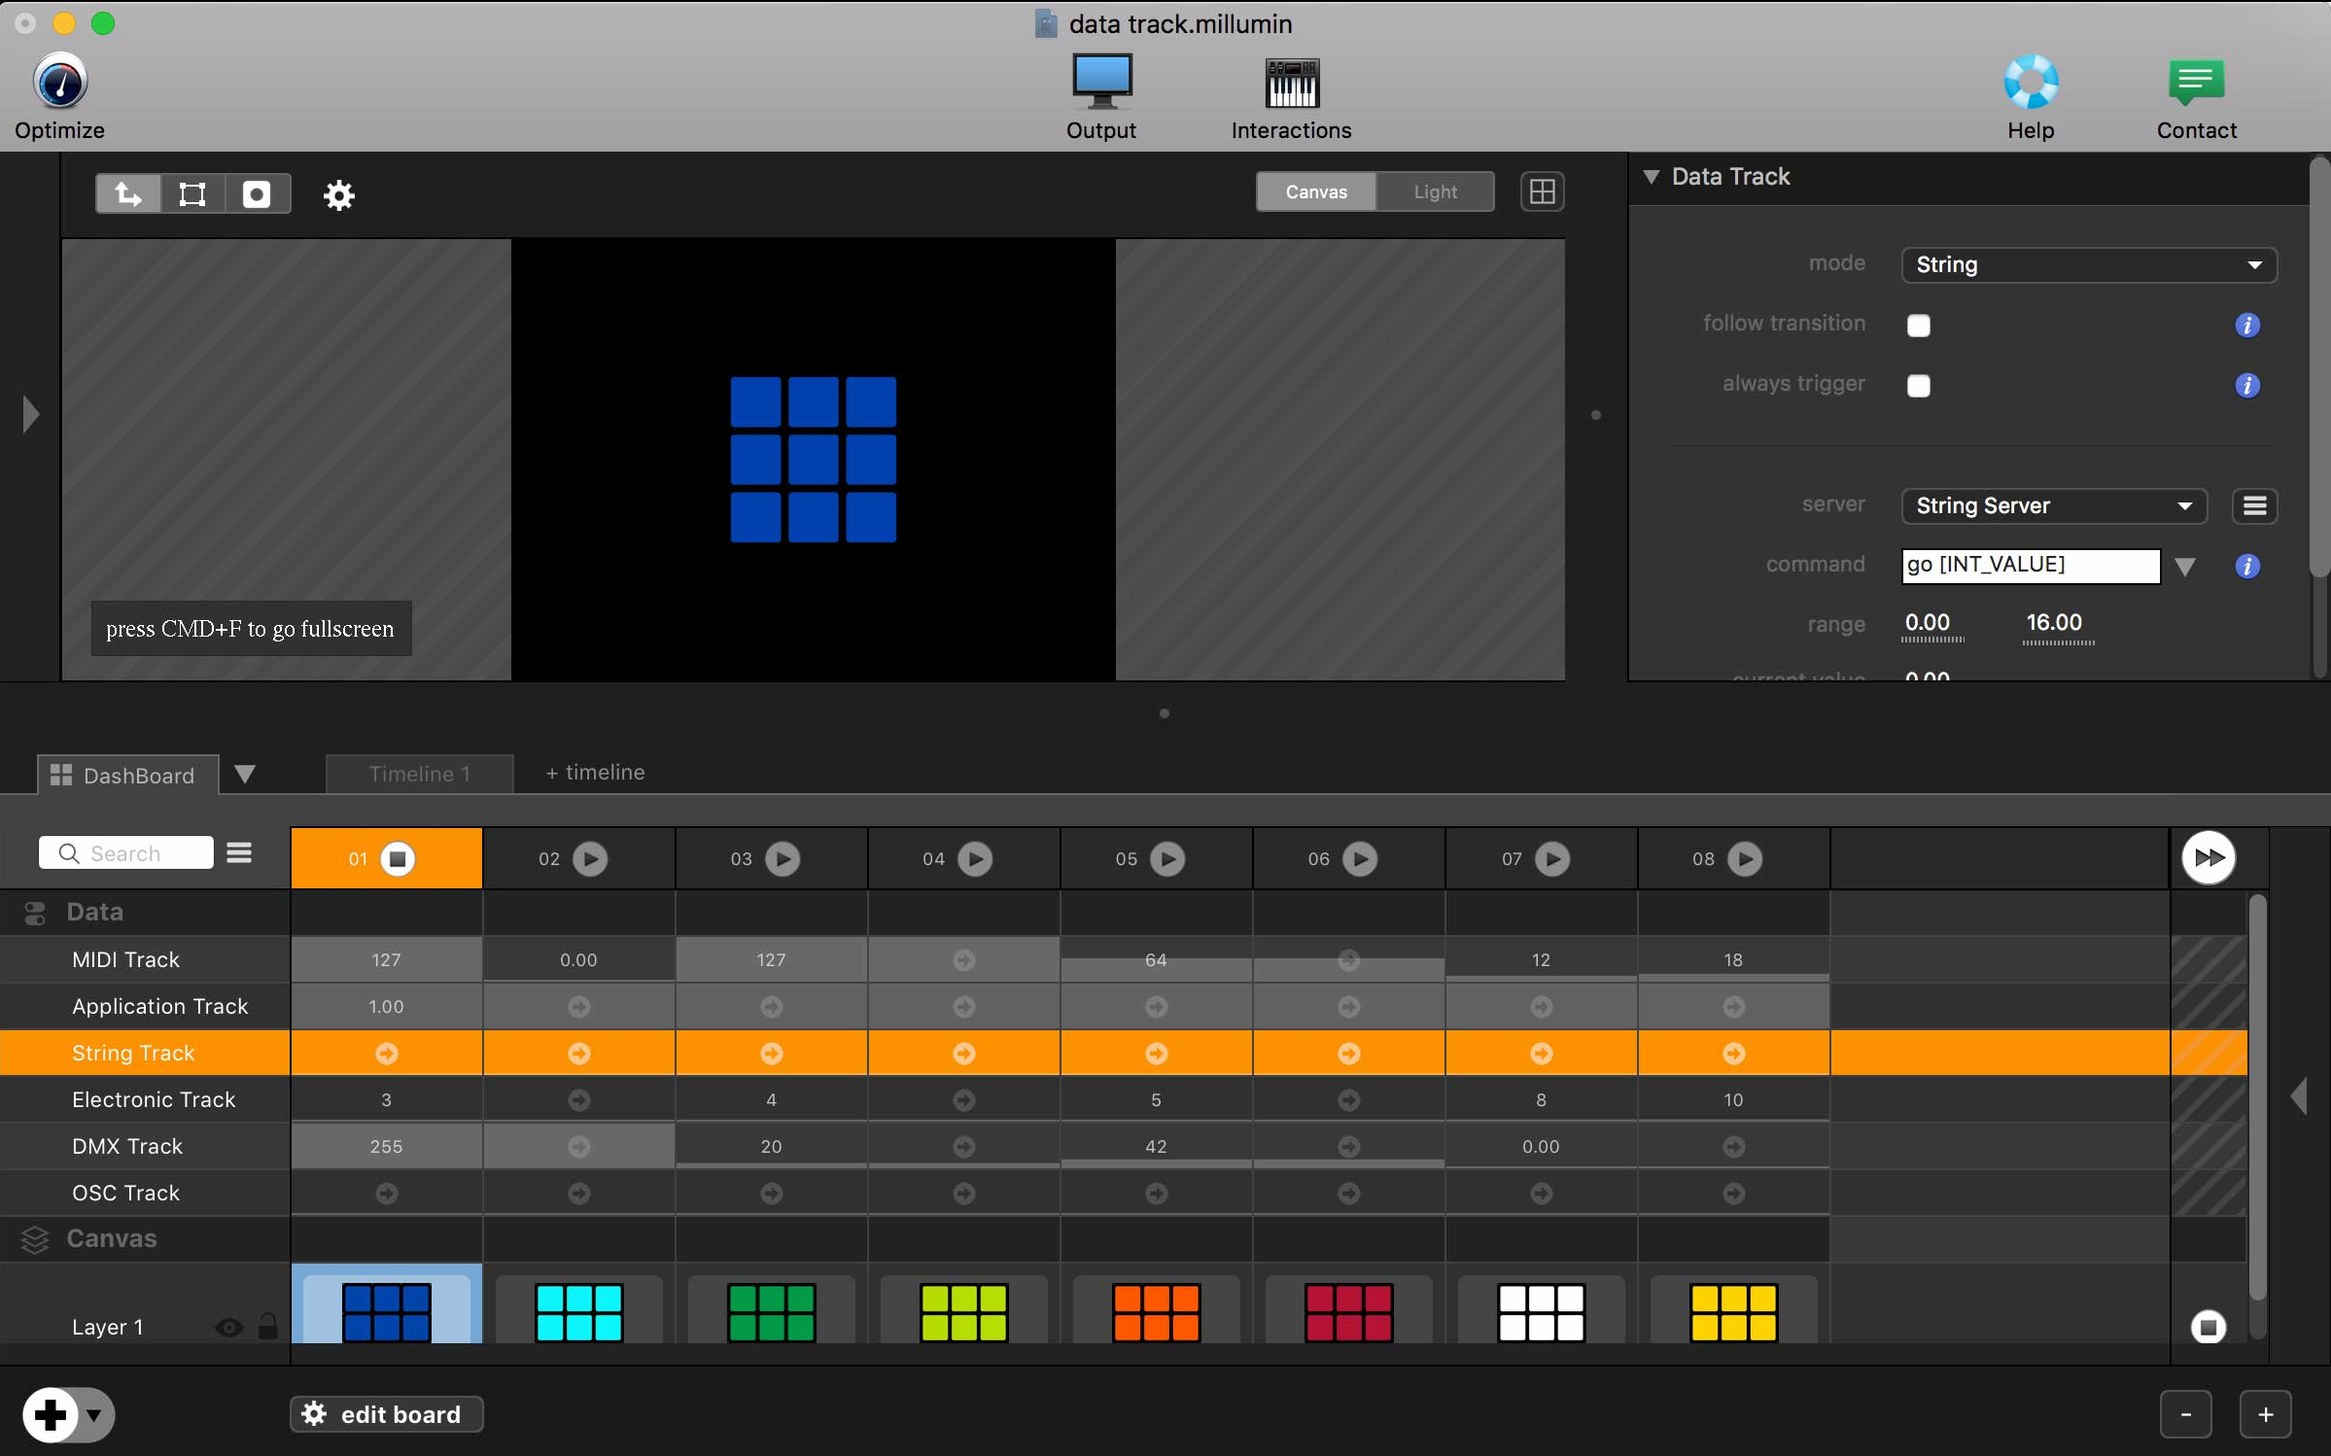
Drop a video clip onto the timeline. The default behaviour is a column-based trigger: one column equals one cue. Right-click the clip and choose Edit Media to set in and out points. Drag the column header left or right to adjust its duration. Add a second column, then switch to the Dashboard panel. Here you see a grid of coloured squares, each mapped to a keyboard key or MIDI note. Press the assigned key and the column fires.
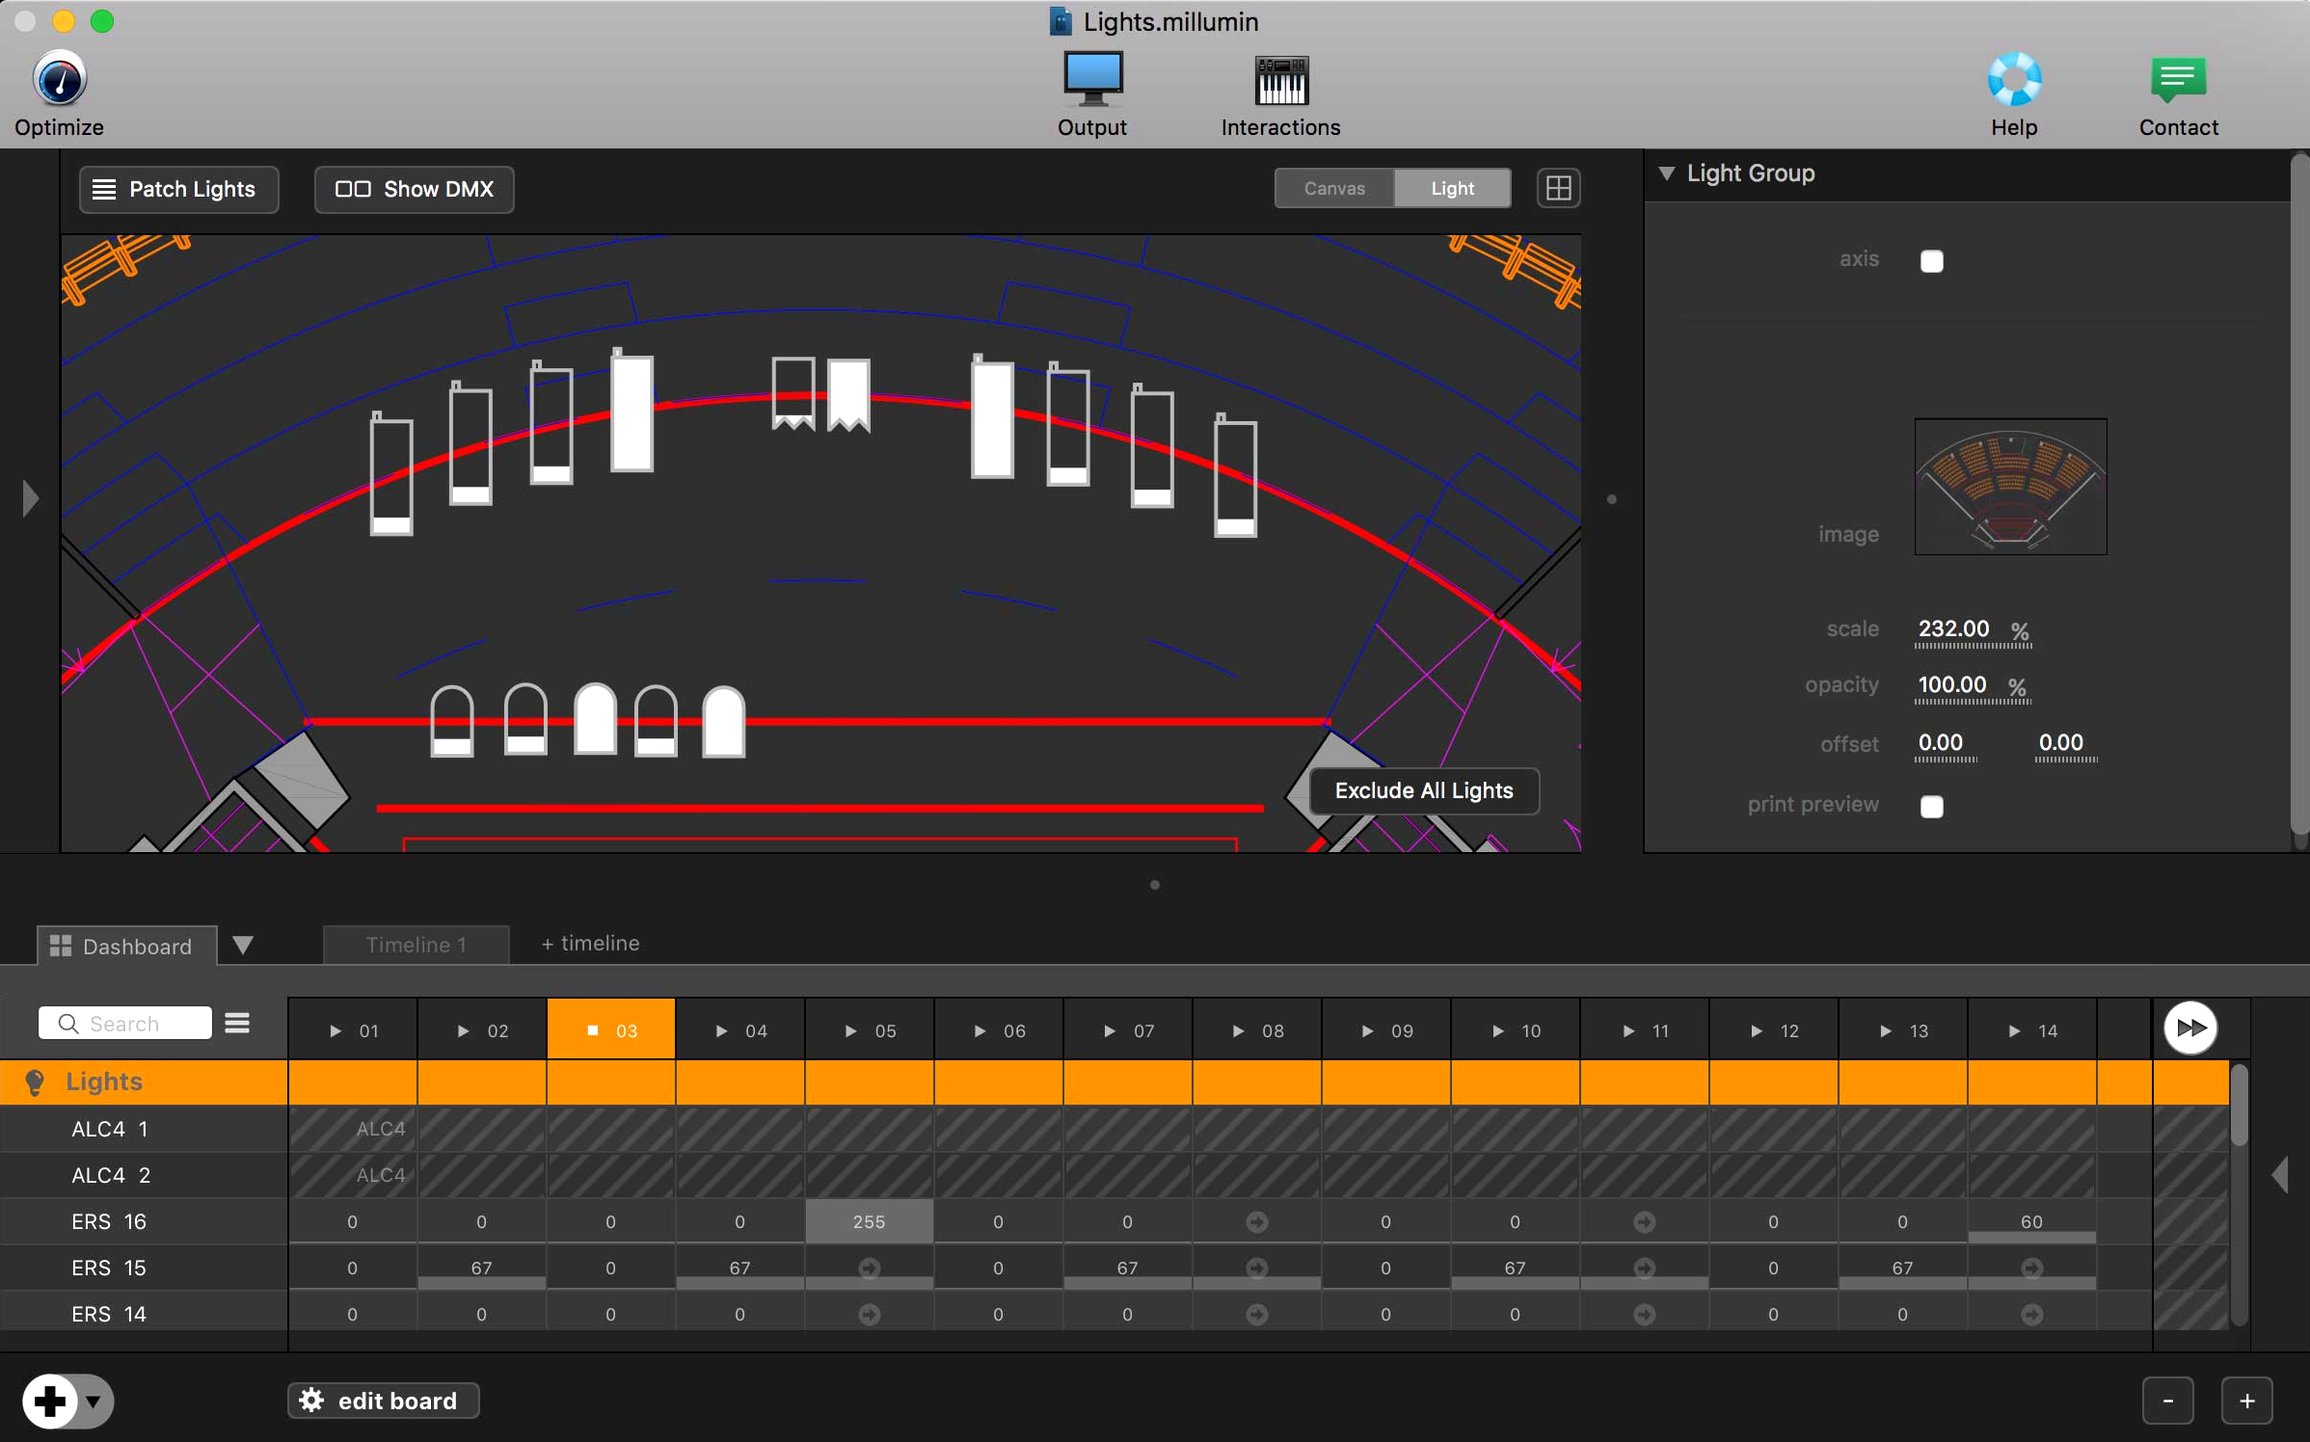
Next, wire a lamp. Select a column, click the Light tab and choose a DMX fixture profile. If yours is missing, the built-in editor lets you build one from the fixture's channel chart. Assign a universe and address, then draw a dimmer curve in the column's automation lane. Hit the dashboard trigger again — the clip plays and the lamp fades up together.
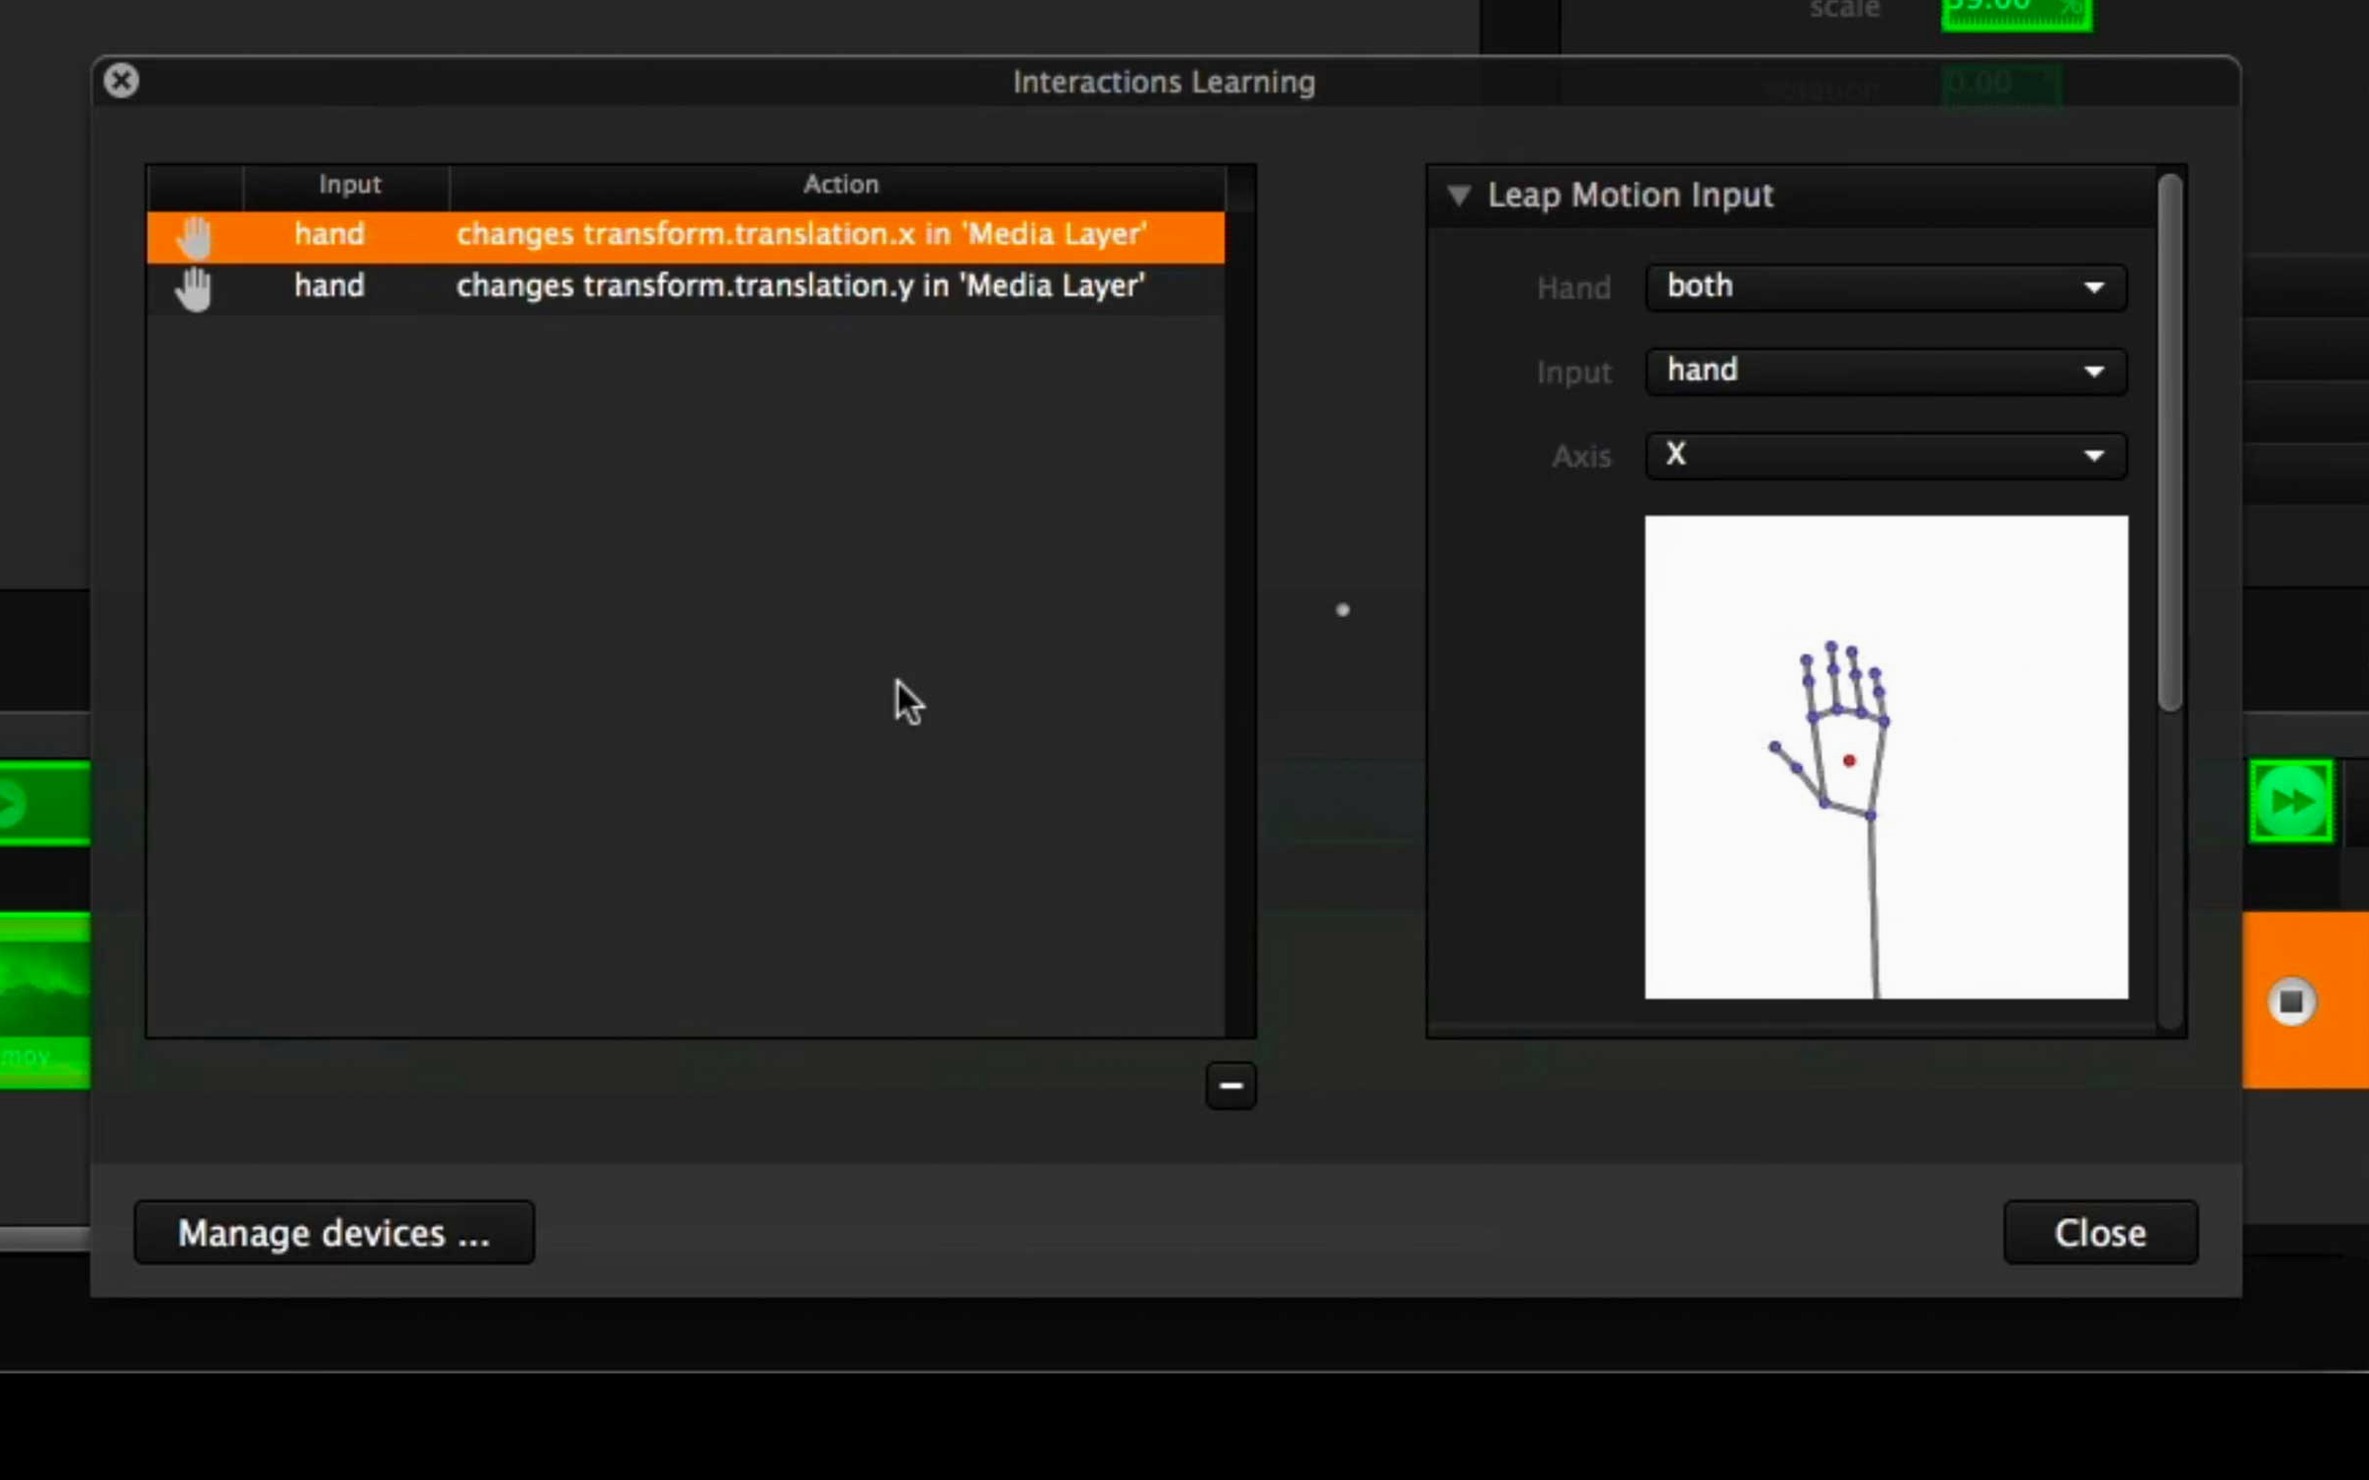
To add interaction, open the Interaction panel and link a column to an OSC address or a MIDI continuous controller. Set the mapping mode to Scrub. Now a fader on a physical controller moves the playhead across the column's media, forward and backward. Performers can pace the projection with their own movement when a sensor feeds the same address.
Lock the layout before handing the machine to an operator. Click Window → Lock Layout. The dashboard fills the screen, all editing panels disappear, and accidental right-clicks cannot undo your work. Unlock it only with a password you set in preferences.
Zero Out the Default Crossfade for Snappier Columns
- Preferences → Playback → Default transition duration. The factory setting inserts a 0.5-second crossfade between columns. For cue-precise theatre work, set it to 0 and add fades manually only where a scene change calls for one.
- Preferences → DMX → Refresh rate. The default 25 Hz is safe for most rigs, but LED fixtures with fast strobe channels respond better at 40 Hz. Test with a single fixture before raising it show-wide.
- Preferences → Media → RAM buffer. By default, Millumin caches the first 2 seconds of each clip in memory. For long archival videos on a slow external drive, bump this to 8 or 10 seconds. The trade-off is higher RAM pressure; keep an eye on Activity Monitor during the first full run-through.
- Dashboard → Edit Mode → Key mapping style. The default Toggle fires a column on key-down and stops it on the next press. For busking or live improvisation, switch to Flash — the column runs only while the key is held. Musicians and VJs tend to prefer this.
- File → Project Settings → Canvas resolution. New projects default to the display resolution of the Mac you are sitting at, which is rarely the projector's native size. Set it to match the output device before importing any media, or scaling artifacts will compound with every nested layer.
Mapping Three Foam Panels at Different Depths
A small dance company rents a black-box theatre for three days before opening night. Their set is three irregular foam panels suspended at different depths. The lighting designer brings a Mac Mini running Millumin V5, a 6000-lumen projector, and an Enttec DMX USB Pro. The goal: project abstract textures that track the dancers' positions, with side-light cues triggered from the same timeline.
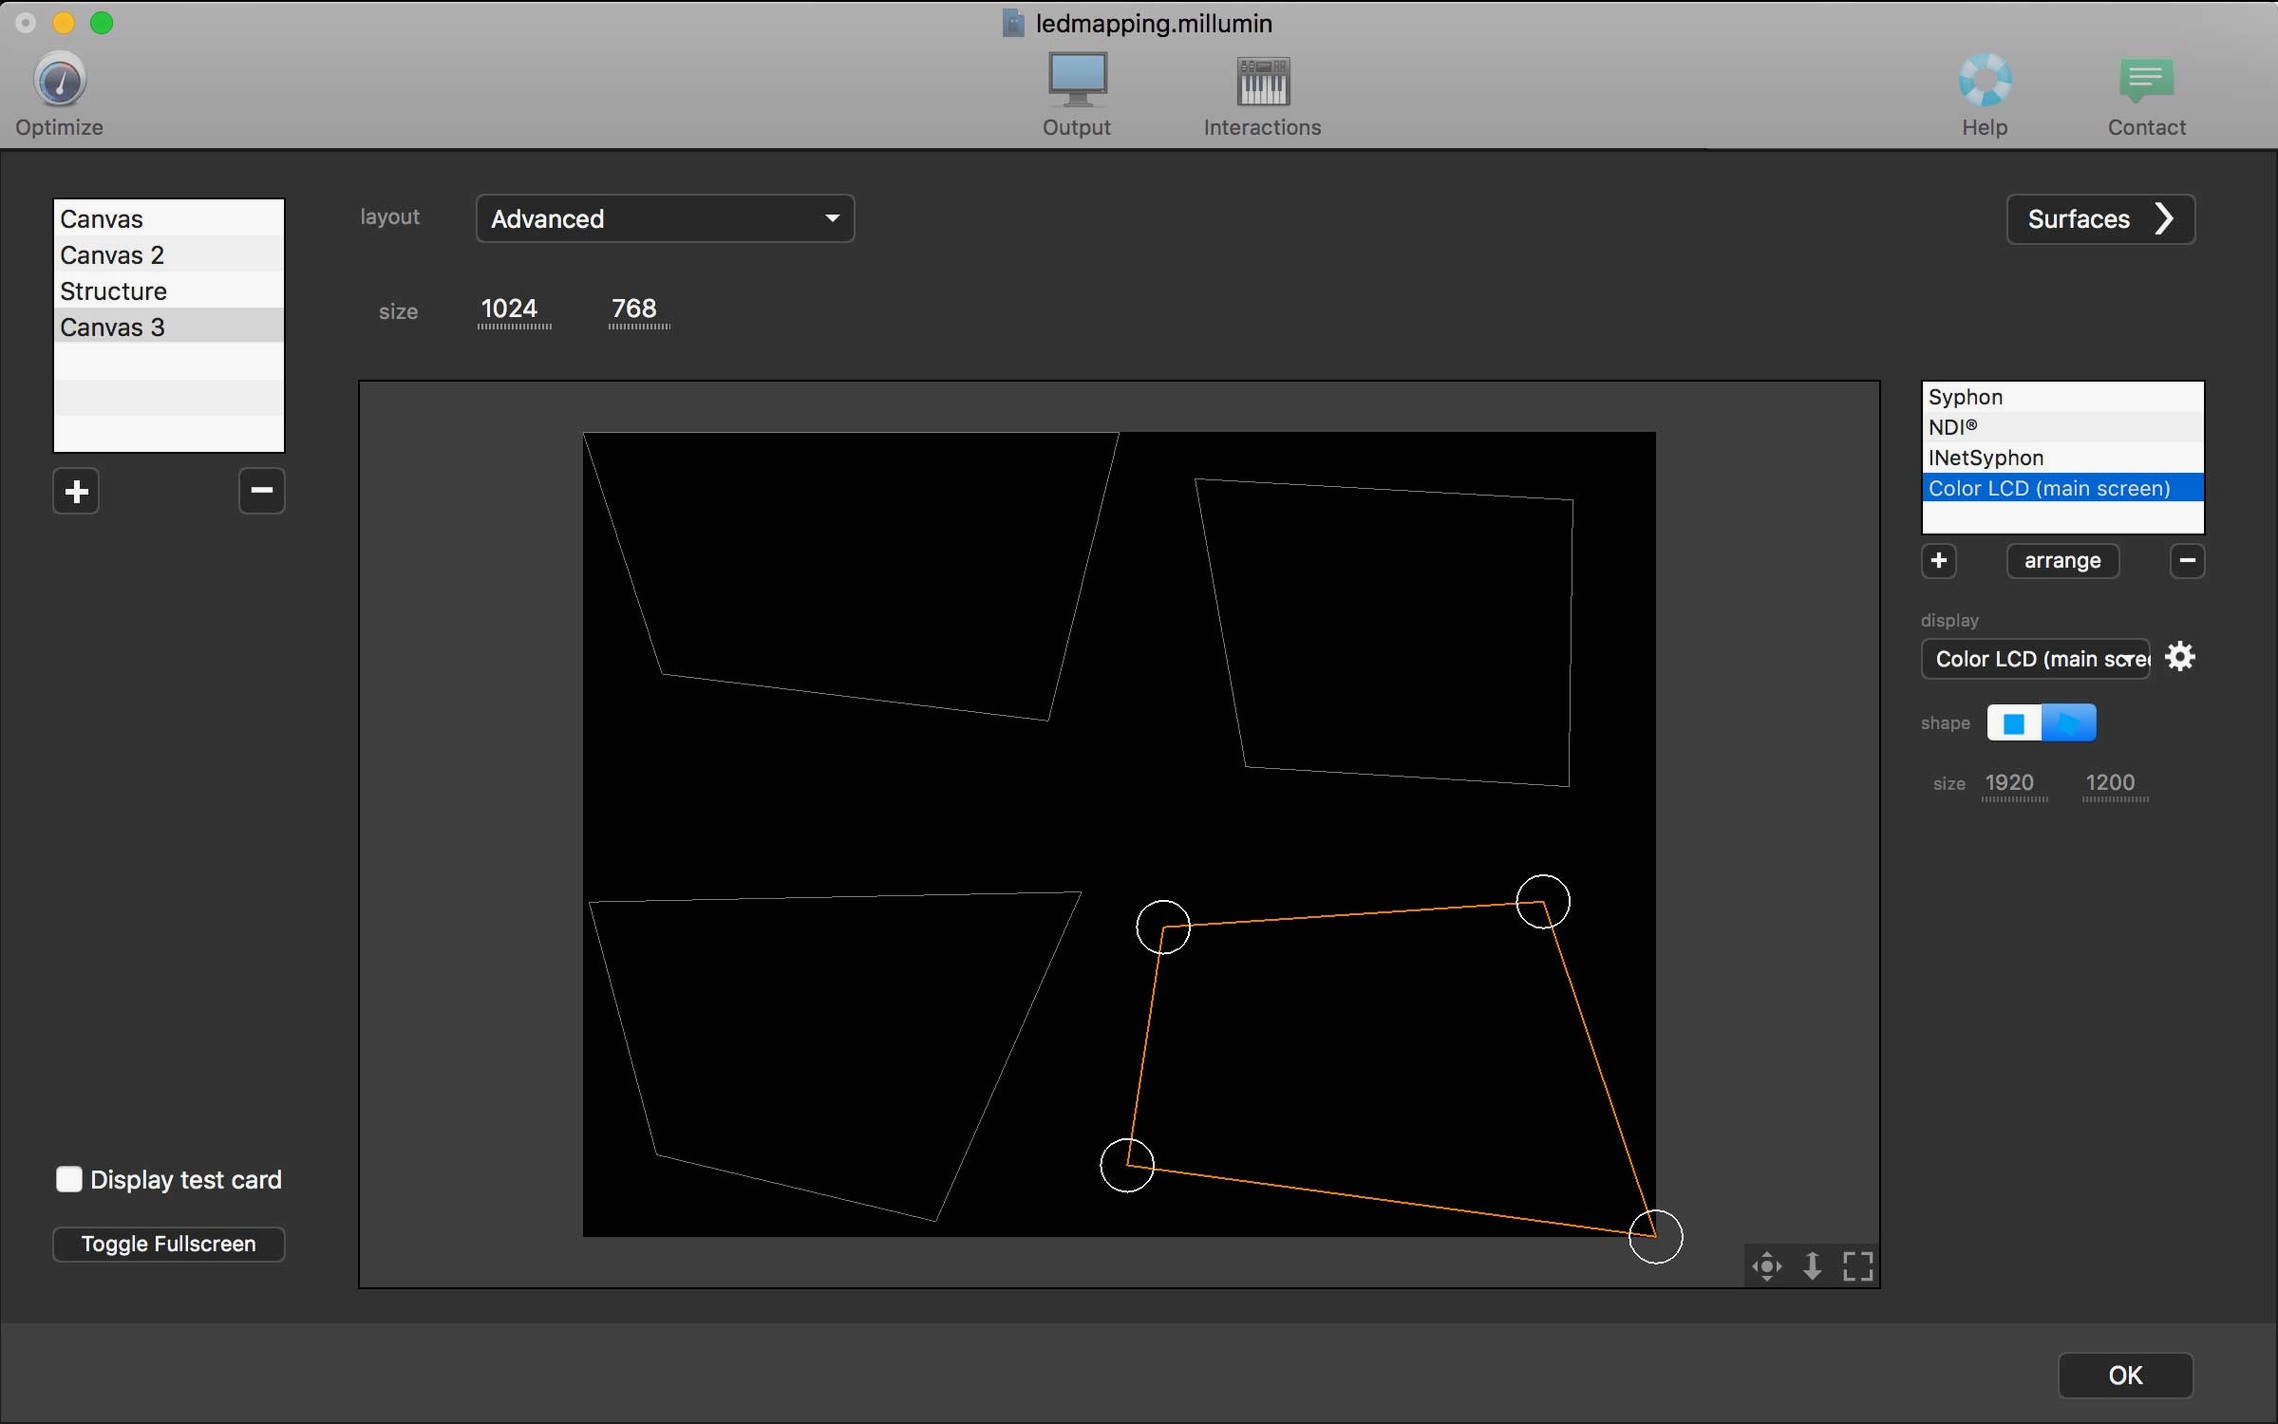
She mounts the projector, connects it as a secondary display, and sets the canvas to 1920×1080. In the Output tab she adds a new output map for each panel, draws a rough quad mask with the corner-pin tool, then refines it using the built-in grid test pattern. Each map gets its own layer group on the timeline.
The choreographer wants a dancer stage-right to trigger a ripple effect. The designer places an IR distance sensor at the edge of the performance area, wired to an Arduino that sends OSC over Ethernet. In the Interaction panel she links the sensor's distance value to the playhead of a column holding the ripple video. She sets the mapping curve to ease-in — small movements near the sensor produce subtle ripples; a lunge fills the panel.
During the first stumble-through, a dancer drifts across two panels. The designer opens the timeline, splits the ripple clip across both output maps, and offsets one by 6 frames so the effect rolls across the surface rather than snapping. She saves, locks the layout, and hands an iPad running TouchOSC to the stage manager for manual overrides.
By the third run, nobody looks at the computer.
Set a 0.3-Second Master Fade for Emergency Stops
Not setting a master fade time for emergency stops. The spacebar halts playback immediately — jarring for video and dangerous for moving lights with heavy colour wheels. Go to Preferences → Playback and set a master stop-fade of 0.3 to 0.5 seconds. The audience will not notice the ramp; your lamp filaments will.
Using the wrong media codec. Dropping H.264 or H.265 files onto the timeline works in rehearsal but stutters under show conditions when Millumin decodes six layers simultaneously. Transcode everything to ProRes 422 or Photo-JPEG at the canvas resolution. File sizes grow, but frame drops disappear.
Ignoring the layer stacking order during mapping. When you assign multiple output maps to overlapping surfaces, the layer order in the timeline determines which map renders on top. Beginners often mask a panel perfectly on screen, then wonder why black shapes appear during crossfades. The culprit is usually an empty lower layer occluding the projection. Keep a solid black still-image column at the bottom of every map group as a deliberate matte, not as a side effect of an unfilled track.
Testing interaction mappings without a dead zone. A sensor feeding OSC scrub data is never perfectly still. Without a small dead zone (set in the Interaction panel's curve editor), the playhead jitters back and forth by a frame or two, causing a visible flicker on static textures. A dead zone of 2–3% of the sensor range costs nothing and cleans the image.
- macOS 11 Big Sur or later (including Tahoe 26 and Golden Gate 27)
- Intel processor
Sign in · Create an account to add a field note.
No field notes yet. A measurement, a version, a machine — they appear after moderation.