
Video
Movavi Video Editor 22.4.1
VideoUpdated
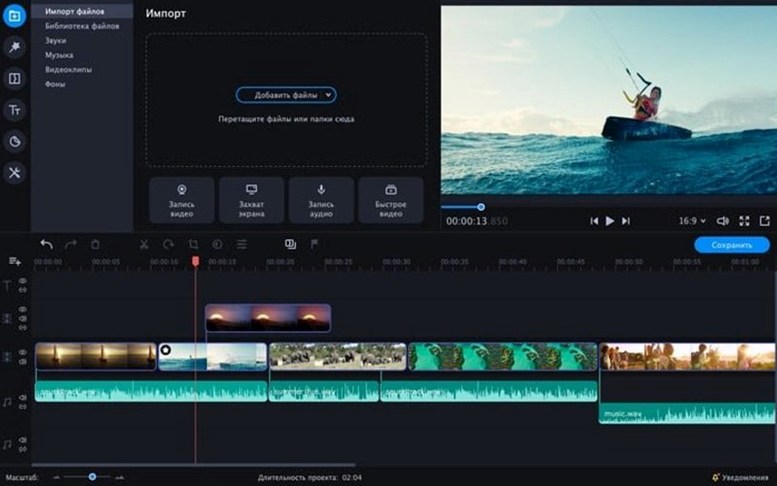
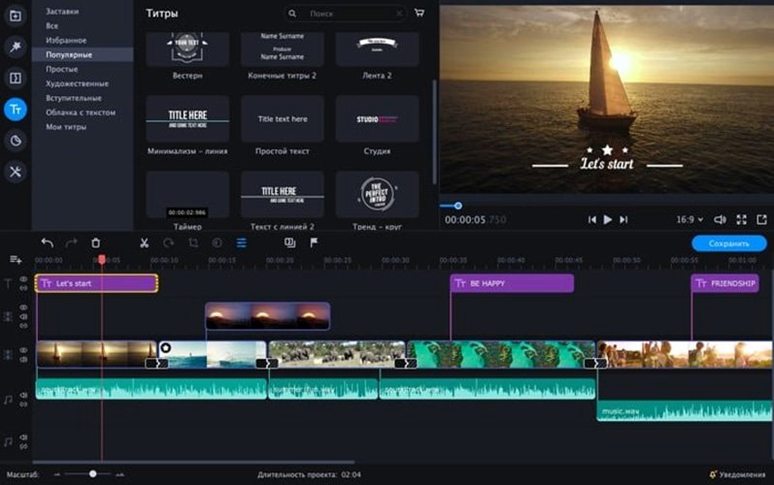
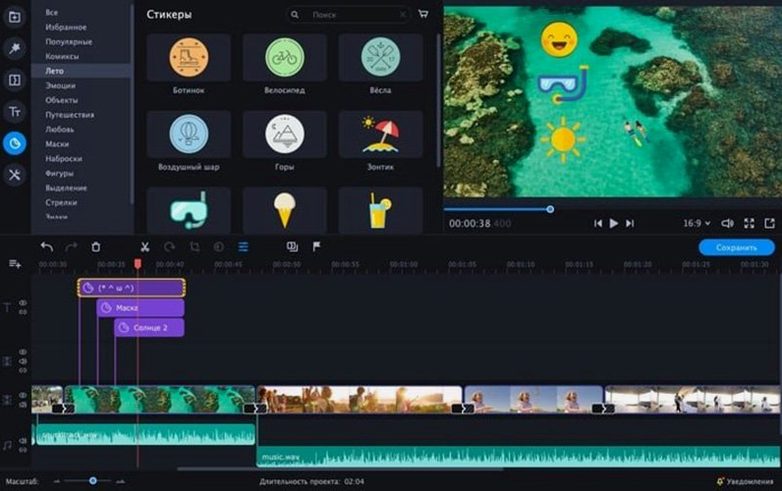
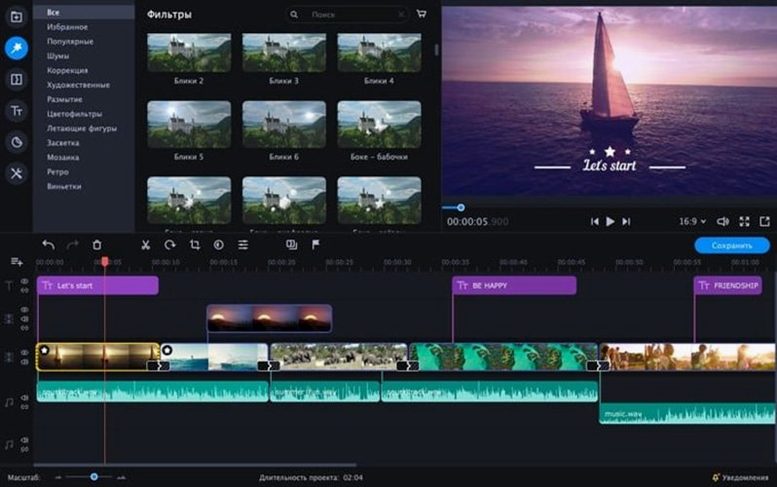
| Requirement | On file |
|---|---|
| macOS | macOS 10.13 or later |
| CPU | Intel 64-bit |
| Download | 126 MB |
A marketing team needs a quick product teaser with a clean green-screen backdrop replacement and animated text. The raw clips sit on an Intel Mac running 10.14. Movavi Video Editor is launched from the Applications folder, and the first clip hits the timeline.
Building the Sequence
- Layer the primary footage. Drop the main clip onto the primary track. Trim the ends with a blade cut, dragging the edges to set precise in and out points.
- Isolate the subject. Open the clip’s colour settings and enable Chroma Key. Use the eyedropper on the green background. Adjust the tolerance and noise sliders until the edges are clean, not soft.
- Add the replacement plate. Place a still image or video on the track below. The isolated subject now sits against the new background.
- Manipulate time. Select a B-roll clip on a second layer. Set a speed multiplier of 0.5 for slow motion, or tick the Reverse box for a rewind effect. The timeline shows the adjusted duration immediately.
- Overlay graphics. Search the sticker library for an arrow or badge, then position it over a product in the frame. Drag an animated title preset onto a text track, type the copy, and set the font weight.
- Polish the sound. Open the audio panel on the primary clip. Apply the one-click de-noiser and add a touch of bass boost. The waveform redraws to reflect the gain change.
Every adjustment—from keying a background to reversing a clip—runs as a real-time operation on the timeline. The controls are direct sliders and checkboxes, built for an editor who knows the exact parameter they want to change without hunting through nested menus.
Offline Activation and No Forced Account
Does the app phone home or require a Movavi account? The editor runs entirely offline. No account creation is forced at launch, and the timeline, export queue, and effects panel all function without an internet connection. Activation is local.
Will it work on a 2015 MacBook Pro with Intel graphics? The build is 64-bit Intel, and the minimum system is macOS 10.13. Integrated GPUs from that era (Intel HD 5000 and later) are supported for timeline playback and basic effects. Performance on older machines drops predictably with multiple chroma-key layers or 4K source material—proxies are not generated automatically, so an editor working on an i5 with 8 GB of RAM would be wise to transcode heavy clips before import.
What export formats are available out of the box? H.264 in MP4 and MOV containers, plus presets for YouTube, Vimeo, and device-specific profiles. The preset list covers resolutions up to 4K. Frame rate follows the project setting, and bitrate controls are exposed as a slider with a numeric override.
Is there a watermark on exported video? No watermark appears in renders from an activated copy. The export dialogue shows the exact pixel dimensions, codec, and estimated file size before the render begins.
Ripple Delete with a Single Keystroke
A few workflow shortcuts sit just below the surface and make a real difference when you edit under time pressure.
- Ripple delete with a single keystroke. Select a gap or an unwanted segment and press
Shift-Delete. The surrounding clips close the gap automatically. This works across all tracks and saves the extra step of manually sliding everything left. - Clip snapping to the playhead. When dragging a clip near the timeline cursor, a thin magnetic line appears. It snaps to the exact frame the playhead sits on, which is useful for aligning a B-roll cut to a beat in the waveform.
- Right-click replace. Right-click any clip on the timeline and choose Replace File to swap the source while keeping all applied effects, keyframes, and trimming intact. Changing a placeholder graphic to the final version takes one dialogue box.
- Double-click to isolate. Double-clicking a clip in the timeline opens it in a dedicated trim window with larger waveform view and frame-accurate jog controls. Fine cuts that would be fiddly on the main timeline become straightforward here.
- Sticker search with partial terms. The sticker and overlay library accepts partial words. Typing “arr” surfaces arrow badges, directional pointers, and related shapes without scrolling through categories.
Set Project Frame Rate Before You Cut
Out of the box, a few defaults are set for safety rather than speed. These adjustments take under a minute and pay back on every subsequent project.
Project frame rate and resolution. The default project is 30 fps at 1920×1080. Set this to match your source footage before importing anything—changing it later forces a project-wide retiming prompt. The setting lives under File → Project Preferences.
Auto-save interval. The auto-save timer defaults to 10 minutes. Drop it to 5 minutes under Preferences → General. The backup files land in a dated folder inside ~/Movies/Movavi Library and do not overwrite the main project file.
Timeline track height. Drag the vertical boundary between track headers to increase the visible waveform amplitude. For dialogue editing, a taller audio track makes it far easier to spot plosives and gaps.
Default transition duration. Under Preferences → Editing, the crossfade length starts at one second. Cutting it to 0.3 seconds gives a snappier dissolve that works better for social-media cuts without requiring a manual adjustment every time.
Hardware acceleration toggle. On Intel Macs with a discrete GPU, the setting under Preferences → Performance should be checked. If the machine has only integrated graphics and timeline playback stutters, unchecking it can sometimes stabilise the preview—experiment once per machine and leave it alone afterward.
Four Chroma-Key Sliders vs. iMovie’s Coarse Controls
Stacked against iMovie, Movavi Video Editor offers a broader effects toolkit and exposes parameters that iMovie hides. iMovie’s chroma-key implementation works, but the sliders for tolerance and edge smoothing are coarser. Movavi’s keyer gives four separate controls: tolerance, noise, edges, and opacity threshold. iMovie also lacks reverse playback, animated stickers, and a built-in audio de-noiser. On the other hand, iMovie handles library management across Apple devices more gracefully and includes a set of trailer templates with storyboard-style shot prompts that Movavi does not match.
Compared with Shotcut, an open-source cross-platform editor, Movavi trades raw filter count for interface speed. Shotcut’s filter stack runs deep—over 100 audio and video filters—but the interface requires docking panels manually and learning a non-standard timeline paradigm. Movavi’s timeline behaves like a conventional NLE: tracks, blade tool, drag handles. For a task like keying a green screen and adding a lower-third title, Movavi gets there in fewer clicks. Shotcut wins on format support; it reads and writes more codecs without transcoding, and its proxy-generation workflow is more explicit.
Against CapCut, the free editor popular for short-form vertical video, Movavi feels more desktop-native. CapCut leans heavily on template-driven editing and automatic captions; Movavi gives you manual control over every keyframe and effect parameter. CapCut’s sticker and text animation library is larger and updated more frequently, but Movavi’s text tools let you adjust kerning, line spacing, and individual character colours—details that template-driven editors tend to skip.
- macOS 10.13 or later
- 64-bit Intel processor
Questions on file
Can Movavi Video Editor replace a green screen background?
Yes, it includes a chroma key tool that lets you select a colour, then adjust tolerance and noise reduction to replace the background with an image or another video clip.
What speed effects does Movavi Video Editor offer?
You can create slow-motion footage by setting a custom speed multiplier and apply reverse playback to any clip on the timeline.
Sign in · Create an account to add a field note.
No field notes yet. A measurement, a version, a machine — they appear after moderation.