Video
Motion 6.3
VideoUpdated
| Requirement | On file |
|---|---|
| macOS | macOS 15.6 or later |
| CPU | Apple Silicon, Intel 64-bit |
| Download | 2.6 GB |
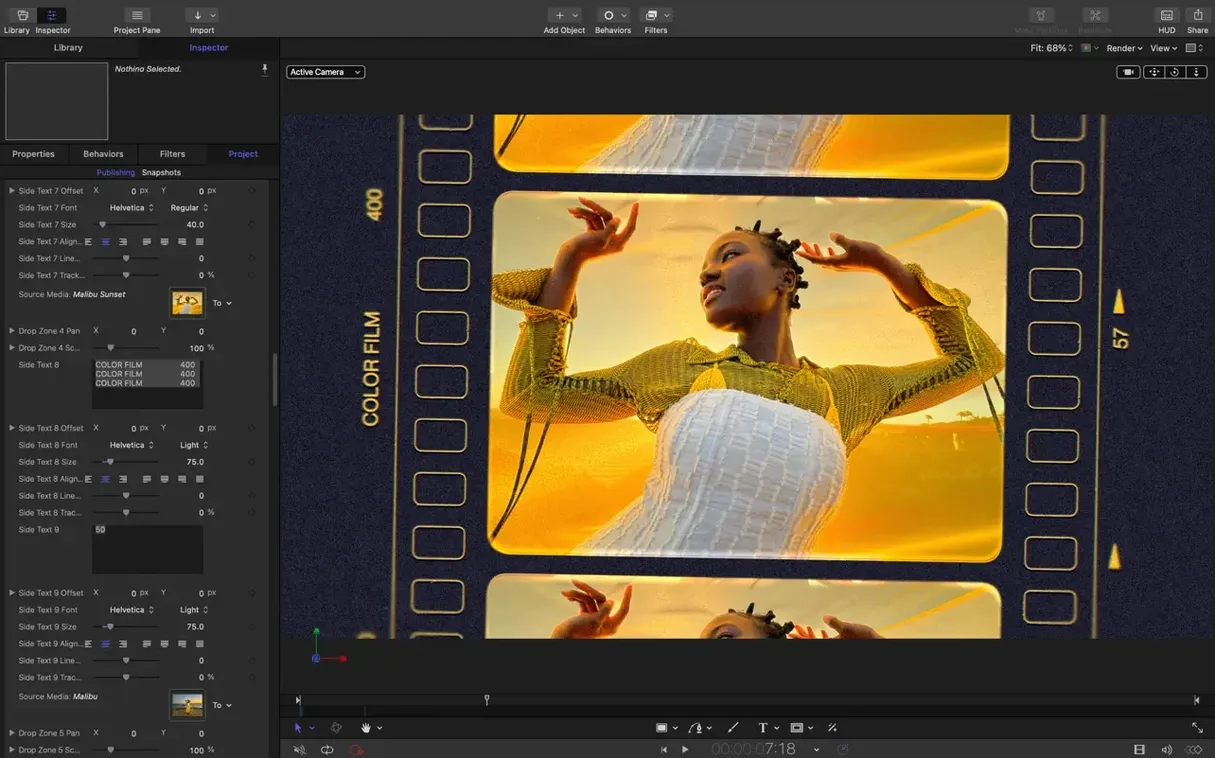
When a standard NLE timeline isn't enough to build the composite you need, the real work often shifts to a dedicated motion graphics environment. Motion 6.3 fills that gap on the Mac, providing the procedural engine for creating the titles, transitions, and effects seen in commercials and television programs.
Deep Toolset for Experienced Users
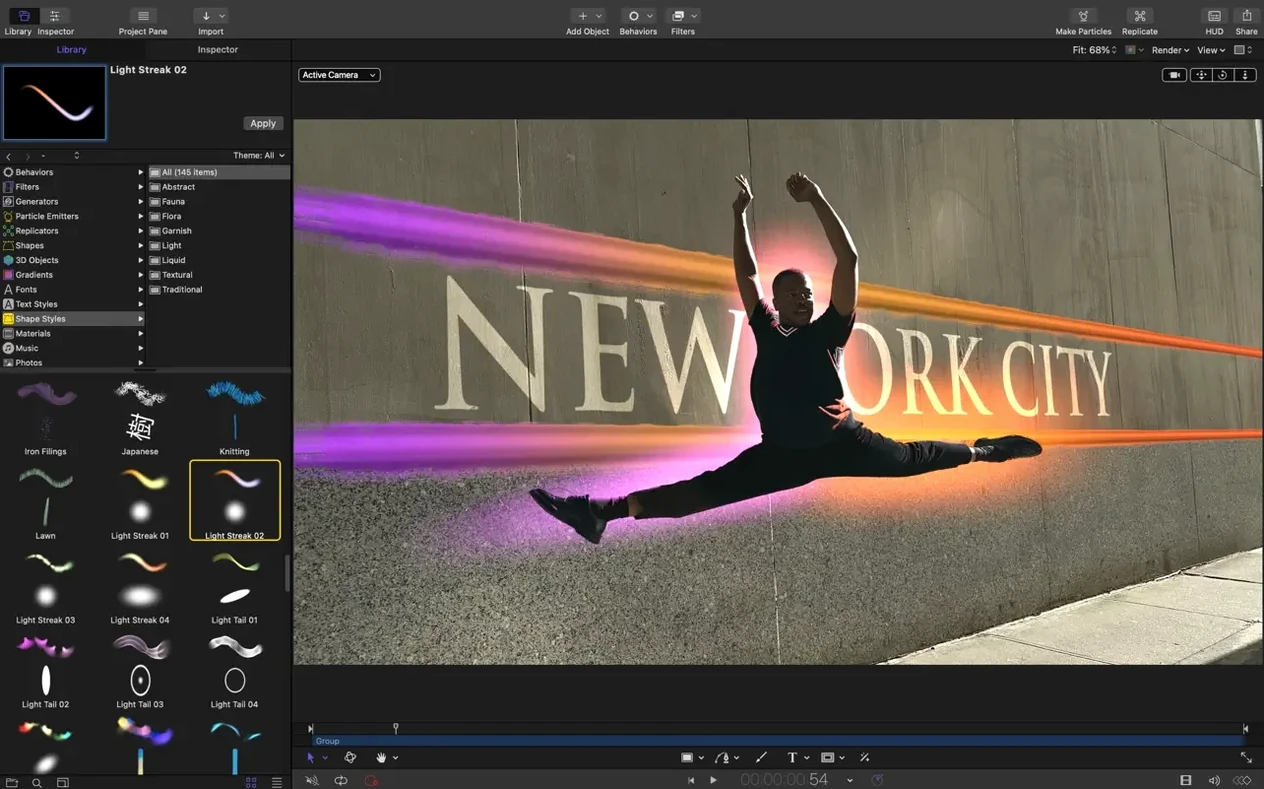
- Behaviour-based animation: Apply behaviours like Throw, Vortex, or Orbit to generate complex, physics-driven motion without manual keyframes.
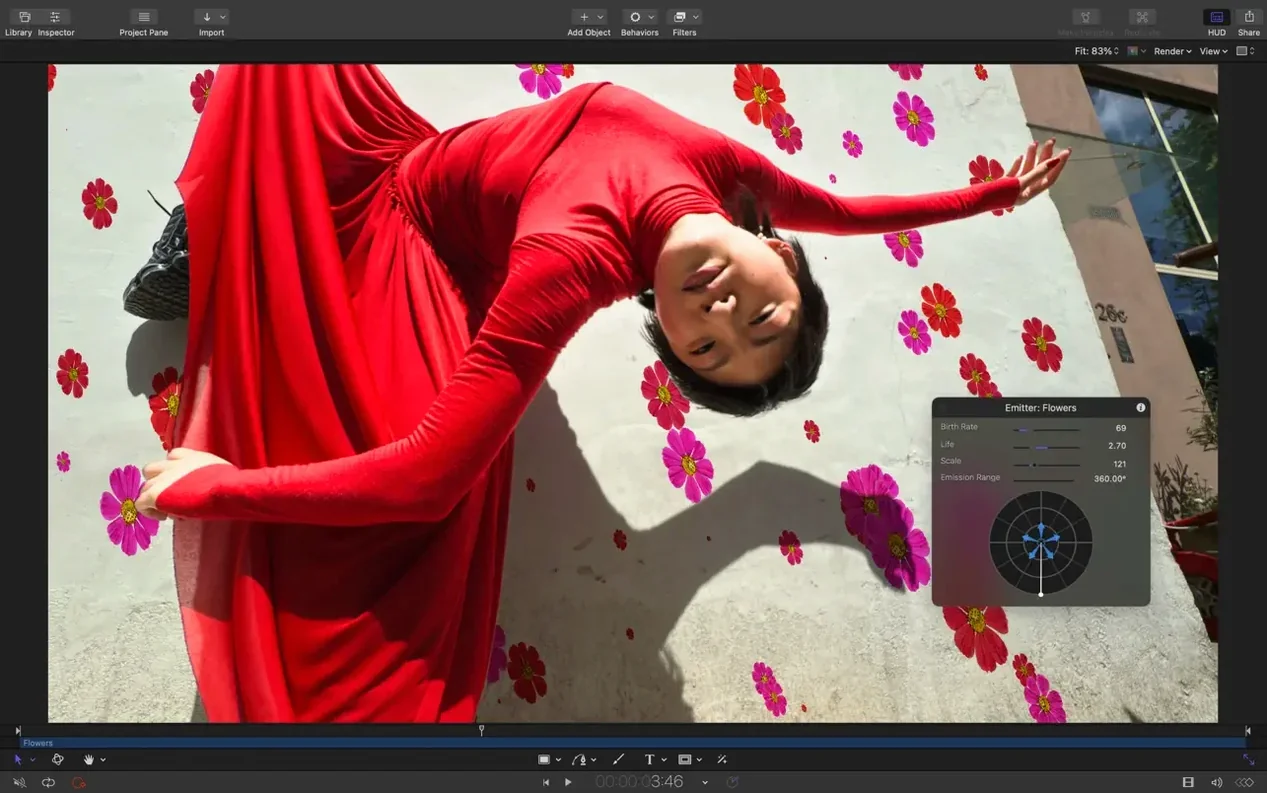
- Procedural particle systems: Design custom particle emitters with granular control over birth rate, life cycle, and colour gradients for atmospheric effects.
- Replicator objects: Build geometric patterns and video walls by replicating a source layer across a defined grid, circle, or custom path.
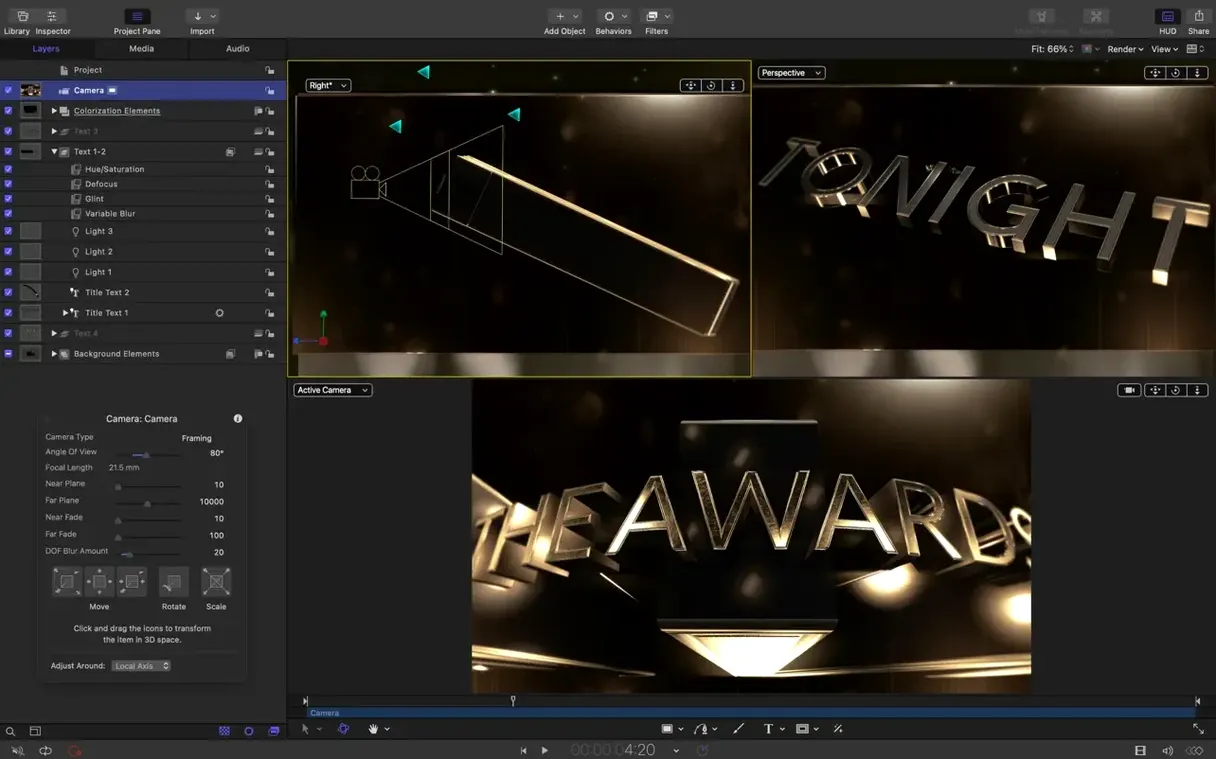
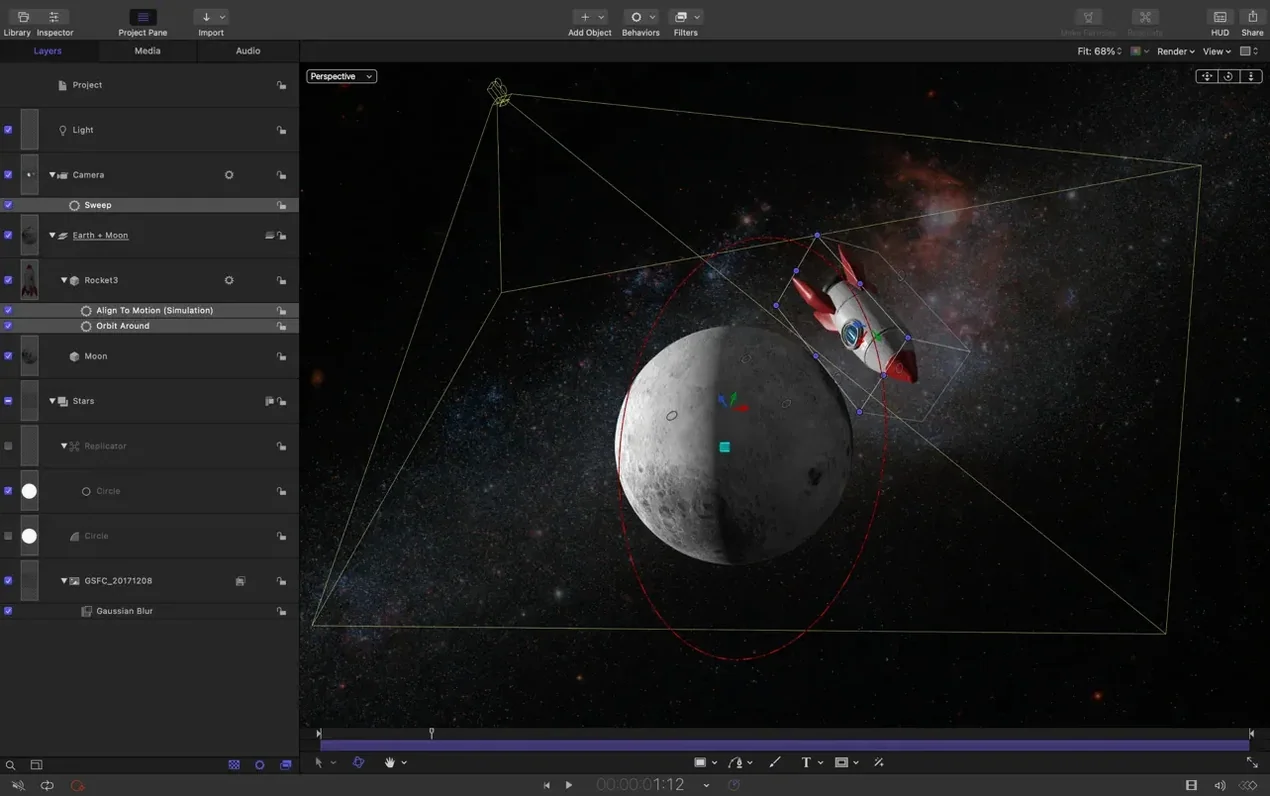
- 3D compositing environment: Arrange cameras, lights, and layers in true 3D space with realistic shadows and depth of field.
- Customisable templates for Final Cut Pro: Publish rigged parameters to create smart Motion Templates that editors can adjust directly in Final Cut Pro timelines.
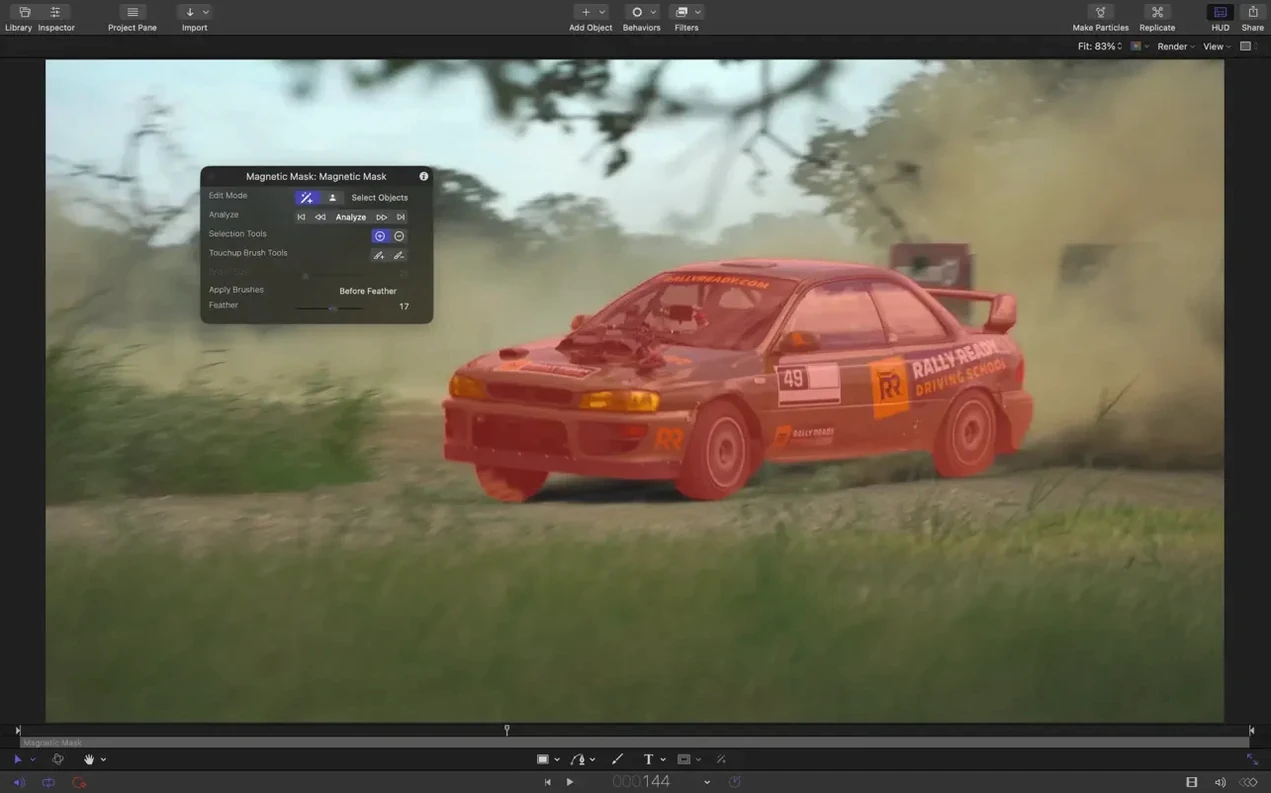
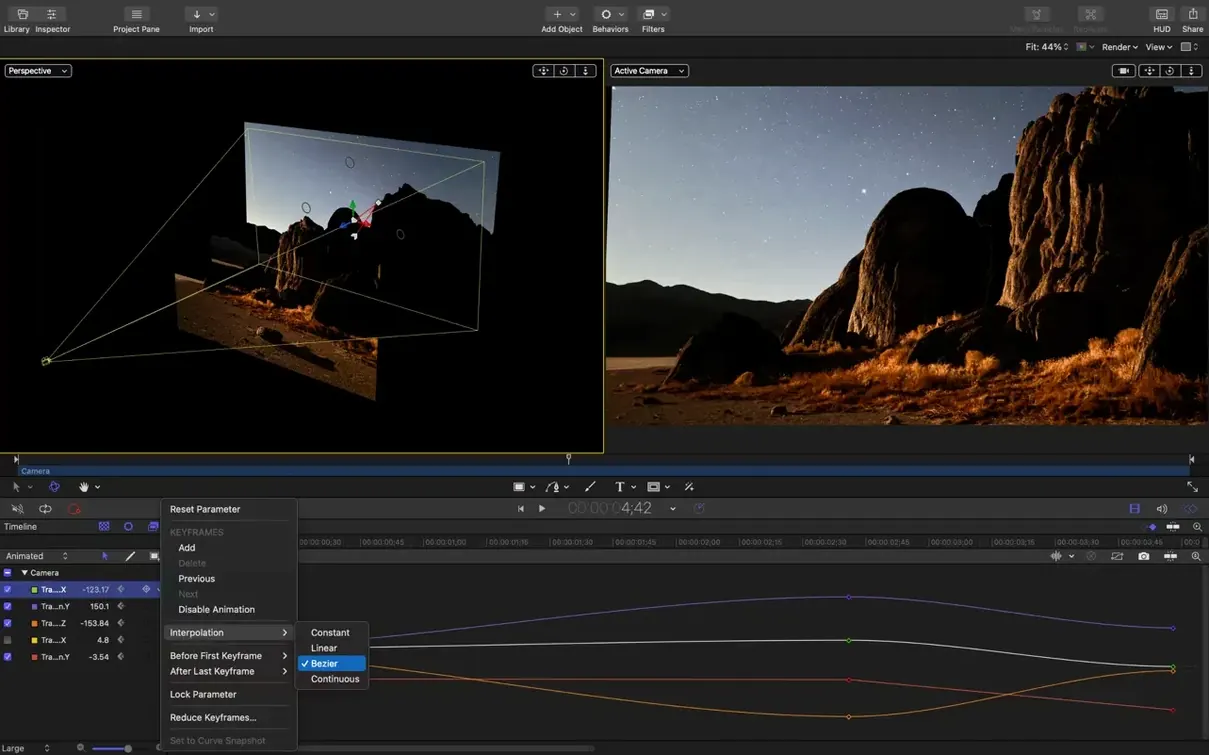
- Keying and masking refinement: Access advanced Chroma Keyer controls, including edge refinement and light wrap, alongside precise Bezier Mask tools.
Integration and Workflow
The application serves as a central hub between creative design and final delivery. A core strength is its ability to send a composition directly to Apple Compressor for batch transcoding without an intermediate render file. For title design, the ability to import SVG files that scale infinitely means a single asset remains sharp across resolutions from standard definition through 8K. The recent addition of controls to stagger, cascade, or reverse clips introduces a non-destructive method for creating complex, rhythmic animation sequences across multiple layers, a feature particularly useful for building intricate photo montages or kinetic typography.
How Motion Fits into a Broader Mac Workflow
Motion does not sit alone. It acts as an engine room between Final Cut Pro and Apple Compressor, and it also taps into several less obvious parts of macOS. Understanding these links changes how you build projects from day one.
Final Cut Pro Templates and Round-tripping
The most direct connection is with Final Cut Pro. When you save a Motion project with published parameters — a slider for text size, a pop‑up for colour, a checkbox to toggle a light flare — it becomes a smart Motion Template. Inside Final Cut Pro, that template appears in the Titles, Transitions, or Effects browser. The editor adjusts only the controls you exposed; the underlying rig and animations stay intact. This means a motion graphics designer can hand off a complex lower‑third to an editor who never opens Motion itself.
Round‑tripping works in the other direction too. You can select a Final Cut Pro title, transition, or effect in the timeline, choose “Open a Copy in Motion,” and Motion 6.3 launches with the project ready to modify. Save the changes, and they flow back into the Final Cut Pro project automatically. No manual file management. No lost versions.
Apple Compressor and Transcoding Chains
Motion’s Share menu includes a direct “Send to Compressor” command. This hands the current composition to Compressor as a source, where you can apply any Compressor preset — HEVC for Apple devices, ProRes 422 HQ for broadcast, a custom MPEG‑4 with timecode overlays — or stack multiple outputs in a single batch. For facilities that deliver to several formats simultaneously, this removes an entire intermediate export step. The composition renders once inside Compressor’s processing pipeline, not twice.
macOS Integration That Goes Unnoticed
Motion 6.3 is built for Apple Silicon and Intel 64‑bit Macs running macOS 15.6 or later, which brings a few quiet benefits. Metal‑based rendering uses the GPU for real‑time previews of 3D text, particle emitters, and filters. The media browser pulls content directly from your Photos library, Music library, and any folder indexed by Spotlight — no import dialogue needed. If your project references an SVG file that sits in iCloud Drive, Motion sees it as a local file, and the vector scaling stays sharp at any resolution.
Quick Look integration is another small but practical point. Select a Motion project file in the Finder, press the Space bar, and you get a preview of the composition without launching the app. This makes searching through dozens of project files considerably faster.
Territory‑Preserving Vector Import
Version 6.3 arrived with several targeted fixes and one feature addition that shifts how you handle vector assets. None of them redesign the interface, but together they remove long‑standing friction.
SVG Import at Native Resolution
Importing SVG files that scale to any size and keep graphics sharp at any resolution is the standout addition. Previously, bringing vector artwork into Motion meant converting it to a PDF or a raster format first. A logo that looked crisp at 1920×1080 could soften at 3840×2160. Now you drag an SVG straight into the Layers list or the Canvas. Scale it to fill an 8K frame, animate the path points, and the edges stay mathematically sharp. For title sequences that combine brand marks with 3D text, this keeps the graphics pipeline entirely resolution‑independent.
Stagger, Cascade, and Reverse Controls
The new controls to stagger, cascade, or reverse clips appear in the Timeline and the Inspector for multi‑layer selections. In practice, stagger spreads the start times of selected clips by a set number of frames. Cascade offsets both start and end times in sequence. Reverse flips the order. For a photo montage of 40 images, you select all layers, set a 6‑frame stagger, and the entire sequence fans out across the timeline in one action. Before 6.3, you nudged each clip by hand. The controls are non‑destructive — you can adjust the offset value later without rebuilding anything.
Fixes That Restored Predictable Behaviour
Three fixes address specific edge cases that could derail a session. Dragging to select vertices on a Bezier Mask now works as expected; the selection rectangle actually picks up the points you draw over. An issue where 3D text and particle emitters sometimes used the wrong texture media during playback has been resolved — a bug that occasionally caused a particle system to flash an unrelated frame from the project. And a rendering discrepancy where some colour correction filters appeared brighter on macOS 26 than on earlier releases has been corrected, so a grade set on one machine looks the same on another.
The performance updates Apple lists are felt most in the responsiveness of the Canvas when working with large particle emitters and complex 3D scenes. Playback of a 3D text element with a metallic material and a moving camera now tends to hold real‑time frame rates more reliably on Apple Silicon Macs, where the Metal‑based renderer has more headroom.
Orienting a Dual‑Heritage Workspace
Motion’s interface is deep but not immediately legible if you arrive from a layer‑based design tool or a track‑based NLE. A few steps in the first hours can prevent confusion later.
Set the Playback RAM Preview Range
Motion defaults to rendering a RAM preview of the entire project when you press the Space bar. On a complex composition, this can mean waiting. Go to Motion > Settings > Cache and set a short default RAM Preview duration — 10 or 15 seconds is enough for most shots. Then, in the Timeline, drag the playback range markers to cover only the section you are iterating on. A focused preview loop loads faster and lets you assess timing without the distraction of rendering frames you do not need.
Organise the Project Pane Before the Canvas Gets Crowded
Motion’s Project pane holds layers, groups, cameras, lights, and behaviours in a flat‑looking list that rapidly becomes unreadable. Create empty groups early and name them: Background, Subject, Titles, Lights, Camera. Drag every new element into its group immediately. When you later need to isolate a single particle emitter among 30 layers, collapsing the unrelated groups saves time. Also, colour‑code groups via the right‑click menu — red for client‑facing elements, blue for rigging and invisible helpers — so you can scan the list at a glance.
Learn the HUD Before the Inspector
Pressing F7 opens the HUD, a floating semi‑transparent panel that shows the most commonly adjusted parameters for whatever is selected: opacity, blend mode, position, scale, rotation. For 70% of quick adjustments, the HUD is faster than the full Inspector. Use the Inspector for deep work — keyframe curves, particle emission angles, material properties — but train yourself to reach for the HUD first. It keeps your eyes on the Canvas.
Check the Project Properties Immediately
Motion creates a new project with default settings that may not match your deliverable. Before adding a single layer, open the Project Properties (Edit > Project Properties or ⌘J) and set the resolution, frame rate, and pixel aspect ratio to the final delivery specs. Changing the frame rate after animation keyframes exist can shift timing in subtle ways. Set it early and lock it in.
Staggered 3D Reveal on Particles
This walk‑through builds a 10‑second title card with animated 3D text, a particle‑based background, and a staggered text reveal — all from scratch, using only tools inside Motion 6.3.
- Create the project. Open Motion, choose a blank project, set the preset to 4K UHD at 24 fps, and set duration to 10 seconds in Project Properties.
- Build the background emitter. Add a particle emitter (Object > New Particle Emitter or press E). In the HUD, set the shape to Circle, reduce the birth rate to 8 per second, and increase the particle size to roughly 20. In the Inspector, set the particle colour mode to Over Life and define a gradient from deep indigo to soft magenta. Set blend mode to Add in the HUD. This gives a subtle drifting bokeh field behind the text.
- Add and style the 3D text. Add 3D text (Object > New 3D Text). Type the headline — say, “Aperture.” In the HUD, choose a bold sans‑serif font, increase the depth to 0.5, and apply a metallic material from the preset library. In the Inspector, under Text > Appearance, adjust the tracking to 5% for a more open look.
- Animate the text entrance. With the 3D text layer selected, go to the Behaviours pop‑up in the toolbar and choose Basic Motion > Fade In. Set the duration to 1.5 seconds. Then add Basic Motion > Grow/Shrink, set the scale from 150% down to 100%, and offset the start time by 0.2 seconds so the scale and fade overlap. The text now pushes in from a slight zoom while fading up.
- Add secondary text layers. Create two more 2D text layers: a subtitle and a date, each on its own layer. Position them below the main headline. Select both in the Layers list, then choose Object > Stagger. In the HUD, set the stagger amount to 0.3 seconds. The subtitle and date now fade in one after the other without manual keyframing.
- Light the scene. Add a point light (Object > New Light > Point Light) and position it above and slightly to the right of the 3D text. In the HUD, increase the intensity to 120% and set the colour to a warm white. The 3D text now casts a soft shadow based on the light position.
- Add a camera move. Add a camera (Object > New Camera). At frame 1, set a keyframe for the camera position slightly pulled back. At frame 240 (10 seconds), push the camera forward by 200 pixels on the Z‑axis. Ease both keyframes. The slow push adds depth without distracting from the typography.
- Publish parameters for Final Cut Pro. Select the main 3D text layer. In the Inspector, right‑click the Text string parameter and choose Publish. Do the same for the subtitle and date text fields. Save the project as a Final Cut Pro Title template. An editor can now drop this into a timeline and change all three text strings from within Final Cut Pro’s Text inspector.
- Export for review. Use Share > Send to Compressor and apply an HEVC 4K preset. Compressor writes a lightweight file suitable for client review, while the original Motion project stays ready for further tweaks.
Interlaced‑Safe Material for a Weather Lower‑Third
A title designer at a regional television station starts the morning with a brief: the evening news needs a new 8‑second lower‑third for the weather segment. The station broadcasts at 1080i, but the graphics must also look clean on the web version at 4K. The designer opens Motion 6.3, sets the project to 3840×2160 at 29.97 fps, and checks the pixel aspect ratio is square — the interlaced conversion happens later in Compressor.
The station’s logo arrives as an SVG from the brand team. The designer drags it straight onto the Canvas, scales it to sit beside the meteorologist’s name, and notes the edges stay perfectly sharp at 400% magnification — no raster artefacts, no softening. A 3D text layer carries the name, and a 2D text layer holds the weather details below. Both are positioned inside a group called Lower_Third.
To give the lower‑third a sense of momentum, the designer applies a sequence behaviour across all the layers. The logo slides in from the left first, followed by the 3D name 0.2 seconds later, then the weather details with a cascade offset. The new stagger and cascade controls introduced in 6.3 let the designer set the entire timing relationship in three clicks instead of dragging individual keyframes across 8 seconds of timeline.
A particle emitter creates a subtle rain effect behind the text — small translucent streaks that fall at a gentle angle. The emitter’s blend mode is set to Screen so it sits over the video feed without blocking the presenter’s face. The designer publishes the text fields (name, weather summary, temperature) and a colour checkbox that toggles between a daytime blue palette and a night‑mode dark grey. Saving the template takes the project into Final Cut Pro’s Titles folder, where the editor on the evening shift can drop it onto the weather package, type in the values, and never open Motion at all.
By mid‑morning, the template is tested, the exported Compressor job has produced both the ProRes master and an HEVC proxy, and the designer moves on to a full‑screen programme opener — a 15‑second sequence with 3D animated maps and a dynamic particle reveal. The entire morning’s work stays inside a single ecosystem, with Motion serving as the motion graphics core, Final Cut Pro as the editorial hub, and Compressor handling the multi‑format delivery. The SVG logo, dragged once into Motion, never needs re‑exporting or resizing across any of the outputs.
- Import — SVG files can now be imported, scaling to any size while keeping graphics sharp across all resolutions.
- Timing Controls — Added the ability to stagger, cascade, or reverse clips for building sequential animation rhythms.
- Performance — Includes general performance updates for a more fluid and responsive workflow.
- Fixes — Corrects vertex selection issues with the Bezier Mask tool. Resolves an issue where 3D text and particle emitters sometimes used incorrect texture media during playback. Addresses brighter rendering for some colour correction filters on macOS 26.
- macOS 15.6 or later
- Intel 64-bit or Apple Silicon Mac
Questions on file
Can I import vector graphics into Motion 6.3?
Yes, version 6.3 supports SVG file import, allowing graphics to scale to any size and remain sharp at any resolution.
Sign in · Create an account to add a field note.
No field notes yet. A measurement, a version, a machine — they appear after moderation.