
Video
Topaz Video AI 1.7.1
VideoUpdated
| Requirement | On file |
|---|---|
| macOS | macOS 11 or later |
| CPU | Apple Silicon, Intel 64-bit |
| Download | 1.6 GB |
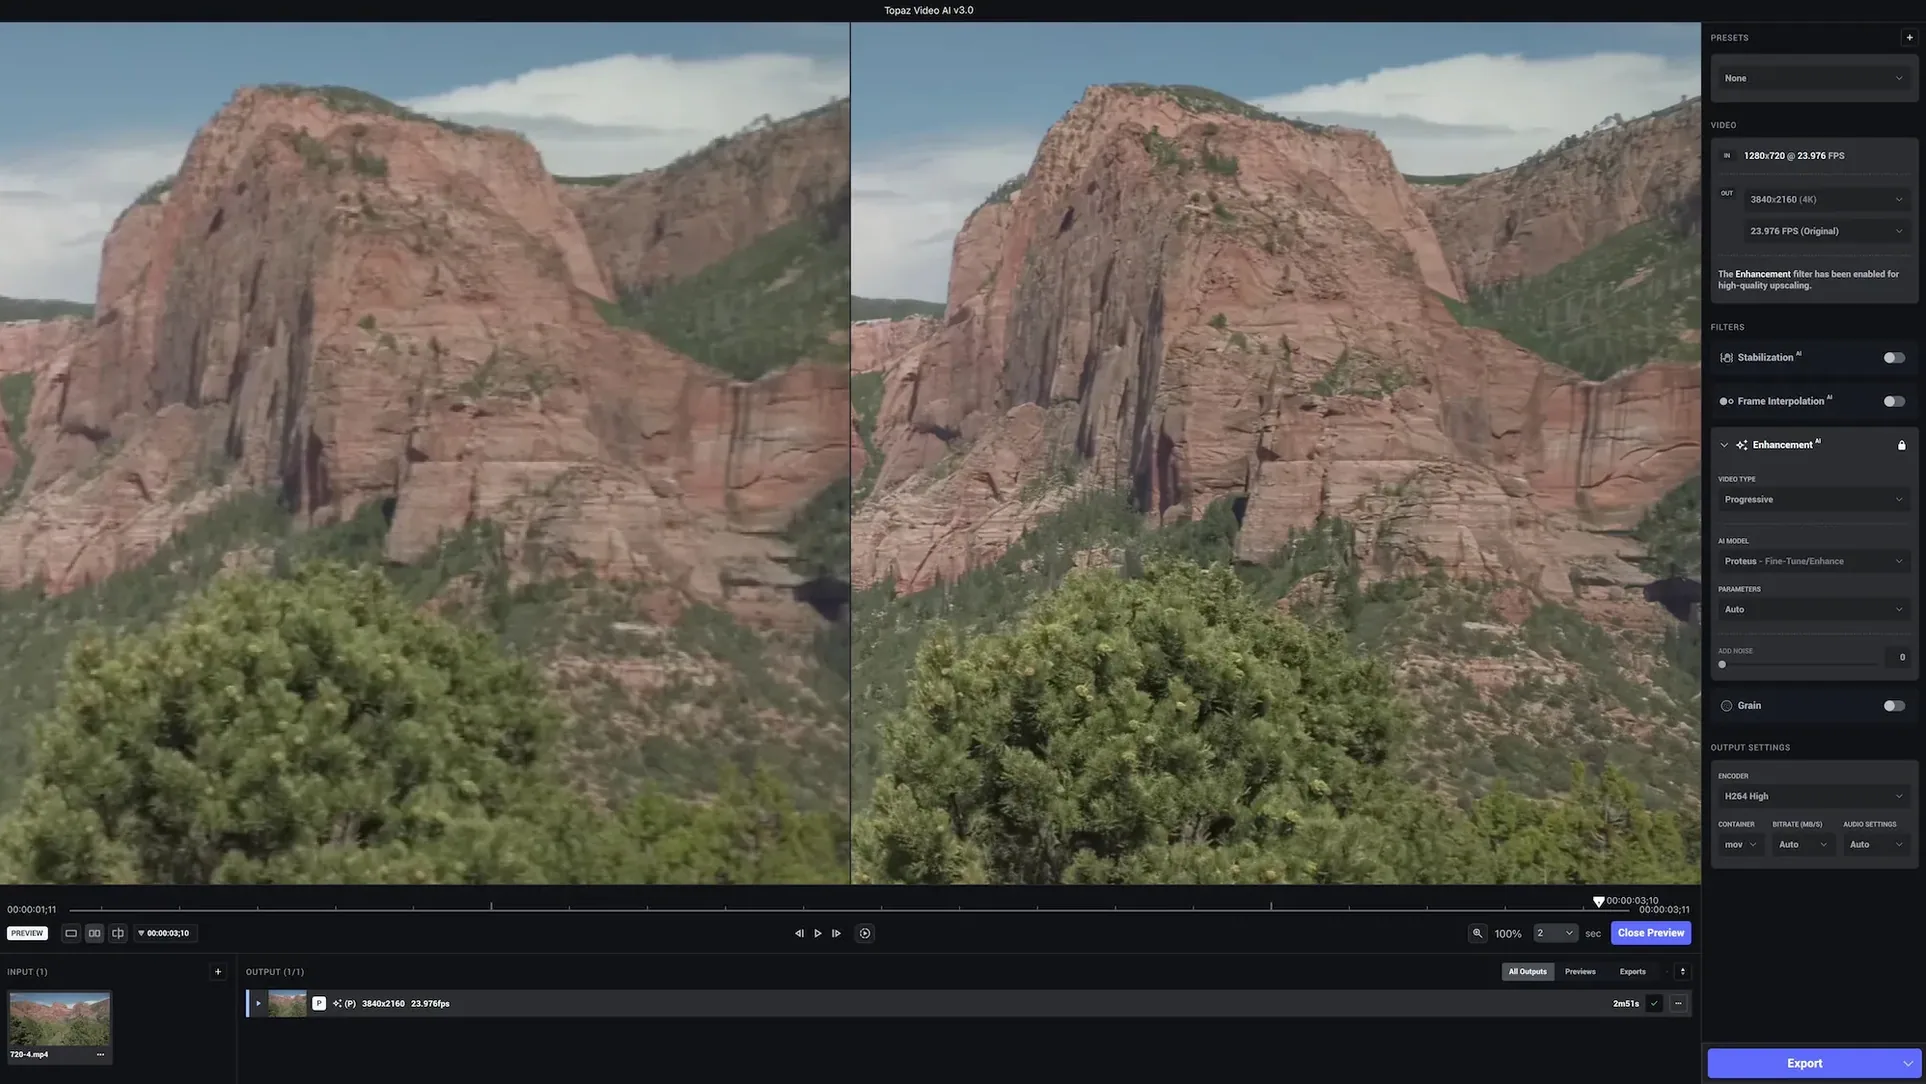
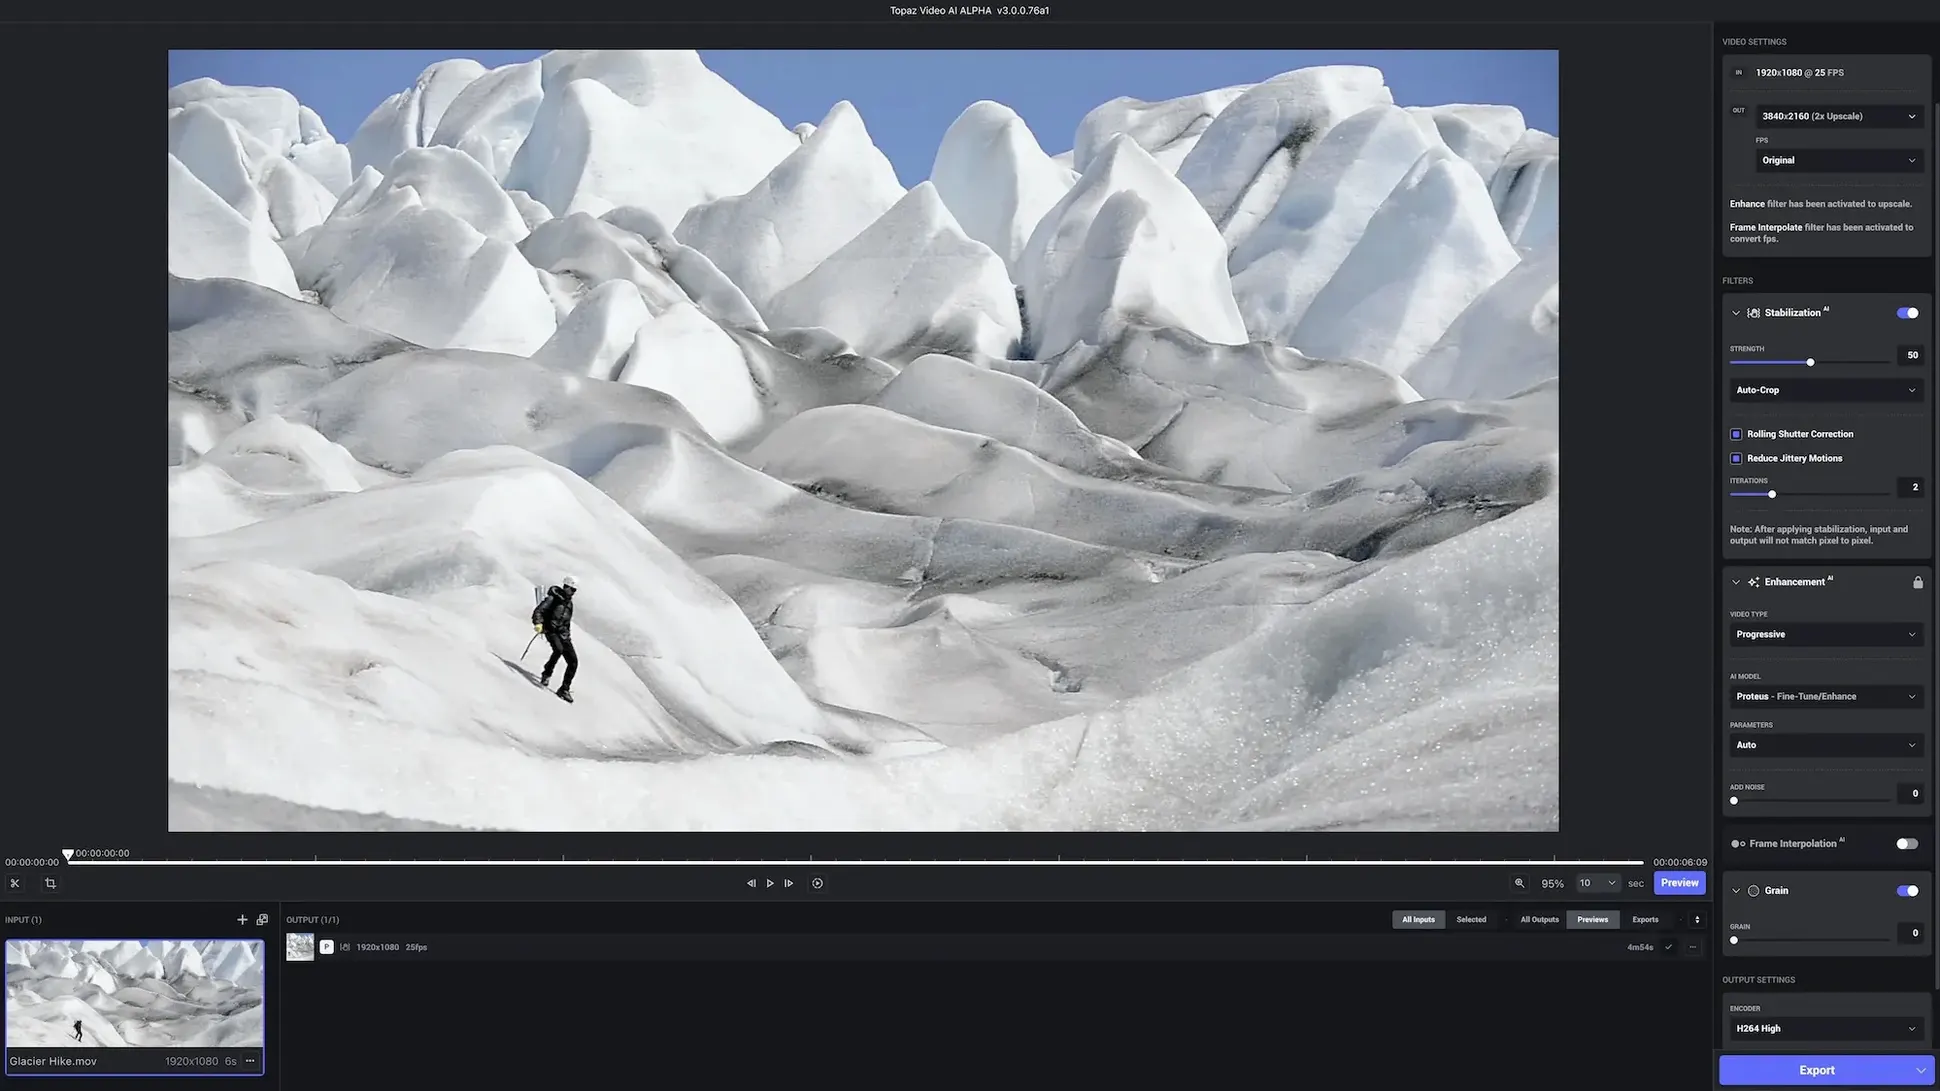
Topaz Video AI v1.7.1 ships with a set of AI models, each tuned for a specific type of source degradation. The default auto settings work, but the real utility for an experienced operator lies in manual model selection and the secondary sliders that control temporal consistency and grain synthesis.
- Per-model parameter tuning. The Artemis denoising model, for instance, exposes a separate strength control independent of the main sharpen slider. You can pull noise from shadows while leaving midtone detail intact, a distinction lost on single-dial solutions.
- Frame interpolation with scene detection. The Chronos model generates new frames for frame-rate conversions, but its value is the scene-change sensitivity toggle. Set it high to avoid morphing artefacts on hard cuts; set it low for smooth motion-blend consistency across long pans.
- Grain synthesis, not just removal. After upscaling clean digital footage to 8K, the result often looks sterile. The grain module overlays a physically modelled grain plate. You can dial in size and intensity separately, matching the look of a specific film stock rather than applying a uniform noise layer.
- Encoder-level output control. Beyond the AI processing, the export panel offers full access to ProRes profiles, H.264/H.265 CRF values, and pixel format selection. This bypasses the need to re-encode in a separate mastering tool when you need 4:2:2 chroma subsampling for grading.
- Metadata pass-through for HDR. When working with HLG or PQ sources, the application preserves the colour space and transfer function metadata in the output file. This prevents the washed-out look that occurs when tonemapping is incorrectly applied during processing.
The workflow remains a linear import-process-export sequence, but the depth of the adjustable parameters means a single project can involve significant comparison renders. The tool's strength lies in giving you the levers to solve specific pixel-level problems on a shot-by-shot basis, rather than applying a blanket enhancement profile to an entire timeline.
When Export Times Spike on Apple Silicon
A few recurring issues surface in user reports and forum threads, most of them tied to hardware expectations or model behaviour on edge cases. The fixes are usually straightforward once you know where to look.
Export times balloon on Apple Silicon without obvious cause. By default, Topaz Video AI v1.7.1 uses the Neural Engine where available, which is fast for stills but can choke on long video sequences. If a 10-minute clip sits at 2% for twenty minutes, switch the AI processor in Preferences from Auto to GPU. This forces the Metal compute path and often cuts processing time by a third. The trade-off is slightly higher SoC temperature, but the fans on M1 Pro and M2 Max machines handle it without throttling.
Patch.command throws a quarantine error on newer macOS builds. The Gatekeeper system on recent versions of macOS 11 and later can block the script with a vague "cannot be opened" message. The solution is a manual bypass: right-click the file, select Open, then confirm in the dialogue that follows. If that still fails, run xattr -cr on the file in Terminal to strip the quarantine flag. This is expected behaviour for unsigned scripts and not specific to this package.
The Artemis model smears fine textures at high denoise values. Artemis is aggressive by design; it was trained on low-light sensor noise and treats fine fabric weaves or distant foliage as candidates for smoothing. Rather than lowering the main strength slider, go into the model's advanced panel and reduce the temporal radius from its default of 2 to 1. This limits the number of adjacent frames the model samples, preserving texture detail that would otherwise be averaged out across time.
Output file sizes are unexpectedly large. The default ProRes 422 HQ export target produces files roughly 1 GB per minute for 4K footage. If you are running test renders for model comparisons, switch to H.265 with a CRF of 18 in the export panel. The visual difference is negligible for evaluation purposes, and the file size drops to about 150 MB per minute. Switch back to ProRes only for the final master.
Stabilising a Wobbly 16 mm DVD Transfer
A film archivist receives a digitised copy of a 16 mm educational film from 1974. The source is a DVD transfer at 720×480, interlaced, with noticeable chroma noise in the shadows and a slight vertical jitter from an unsteady telecine gate. The goal is a 1080p progressive file clean enough for a museum screening.
The first pass is deinterlacing. They load the MPEG-2 clip, set the output to 1920×1080 square pixels, and select the Dione model with the Interlaced toggle enabled. Dione's motion-compensated deinterlacing reconstructs full vertical resolution from the two fields, avoiding the softening that comes from simple bob-and-weave. The result is a stable 29.97p file, but the chroma noise remains obvious in the dark backgrounds.
For the second pass, they switch to the Artemis model. Instead of a high-strength global denoise that would strip grain from the film's natural texture, they set Artemis strength to 35 and enable the Chroma Noise sub-target at 80. This instructs the model to prioritise colour noise reduction while leaving luminance grain largely intact. The result looks like a clean photochemical print, not a plastic digital scrub.
The final touch is stabilisation. The vertical jitter varies shot to shot, so they disable auto-crop and set the stabilisation mode to Translation Only with a margin of 2%. This corrects the gate weave without the warping artefacts that full-frame stabilisation can introduce on material with moving subjects. The output is rendered to ProRes 422 for the screening master. Total processing time on an M1 Max is just over 90 minutes for an 18-minute reel.
Split Model Categories Remove Stacking Guesswork
- Model selection UI — earlier builds grouped all AI models into a single dropdown that mixed upscaling and denoising functions. Version 1.7.1 splits them into categories: Upscaling, Denoise/Sharpen, Frame Interpolation. This removes the guesswork when stacking multiple processes on a single clip.
- Preview rendering speed — the short preview clips that play after adjusting a slider used to require a full re-render from scratch with every parameter change. The current version caches intermediate frames. Tweak the denoise strength from 40 to 45 and only the frames affected by the change are recomputed, not the entire 5-second sample.
- HDR metadata handling — previous versions sometimes dropped the SMPTE 2086 mastering display colour volume from Dolby Vision Profile 8.4 sources. The 1.7.1 release preserves this metadata block, which matters when feeding processed files into a colour grading pipeline that expects it.
- Queue behaviour — the export queue now remembers its state between application restarts. If a batch of six clips was processing and the machine restarts for a system update, the queue picks up from the last completed file rather than requiring a manual re-add.
- Patch.command compatibility — release notes and installer behaviour confirm that the Gatekeeper workaround described above is a known interaction with macOS security policies, not a bug in the activation script itself. The error message wording changed slightly between macOS 11.7 and later builds, but the underlying cause is identical.
Hardware Requirements Before You Download
Does Topaz Video AI run natively on Apple Silicon or through Rosetta?
The application binary in version 1.7.1 is a universal build with native ARM64 and x86_64 slices. On an M1, M2, or M3 Mac it launches directly as an ARM process and accesses the Neural Engine and GPU without translation overhead. There is no Rosetta involvement. You can verify this in Activity Monitor under the Kind column, which shows Apple Silicon for the process.
How much RAM does it actually need for 4K and 8K work?
The developer states 8 GB as a minimum, but that figure applies to 1080p sources. For 4K upscaling with the Proteus model and temporal radius set to 2, memory pressure sits around 12–14 GB during processing. For 8K exports from 4K sources on a machine with 16 GB of unified memory, the system will page to swap heavily and processing times triple. Practical minimums are 16 GB for 4K and 32 GB for 8K workflows.
Can it process footage shot on an iPhone or does it need professional camera files?
It handles any file FFmpeg can decode, including HEVC from iPhone 12 and later, AVCHD from consumer camcorders, and screen recordings. The AI models do not discriminate by source. The limiting factor is the bit depth and chroma subsampling of the source: 10-bit HEVC files benefit more from the denoising models than 8-bit H.264, simply because there is more colour information for the model to work with.
Artemis for Sensor Noise, Proteus for Lost Detail
Artemis is a convolutional neural network trained on low-light and high-ISO noise patterns. It is the better choice for sensor noise and chroma artefacts. Proteus is a generative model that reconstructs fine detail lost to compression or soft focus. Use Artemis when the problem is noise; use Proteus when the problem is missing detail. They can be stacked, but the order matters: Artemis first to clean the noise floor, then Proteus to enhance what remains.
Does frame interpolation work on content with complex motion like sports or dance?
The Chronos model handles it, but the scene-change sensitivity must be set high (above 80) to prevent interpolation artefacts during rapid cuts. For continuous fast motion like a tennis swing or a pirouette, set the motion estimation to High and expect occasional warping at the edges of fast-moving objects. The model is better at adding frames to slow pans and steady camera movement than to chaotic action.
Benchmark with a Daylight Brickwork Clip First
After running the installer and the patch script, start with a known-good test clip rather than your main project. A 30-second ProRes 422 file at 1080p, shot in daylight with some fine detail like brickwork or foliage, works as a calibration source. Run it through each upscaling model at 4K, note the processing time per frame, and save the outputs side by side for later reference. This gives you a personal baseline for what each model does and how long to budget for real projects.
Set your scratch disk location early. The default temp folder sits on the system drive, and a 10-minute 4K clip can generate over 100 GB of intermediate frames during processing. In Preferences, point the cache directory to an external SSD with at least 500 GB free. This also preserves the lifespan of the internal SSD on machines with soldered storage.
Run comparison previews at 200% zoom. The preview window defaults to fit-to-screen, which obscures the ringing artefacts some models introduce on high-contrast edges. Double-click the preview to jump to 200% and scrub to a frame with text or sharp geometric lines. This reveals over-sharpening halos that are invisible at 100% but become obvious on a large display or projector.
Finally, do not assume the default model for a given input type is the right one. The auto-selection logic in v1.7.1 picks a safe middle ground. For interlaced DV footage from a MiniDV tape, it might suggest Dione with default parameters; but many tape transfers also have chroma noise that benefits from a light Artemis pass at strength 20 applied before the deinterlace step. Reverse the order on a short clip and compare the two outputs. The tool rewards experimentation, and the queue system means you can set up several variations and let them run overnight.
- macOS 11 or newer
- Intel or Apple Silicon processor
Sign in · Create an account to add a field note.
No field notes yet. A measurement, a version, a machine — they appear after moderation.