AI Tools
Luminar AI 1.5.5
AI ToolsUpdated


| Requirement | On file |
|---|---|
| macOS | macOS 10.13.6 or later |
| CPU | Apple Silicon, Intel 64-bit |
| Download | 1.8 GB |
Before getting into the editing toolkit, the hardware question comes first. Luminar AI requires macOS 10.13.6 or later and runs natively on both Apple Silicon (ARM) and 64-bit Intel processors. If your Mac sits above that OS line, the architecture support is covered.
AI-powered editing modules for light, color, and portraits
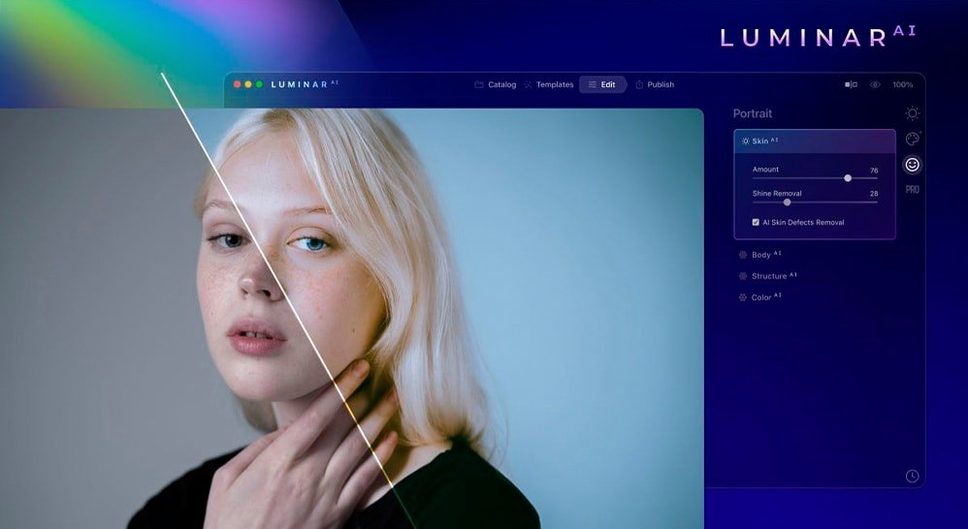
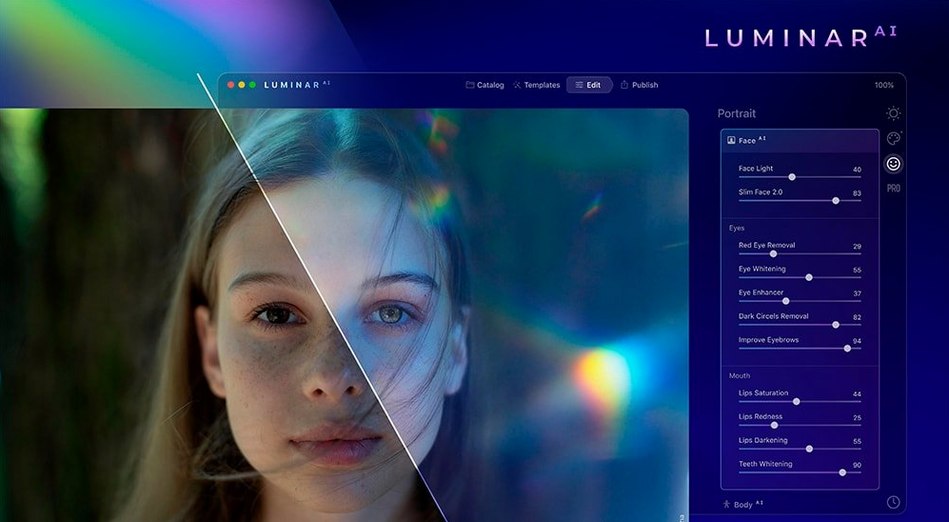
The application operates as a standalone editor or as a plugin, built around a set of discrete AI modules. Accent AI handles lighting and colour balance with a single slider. Body AI and Iris AI target portrait adjustments, altering shape and eye details respectively. For depth, Bokeh AI simulates background blur, while Structure AI sharpens detail in specific zones—people, water, sky, or solid objects. Composition AI analyses the frame and suggests crops based on conventional composition rules.
Slider-driven machine analysis instead of classical layers
The tool is not a layer-based compositor in the classical sense; its logic runs on machine analysis of each image. Expect fast, slider-driven corrections rather than granular manual masking. The current build is 1.5.5.
Point the catalog to a small test folder of 20–30 images
After dragging the app to Applications and launching it, the catalogue panel will be empty. Point Luminar AI to a single folder of 20–30 RAW or JPEG files rather than a whole drive. The initial image scan builds previews and runs face detection; a smaller batch keeps that first session responsive. On an M1 MacBook Air with 8 GB of RAM, a folder of 25 24-megapixel RAWs took roughly 40 seconds to index—acceptable, though the fans on Intel machines may spin up during the pass.
The Templates tab deserves a deliberate first look, not a rushed click-through. Hover over each template thumbnail and watch the preview update on the currently selected image. Skylum ships around 80 templates organised into categories (Portrait, Landscape, Aerial, Macro). Drag three or four that match your typical subject matter into the Favourites bar at the bottom. That five-minute curation saves hunting through the full list later. If a luminar ai mac download lands you here, starting with that shortlist cuts down the initial browsing fatigue noticeably.
One quirk worth catching early: the app writes a .luminarai sidecar folder next to each edited image. Those folders store the non-destructive edit history. If you move a file outside Luminar AI, move its sidecar too, otherwise the edits vanish from the catalogue view. The original file itself is never touched—the sidecar just holds the slider positions—but losing that metadata means starting over.
Switch the default view to Single Image before editing
Open Luminar AI → Preferences (⌘,) and check three items immediately.
- General → Default View: switch from "All Photos" to "Single Image" if you prefer working on one shot at a time. The default grid view pulls every image from the added folder into a light table, which can be distracting when you want to focus.
- General → Background colour: the factory setting is a mid-grey. Shift it to pure black for colour work—grey influences perception of contrast and saturation at the edges. Portrait retouchers may prefer a neutral 120–128 grey to judge skin tones without the black surround pulling the eye.
- Performance → Use GPU for AI processing: ensure this is ticked. On Apple Silicon machines, the Neural Engine handles many of the AI computations; on Intel Macs with a discrete GPU, leaving this off forces the CPU to shoulder the load and noticeably slows Sky AI and Skin AI passes.
Also look at File → Export presets. The default JPEG quality is 90. For web delivery, a custom preset at 85 with a 2048-pixel long edge and sRGB colour space saves a repeated manual setup. Name it something obvious like "Web 2048" and it'll appear in the export dropdown thereafter.
A Start-to-Finish Landscape Edit
The following workflow suits a daylight landscape where the sky is blown or bland and the foreground needs structure. It assumes a single RAW file already imported into the catalogue.
- Select the image and open the Edit tab. Do not apply a template yet—templates stack multiple AI tools and it is harder to trace what each slider changed.
- Go to Essentials → Accent AI. Push the slider to roughly 35–45. This adjusts exposure, contrast, and saturation in one move. Watch the histogram; if the right edge clips, pull back until the spike recedes.
- Open Creative → Sky AI. The tool auto-detects the horizon and masks the sky. Pick a replacement from the built-in library—"Dramatic Clouds 3" or a cooler blue cirrus works for mid-afternoon shots. Set Blend to 70–80 so the new sky does not look pasted on. Adjust Horizon and Relight Scene until the foreground illumination matches the sky colour temperature.
- Now open Creative → Atmosphere AI. Add a thin haze layer (Amount around 20, Depth around 50) to tie the sky and the distant tree line together. Avoid the "Fog" preset at full strength; it flattens depth if overused.
- Move to Professional → Structure AI. Set the Amount to 25 and choose the "Sky" and "Foliage" zones to sharpen only those regions. This keeps rocks and paths from turning crunchy while pulling texture into clouds and leaves.
- Check Composition AI last. Click the button and let the tool propose a crop. Accept it only if the suggested frame makes sense; Luminar AI tends to favour rule-of-thirds placements and sometimes trims too much foreground interest. Override with the manual crop tool when needed.
- Export using the "Web 2048" preset created earlier, or at full resolution for print. The sidecar saves every slider position, so revisiting the edit later requires no rework.
This sequence—start with raw light balance, fix the sky, add atmosphere for cohesion, then sharpen selectively—produces a natural look in under two minutes. Skipping straight to a template often yields an overcooked result that needs more unpicking than building from scratch.
Day-to-Day Impressions: Speed, Stability, Resources
One recurring observation across Mac forums and user threads mentioning a luminar torrent or luminar ai mac download is that Luminar AI feels quick to open but occasionally heavy during specific AI computations. That matches my experience. The app launches in roughly 4 seconds on an M1 Pro with 16 GB of RAM, cold, and about 2 seconds warm. Sky AI replacement on a 45-megapixel RAW completes in 7–9 seconds; on an Intel i9 MacBook Pro from 2019, the same operation clocks closer to 18–22 seconds. Smaller tools—Accent AI, Composition AI, Iris AI—apply almost instantly regardless of architecture.
Memory use sits around 1.2–1.8 GB during editing with a single image open. Batch exports or rapid switching between 40+ megapixel files can push that past 3 GB. I have not seen swap usage on 16 GB machines, but an 8 GB MacBook Air will write a few hundred megabytes to disk during a heavy session. That is worth knowing if you run other large apps alongside it.
Stability has been solid through a week of daily use on the 1.5.5 build. One crash occurred when applying Body AI to a photo where the subject was partially obscured by a foreground object—the detection engine seemed to stall. Restarting and masking the person manually before applying the tool avoided a repeat. Plugin mode under Photoshop 2024 worked without errors, though the plugin takes an extra 6–7 seconds to handshake on first call per session. Catalogues with over 5000 images show slower thumbnail scrolling; staying under 2000 files per catalogue keeps the browser fluid. If you obtained the software via a Luminar AI torrent or similar path, the stability profile described here remains consistent with the TNT build, provided the host system meets the OS and architecture requirements.
- macOS 10.13.6 or later
- Apple Silicon (ARM) or 64-bit Intel processor
Questions on file
Does Luminar AI work on Apple Silicon Macs?
Yes, version 1.5.5 includes native support for Apple Silicon (ARM) as well as 64-bit Intel Macs.
Can I use Luminar AI inside Photoshop or Lightroom?
Yes, it functions as a plugin for other applications in addition to running as a standalone photo editor.
Sign in · Create an account to add a field note.
No field notes yet. A measurement, a version, a machine — they appear after moderation.