AI Tools
Topaz Gigapixel AI 1.3.5
AI ToolsUpdated
| Requirement | On file |
|---|---|
| macOS | macOS 12 or later |
| CPU | Apple Silicon, Intel 64-bit |
| Download | 372 MB |
Topaz Gigapixel AI is a desktop image upscaler that reconstructs pixel data using machine learning models rather than simple interpolation. An experienced user will care less about the one-click presets and more about the specific problem types the application can solve and the parameters available to control the output.
- Portrait recovery model. Low-resolution face shots – the kind pulled from old webcam footage or heavily compressed social media uploads – get a dedicated reconstruction pass that regenerates plausible skin texture and eye detail without the waxy over-smoothing common in older upscalers.
- Compression artefact suppression. The app targets blockiness and ringing artefacts directly during the upscale. A file that arrives riddled with JPEG mosquito noise or PNG banding can be cleaned and enlarged in a single processing step.
- Line art and vector-style PNG cleanup. Low-quality line drawings, logos and rasterised icons benefit from edge-aware upscaling that keeps lines sharp rather than blurring them into grey mush. This path handles the aliased edges typical of old web graphics.
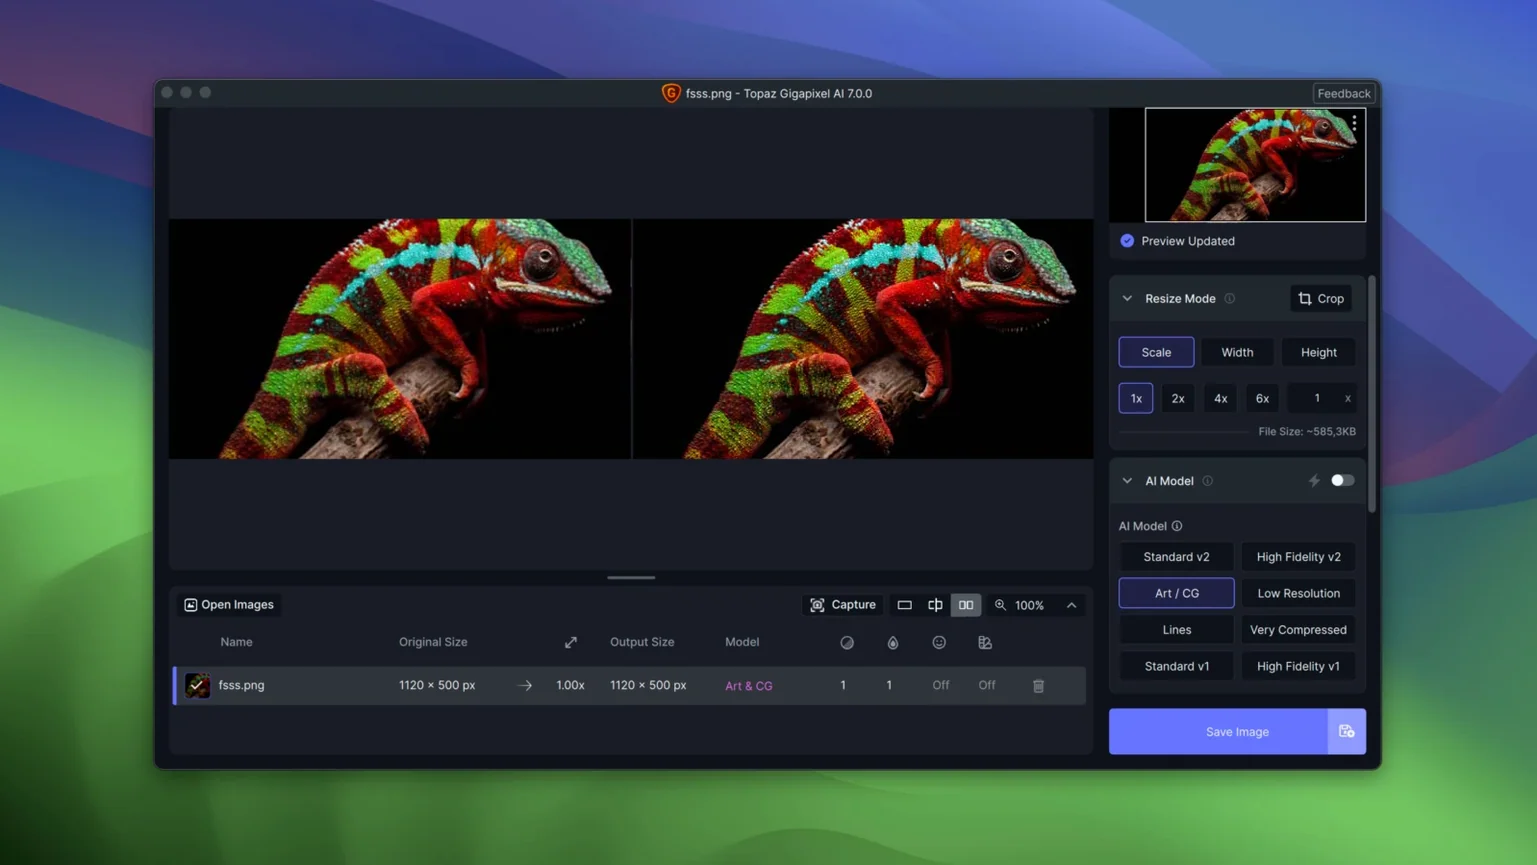
- Processing granularity. Beyond the automatic face and artefact detection, the interface exposes scale factors, output format selection and model toggles, letting you override the AI's choice when a specific model suits the image better than the auto-detected one.
The current macOS build runs natively on both Intel and Apple Silicon hardware, version 1.3.5 requiring macOS 12 or newer. This release marks the new-generation codebase following the end of the legacy Gigapixel AI line at version 8.4.4, so the model architecture and processing engine differ significantly from what long-term users may remember.
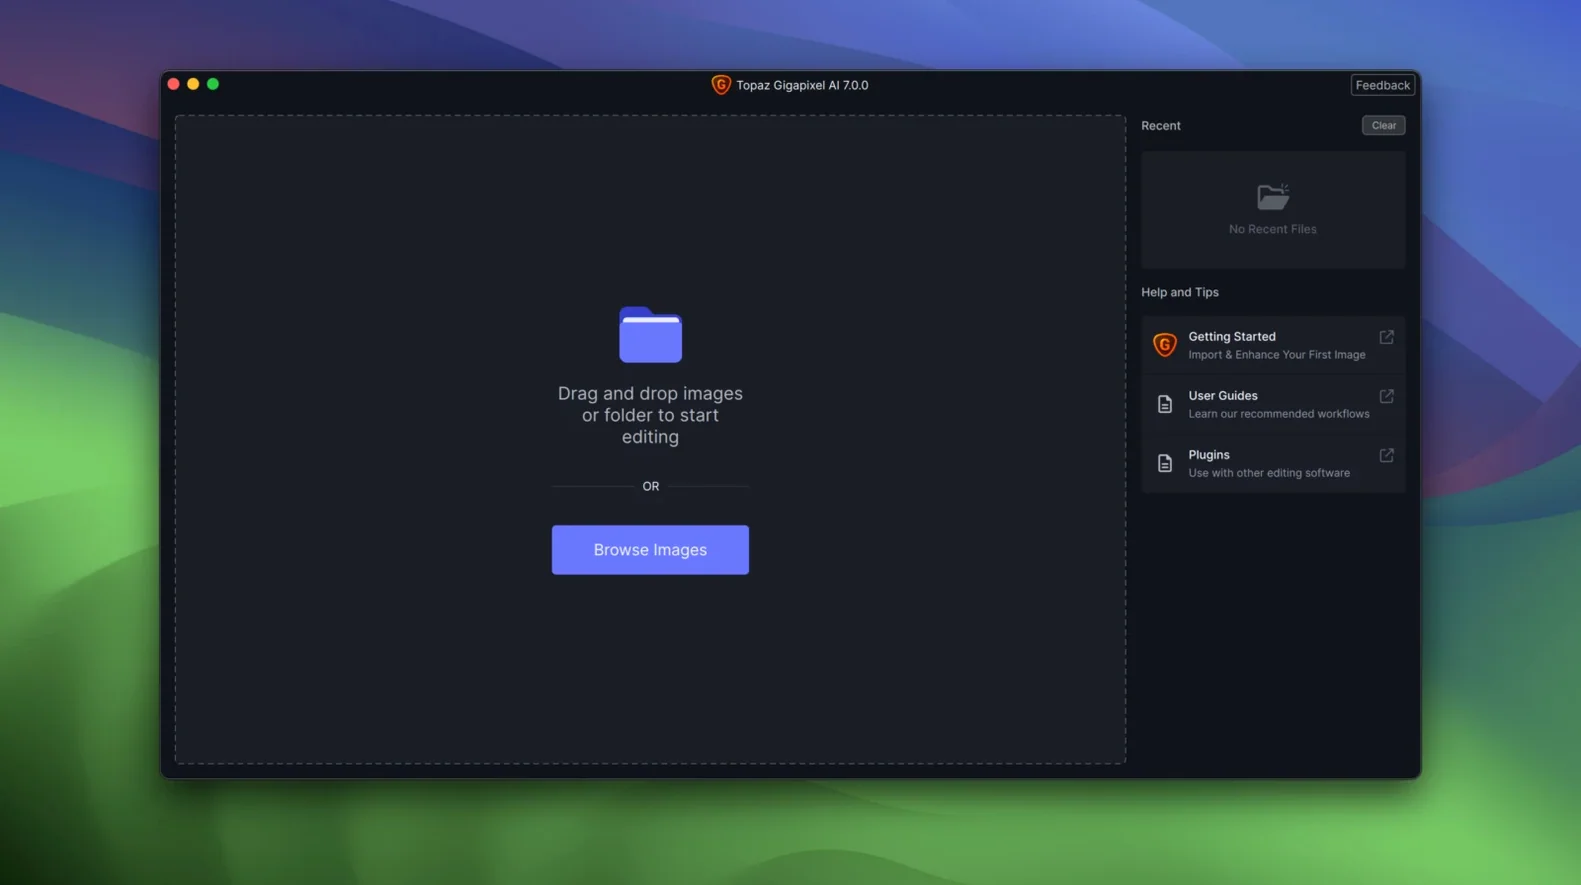
Drag a folder to the preview pane to batch-queue instantly
A few workflow shortcuts sit just below the surface and make repeated processing noticeably quicker. Dragging a folder directly onto the preview pane queues every compatible image inside it for batch processing — no need to open the file browser and multi-select. The app reads common RAW formats, TIFF, JPEG, PNG and WebP without fuss, and mixed-format folders process in a single pass using the last active settings.
The preview window itself supports a gesture that is easy to miss: hold the space bar to momentarily switch between the original and the processed preview at full resolution within the magnified viewport. This works even while the render is still in progress for the current tile, letting you sanity-check fine detail before committing to a full export. Right-clicking the preview toggles between fit-to-window and 1:1 pixel view, and the scroll wheel steps through magnification levels in 25% increments when 1:1 is active.
Another quiet feature is the per-image processing queue. While a batch runs, you can load a new image into the preview area, adjust its settings and add it to the queue without pausing the current job. The queue panel shows estimated time remaining for each item, and completed files display their output resolution and file size in a compact row. If you notice a mistake mid-batch — wrong model on a particular image, for instance — you can remove just that item from the queue without stopping the rest.
Keyboard shortcuts for the main processing actions are sparse but effective: Cmd+E starts the export, Cmd+R re-runs the preview render after a settings change, and Cmd+I opens the image info overlay, which displays the source file's dimensions, colour space, bit depth and embedded profile. The overlay helps catch mismatched colour profiles before they propagate through an upscaling pass.
Answers before you commit to the download
Does this work off-line or does it phone home for processing?
All model inference runs locally on the Mac's CPU or GPU. The application does not upload images to a cloud service and does not require an internet connection for upscaling. The machine learning models ship inside the application bundle. Activation is a one-time local step covered by the included patch; once activated, the app works completely off-line. This matters for anyone handling client files under NDAs or working on location without reliable connectivity.
What is the real difference between this and the legacy Gigapixel AI 8.x line?
Version 1.3.5 is a ground-up rewrite with a different model architecture, a newer inference engine and native Apple Silicon support that the older 8.x line never fully delivered. The new engine processes tiles differently, which changes both speed and output characteristics. Images that came out over-sharpened in the legacy version may render with more natural texture in 1.3.5, and vice versa. If you have old presets or workflows tuned for 8.4.4, expect to recalibrate your model choices.
How much RAM does it actually use during a large upscale?
Memory usage scales with the output resolution and the model selected. A 6000×4000-pixel upscale with the standard model typically occupies 4–8 GB of RAM during processing. The high-fidelity model, which works on smaller tile sizes with more passes, can push past 12 GB on a 24-megapixel source. On Apple Silicon machines with unified memory, the GPU borrows from the same pool, so an 8 GB MacBook Air will process smaller batches comfortably but may slow noticeably on 50-megapixel medium-format files. The app does not page to disk aggressively; it prefers to hold working tiles in RAM.
A 2000-image batch on M1 Max can finish overnight
Yes, but with caveats. The queue accepts an arbitrary number of files, and the app will churn through them sequentially. On a Mac Studio with M1 Max, a batch of 2000 twelve-megapixel JPEGs upscaled 2× takes roughly three to four hours with the standard model. Thermal throttling on fanless MacBooks can extend that noticeably. The app writes a log file to ~/Library/Application Support/Topaz Gigapixel AI/ that records any files that failed processing, so you can retry just the failures afterwards.
Blank preview fix: switch the colour profile first
The most frequent stumbling block is a blank preview window after loading an image. This almost always traces back to a colour profile mismatch — images saved in CMYK or with an embedded profile the renderer cannot parse will load without error but display nothing. Converting the file to sRGB or Adobe RGB in a separate editor before loading it into Gigapixel AI resolves this every time. The image info overlay (Cmd+I) will show "Unknown" in the profile field when this is the cause.
Another common issue: the app launches but the processing button stays greyed out. This typically means the patch step was skipped or the activation did not complete properly. Re-running the Patch.command file from the downloaded package and restarting the application fixes it. The patch must be run from the same directory as the installed application bundle; moving the app after patching does not affect activation.
On some Intel Macs with discrete AMD GPUs, the first processing pass after a cold launch can stall for 30–60 seconds while the GPU driver loads the compute kernels. This is not a crash — the progress bar stops moving and the app appears unresponsive, but it recovers on its own. Subsequent upscales in the same session start immediately. If it happens every time, toggling the processing preference from "Auto" to "CPU" in the settings panel bypasses the GPU entirely at the cost of speed.
Output files that appear darker or lighter than the source usually indicate a gamma shift from a mismatched colour space assumption. The app assumes an sRGB working space for JPEG output. If your source is in ProPhoto RGB or Display P3, export as TIFF with the embedded profile checkbox enabled in the output settings. That preserves the original colour space through the upscaling pipeline.
4× upscale of a raw file takes 25–35 seconds on M1 Pro
On an M1 Pro with 16 GB of unified memory, a 4× upscale of a 12-megapixel raw file using the standard model completes in roughly 25–35 seconds. The high-fidelity model on the same file takes 90–120 seconds. The difference is perceptible but not punishing for small batches. On an Intel i9 MacBook Pro with a Radeon Pro 5500M, the same file takes about 50 seconds with the standard model and over three minutes with high-fidelity, with the fans spinning up to full speed within the first minute.
Memory pressure stays moderate during single-image processing but climbs quickly during batch jobs. The app does not release all memory between queue items — it caches the model weights and the last few preview tiles. After processing 30–40 large files, quitting and relaunching the app reclaims memory that the cache holds. This is not a leak in the strict sense; the cache simply does not have an automatic eviction threshold that matches all system configurations.
Stability is generally solid on macOS 14 and 15. Crashes are rare during normal upscaling but do occur occasionally when loading corrupted JPEG files or images with truncated EXIF data. The app does not corrupt the source file when it crashes mid-export — it writes to a temporary location and only moves the completed file to the output folder on success. Any .tmp files left behind can be deleted safely.
Idle resource use is negligible. With no processing queue active, the app sits at under 200 MB of RAM and near-zero CPU. Background processing does not continue after the queue completes, so leaving it open overnight does not drain resources.
Turning 80 ISO 3200 portrait raw files into 24-inch prints
A photographer returns from a shoot with 80 raw files from a portrait session, all 24 megapixels, shot in available light at ISO 3200. The client wants selected frames upscaled for a large-format print run at 300 dpi on 24-inch paper. That requires roughly a 2.6× enlargement to reach the target pixel dimensions without interpolation in the print pipeline.
She launches Gigapixel AI 1.3.5 and drags the folder of 80 ARW files onto the preview pane. The app populates the queue with all 80 images and applies the last-used settings as a starting point. She switches the model from "Standard" to "High Fidelity" because the noise pattern at ISO 3200 tends to confuse the standard model into treating grain as detail worth preserving, which produces a sand-like texture in the upscaled output. The high-fidelity model separates luminance noise from actual texture more reliably.
She sets the scale to 2.6×, output format to TIFF 16-bit, colour space to Adobe RGB, and ticks the "Suppress Noise" checkbox with the slider at 15 — enough to tame the chroma noise in the underexposed frames without smearing eyelash detail. She then scrolls through the first five images in the preview area, checking the before/after toggle with the space bar on faces, fabric textures and the catchlights in the eyes. Three frames shot against a busy background need the compression artefact model instead because the venue's mixed lighting created colour banding in the raw conversion. She selects those three in the queue, right-clicks, picks "Change Model" and switches them individually.
She hits Cmd+E to start the batch and opens the queue panel to monitor progress. The first ten files process at roughly 40 seconds each. Around file 30, the MacBook Pro's fans are audible but the speed holds steady. File 67 throws a processing error — the EXIF data is truncated from a card-reader glitch during import. The app logs the failure, skips to file 68, and continues. She notes the failed file for a re-import later.
After 55 minutes the batch completes. She checks four random outputs at 100% magnification in a separate viewer. The fabric textures on a tweed jacket look crisp without false detail; the catchlights are round and natural, not polygonal. One frame shot at ISO 6400 pushed the noise suppression too hard and flattened some skin texture — she reloads that single image, drops suppression to 8, and re-exports it in 30 seconds. The TIFFs go to the print lab the same afternoon.
- macOS 12 or newer
- Intel or Apple Silicon Mac
Questions on file
What can Topaz Gigapixel AI fix besides low resolution?
It can remove heavy JPEG compression artefacts, clean up pixelated low-quality line art and PNG files, and restore detail in low-resolution portraits.
Sign in · Create an account to add a field note.
No field notes yet. A measurement, a version, a machine — they appear after moderation.