Mac Apps
Movavi Screen Recorder 23.1.1
Mac AppsUpdated
| Requirement | On file |
|---|---|
| macOS | macOS 10.13 or later |
| CPU | Intel 64-bit |
| Download | 110 MB |
Compatibility for this release covers Intel-based Macs running macOS 10.13 High Sierra through to the latest versions. It is a native Intel build, so Apple Silicon machines will run it via Rosetta 2 translation.
| Detail | Spec |
|---|---|
| Version | 23.1.1 |
| Developer | Movavi |
| Architecture | Intel (native) |
| Minimum macOS | 10.13 |
| Interface language | English |
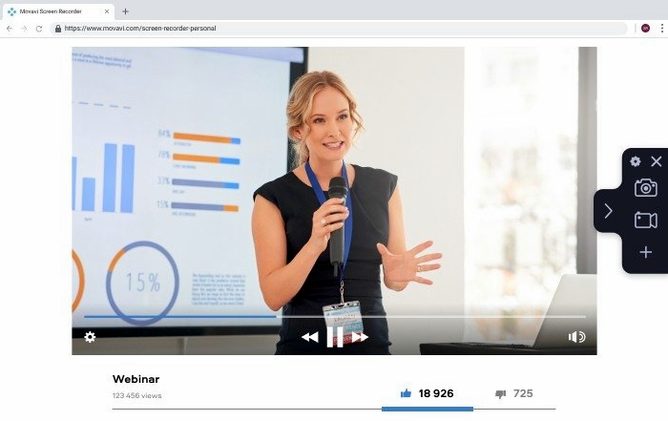
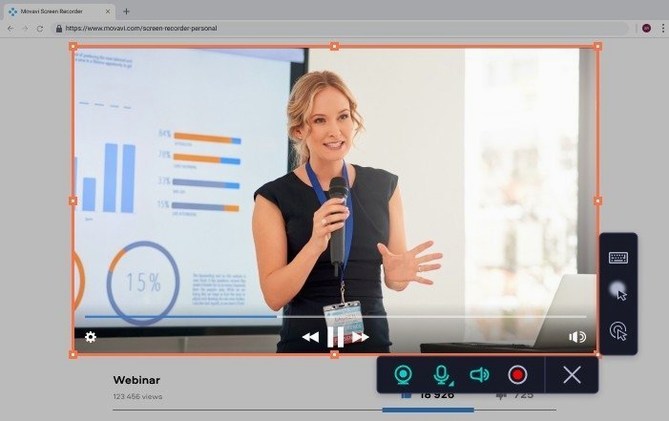
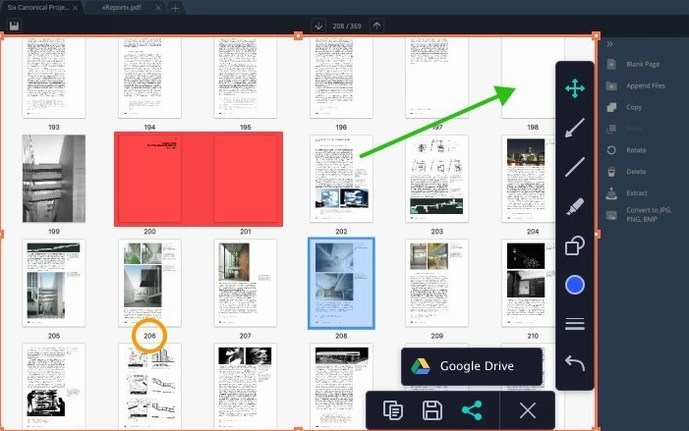
The 23.1.1 update landed as a maintenance release, consisting of minor improvements and bug fixes. The core recording toolkit is stable: you can capture the full desktop, a selected area, or a specific application window. System audio and microphone input are both supported, and you can overlay a webcam feed during capture. Output options remain video files and GIF animations. The scheduler can enforce a duration limit on recordings, and you can add a visible mouse-click effect to make cursor actions clearer in tutorials. Hotkeys are customisable across the board, and the screenshot function handles still captures alongside video.
Missed Audio Inputs That Ruin a Recording
New users often start a recording without checking the audio input selector. The app can pull from the system audio driver, a microphone, or both — but it does not always default to the combination you intend. A five‑minute tutorial captured with no system sound is a common result. Open the audio panel before the first real recording and confirm which source is active.
Another early misstep involves the capture area. Selecting Full Screen on a Retina display without adjusting the output resolution in preferences produces a file at native pixel dimensions — larger than needed for most uploads. The same applies to window capture: dragging the frame over a browser window that still shows bookmarks or a messy desktop background embeds distractions into the final video for no reason. Spend thirty seconds tidying the recording canvas before hitting the red button.
Beginners also overlook the cursor effect settings. The click‑highlight and keystroke display are off by default. Recording a software walkthrough without them leaves viewers guessing where you clicked. Turn on at least the click ring; the keystroke overlay is useful for shortcut‑heavy demos but can clutter a screenshot‑style video.
Finally, the GIF export catches people out. The encoder caps frame rate and colour depth, so a thirty‑second desktop capture saved as a GIF can balloon past twenty megabytes while looking posterised. Short, slow‑motion clips suit the format. Anything longer or busier belongs in MP4.
A Recording Workflow: Software Walkthrough with Webcam Overlay
This task covers recording a five‑minute app demonstration with system audio, microphone narration, and a webcam inset — the sort of clip you might send to a colleague or upload to YouTube.
Preparation. Launch Movavi Screen Recorder and the target application. Close unrelated windows, mute notifications, and set the desktop background to a neutral colour. In the recorder panel, set the capture area to Window and pick the application window from the list. Open the audio section: enable System Audio and Microphone, then do a five‑second test recording to check levels. In the webcam tab, enable the camera and choose a corner position — bottom‑right keeps it out of most UI elements. Under Effects, switch on cursor click highlighting and set the colour to something visible against the app’s interface. Under Preferences > Output, pick MP4 (H.264) at 1920×1080, 30 fps.
Recording. Press the Record button. Wait for the three‑second countdown, then deliver the walkthrough. Speak clearly and pause after each click so the cursor highlight registers. If you stumble, keep rolling — the editor can trim mistakes later. Press Stop when finished. The preview window opens with the raw clip.
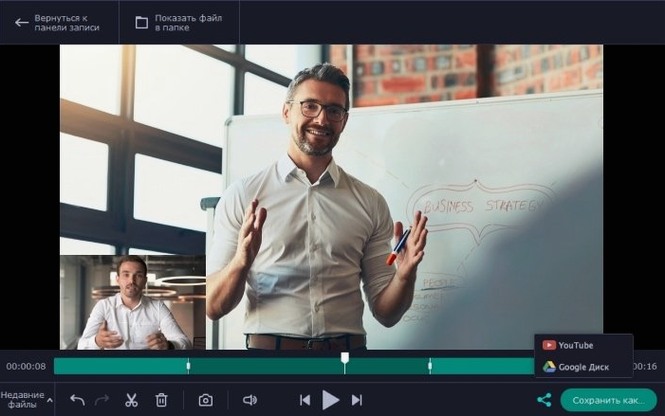
Quick trim. In the preview, drag the start and end markers to cut dead air. The trim tool is basic — frame‑accurate cuts are not its strength — but it handles lead‑in and tail removal well. Save the trimmed clip.
Export and upload. Choose Save as Video File, confirm the preset, and write the output. If the destination is YouTube, use the built‑in Upload to YouTube option from the share menu; sign in, add a title, and set visibility. The upload queues in the background while you work on the next task.
The whole process, from app launch to upload confirmation, takes under fifteen minutes once the preparation step becomes habit.
Half‑Hour Defaults Tuning After Install
After you mount the disk image and complete the standard installation, spend your first half‑hour dialling in the defaults. Open Preferences and work through the panes in order.
Output format. Pick a video preset and stick with it for a week. Changing codecs mid‑project confuses comparisons. H.264 at 30 fps works for most tutorial work; bump to 60 fps only if you record motion‑heavy content like game capture or animation playback. Set a default save location that sits inside your regular project folder hierarchy, not the Movies directory root.
Hotkeys. The default shortcuts are functional but collide with other Mac software. Rebind Start/Stop Recording to a combination that does not overlap with Spotlight, screenshot tools, or the app you plan to capture. Map Pause to a neighbouring key. Test the new bindings with a throwaway recording so muscle memory starts building immediately.
Scheduler sanity check. If you plan to use the automatic scheduler — say, to capture a live stream at 3 a.m. — run a thirty‑second scheduled test while you are still at the desk. Confirm the Mac stays awake, the capture area is correct, and the audio source is not muted. A scheduled recording that fires with the microphone disabled because you unplugged a headset the night before is an easy mistake to prevent.
Webcam placement. Record three short clips with the overlay in different corners. Play them back and note where the camera covers interface elements. Once you have a preferred position, leave it set. Changing it per project leads to inconsistent output that looks sloppy in a playlist.
Space monitoring. A ten‑minute 1080p recording runs roughly 1.2 GB with default H.264 settings. On a Mac with a 256 GB SSD, that disappears fast. Enable the duration limiter or schedule a few large test files early to gauge storage pressure before you rely on the app for a long session.
Quiet Refinements Accumulated Before 23.1.1
Version 23.1.1 was a maintenance update — the release notes cite minor improvements and bug fixes — so the everyday experience did not shift dramatically. However, several refinements accumulated over the preceding point releases are worth noting for how they affect daily use.
Cursor effect stability. Earlier builds occasionally dropped the click highlight on window‑capture recordings after a display resolution change. The 23.x line tightened that behaviour. If you hot‑plug an external monitor mid‑session, the effect now persists without a settings toggle. This matters for anyone who records on a laptop docked and undocked throughout the day.
Audio device switching. Previous versions required a manual re‑selection of the system audio source after connecting or disconnecting USB audio hardware. The current build detects device changes more reliably, though a quick check of the audio panel remains good practice.
GIF encoder tweaks. The GIF output path received attention in recent updates. Colour banding in gradients — particularly visible in dark‑mode interface captures — is reduced compared to the 22.x releases. File sizes are roughly unchanged, but the visual quality of UI‑style GIFs improved enough that short app clips look cleaner on documentation pages.
Gatekeeper-friendly packaging. The disk image now handles the Gatekeeper bypass step with a terminal‑based helper, which means the installation flow works on macOS 10.13 through to current builds without per‑version workarounds. The process remains: mount the image, launch the helper, press Enter in the Terminal window, then run the standard installer. Once set, the app launches without further prompts.
- General — Minor improvements and bug fixes.
- macOS 10.13 or later
- Intel processor (Apple Silicon via Rosetta 2)
Questions on file
Can I set a time limit for a recording session?
Yes, Movavi Screen Recorder includes a scheduler that stops the capture automatically after a set duration.
Does it record system audio on a Mac?
It captures system sound and microphone input, and you can combine both in a single recording.
Sign in · Create an account to add a field note.
No field notes yet. A measurement, a version, a machine — they appear after moderation.