
Mac Apps
Nik Collection 9.0
Mac AppsUpdated
| Requirement | On file |
|---|---|
| macOS | macOS 13.3 or later |
| CPU | Apple Silicon, Intel 64-bit |
| Download | 3.5 GB |
Eight plugins ship inside the Nik Collection 9 installer, covering everything from black-and-white conversion to analogue film simulations. The suite is built around U Point technology for local adjustments, and it loads as a plugin panel inside Photoshop, Affinity, or DxO PhotoLab. People searching for a nik collection 7 full mac setup often run into the same practical questions before committing to an install, so here are the answers that matter.
- Which host apps does it actually see? Adobe Photoshop, Adobe Lightroom Classic, Affinity Photo, and DxO PhotoLab. Apple Aperture support is listed in older documentation but version 9 focuses on the current four.
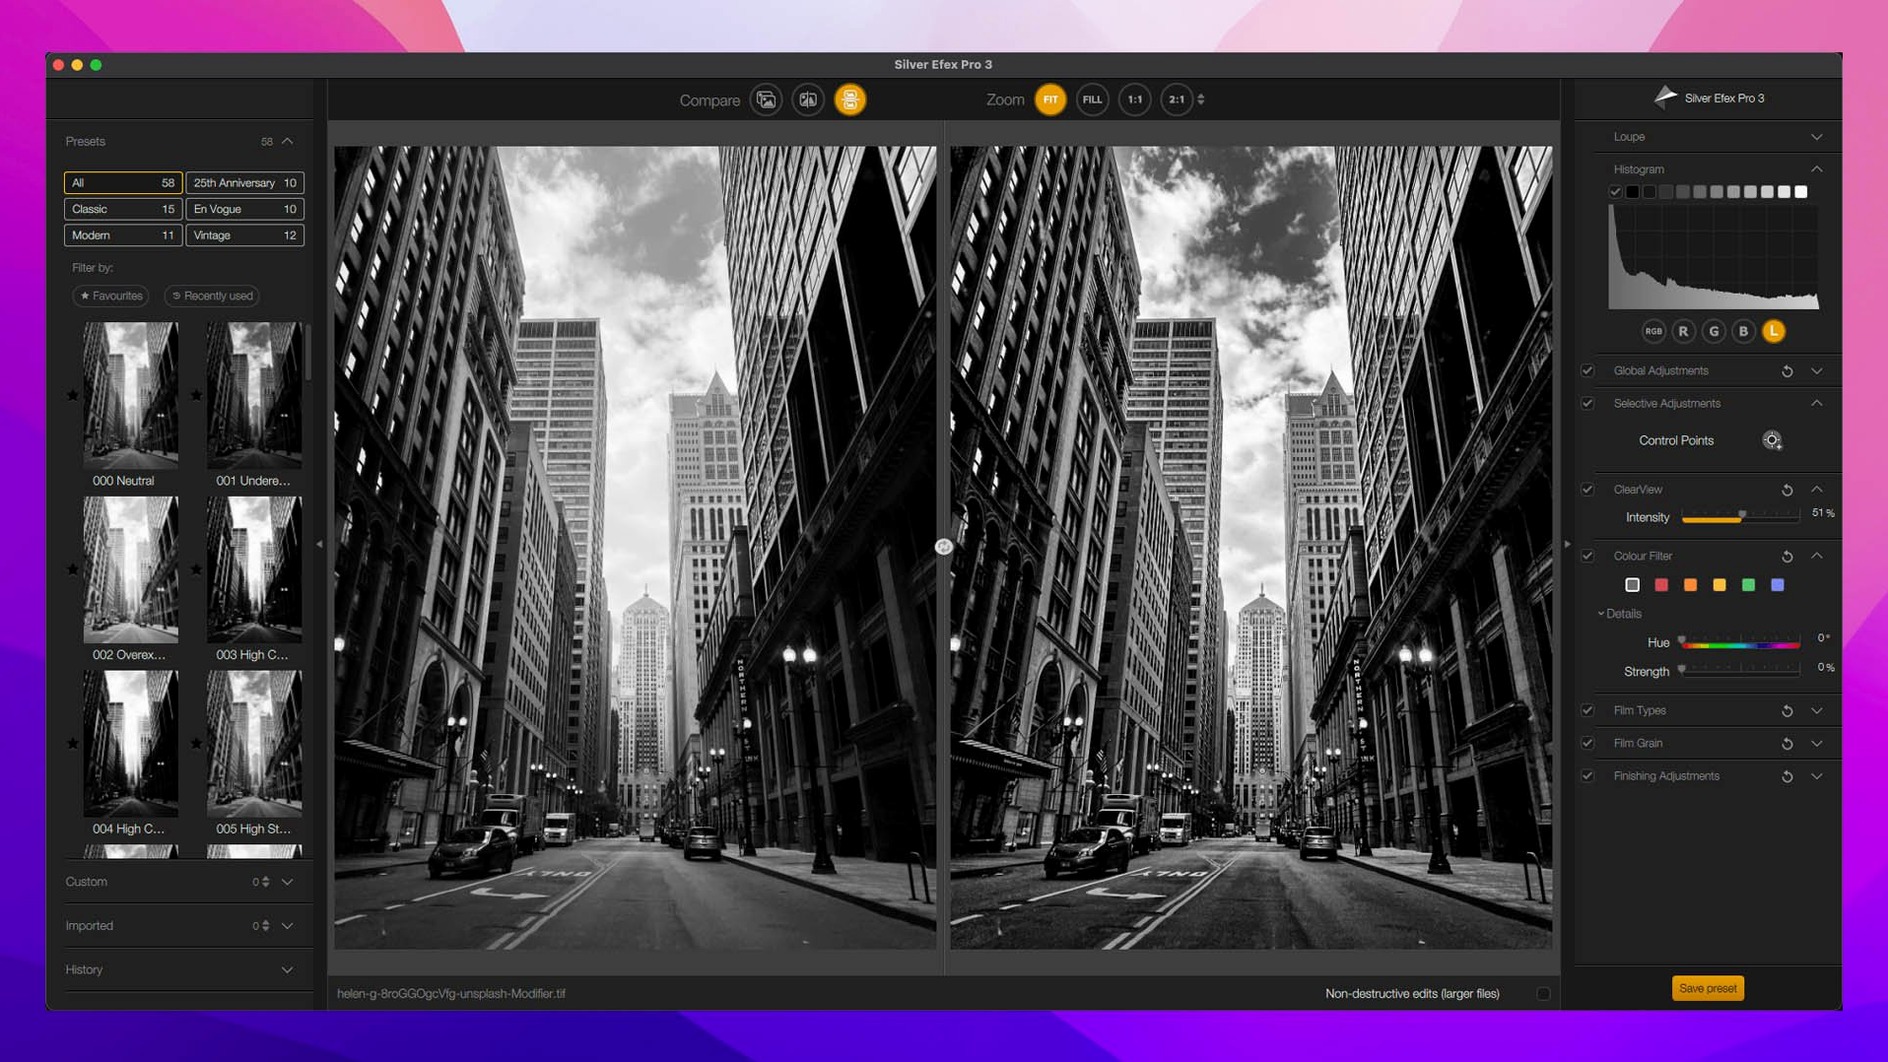
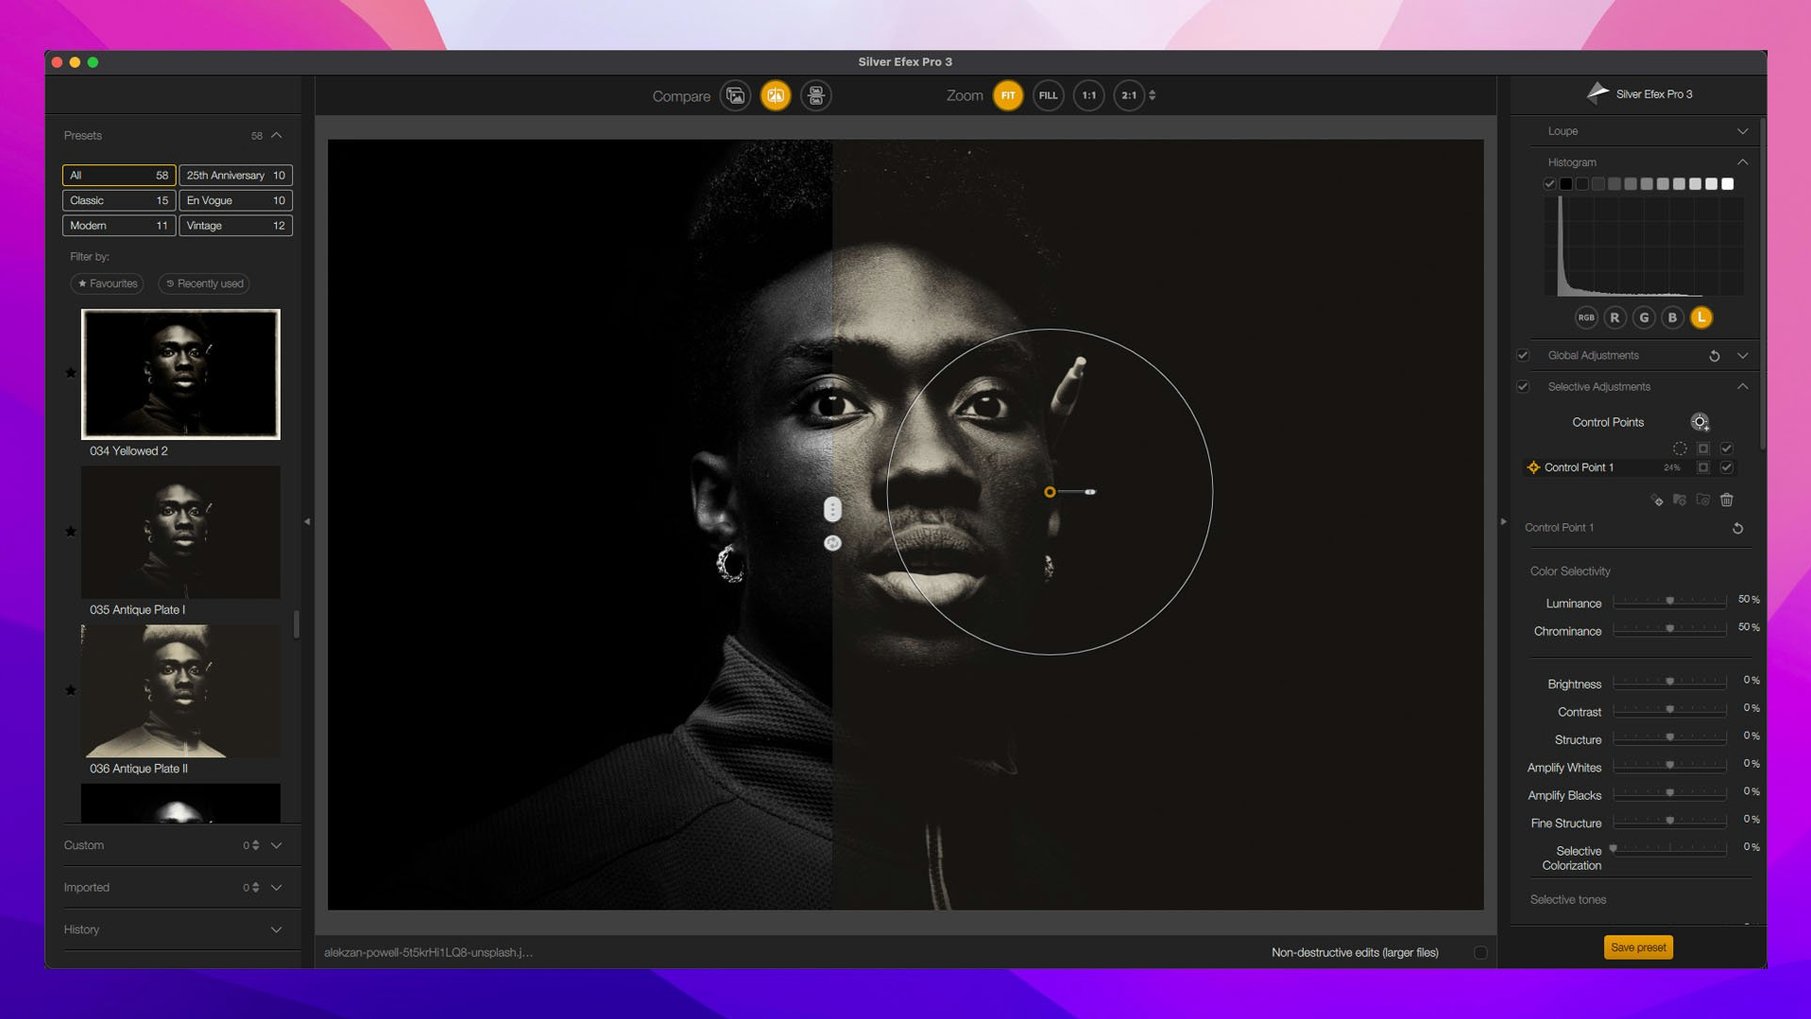
- Does Silver Efex Pro work with presets? Yes. It ships with a library of black-and-white presets and includes a before-and-after split preview so you can check the conversion against the colour original.
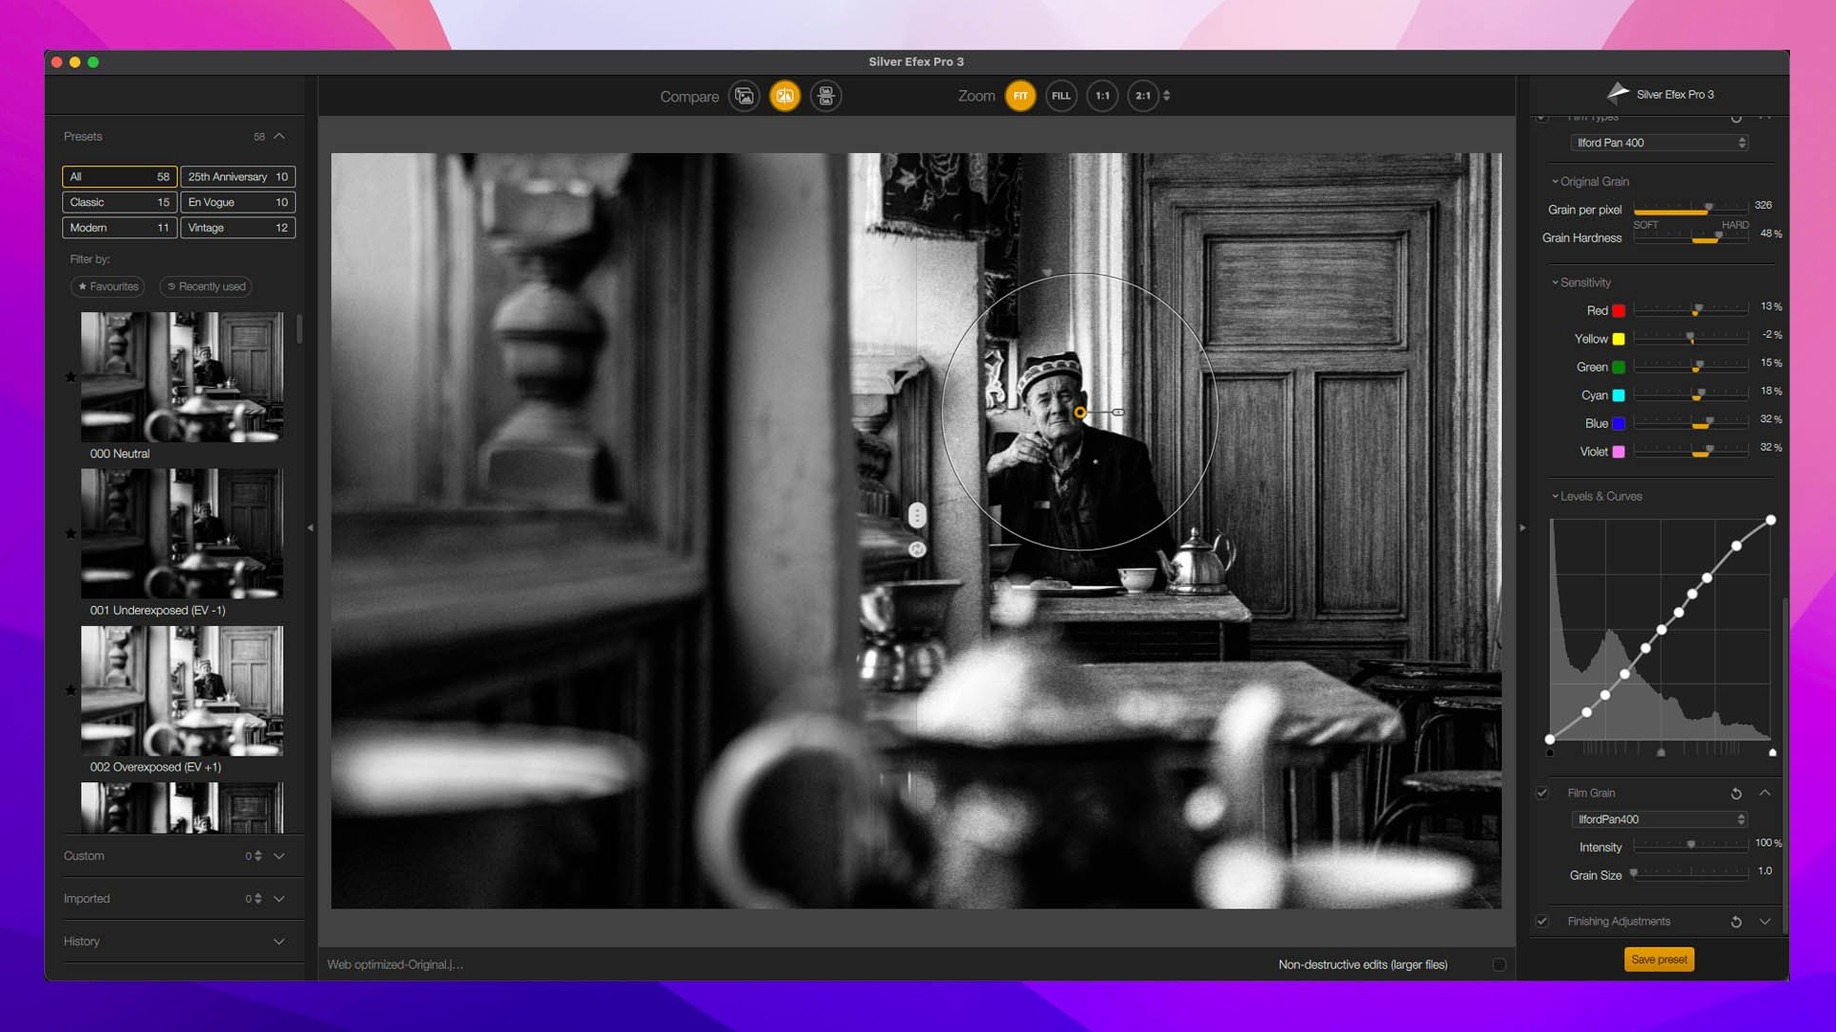
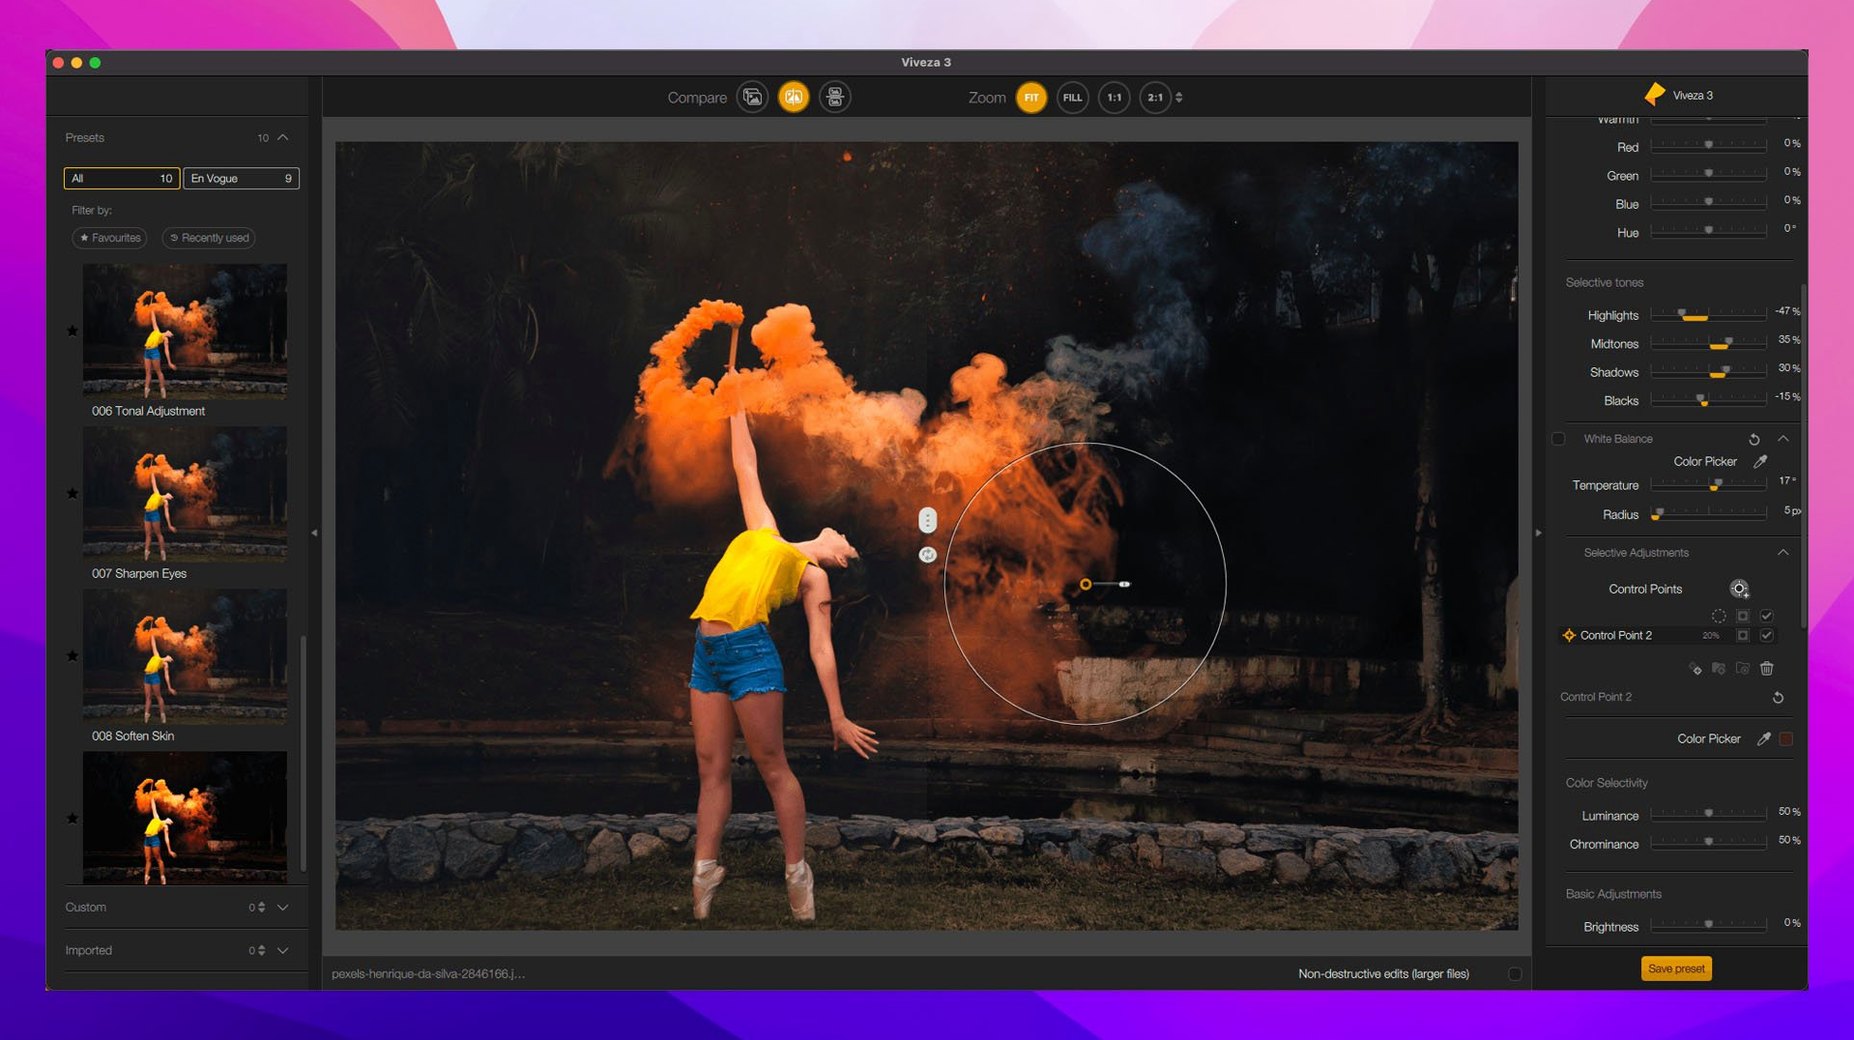
- Can I limit an effect to one part of the image? Color Efex Pro includes a Selective tool for painting an effect onto a chosen area, and the whole suite uses U Point control points for local adjustments.
- What file formats or colour spaces cause trouble? The installer requires macOS 13.3 or newer and runs natively on both Intel and Apple Silicon Macs. The interface ships in 14 languages, including Russian, Japanese, and Arabic.
- What did version 9 actually change? DxO added AI Masks and Depth Masks, a dedicated Color Grading tool inside Color Efex Pro, and three new analogue-style effects: Chromatic Shift, Glass Effect, and Halation. Mask Overlays are also new.
The 9.1.0 build runs the same plugin set Windows users get, but on macOS the host integration feels tighter if you keep the host app updated. The depth-mask feature alone shifts how quickly you can separate a subject from a busy background without manual brushing.
Who Feels the Payoff Fastest
Photographers who push a lot of frames through Lightroom Classic will notice the biggest speed-up. The suite lives where the Develop module leaves off: local tonal control, film-like grain, and sharpening for output. If your workflow already ends on an export preset, adding a trip into Silver Efex Pro or Color Efex Pro for final polish replaces several manual adjustment layers with a few clicks. A single U Point control point often does the work of a luminosity mask and a radial filter combined, which is why event and wedding photographers who deliver same-day proofs tend to keep the plugin panel pinned open.
Fine-art printers and anyone preparing images for a book or gallery wall get the most out of Sharpener Pro’s two-stage model — raw pre-sharpening and output sharpening tuned to paper type and viewing distance. The 16-bit pipeline means you are not discarding colour information before the sharpen pass, which matters when the final output is a 44-inch print rather than a 1200‑pixel web preview.
Designers who occasionally shoot their own textures or product shots also fit the profile. The suite slots into Affinity Photo without the friction of exporting to another application, and Perspective Efex handles keystone correction and lens geometry in the same session as a film-look treatment from Analog Efex Pro. That overlap — fixing geometry then applying a period‑accurate colour shift — is something a single‑purpose correction tool rarely offers in one pass.
Shortcuts the Interface Never Advertises
Several shortcuts in version 9 are easy to miss because the interface does not nag you about them. The most useful:
- Preset hover preview. Hover over any preset thumbnail in Color Efex Pro or Silver Efex Pro for a full‑resolution preview on the main canvas. You can cycle through a dozen looks without clicking once, which cuts comparison time in half.
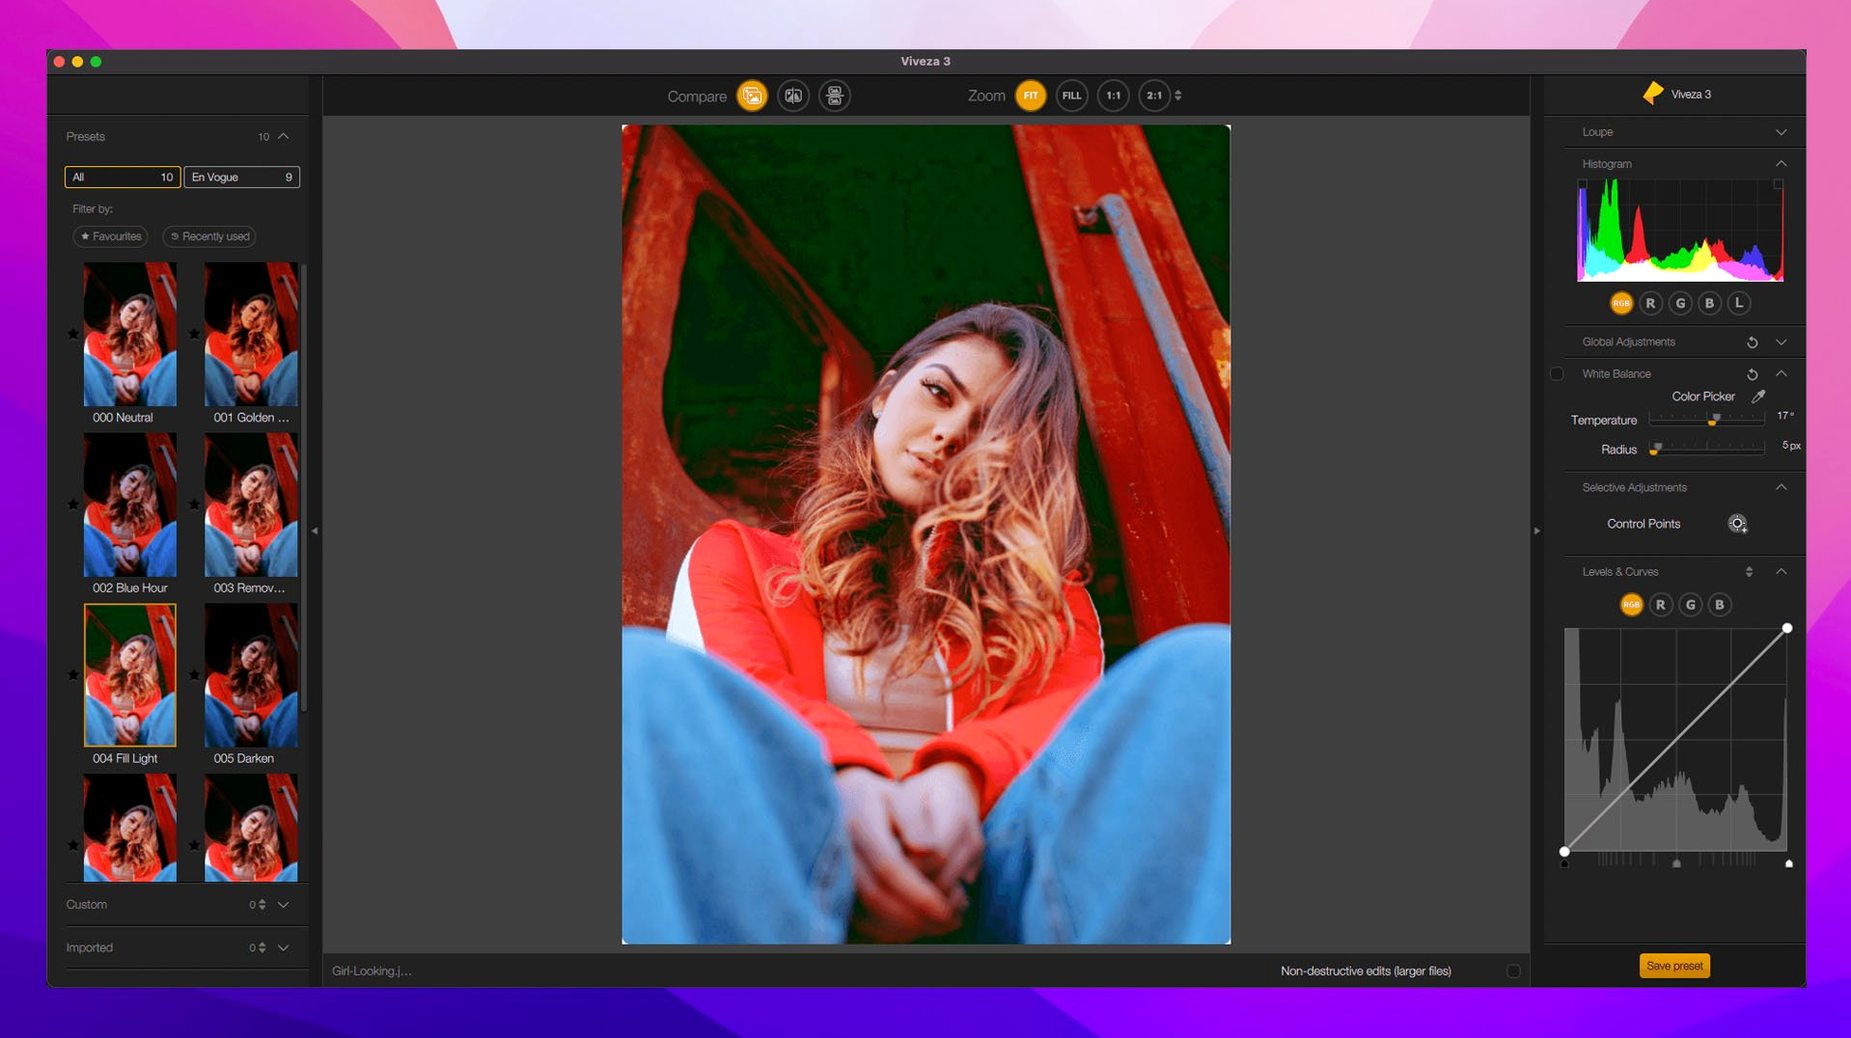
- Copy‑paste of local adjustments. Right‑click any control point in Viveza or Color Efex Pro and copy it, then paste it onto another image. The adjustment transfers with the same radius, opacity, and colour‑range settings. Batch‑editing studio headshots or product series becomes a two‑step process instead of rebuilding the same point layout.
- Mask overlays toggle. A new keypress shows the active mask as a red overlay while you work on Depth Masks or AI Masks. It stays visible during brush strokes, so you can refine the edge without toggling back and forth to a preview mode.
- Split‑screen before‑and‑after in Silver Efex Pro. Drag the divider line left or right; the plugin remembers the position per session. This is faster than the side‑by‑side view if you are checking grain structure at 100%.
- Control point duplication in Viveza. Hold Option and drag an existing control point to duplicate it with identical settings. Placing five identical colour‑warmth adjustments across a landscape takes seconds.
Plugin‑Panel Launch and Preview Times on Apple Silicon
On an Apple Silicon Mac with 16 GB of unified memory, the plugin panel opens inside Photoshop in roughly 1.5 seconds on first launch per session, and under a second on subsequent calls. Filter previews in Color Efex Pro render progressively: you see a coarse preview within half a second, and the full‑resolution refinement completes in about 1–2 seconds for a 45‑megapixel raw file, depending on the complexity of the filter stack. Switching between plugins without leaving the host app keeps memory pressure steady — the host releases the previous plugin’s working buffer before loading the next.
Dfine noise reduction adds the heaviest computational load. A full‑frame image analysed at maximum quality with automatic profiling takes about 4–6 seconds on an M2 Pro chip. That figure drops to under a second on images already profiled earlier in the session, because the plugin caches the noise signature. The suite’s memory footprint hovers around 400–600 MB per plugin instance, which is reasonable next to a typical Photoshop document with 20 adjustment layers. Running two plugins in rapid succession (for example, Dfine then Sharpener Pro) does not trigger noticeable swapping on a 16 GB machine, though a 8 GB model will feel the pressure if other applications stay open.
Stability across a long editing day is consistent with the 9.1.0 build. Crashes inside the host, when they occur, tend to trace back to specific GPU‑accelerated filters — Halation and Chromatic Shift are the newest additions and occasionally cause a brief rendering stall on older AMD graphics, but the plugin recovers without dropping the host session. People who set up a Nik Collection Mac torrent sometimes ask whether the suite holds up across different host versions; the current build is compiled for both ARM and x86, so Rosetta‑related slowdowns are absent on Apple Silicon.
Switch Preview Quality to “Best” Before Your First Edit
The out‑of‑the‑box state works, but a few preferences improve daily use immediately:
- Set the default preview quality to “Best” in Color Efex Pro. The factory setting is “Good” to keep previews snappy on older hardware. On any Mac with an M‑series chip, switching to “Best” adds negligible render time and shows the actual grain and halation structure at 100% view.
- Disable automatic filter stacking in Analog Efex Pro. The plugin applies a multi‑effect preset on launch. Turn this off in the preferences panel if you prefer to build a treatment from a clean plate — otherwise you spend the first 30 seconds removing effects you did not ask for.
- Calibrate your display profile inside Sharpener Pro’s output sharpening step. The soft‑proof preview uses the macOS system profile by default. Override it with the specific ICC profile of your printer‑and‑paper combination so the sharpening radius matches the actual dot gain.
- Map a keyboard shortcut to “Show Mask Overlay.” In the host application’s shortcut editor, assign a key to the Nik Selective Tool’s mask overlay command. This cuts out three mouse clicks every time you check an AI Mask edge.
- Switch Dfine’s measurement method to “Automatic” per image. The global default is “Manual,” which waits for you to place a measurement rectangle. Changing this at the suite level saves a step on every high‑ISO file.
Build label — Nik Collection 9 by DxO 9.1.0. AI Masks — new depth-based and AI-driven masking tools. Color Efex Pro — new Color Grading tool. Effects — Chromatic Shift, Glass Effect, and Halation added. Masking — new Mask Overlays display.
- macOS 13.3 or newer
- Intel or Apple Silicon Mac
- Host application: Adobe Photoshop, Adobe Lightroom Classic, Affinity Photo, or DxO PhotoLab
Questions on file
Which host applications does Nik Collection 9 support on a Mac?
It integrates with Adobe Photoshop, Adobe Lightroom Classic, Affinity Photo, and DxO PhotoLab.
What are the main new features in Nik Collection 9?
AI Masks, Depth Masks, a Color Grading tool in Color Efex Pro, and three new effects: Chromatic Shift, Glass Effect, and Halation.
Does Silver Efex Pro let me compare edits with the original?
Yes, it offers a before-and-after split preview so you can check the black-and-white conversion against the colour source image.
Sign in · Create an account to add a field note.
No field notes yet. A measurement, a version, a machine — they appear after moderation.