Audio
Cubase 15.0.30
AudioUpdated
| Requirement | On file |
|---|---|
| macOS | macOS 13 or later |
| CPU | Apple Silicon, Intel 64-bit |
| Download | 1.2 GB |
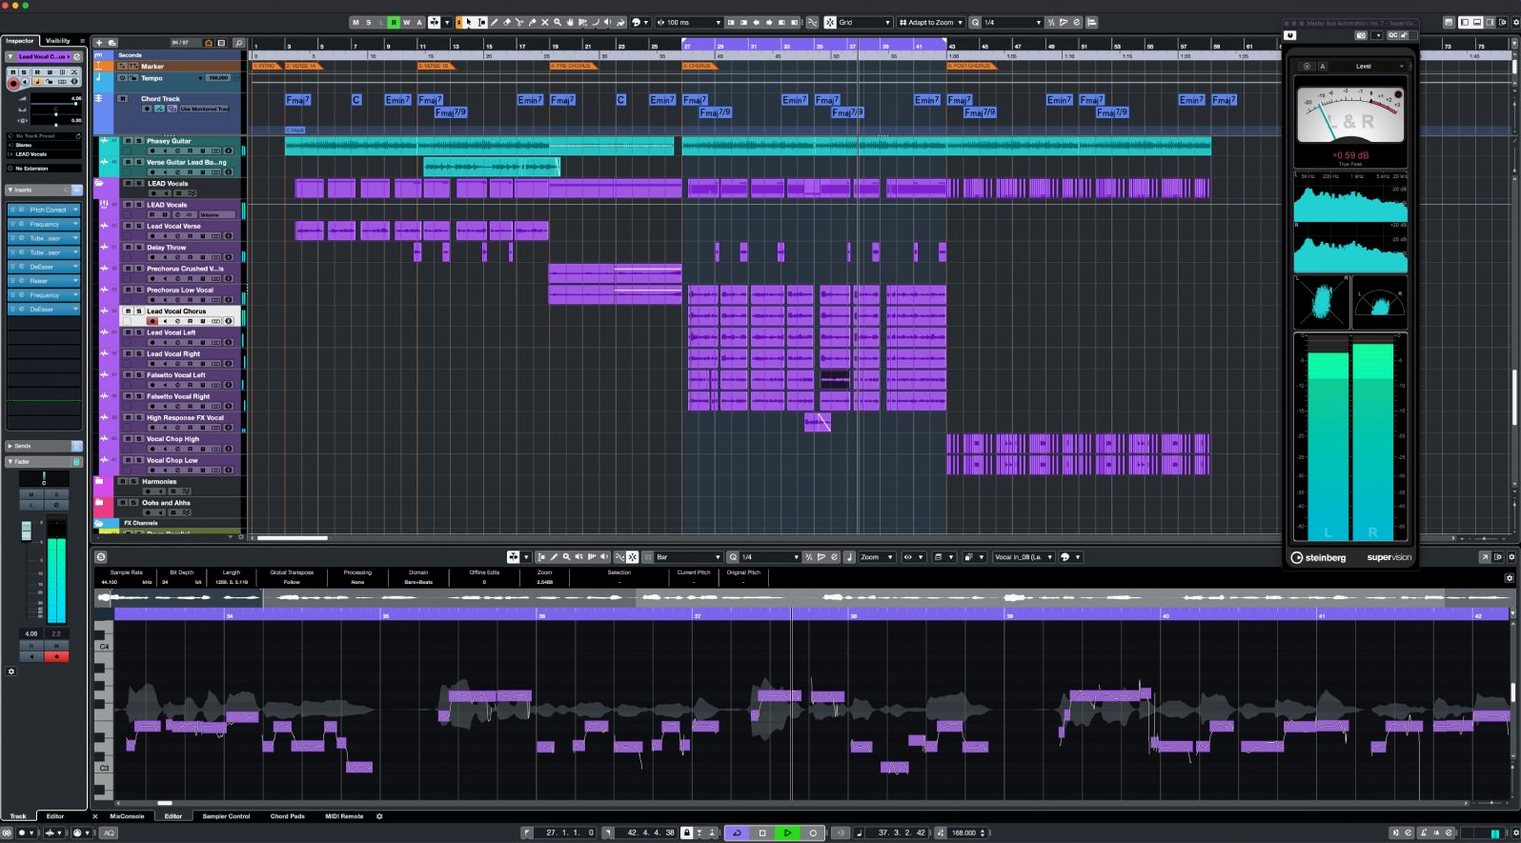
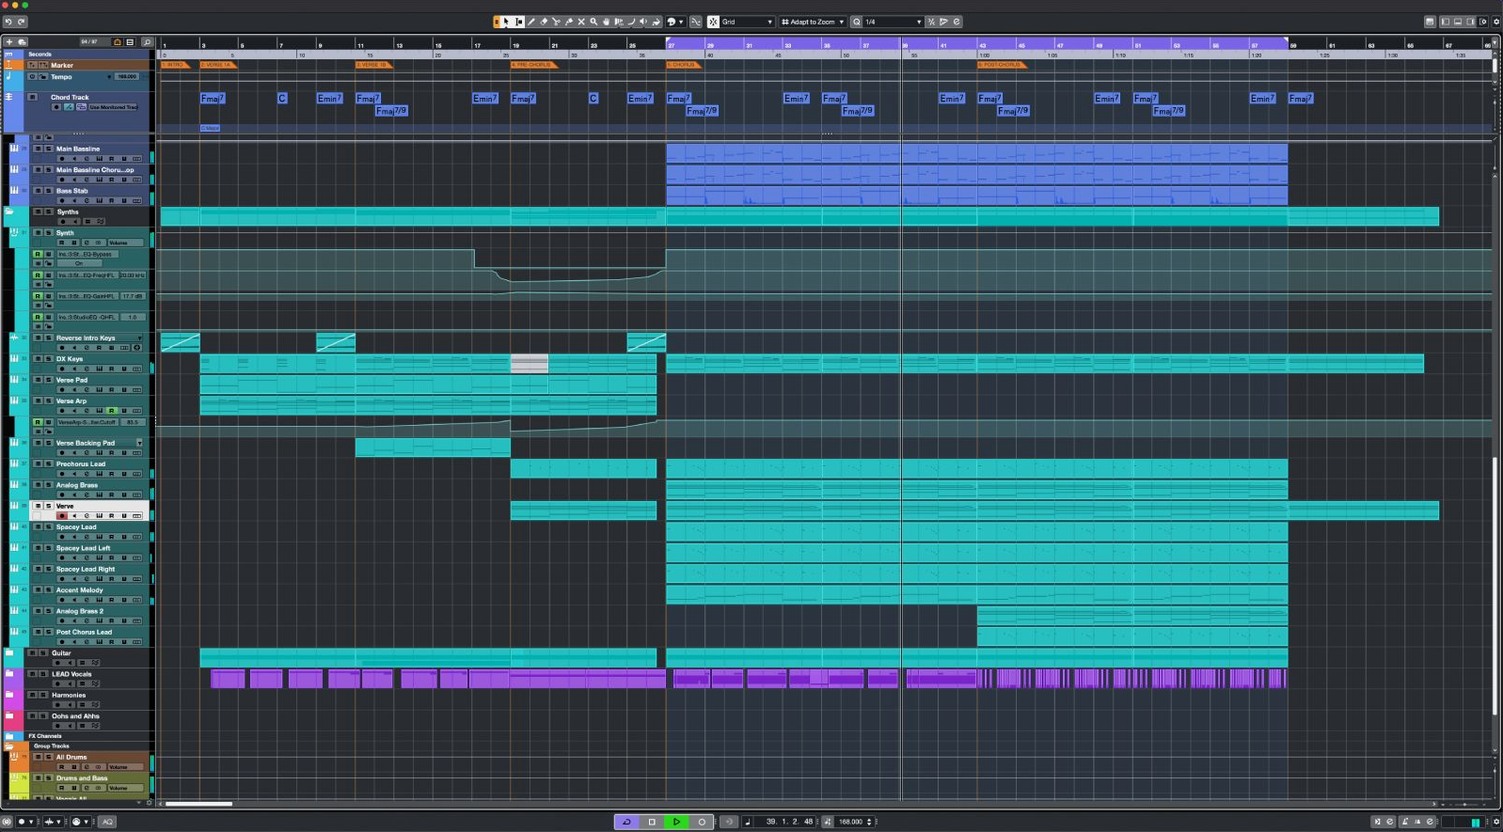
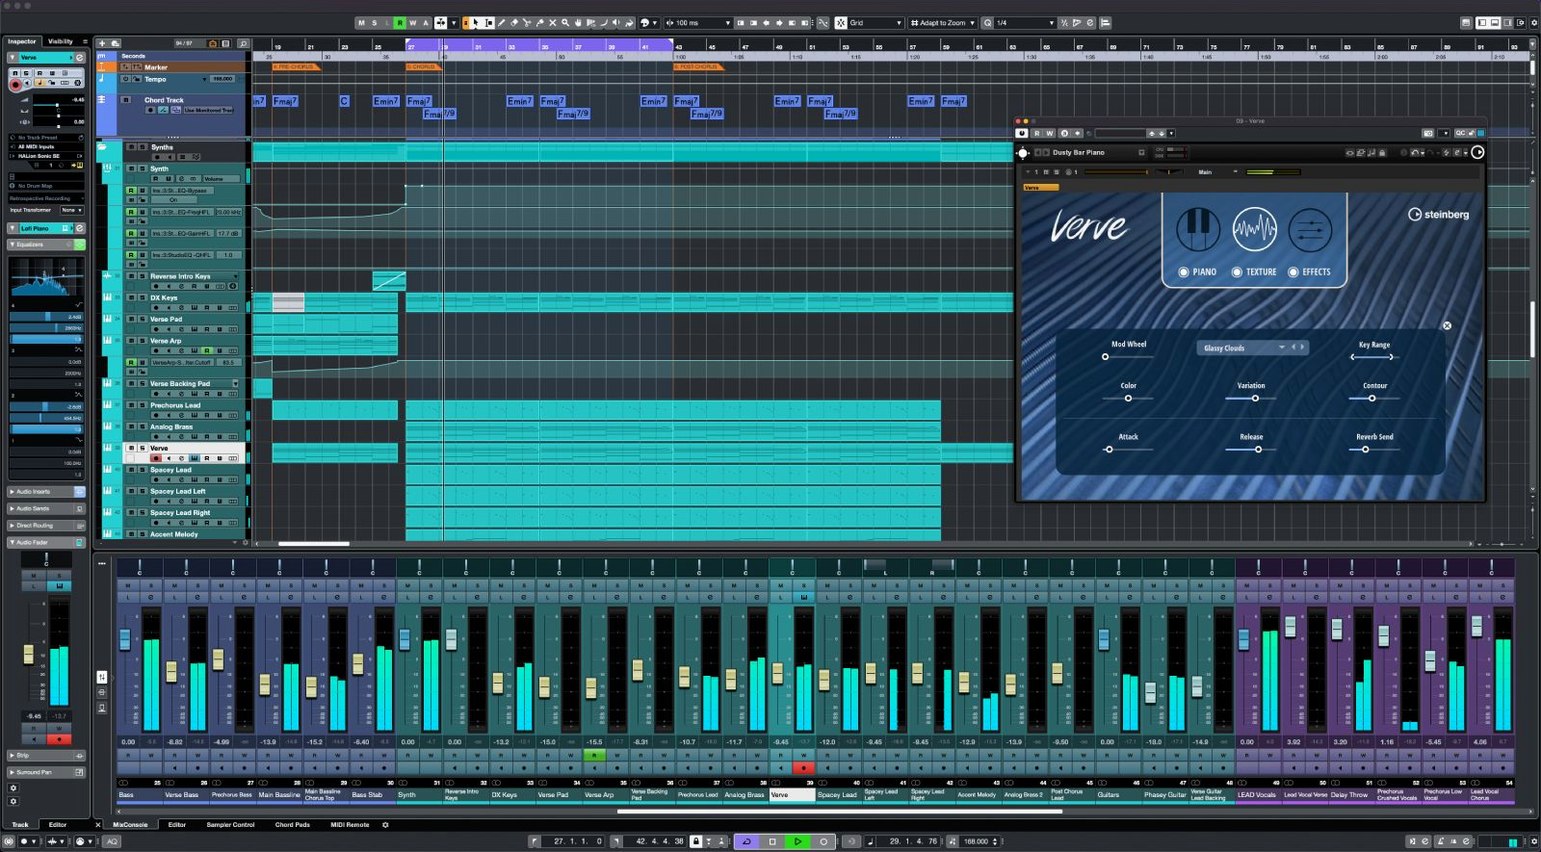
If you already use a simpler audio editor like Audacity for trimming and basic layering, moving to a DAW like Cubase can feel like stepping into a control room after working with a pocket recorder. Cubase is a full music production and sequencing environment built for producers, composers, and engineers who need unlimited tracks and deep editing tools. Version 15.0.30 is current, and here are the first four things worth exploring when you open it for the first time.
- Line up a vocal or drum take with AudioWarp. Drop an audio clip onto a track, open the AudioWarp panel, and set warp markers to pull transients onto the project grid. The waveform snaps to tempo without slicing manually.
- Correct pitch with VariAudio. Select a monophonic vocal segment and switch to the VariAudio tab in the Sample Editor. Move individual note blobs up or down on the piano roll. The tool preserves formants within reasonable intervals, so small tweaks stay natural.
- Build a texture using FX Modulator. Insert it on a pad or synth channel. Set an LFO shape, assign its output to a filter cutoff or reverb mix, then adjust rate and depth. Low-rate triangle waves on a dry signal produce slow, evolving movement without extra automation lanes.
- Learn the shortcut for your most-used action. Open the Key Commands dialogue and search for a function you repeat often — quantise, duplicate track, or toggle the MixConsole. Assign a two-key combination. One deliberate shortcut early on saves dozens of menu trips per session.
After those four steps, you have a basic grasp of time alignment, pitch editing, modulation, and navigation. Cubase 15 scales from there: 16 insert slots per channel, 64 VST instrument slots, Dolby Atmos tools for surround projects, and the Scale Assistant with preset scales for MIDI composition.
Habits That Eat Your First Week and How to Undo Them
Most first-week frustrations trace back to a handful of habits that are easy to fix once you spot them. These are the ones I see repeated in forums, tutorials, and the occasional panicked message from a composer who just lost an afternoon's work.
Ignoring the Control Room
The Control Room is not just a monitoring utility you can skip. Without it enabled, headphone mixes, talkback, and monitor switching rely on workarounds that fall apart the moment a vocalist asks for more click in the cans. Beginners often route the main mix straight to the audio interface outputs and wonder why cue mixes feel clunky. Turn it on in Studio > Audio Connections > Control Room, add a monitor channel, and route it to your physical outputs. From there you can create up to four cue mixes that pull from any combination of audio tracks, click, and external inputs — all independent of the main fader.
Recording Without Specifying the File Format First
Cubase defaults to its own project settings when you create a new session, but those settings might not match your delivery requirements. A common mistake: tracking a full band at 44.1 kHz when the client needs 48 kHz for video, then discovering the mismatch during export. Set the sample rate and bit depth in Project > Project Setup before the first take. The 64-bit floating-point engine handles conversion cleanly, but time-stretching across mismatched rates introduces artefacts that no amount of VariAudio can undo cleanly.
Overloading the First Insert Slot With Everything
Sixteen insert slots per channel is a spec that invites overuse. New users often stack EQ, compression, reverb, delay, saturation, and modulation into the first four slots of a single track, then fight the gain staging when the channel clips. Inserts process in series, so order matters. A better approach: place corrective EQ and noise gating early, dynamics later, and time-based effects like reverb or delay on FX sends. The 64 return channels mean you can build a dedicated reverb return without eating an insert slot on every drum mic. Gain-stage each insert so the output level matches the bypassed signal, and you avoid chasing clipping through a chain of eight plug-ins.
Neglecting Hitpoint Detection Before Quantising Audio
AudioWarp works best when Cubase knows where the transients are. Dragging an unanalysed audio clip into the project and immediately applying quantise often results in weird stretching between incorrectly placed warp markers. Double-click the audio event, open the Hitpoints tab in the Sample Editor, adjust the threshold slider until markers land on visible transients, then quantise. The extra thirty seconds stops snare flams from turning into smeared noise.
Not Locking Tracks After Editing
You finish a delicate drum edit, move on to vocals, and accidentally nudge the snare track two milliseconds left. Cubase has track locking for a reason. Right-click a track header, select Lock Track Data, and the events stay put. Beginners skip this, especially on large projects with 80-plus tracks, and end up with timing drift they cannot trace. Lock tracks as soon as editing is signed off; unlock them only when a revision is deliberate.
MIDI Remote API 1.3 and the Workflow Shifts That Came With It
The 15.0.30 release landed on 3 June 2026, and while Steinberg's notes describe it as fixes and enhancements, a few changes alter daily workflows enough to mention.
MIDI Remote API 1.3 support means controller scripts can now exchange more detailed feedback with hardware. If you use a Novation Launch Control Series 3 — newly supported in this build — parameter names, values, and meter data appear on the device display without custom scripting. In practice, grabbing a physical knob to adjust a channel EQ band and seeing the frequency readout on the controller itself reduces screen flicker between the hardware and the MixConsole. For anyone building custom mappings, the updated API exposes deeper integration points: you can assign button LEDs to follow track mute states or have fader motors chase automation lanes with less latency than earlier MIDI Remote versions permitted.
General stability improvements reported in the release notes are not marketing filler. Users on large post-production sessions — 200-plus tracks, heavy Atmos object routing — saw fewer dropouts when switching between the Project window and the MixConsole after the update. The under-1.3 GB macOS package is a single installer for all Cubase 15 editions, so applying the point release does not require hunting down a different build for your license tier.
One shift worth flagging: the installer size crept up slightly compared to the 15.0.0 release, largely because of the added controller definition files and updated HALion libraries. If you are running a lean system drive, the Steinberg Download Assistant lets you deselect content packs you do not need before downloading.
Scoring 12 Minutes in Three Days With Timecode and Hitpoints
A composer takes on a 12-minute short film with a three-day turnaround. The director sends a QuickTime reference with embedded timecode and a stereo guide track. The composer creates a new project at 48 kHz, 24-bit, imports the video via File > Import > Video File, and sets the frame rate to match the file — 23.976 fps. The video thumbnail track appears above the ruler, and the transport bar shows timecode rather than bars and beats.
First task: spotting. Marker track active, the composer drops cycle markers at each scene change, labels them by cue name, and locks the marker track. The director's notes mention that scene four needs the music to swell exactly when a door slams. The composer opens the guide track in the Sample Editor, locates the transient of the door hitpoint, and places a warp marker to align it precisely to a downbeat in the tempo track. The entire cue snaps around that anchor point without manual slicing.
The orchestral template loads with 48 instrument tracks routed through group channels for strings, brass, woodwinds and percussion. Each group has a Raiser compressor inserted post-fader to pull loudness without flattening the attack transients of the staccato strings. The composer switches the main output bus to the Dolby Atmos renderer — already configured in Audio Connections — and pans the string section across the front bed while placing the woodwind overdubs as objects in the height channels. The director wants an immersive mix for festival screenings.
With two hours left, the director requests a key change from D minor to E minor for the closing cue. The composer selects all MIDI regions in the cue, opens the Scale Assistant, locks to E minor, and transposes the selection up a whole step. The chord voicings stay intact because the tool follows the selected scale rather than a chromatic shift. The final export renders a 48 kHz, 24-bit WAV and an ADM BWF file for the Atmos mix, both aligned to the picture's timecode. The whole session stays within one project file; no bouncing between separate applications for scoring, mixing, and mastering.
Three Kinds of Mac Users Who Extract the Most From the Toolset
Cubase runs on Apple Silicon and Intel hardware under macOS 13 or later, but the users who extract the most value tend to fall into three groups.
Composers working to picture find the tempo-detection, hitpoint, and time-warp toolset built in rather than bolted on. The video track sits natively in the project timeline, not in a separate window. Tempo changes can be drawn in freehand or snapped to hitpoints in the audio, so a cue can follow an actor's movement frame-accurately. The 256-group-channel architecture means a full orchestral template — strings, brass, winds, percussion, synths, choir — fits inside a single project with room for stems and print tracks. Composers who previously bounced between a scoring app and a mixing DAW consolidate into one environment and cut an export step out of their deadline workflow.
Mixing engineers handling dense sessions use the unlimited track count and 16-insert-slot channels not as theoretical headroom but as daily infrastructure. A lead vocal chain might run corrective EQ, two stages of compression, a de-esser, saturation, a dynamic EQ, and a limiter — all on one channel, with eight more slots free. The 64 VST instrument slots mean a hybrid mixing template can include drum replacement triggers, a sub-bass synth, and several samplers without juggling disabled tracks. Engineers who mix in Atmos benefit from the integrated renderer and object-based panning, which avoids round-tripping through a separate spatial audio application.
Electronic producers and sound designers lean on the FX Modulator and Audio-to-MIDI features in ways that linear recording sessions do not. Dropping a field recording onto an audio track, running Audio-to-MIDI chords, and getting harmonic data that drives a software synth opens a fast lane from found sound to musical material. The Scale Assistant keeps MIDI experiments within a chosen key, so even atonal source material produces usable note data. Producers who perform live or tweak parameters in real time benefit from the MIDI Remote integration: a mapped controller with visual feedback on the hardware cuts the reliance on mouse-driven automation drawing.
Friction Points That Keep Appearing and the Steps That Clear Them
Even a well-configured system hits friction points. These are the ones that appear most often and the steps that clear them.
Audio Interface Drops Out After Sleep
macOS power management sometimes disconnects USB or Thunderbolt audio interfaces when the machine wakes. Cubase shows a "Missing Audio Device" error and refuses to play back. The fix: open Studio > Studio Setup > Audio System, reselect your interface from the ASIO driver dropdown — on Mac it is Core Audio, not ASIO — and click Apply. If that does not stick, close Cubase, unplug the interface for ten seconds, reconnect it, and relaunch. For Thunderbolt interfaces, a cold reboot of the interface before launching Cubase prevents the issue more reliably than hot-plugging.
MIDI Controller Mapping Resets Between Sessions
A carefully mapped Novation Launch Control Series 3 — new in 15.0.30 — loses assignments when you reopen a project if the controller was not set as the default in the MIDI Remote Manager. Go to Studio > MIDI Remote Manager, select your controller script, and tick "Use as Default." The mapping persists across project files. If assignments still vanish, check that the controller's USB port is not being shared through a hub that re-enumerates devices on wake. A direct connection to the Mac handles power negotiation more predictably.
VariAudio Pitch Edits Sound Choppy
Grabbing a note blob and moving it more than a few semitones without adjusting the segment length causes audible glitches. In the VariAudio tab, after a large pitch shift, lengthen or shorten the segment boundaries slightly using the handles on each note block. The algorithm recalculates the crossfade and removes the click. For extreme corrections — say, a fifth — split the note into two shorter segments, pitch each independently, and crossfade them. The formant correction handles small intervals well; large jumps need manual finesse.
Latency When Monitoring Through Plug-Ins
Inserting a linear-phase EQ or a lookahead limiter on the input channel while recording adds audible delay. The Constrain Delay Compensation button in the toolbar — a small clock icon — toggles low-latency mode for the record-armed track. Click it before tracking vocals or DI guitar, and Cubase disables high-latency plug-ins on the monitoring path without removing them from the insert chain. After the take, click it again to restore full processing. For hardware monitoring, route the input directly through the audio interface's mixer app and mute the Cubase track's monitoring; zero round-trip latency, no plug-in juggling required.
Project File Grows Too Large for Transfers
A project folder containing dozens of 96 kHz, 32-bit float audio files balloons past 20 GB quickly. When sending the project to a collaborator, use File > Back Up Project and tick "Minimize Audio Files." Cubase trims all audio
- General fixes and enhancements — several areas of the application received stability and performance updates.
- Controller support — Novation Launch Control Series 3 is now natively supported.
- MIDI Remote API — updated to version 1.3 for deeper integration with control surfaces.
- macOS 13 or later
- Intel or Apple Silicon processor
Questions on file
Does Cubase 15 support Apple Silicon Macs?
Yes, Cubase 15 runs natively on both Intel and Apple Silicon Macs under macOS 13 or later.
What vocal editing tools are included?
VariAudio is built in for pitch and timing correction on monophonic vocal tracks, with formant preservation.
How many insert effects can one channel hold?
Cubase 15 supports up to 16 insert effects per audio, MIDI, or instrument channel.
Sign in · Create an account to add a field note.
No field notes yet. A measurement, a version, a machine — they appear after moderation.