Design
Garden Planner 3.8.86
DesignUpdated
| Requirement | On file |
|---|---|
| macOS | OS X 10.7 or later |
| CPU | Apple Silicon, Intel 64-bit |
| Download | 225 MB |
Landscape designers and homeowners mapping out a backyard re-think reach for Garden Planner 3.8.86. It sits alongside a Mac user's existing image tools as a dedicated layout scratchpad — not a CAD package, but a purpose-built arranger for plants, paths and garden structures.
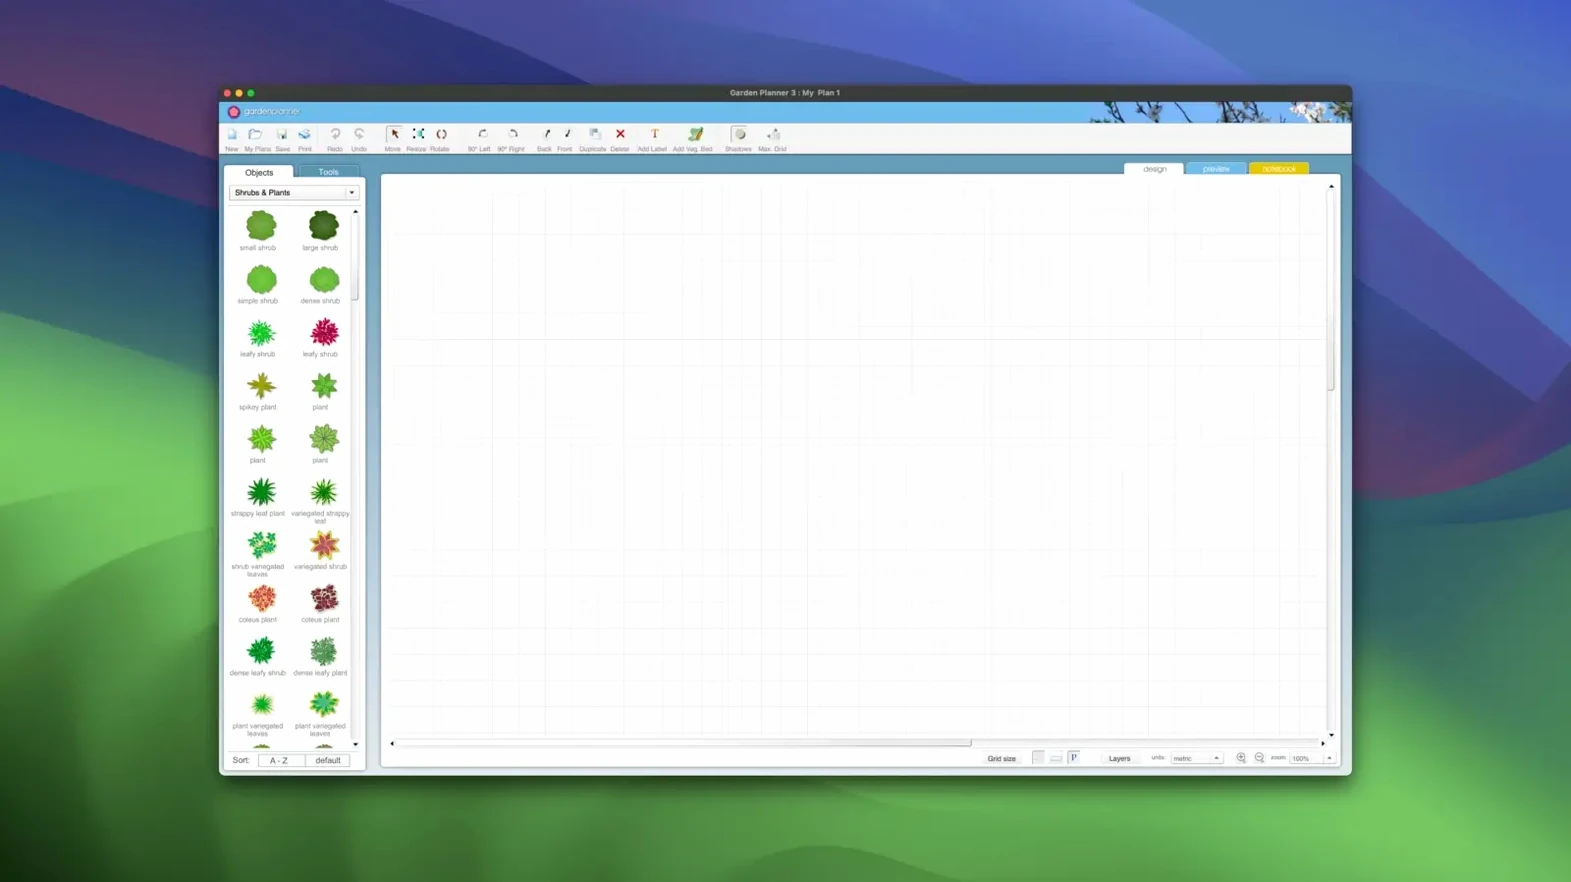
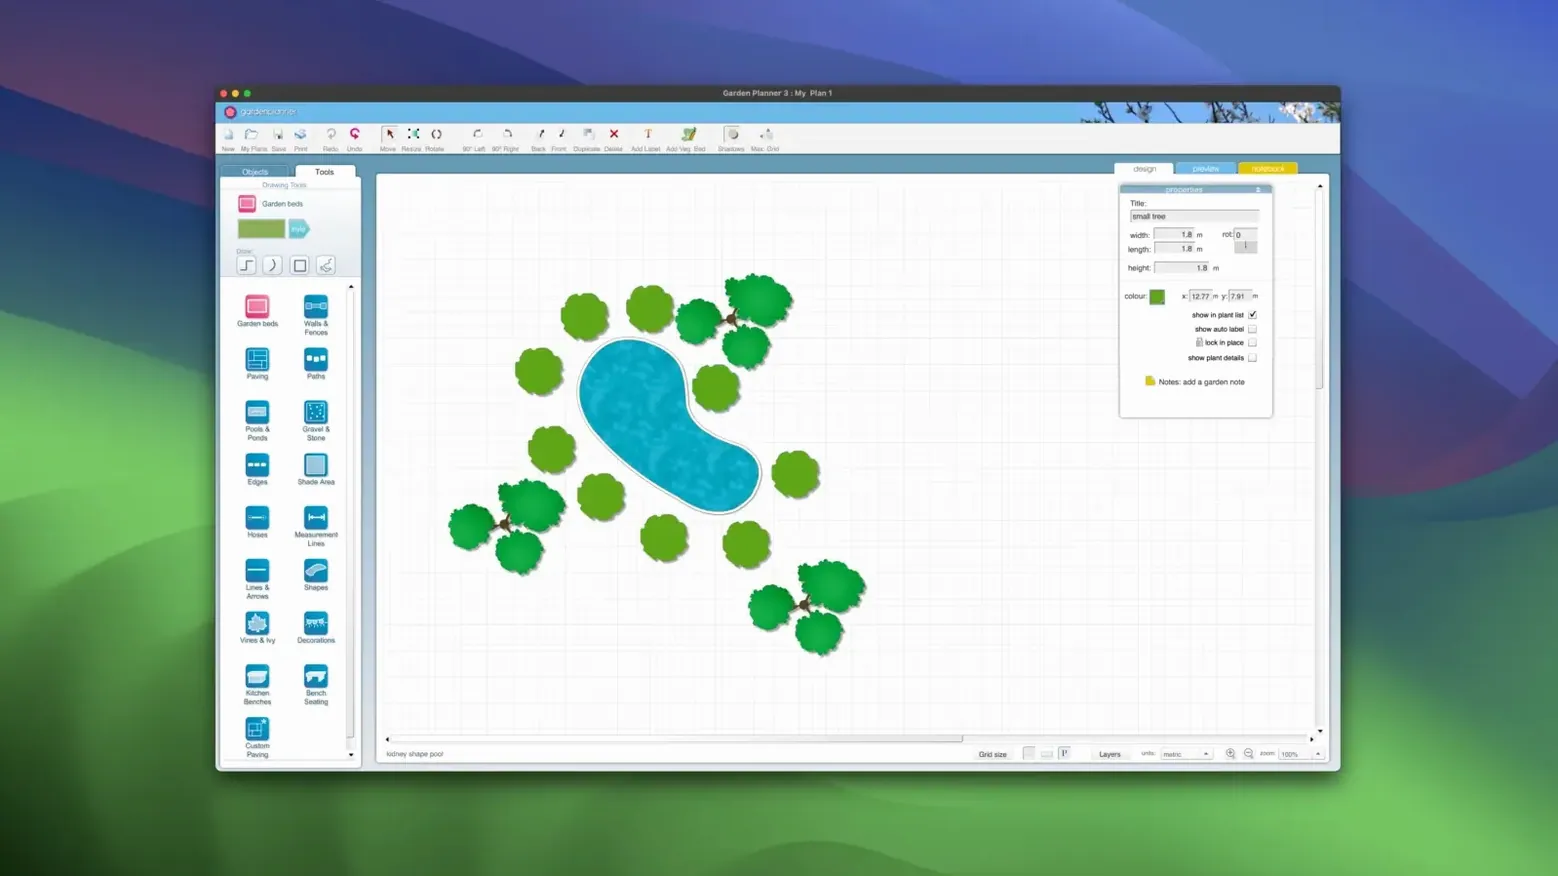
2D plan — the primary workspace where elements are dragged from a library and positioned on a grid. Every tree, shrub, building or paving slab can be rotated, duplicated, scaled or reshaped after placement. Text descriptions attach to any object, turning the plan into a labelled brief a contractor can read.
3D walkthrough — a rendered view useful for checking sightlines and proportions before soil is turned. The 3D mode reads the same garden file, so changes in the 2D layout appear immediately in the walkthrough.
Export pipeline — finished plans leave the app as JPEG or PNG image files. These drop straight into a Pages document, a Keynote slide for a client presentation, or a shared Photos album for family feedback. No proprietary format lock-in.
Library behaviour — user-defined settings can be applied to library elements, so a favourite hedge spacing or a specific paver colour is kept for the next project. The version 3.8 update added new path styles, broadening the hardscape options.
Architecture — the app runs natively on both Intel and Apple Silicon Macs, a practical detail for anyone on an M-series machine who wants the tool to open without a Rosetta translation layer.
Dropping Grid Snap to 100 mm for Courtyard Precision
Out of the box, Grid Snap sits at 300 mm. For a courtyard garden I drop it to 100 mm; for a rural property layout I raise it to 500 mm. The setting lives under View → Grid Settings and immediately changes how objects behave when dragged — at 100 mm a shrub snaps to paving edges cleanly, while at 500 mm you stop fighting the grid over long fence runs.
Three other defaults I adjust on first launch:
- Default plant spacing. The library items ship with a generic spread. Select a plant, open the inspector, set its mature diameter to the figure on the nursery tag, and tick Save as default. Do this once for your five most-used plants and every subsequent plan reads true to scale.
- Measurement units. The app defaults to millimetres. Switch to metres via Preferences → Units if you think in paving slabs and fence panels rather than construction drawings. The change applies globally — object dimensions, the ruler tool and the status bar readout all flip at once.
- Auto-save interval. Set to five minutes under Preferences → General. The app does not auto-save by default, and a crash during a long 3D render session has cost me a morning's work before.
Screening a Melbourne Shed in a Single Afternoon
A Friday afternoon. The brief: a north-facing Melbourne courtyard, 6 × 4 metres, with a paved dining zone, raised beds and something to screen the neighbour's shed.
1. Base plan. I open Garden Planner 3.8.86 and choose File → New. A blank grid appears. I set the canvas to 6000 × 4000 mm under File → Page Setup, matching the measured site. The grid snaps to 100 mm.
2. Boundaries. From the Structures category I drag four wall segments to the canvas edges, then use the resize handles to pull each one to exact length. A fifth wall runs two-thirds across the northern edge — the neighbour's shed line. I lock all boundary walls so they do not shift during planting.
3. Hardscape. I switch to the Paths & Paving library. A 3000 × 3000 mm paved area drops into the sunny north-east corner. Version 3.8's new path styles include a bluestone-look paver with a sawn edge; I apply it to the dining zone. A secondary gravel path, 800 mm wide, curves from the back door to the paved area using the freehand path tool.
4. Planting. The 1200-object library is sorted by type. I pull in three Camellia sasanqua shrubs along the western boundary at 1200 mm centres, a row of Liriope muscari to edge the path, and two upright Pyrus calleryana in the northern raised bed for height. Each plant gets its mature spread dialled in via the inspector. I add text labels — "Camellia — white, to 2 m" — for the landscaper.
5. Walkthrough check. I hit the 3D button. The camera defaults to a corner view. I walk it to the dining area and look back toward the neighbour's shed. The Pyrus crowns break the sightline at year five, which is the point. A quick adjustment: I nudge the right-hand tree 400 mm south in the 2D view, switch back to 3D, and confirm the framing works.
6. Output. I run File → Export as Image, choose PNG at 300 DPI, and drag the file into a Pages document for the client. Then Tools → Generate Object Report, saved as CSV, gives the planting schedule — species, count, spacing — ready to hand to the nursery.
Total session: just under forty minutes from blank grid to client-ready plan and plant list.
A Landscape Designer's Afternoon
Sarah runs a small design practice from a studio in Hobart. Her projects are suburban gardens — often tricky slopes, established trees to work around, and clients who want to see the result before approving earthworks. She has used Garden Planner alongside SketchUp for four years.
On this job, a client wants a native-plant garden with a fire-pit zone, a vegetable patch and a level lawn for young children. Sarah measures the site with a laser disto, sketches the boundary on graph paper in the field, then back at the desk recreates it in Garden Planner.
She drags the existing gum tree from the library, scales its canopy to match the measured drip line, and locks it. The vegetable beds sit in the north-east corner where the sun holds longest. She pulls four raised-bed objects from the Structures library, sets each to 2400 × 1200 mm, and rotates them five degrees to follow the fence line. The fire-pit zone goes into a gravel circle at the southern end, ringed with low Lomandra grasses from the plant library.
When the client visits, Sarah opens the 3D walkthrough. They stand at the proposed lawn, look toward the fire pit, and the client asks whether the kids can see the veggie patch from there. Sarah switches back to 2D, moves the raised beds 600 mm east, and the 3D view updates. The client nods. The plan is signed off the same afternoon.
Sarah exports a JPEG for the file and a CSV object report for the landscaper quoting the job. The whole process — measure, draft, present, revise, export — happens inside six hours rather than spread across a week of back-and-forth emails.
Cold Launch Under Three Seconds on an M1 Air
On an M1 MacBook Air with 8 GB of RAM, Garden Planner 3.8.86 launches in under three seconds from a cold start. The library panel populates instantly — no thumbnailing lag even with the full 1200-object set visible. Dragging objects across the canvas is fluid at 60 fps; I notice no frame drops with plans containing upwards of 200 placed items.
The 3D view takes roughly two seconds to render a medium-complexity garden on first switch. Subsequent toggles between 2D and 3D are near-instant, as the app caches the render. On an older Intel MacBook Pro (2015, i5), the same 3D switch takes closer to five seconds — usable, but you learn to stay in one view during client walkthroughs rather than flipping back and forth.
Memory usage sits between 180 and 320 MB during normal work. Large plans with dense planting layers push it toward 400 MB, still modest by modern Mac standards. I have not seen the app trigger swap on an 8 GB machine even with Safari, Mail and Pages open alongside it.
Stability is solid in version 3.8.86. The 2026-07-14 update fixed a crash I had encountered when exporting a large plan to PNG at 600 DPI
Paths — new path styles added.
Stability — improvements and bug fixes included.
- OS X 10.7 or later
- Apple Silicon or Intel processor
Questions on file
Does Garden Planner export to CAD formats?
No. The export options are JPEG and PNG image files, which are suitable for presentations and printing but not for importing into CAD software.
Can I walk through the garden in 3D?
Yes. The app includes a 3D view that provides a walkthrough of the garden design, letting you check the layout from ground level.
Does it run on Apple Silicon Macs?
Yes, Garden Planner supports both ARM (Apple Silicon) and x86 64-bit architectures.
Sign in · Create an account to add a field note.
No field notes yet. A measurement, a version, a machine — they appear after moderation.