
Design
Plasticity 26.1.3
DesignUpdated

| Requirement | On file |
|---|---|
| macOS | macOS 10.14 or later |
| CPU | Apple Silicon |
| Download | 256 MB |
Where history-based modellers force you to manage a tree of dependencies, Plasticity takes the direct-editing approach familiar to anyone who has pushed vertices in Blender and wanted that same immediacy in a precise solid-modelling environment. Version 26.1.3 on macOS refines that core promise with tools an experienced user will reach for daily.
- Live dimensional input. Start an extrude or offset and type a value — the geometry updates instantly without a separate confirmation step, keeping the focus on the viewport.
- Polyspline generation (Studio tier). The 2026.1 toolset introduces PolySplines, letting you generate complex curve networks quickly for surface lofting and patch layouts.
- Direct face and edge manipulation. Grab a fillet radius handle and drag it, or select a face and offset it. No history tree to scroll through, just immediate feedback on the solid.
- Hybrid solid-and-surface workflow. Trim a solid with a freeform surface, then thicken a patch back into a body without converting file types or leaving the application.
- Manual update cadence. Updates are not automatic, giving you control over when to introduce a new build into a production pipeline.
These features sit on a foundation that runs on Apple Silicon and supports eight interface languages. It is a focused toolset for getting precise models built without fighting the software’s own internal logic.
How Plasticity Sits in a macOS Workflow
Plasticity does not try to be an entire pipeline. It takes the part of the process that benefits from precise numeric control — building the base forms, cutting details and resolving volumes — and leaves the rest to specialist tools. A typical workflow might look like this: rough block-ins and proportion studies in Plasticity, STP export to Rhino for Class-A surfacing passes, and a final OBJ push to Blender or Cinema 4D for materials, lighting and rendering. The app writes clean geometry, so what arrives in the downstream tool rarely needs repair.
On macOS, integration with the Finder and standard file dialogs is straightforward. You can drag a STEP or IGES file from a Finder window straight onto the Plasticity icon in the Dock, and it opens in a new scene with the import settings from your last session. The app respects Mission Control and Spaces, so keeping Plasticity on one desktop while a reference image sits in Preview on another works without window focus fights. If you use Quick Look on exported STL files, the macOS preview renders them fast enough to check part orientation before slicing.
For those who work with Apple's Metal API, Plasticity leans on it for viewport rendering. The framerate stays consistent on M2 and M3 chips even with moderately dense meshes displayed as shaded solids with edge highlighting. There is no bridging step to make it run — the Apple Silicon build is native, not a translated Intel binary.
Where it fits less neatly is in environments that expect a single master file. Plasticity saves scenes in its own .plasticity format, and there is no live link to another application's session. You export, you import, you commit to the version you pushed out. Teams that work with Git-style version control on CAD files will need to treat Plasticity exports as fixed release assets rather than editable source after the fact, because the export formats do not carry the application's parametric intent — only the resulting boundary representation.
Still, the exchange formats are solid. Parasolid XT and STEP exports from Plasticity have opened reliably in SolidWorks 2023 and Fusion 360 in practical tests by community members, with feature recognition sometimes picking up fillets and pockets correctly on the other side. That is not guaranteed, but it is a higher hit rate than mesh-based modelers tend to deliver.
Treating Solids Like Polygons
The most common early error is treating Plasticity like a polygon modeler. Users coming from Blender or Maya often try to move individual vertices on a solid body, only to find that direct vertex editing is not how boundary-representation modelers work. The surfaces are mathematically defined; you push faces, edges and fillet radii, not arbitrary vertices. The moment you accept that the unit of manipulation is the face or edge, the toolset makes sense.
Another trap is ignoring the units and tolerance settings when starting a new scene. Plasticity defaults to millimetres with a tolerance of 0.001 mm. If you model a part at metre scale without adjusting the units, boolean operations can fail silently — the tolerance becomes too coarse relative to the feature size, and edges that should intersect cleanly leave gaps. Setting the scene units correctly before dropping the first primitive saves hours of rework later.
Beginners also tend to overuse booleans. The boolean engine is solid — Parasolid has decades of engineering behind it — but stacking five or six boolean operations in sequence without cleaning up the resulting topology creates bodies with tiny degenerate edges that complicate downstream fillets. A better habit is to plan the boolean sequence so that fillets and blends happen after the major volume operations, not before.
A subtler mistake involves the XNURBS blending tool. It produces beautiful G2-continuous transitions, but it expects well-prepared input edges. Feeding it edges that have mismatched knot spacing or near-tangent boundary conditions sometimes yields a surface that looks correct in the viewport but fails a curvature-comb check. Taking an extra minute to rebuild the input curves with consistent parameterisation before invoking XNURBS saves the disappointment of a blend that looks right but is not truly smooth.
Finally, newcomers on macOS sometimes assume the app auto-saves because many Apple-native apps do. Plasticity does keep a recovery file, but it is not a full auto-save system with version history. Losing an hour of work because you closed the window without a manual save is a one-time lesson most users learn quickly. Pressing Cmd-S should become muscle memory.
Intel Mac Compatibility Warning
"Does this run on an Intel Mac?" The current build is compiled for Apple Silicon and requires macOS 10.14 or later. The architecture tag in the package is ARM, meaning M-series chips only. Users on older Intel machines will need to stay on an earlier Plasticity release, or not upgrade to version 26.1.3. The developer does not currently provide a universal binary for this release.
"Can I open Fusion 360 or SolidWorks files directly?" Not natively. Plasticity reads and writes neutral CAD formats — STEP, IGES, Parasolid XT, OBJ and STL — but it does not open proprietary .f3d or .sldprt files. The practical path is to export your part from the source CAD tool as a STEP file, then import into Plasticity. Geometry fidelity through that route is typically high, though feature history is lost.
"How steep is the learning curve for someone who only knows mesh modeling?" The curve is real but short. The direct-editing philosophy helps — there is no history tree to decode — but the mental model shift from pushing polygons to manipulating trimmed surfaces takes about a week of daily use. Users report that following the built-in tutorial series and recreating a simple machined bracket from reference images is enough to internalise the core workflow. After that, it feels more like sculpting with precise constraints than like traditional parametric CAD.
"Is there a community or are you on your own?" The user forum and Discord server are active. Questions about specific geometry problems tend to get answers within a few hours, often with example scene files attached. The official documentation covers every tool, but it reads more like a technical reference than a tutorial. Community resources fill the gap, particularly for surfacing strategies and export-for-manufacturing workflows.
"Does it need an always-on internet connection?" No. The application runs fully offline once installed and activated. There is no cloud component, no licensing server check-in during normal use and no telemetry that phones home during a modeling session. This matters for users in secure environments or with unreliable internet.
From Reference Sketch to Solid Body
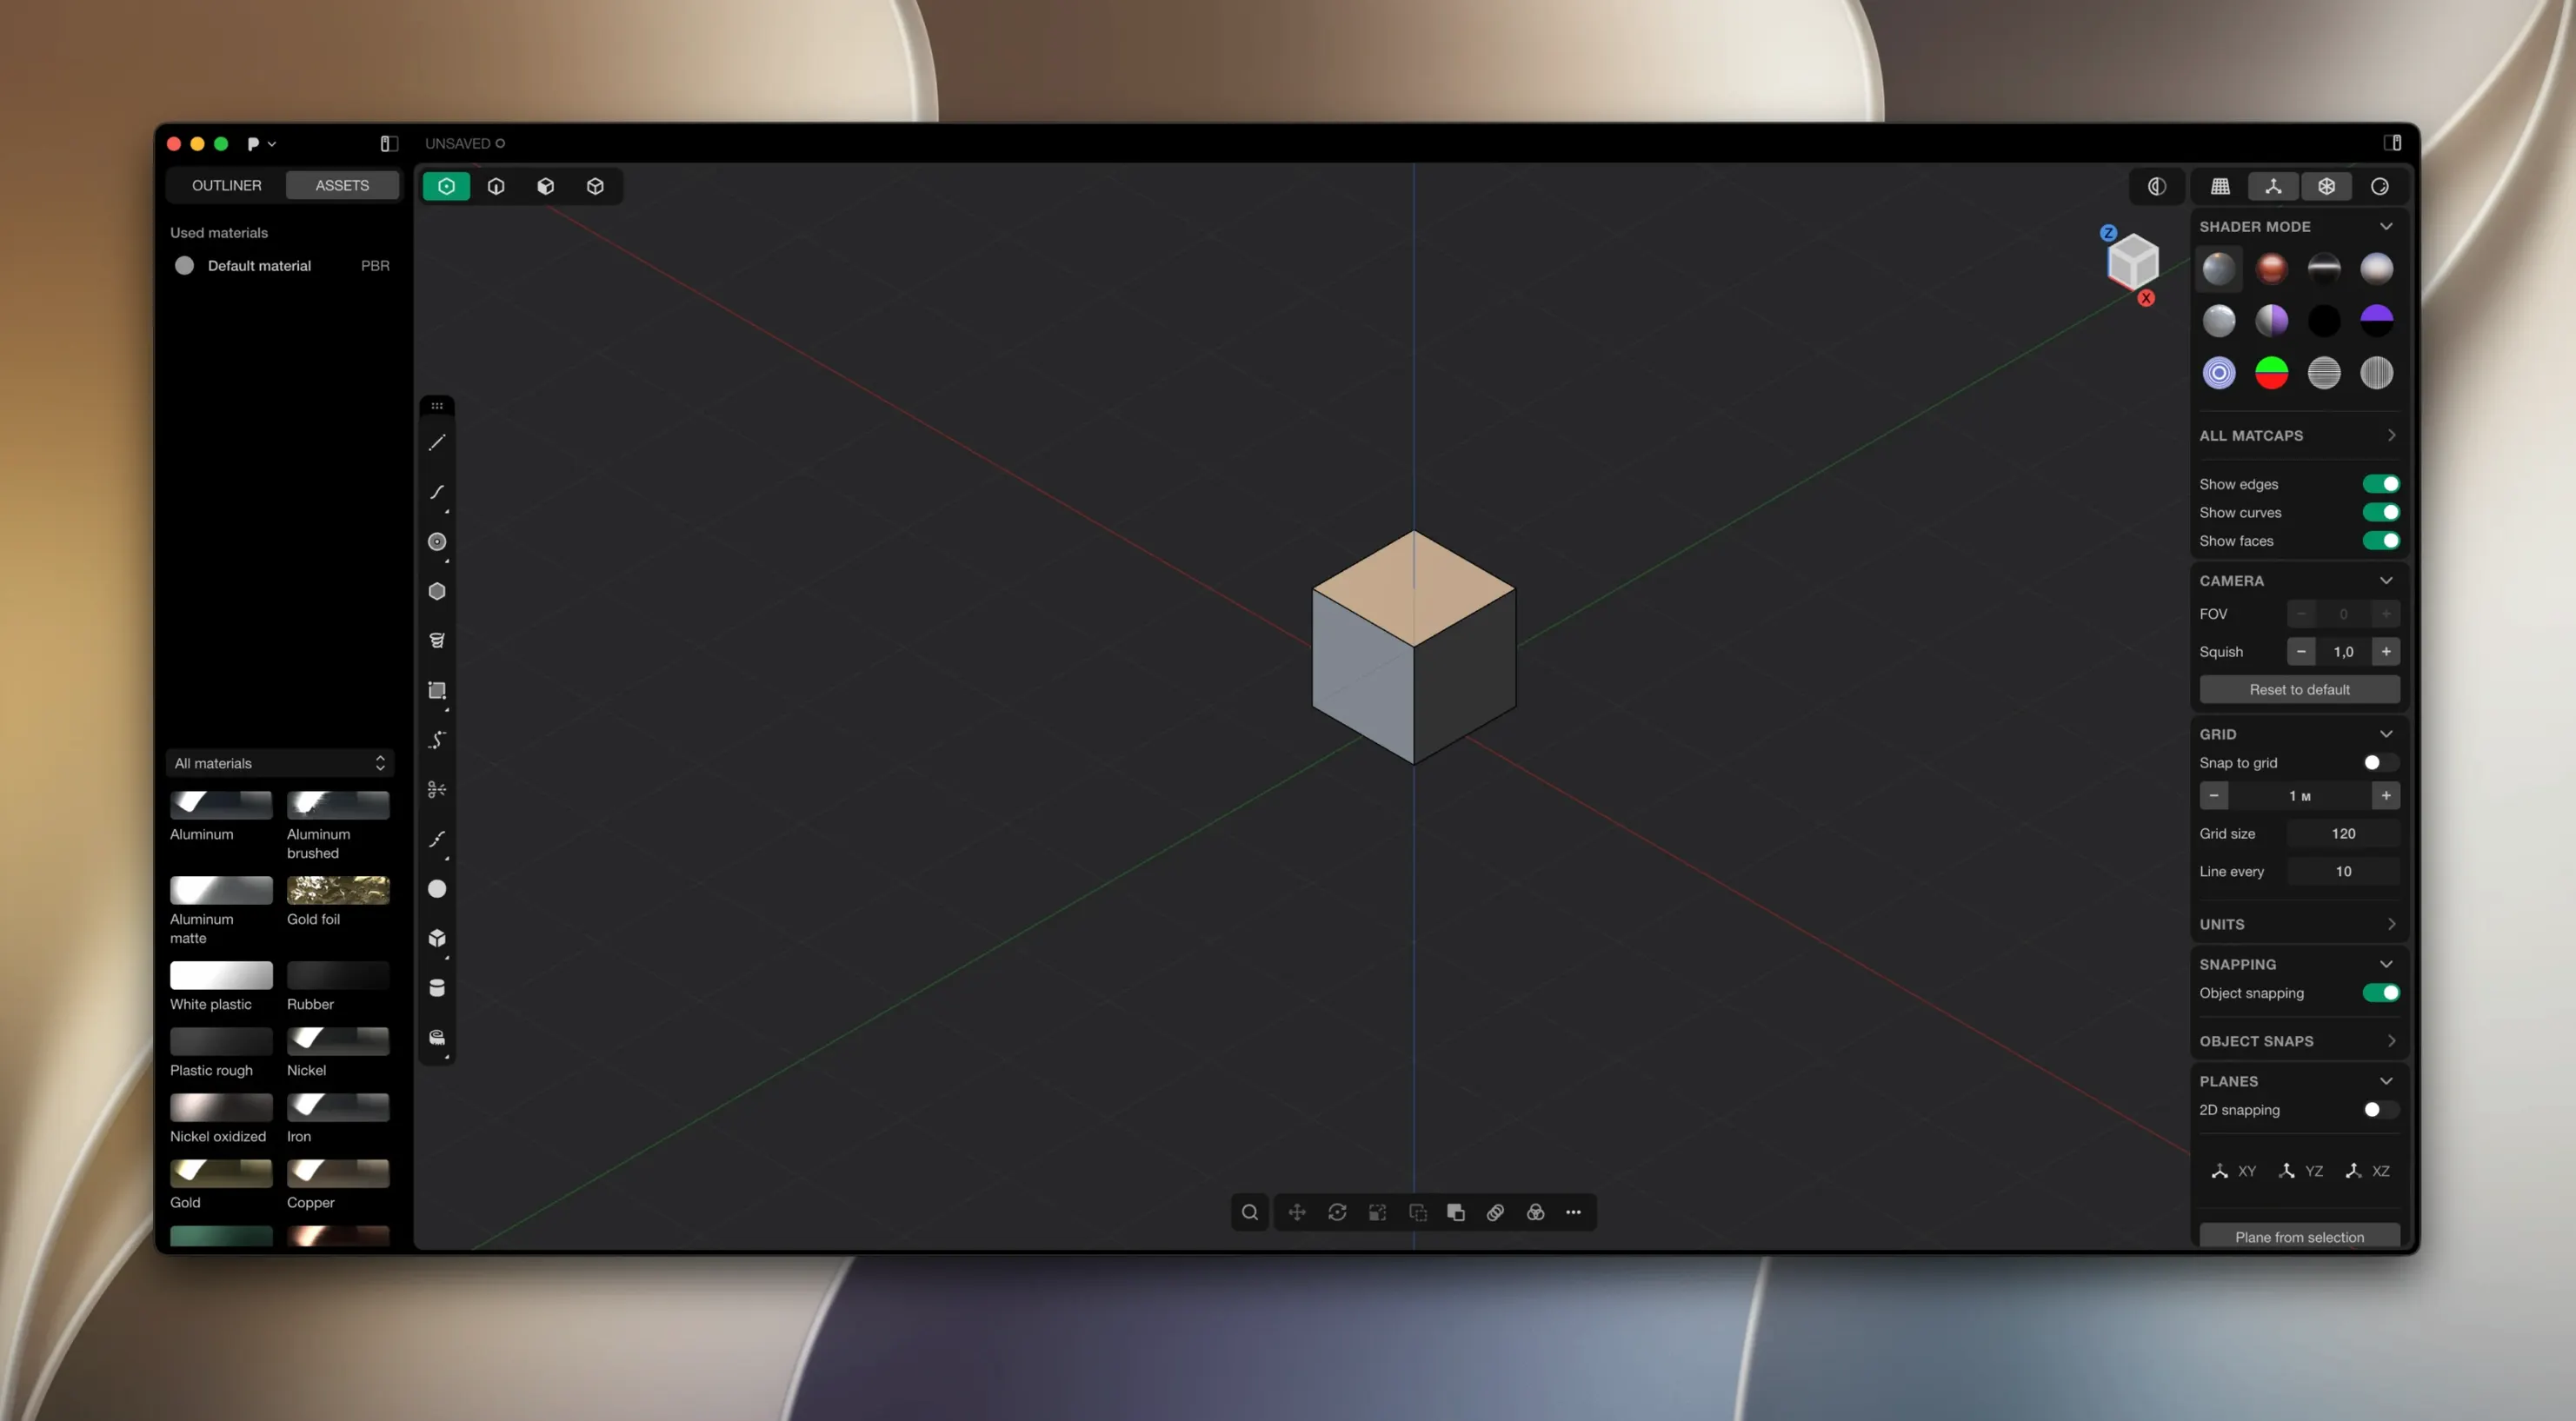
You open Plasticity and the default scene appears: a shaded grid plane, the view cube in the top-right corner, the toolbar arrayed along the left edge. You have a reference image on a second monitor — a rough sketch of a camera grip with a few key dimensions scribbled in the margins. The first step is setting the scene units to millimetres and confirming the tolerance at 0.001 mm, because this part will eventually go to a CNC shop and the fillets need to be exact.
You drop a cylinder primitive onto the origin and type 38 for the diameter, then 12 for the height. Live dimensions float next to the geometry as you type, updating before you press Enter. The cylinder snaps into place. You create a second, smaller cylinder — diameter 28 mm — and use the boolean subtract tool to cut it from the first, leaving a thick-walled tube. The operation completes instantly; the Parasolid kernel resolves the intersection and the resulting body shows clean edge loops where the cut happened.
Now you need an ergonomic thumb rest. You switch to the surface workspace and draw a spline curve on a construction plane offset 6 mm from the tube's outer face. Three control points give you a gentle S-curve. You mirror the curve across the centre plane, loft a surface between the two curves, and trim the tube body with the resulting surface. The cut leaves a sculpted depression that follows the thumb's natural path. At this stage, the model is a mix of analytic primitives and freeform surfaces, and Plasticity treats them all as first-class geometry.
Fillets come next. You select the edge where the thumb rest meets the tube body and drag the fillet radius handle to 1.5 mm. The blend appears immediately, a smooth transition that holds G1 continuity along the entire edge. You repeat this on the inner rim of the tube — 0.8 mm this time, just enough to break the sharp corner for comfortable handling. The viewport updates each fillet in real time, so you can see immediately if a radius is too large and starts eating into adjacent geometry.
You notice a small issue: the boolean subtract from earlier left a barely visible seam on the inner wall. You select the face and apply an offset of 0.05 mm to clean it up, then run a curvature analysis using the built-in zebra stripe shader. The stripes flow smoothly across the repaired area, confirming the surface is good enough for manufacturing.
The final fifteen minutes are export preparation. You select the finished body and export a STEP AP214 file for the CNC programmer, an STL with 0.01 mm chordal tolerance for a quick 3D print test, and a hidden-line SVG from the front view for documentation. The SVG
- macOS 10.14 or later
- Apple Silicon processor
Questions on file
Does Plasticity 26.1.3 update itself automatically on macOS?
No. Updates must be downloaded and installed manually.
Sign in · Create an account to add a field note.
No field notes yet. A measurement, a version, a machine — they appear after moderation.