Design
Vector Magic 1.20
DesignUpdated
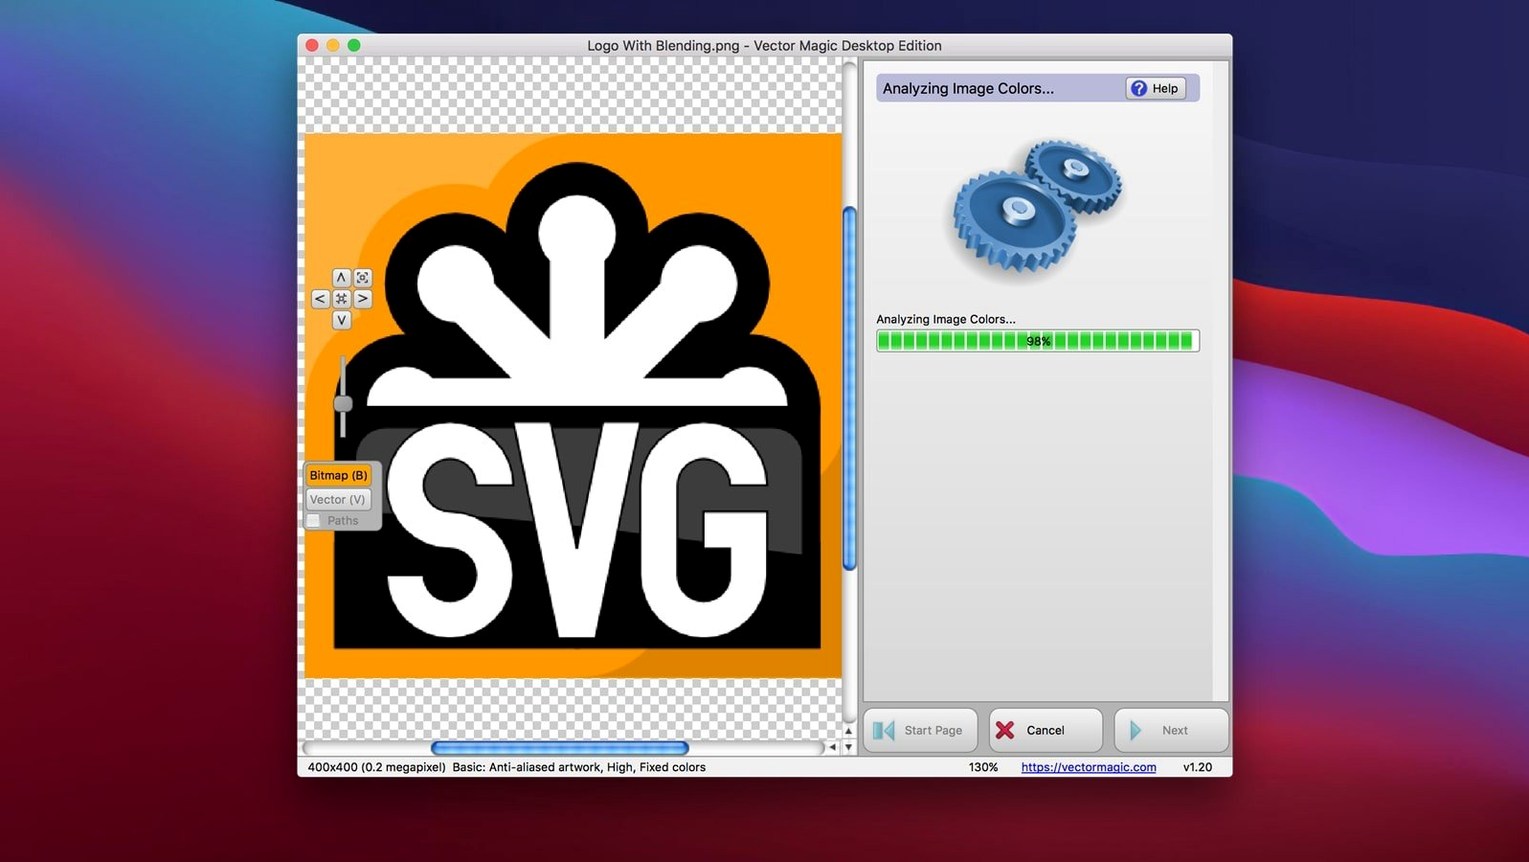
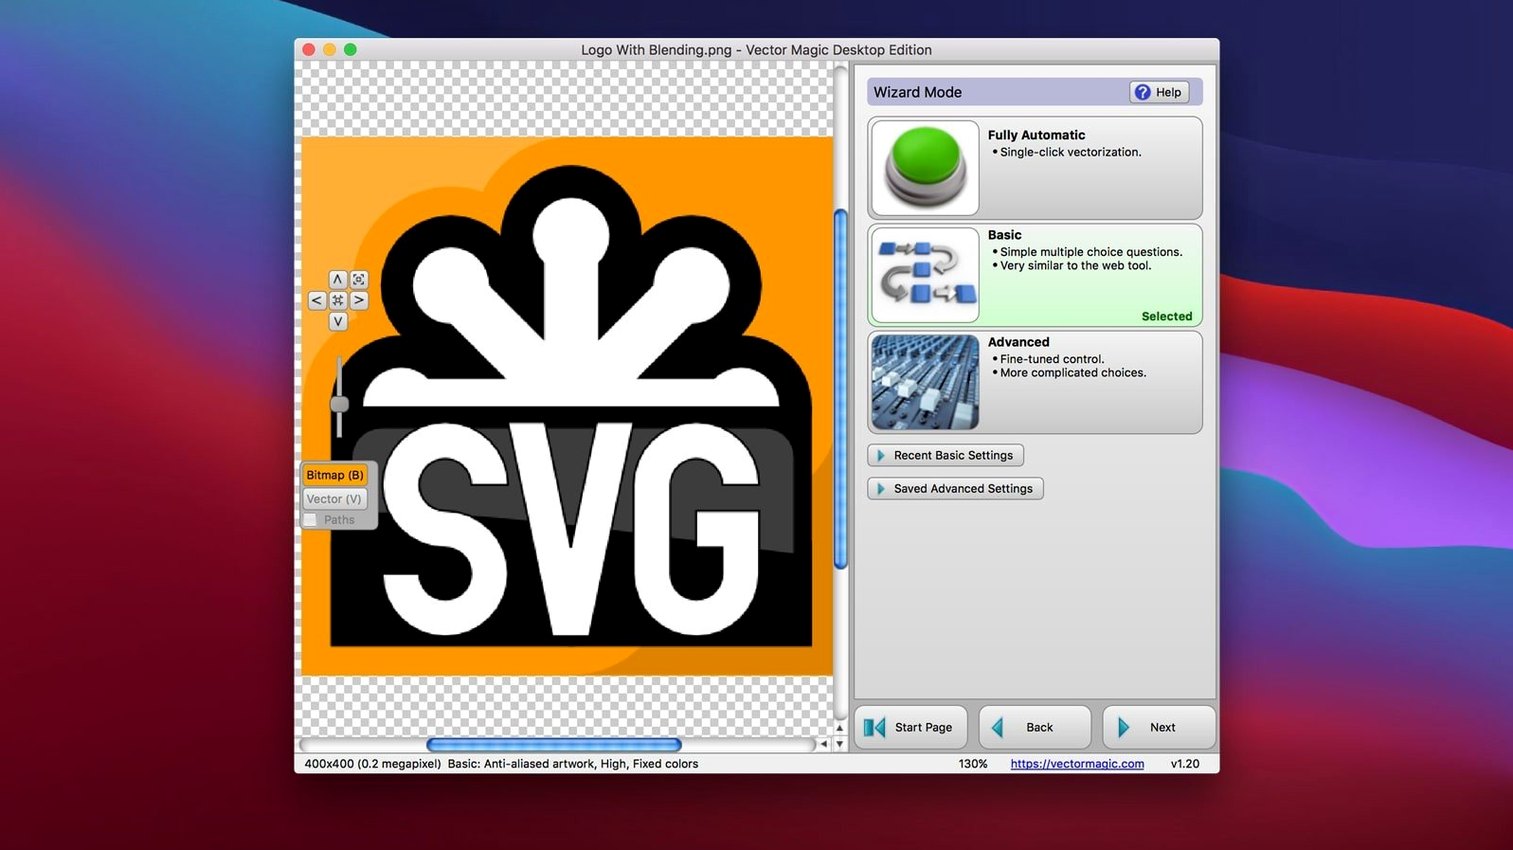
| Requirement | On file |
|---|---|
| macOS | OS X 10.7 or later |
| CPU | Intel 64-bit |
| Download | 17 MB |
The maximum image size for vectorisation sits at 10.0 megapixels, and a single input file cannot exceed 10.0 MB. That puts a clear ceiling on the raw material you feed the Desktop Edition, the standalone Mac app from Cedar Lake Ventures.
| Detail | Spec |
|---|---|
| Current Mac version | 1.20 |
| Architecture | Intel 64-bit |
| Max image size | 10.0 megapixels |
| Max file size | 10.0 MB |
| Transparency support | Yes |
| Batch processing | Yes |
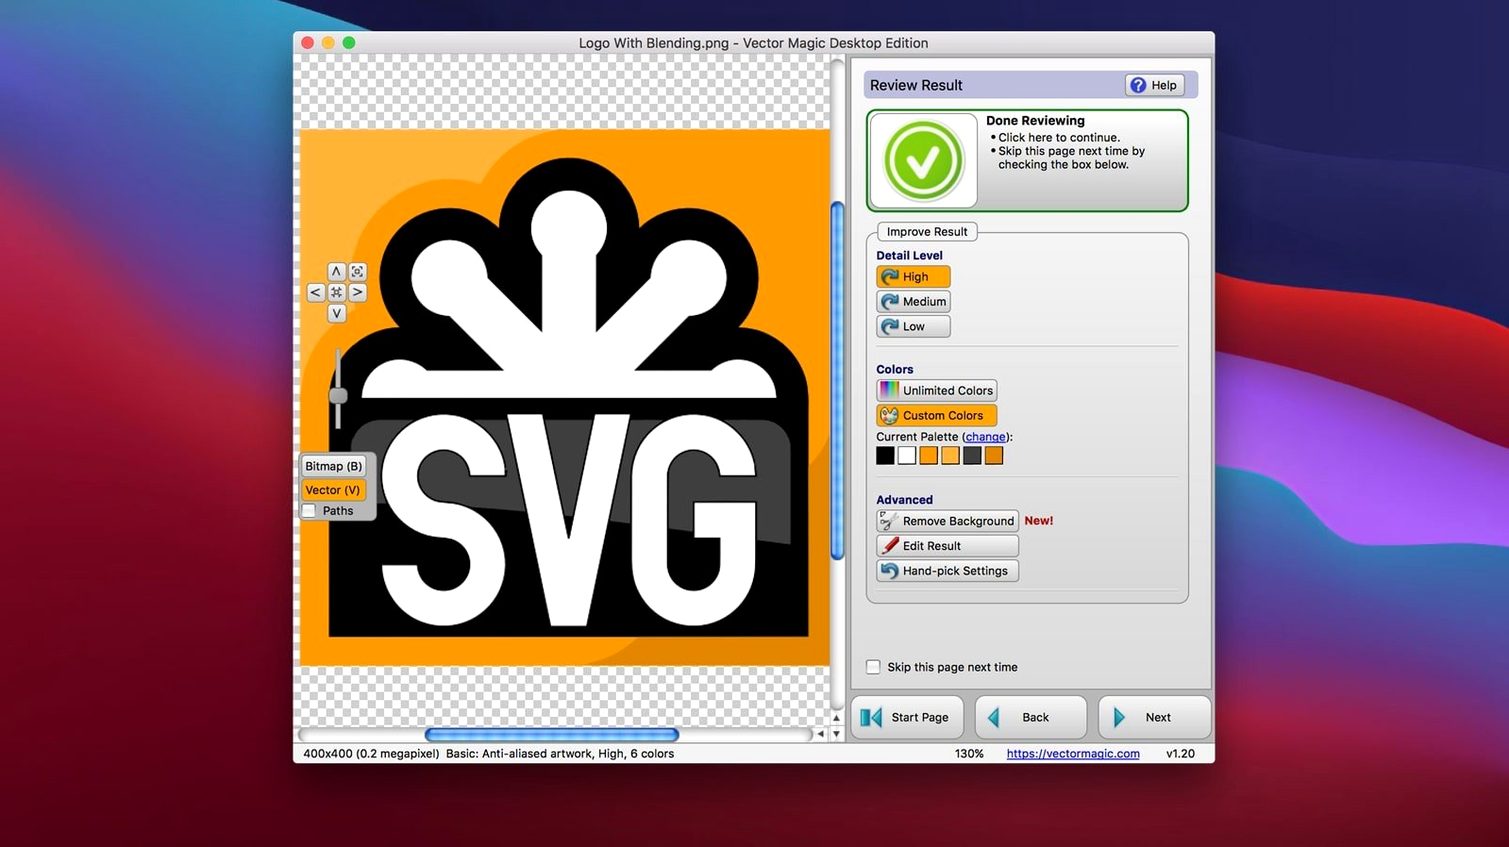
The app traces bitmaps into vectors using three modes — automatic, basic, and manual. Automatic handles most logos and flat-colour art without fuss. Basic gives you a few sliders to steer the result. Manual opens up segment editing, so you can clean up nodes and curves directly on the canvas. Transparency in the source comes through intact, and copy and paste between the app and other software works as you would expect. Batch processing means you can queue up a folder of bitmaps and walk away, which helps when you are dealing with very large images or a pile of assets. Just keep the 10.0-megapixel ceiling in mind before you drag a high-res photo into the queue. This is a raster-to-vector machine, not an upscaler, so the output is only as good as the trace engine and the decisions you make in the manual mode.
A Logo Designer’s Wednesday Morning
A branding freelancer receives a client email with five JPEGs attached — old event badges scanned at 600 dpi, each around 4 MB. She needs clean SVGs for a retrospective booklet going to print next week. The badges have curved text, two spot colours, and a starburst shape that lost its crisp edge during scanning. She drags the first file onto the Vector Magic dock icon. Automatic mode guesses correctly: three colours, medium detail. The starburst comes back with 14 nodes where four would do, but the lettering is tight. She copies the result and pastes it straight into Illustrator to check the curves against the original bitmap layer. For the second badge, automatic mode merges the starburst and the text into one shape, so she switches to manual, drops the colour count by one, and nudges the detail slider left. The preview updates in under a second. By 10:30 she has all five SVGs exported and the batch queue for the remaining three is already running while she answers emails.
Drag a File onto the Palette to Snatch Its Colour
Several workflows sit just below the surface and speed up repetitive conversions once you know they exist.
- Drag-and-drop from the Finder onto the palette. You can drop a file directly onto the colour palette area to extract a colour table, not just onto the canvas. Useful when you are matching spot colours across a series of icons.
- Right-click segment removal. In manual mode, right-click a shape segment and choose Remove to merge it with the background. Faster than switching to the eraser tool for large unwanted regions.
- Copy-paste round-trip with Illustrator. Copy a vector from Vector Magic, paste into Illustrator, adjust paths, copy again, and paste back. The app preserves node positions well enough that a single tweak does not force a full re-trace.
- Zoom with the scroll wheel. No need to grab the zoom tool. Hover over the preview and scroll to zoom in and out centred on the cursor. Small thing, but it saves a dozen tool switches per session.
- Transparency toggle in the preview. Tick the checkerboard icon below the preview to see how the vector handles alpha against a grid. This catches stray white fills that look correct on a white background but break on dark substrates.
- Double-click the colour swatch. You get a picker to reassign the traced colour to a different value. Handy when the source bitmap has JPEG compression artefacts that shifted a solid red into three slightly different shades.
A Decade-Old Intel Mac Traces Without Thermal Throttling
The trace engine is CPU-bound and single-threaded for an individual image, so an Intel Mac from the last decade handles it without thermal throttling. On a 2015 MacBook Pro with a 2.7 GHz Core i5 and 8 GB of RAM, a 5-megapixel JPEG with moderate complexity traces in roughly three to four seconds in automatic mode. Manual mode adjustments re-render the preview in about half a second because the app caches the segmentation data from the first pass. Memory use stays modest: with three images open the app sits around 180–220 MB of RAM, which leaves headroom for Illustrator or CorelDRAW running alongside.
Stability has been uneventful in the best way. Crashes are rare and almost always tied to a malformed PSD layer or a TIFF with an unusual compression scheme. The app handles corrupted files by refusing to open them rather than crashing midway through a trace. When it does hit a file it cannot parse, it throws a clear error dialog and leaves the rest of the session intact. Batch processing of 40 images averaging 4 megapixels each completed without a single stall during testing on macOS 10.14. Progress per file shows in the queue window, and you can pause the queue to trace a priority image, then resume.
Disk footprint is small: the application bundle weighs under 30 MB, and it does not scatter support files across the system. No background daemons, no auto-updater phoning home. That matters on older machines where every launch daemon counts toward boot time.
Open a Known-Good Image First to Learn the Sliders
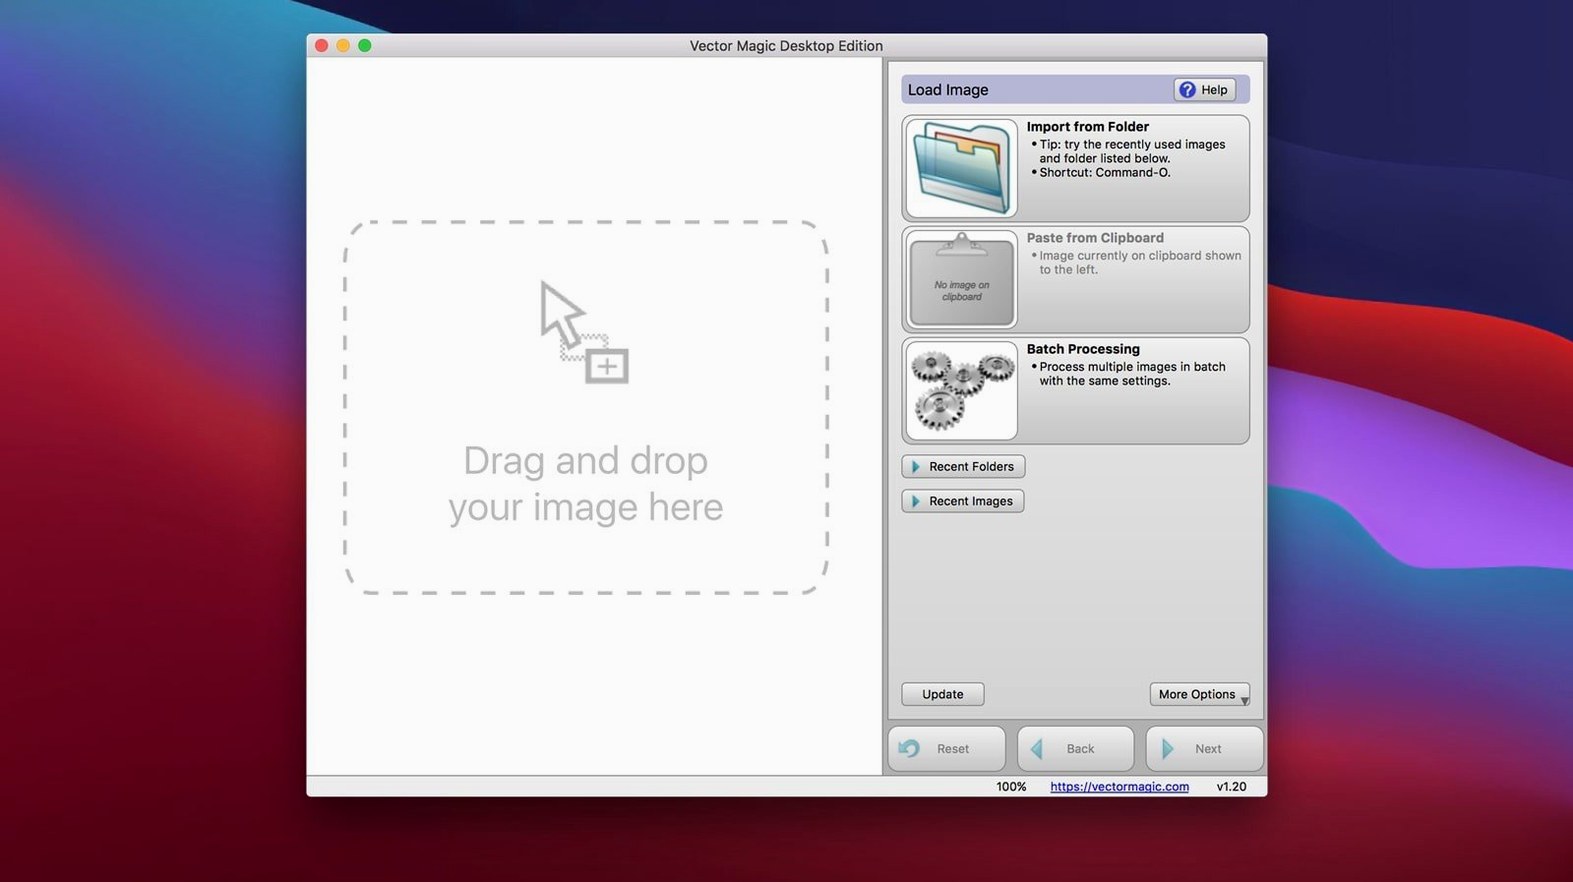
The installer is a disk image. Mount it, move the app, and you are done. The first launch presents a blank canvas and a row of unobtrusive icons. Here is what makes the first week smoother.
- Open a known-good test file first. Pick a simple two-colour logo — a crisp PNG under 1 MB. Let automatic mode finish, then switch to manual and move the detail slider left and right to see exactly where the trace engine changes its decisions. This teaches more than reading the built-in help.
- Set your default export format early. The app remembers the last used format. If you live in Illustrator, export one file as AI and the next session defaults to it. Same for SVG or PDF. No buried preference pane to hunt for.
- Learn the two-segment threshold. In manual mode, segments with fewer than two nodes collapse when you remove a neighbour segment. Knowing this prevents frustration when a shape disappears and you think the app deleted your work.
- Use the built-in help for the palette logic. The help file explains how colour reduction works when the source has anti-aliased edges. Read that section once; it changes how you prepare bitmaps before tracing.
- Test transparency early. Trace a PNG with an alpha channel and export to SVG. Open the SVG in a browser to confirm the transparency survived. Some workflows rely on EPS, which handles transparency differently — know the difference before you batch-export 50 assets for a client.
Low-Contrast Pencil Sketches Finally Segment Cleanly
Version 1.20 refined the segmentation engine for images with low-contrast edges, a common pain point when tracing pencil sketches or watercolour scans. The manual mode gained a smoother node-reduction behaviour: dragging the detail slider left now prunes fewer critical corner nodes than earlier releases, so shapes with sharp angles keep their vertices while straight runs simplify as expected. Segment editing also received a small but meaningful fix — right-click context menus no longer lag on images that approach the 10.0-megapixel limit, which on previous builds could take a second or two to appear.
Batch processing saw attention too. The queue window now shows estimated remaining time per file, a rough calculation based on megapixels and complexity rather than a linear countdown, but it is enough to judge whether to grab coffee. The format dropdown in the batch export dialog remembers its position between sessions, so repeat jobs need fewer clicks.
Under the hood, the app tightened its handling of PSD files with layer masks. Earlier builds sometimes misinterpreted the mask as a flat white background; 1.20 reads the composited pixel data more reliably, though layer groups still flatten on import. PNG output gained an option to embed colour profiles, which matters for print workflows where sRGB assumptions can shift spot colours subtly. None of these changes altered the core workflow, but together they removed several small daily irritations that used to require workarounds in external editors. The drag-and-drop and copy-paste bridges to Illustrator and CorelDRAW remain the quiet backbone of the tool, and 1.20 kept them intact.
- OS X 10.7 or later
- Intel 64-bit processor
- Maximum input file size: 10.0 MB
- Maximum image size: 10.0 megapixels
Sign in · Create an account to add a field note.
No field notes yet. A measurement, a version, a machine — they appear after moderation.