Photo
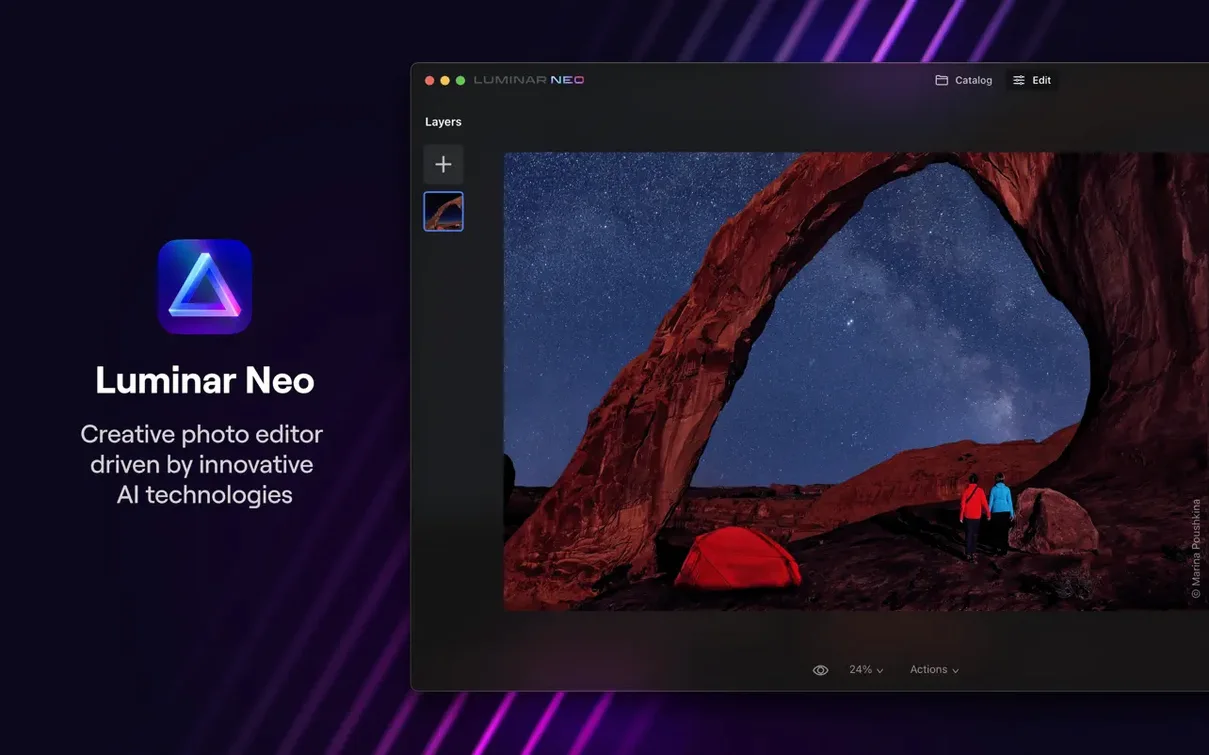
Luminar Neo 1.26.0
PhotoUpdated
| Requirement | On file |
|---|---|
| macOS | macOS 11 or later |
| CPU | Apple Silicon, Intel 64-bit |
| Download | 3.8 GB |
Mac Requirements and Native Silicon Support
Luminar Neo 1.26 requires macOS 12.0 (Monterey) or newer. The application is a universal binary, so it runs natively on both Intel processors and Apple Silicon (M1, M2, M3). It needs 8 GB of RAM at minimum, and 16 GB is recommended for a smoother editing experience with large files and multiple layers.
Can it fix lighting and clean up an image?
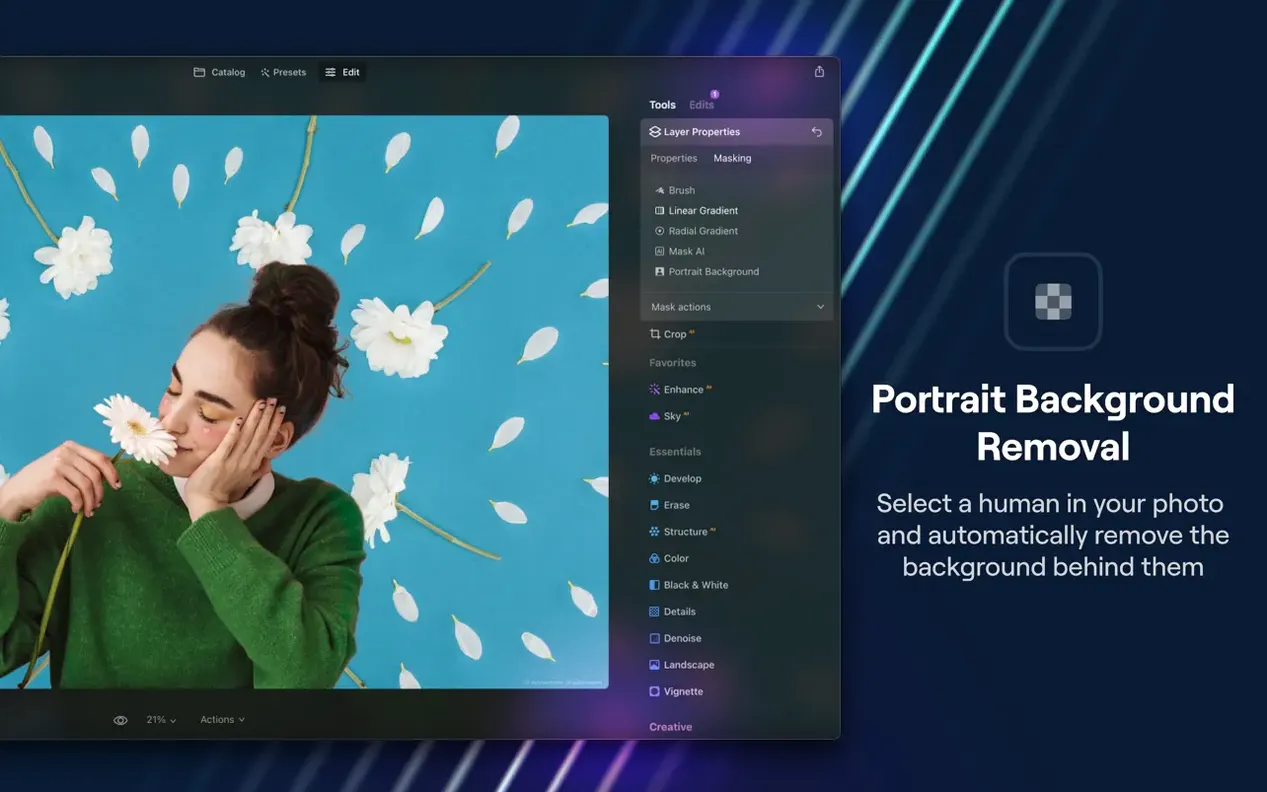
Yes. The software analyses each shot to work out scene depth and content, then offers dedicated relighting controls to adjust ambient light. A dust-removal tool is included for sensor spots and similar artefacts.
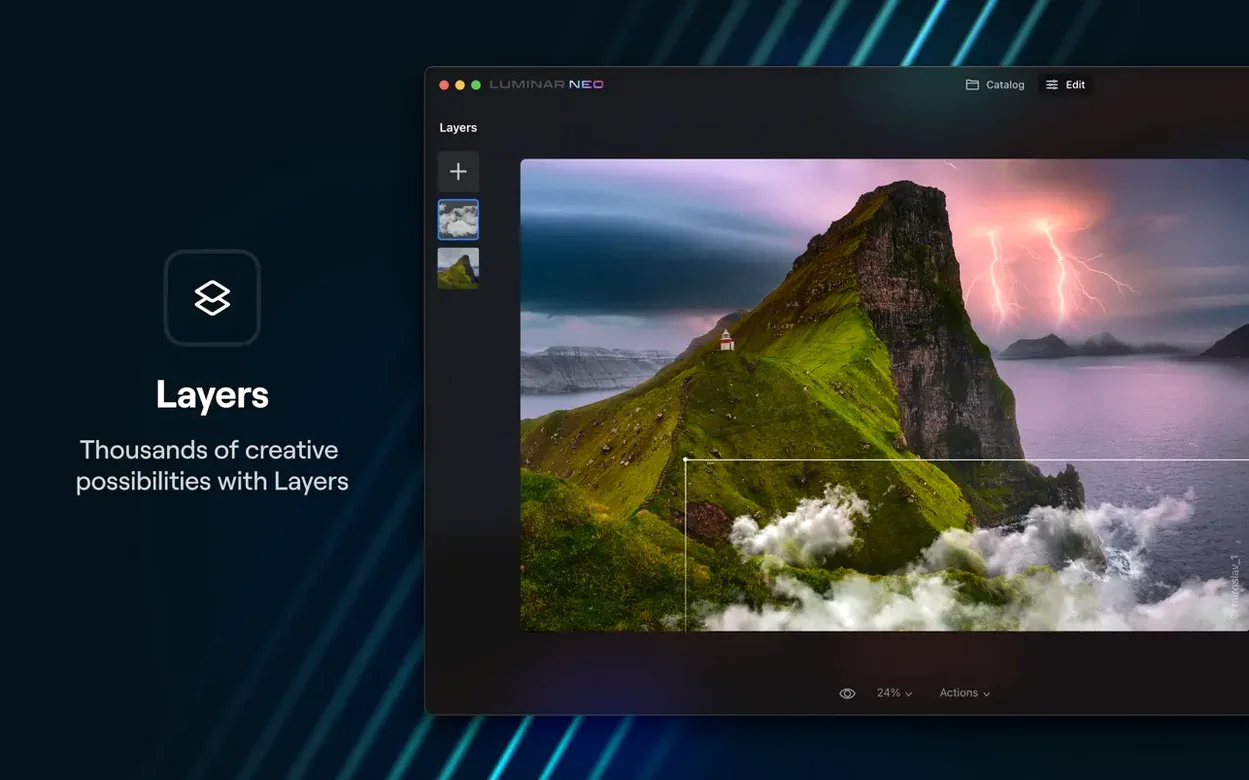
Does it handle composite work?
Cold Launch Speed on M2 Versus Intel
Luminar Neo 1.26 starts reasonably fast on Apple Silicon — roughly four to five seconds from a cold launch on an M2 MacBook Air with 16 GB of RAM. On Intel machines with 8 GB, the first launch can stretch to twelve seconds, with subsequent warm launches halving that figure. The interface draws without visible lag once the workspace is open, and browsing through the catalogue of sample images bundled with the app is smooth.
Memory pressure stays moderate in normal editing. With a single 24-megapixel RAW file open and two adjustment layers active, the process hovers around 1.8 to 2.4 GB of RAM. That climbs when you stack five or six layers and start brushing masks — expect 4 to 5 GB — but the app releases memory reliably when you close a document. Swap usage is rare on 16 GB systems and noticeable only when several other heavy applications run alongside it.
The biggest resource spikes come from the AI tools. Sky replacement and relighting trigger a brief CPU and GPU burst; on Apple Silicon the Neural Engine absorbs much of that load, so the fan stays silent. On older Intel MacBook Pros, the fans spin up for six to ten seconds during the same operations. Background exports use all available efficiency cores, so you can keep editing in another tab while a JPEG or TIFF writes out.
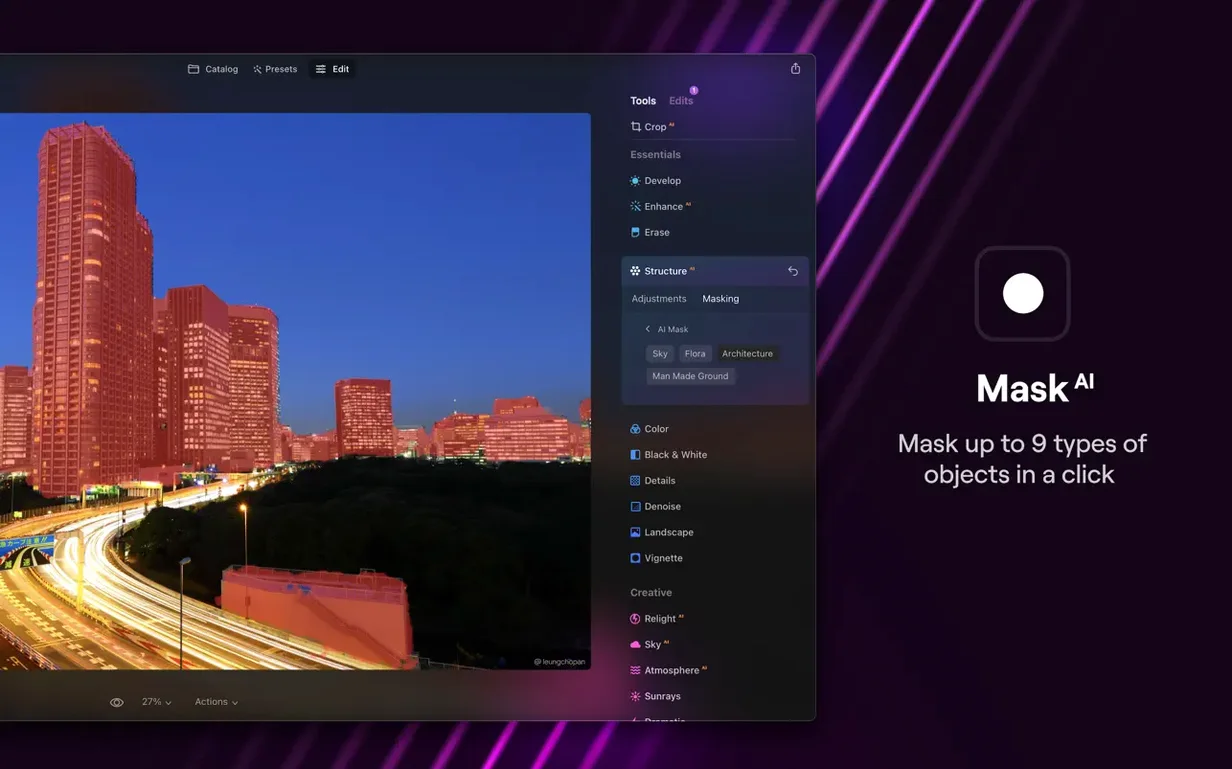
Stability in 1.26.0 is solid but not perfect. The app has run through four-hour editing sessions without a crash on a clean Monterey install, yet two specific situations can trip it: rapidly switching between the Presets and Edit tabs while a mask preview is rendering, and closing a document before a sky-replacement calculation finishes. In both cases the app quits without the spinning beachball and reopens to the last auto-saved state, so work loss is minimal. If you notice sluggishness after a few hours, restarting the app clears whatever small memory fragmentation builds up — a thirty-second fix.
Forum Fixes for Frequent Friction Points
Several friction points surface across user forums and support threads, and most have straightforward workarounds.
The greyed-out export button
After applying certain Presets that include film grain or glow effects, the Export button occasionally remains dimmed even when a file is clearly open. The quickest fix is to nudge any slider in the Edit tab by one unit and then set it back. This forces the render pipeline to refresh and the button becomes active. If that fails, switching to another tool tab and returning resolves the state.
RAW files that look washed out on import
Luminar Neo applies its own default RAW conversion, which can differ noticeably from the camera manufacturer's profile. Fujifilm X-Trans files in particular can arrive flat. Switching the RAW engine from “Luminar Default” to a camera-matching profile in the Develop panel restores contrast and saturation closer to what the in-camera JPEG preview shows. For unsupported camera models, a manual bump of 15–20 points on the Blacks slider and a small midtone contrast push gets you 80% of the way there.
Masking brush lag on large canvases
With files above 40 megapixels, the brush cursor can stutter when painting layer masks. Dropping the brush spacing from the default 25 to 45 in the tool options reduces the number of stamp operations per stroke and makes the brush follow the pointer reliably. Closing other open documents also helps; the app keeps all open files in GPU memory, and a single large canvas can consume enough VRAM to slow mask rendering.
The “TNT” activation workaround
Some builds of luminar neo 1.26 distributed outside the App Store require a Terminal step to bypass Gatekeeper. After mounting the disk image and dragging the app to Applications, opening it triggers a system block. Launch Terminal, type the command supplied with the download, press Enter, and the app opens normally thereafter. This is a standard macOS code-signing bypass and does not affect functionality once the app is running.
Apple Photos Round‑Trip via External Editor
Luminar Neo works as a standalone editor and also slots into a broader workflow. It registers as an external editor for Apple Photos: selecting “Edit With > Luminar Neo” from the Photos app sends a TIFF copy to Neo, and saving the result sends a flattened version back to the Photos library automatically. The round-trip preserves colour space — edits stay in Display P3 when the original was shot in that gamut.
For Lightroom Classic users, the app can be set as an additional external editor in Preferences. Lightroom hands off a 16-bit ProPhoto RGB TIFF, and Luminar Neo respects the embedded profile on import. One limitation: the handoff is one-directional. Neo does not write metadata changes back to the Lightroom catalogue, so star ratings and keywords applied in Neo do not carry over. The workaround is to do cataloguing in Lightroom first, then send the file for pixel-level work.
On the file-system side, the app registers itself for TIFF, JPEG, PNG, HEIC, and several RAW formats, so you can right-click any supported image in Finder and open it directly. Quick Look integration is partial — thumbnails for .luminar project files show in Finder, but pressing Space for a full preview does not render the layered document; it displays the last saved flat preview embedded in the package. If you rely on Spotlight to find images by edit state, note that Neo does not index its own project format for content search, so naming your .luminar files descriptively pays off.
The share extension hooks into the macOS Share menu, letting you send a flattened JPEG or TIFF directly to Mail, Messages, or AirDrop without exporting to disk first. This is handy for quick client previews. The extension respects the last-used export settings, so check your resolution and quality sliders in the Export tab before sharing to avoid sending a full-resolution 16-bit file over a slow connection.
Rescuing a Flat Midday Landscape from RAW
A typical editing flow in Luminar Neo Mac torrent builds looks something like the following — a real session with a landscape shot taken in flat midday light.
1. Import and first assessment. Drag a Sony A7 IV RAW file (33 megapixels, 70 MB) from Finder onto the Neo workspace. The image loads in about two seconds. Switch to the Edit tab and open the Histogram panel. The exposure is bunched toward the midtones — no clipped highlights, shadows with room to lift.
2. AI Assistant baseline. Click the AI Assistant button in the Edit tab. Within a second and a half the tool analyses the frame — a foreground of dry grass, a lake at mid-distance, hills behind — and applies a set of adjustments. Highlights drop by 18 points, Shadows lift by 22, and a small Vibrance boost of +12 comes in. The result is a solid starting point. Accept the changes.
3. Light and colour shaping. Head into the Develop section. Bump the Temperature from 5200 K to 5600 K to warm the grass slightly. In the Relight AI panel, drag the “Lightness Near” slider to +15 — the foreground brightens without touching the sky. The scene-depth map the app generated on import makes this selective adjustment possible without a mask. Add a small S-curve in the Tone panel: pull the black point to 5 and push the white point to 248 for a gentle contrast lift.
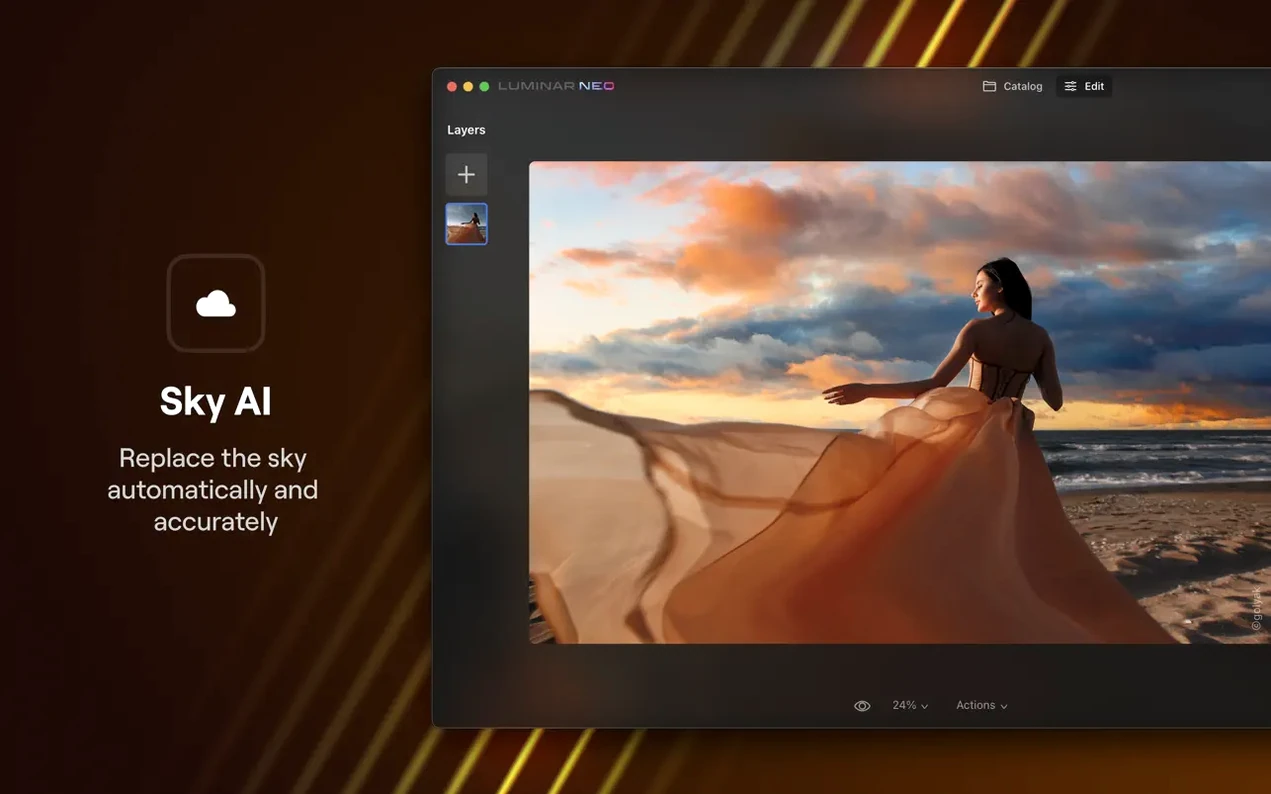
4. Sky replacement. Open the Sky AI tool. Browse the built-in library, pick a sky with soft cumulus clouds, and apply it. The mask snaps into place around the hills in under two seconds. Dial the “Sky Exposure” back to -0.3 so the new clouds match the ambient light direction. Reduce “Relight Scene” to 30% — at 100% the grass takes on too much blue spill from the replaced sky.
5. Cleanup. Zoom to 100% and spot two sensor-dust specks in the upper-right sky area. Open the Erase tool, set the brush diameter to roughly three times the spot size, and click each. Both disappear in one click each. Pan across the frame to check for other artefacts; none found.
6. Local mask for the lake. Add a new adjustment layer, grab the Masking brush, and paint over the lake. Feather the mask edge to 35 pixels. On this layer, push Clarity to +25 and drop the Highlights slider to -30. The water gains texture and loses the blown-out reflection.
7. Export. Hit Export, choose TIFF at 16-bit with the Adobe RGB profile for a print lab, set the output folder to the desktop, and let it write. The export takes about six seconds. Go back to the workspace and save the layered project as a .luminar file in case the lab requests an adjustment later.
Total time from import to two deliverable files: roughly eight minutes. The machine stays cool and responsive throughout.
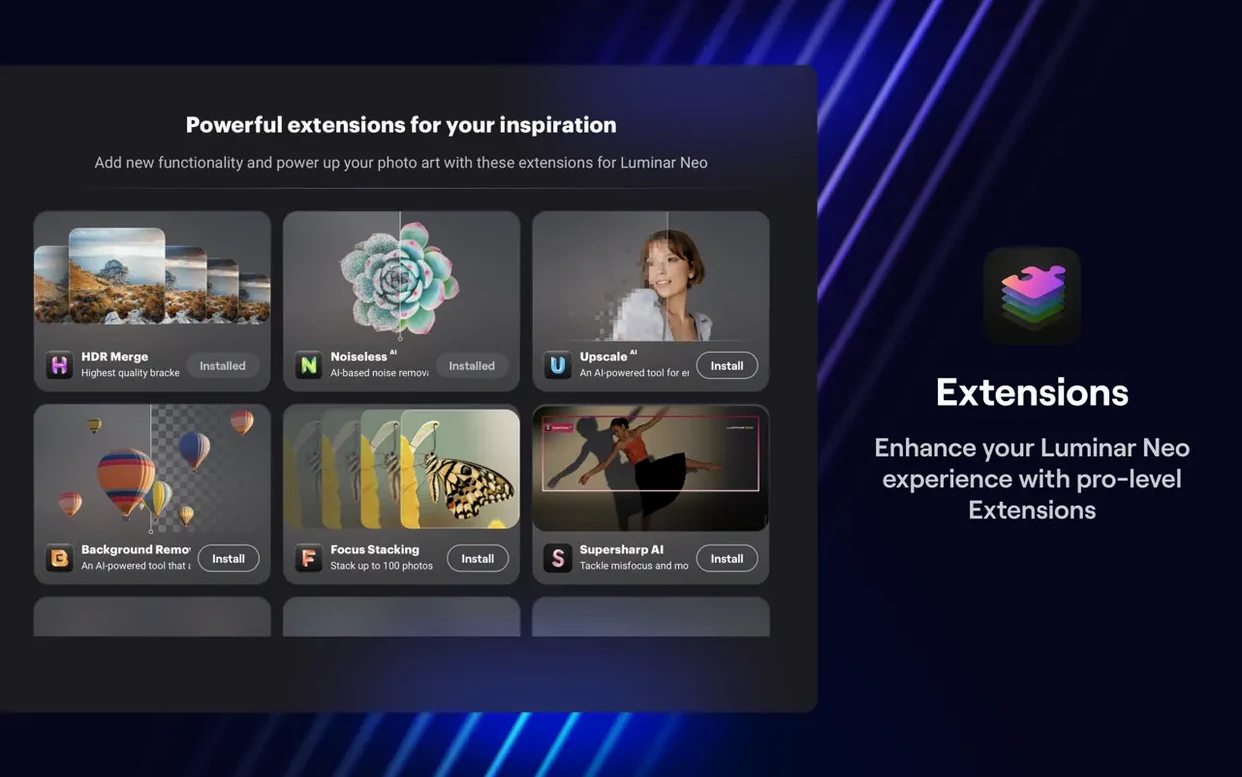
It supports image layers, so you can stack exposures, blend textures, or build multi-shot compositions directly inside the editor.
- AI Assistant — now accessible inside the Presets and Edit tabs
- Editing engine — refined for faster, more responsive adjustments
- macOS 12.0 or later
- Intel or Apple Silicon Mac
- 8 GB RAM (16 GB recommended)
Sign in · Create an account to add a field note.
No field notes yet. A measurement, a version, a machine — they appear after moderation.