Photo
Pixelmator Pro 4.3
PhotoUpdated
| Requirement | On file |
|---|---|
| macOS | macOS 26 or later |
| CPU | Apple Silicon, Intel 64-bit |
| Download | 641 MB |
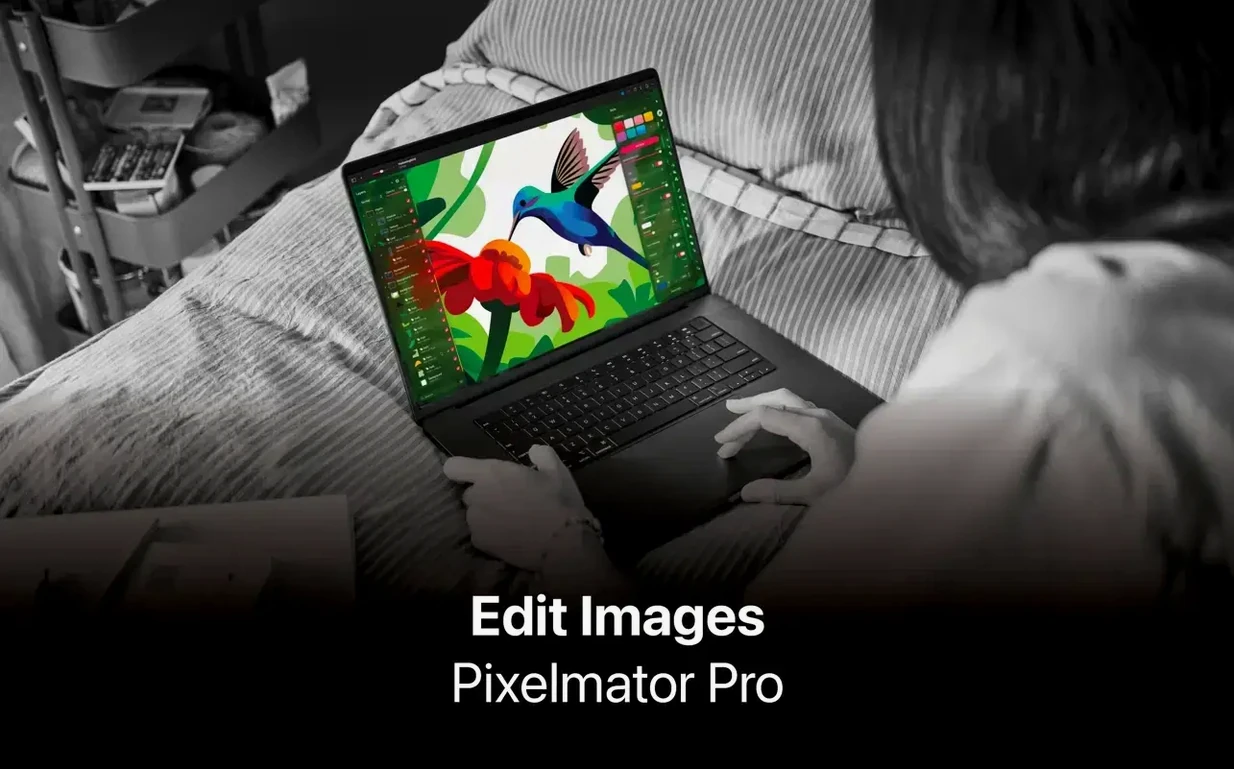
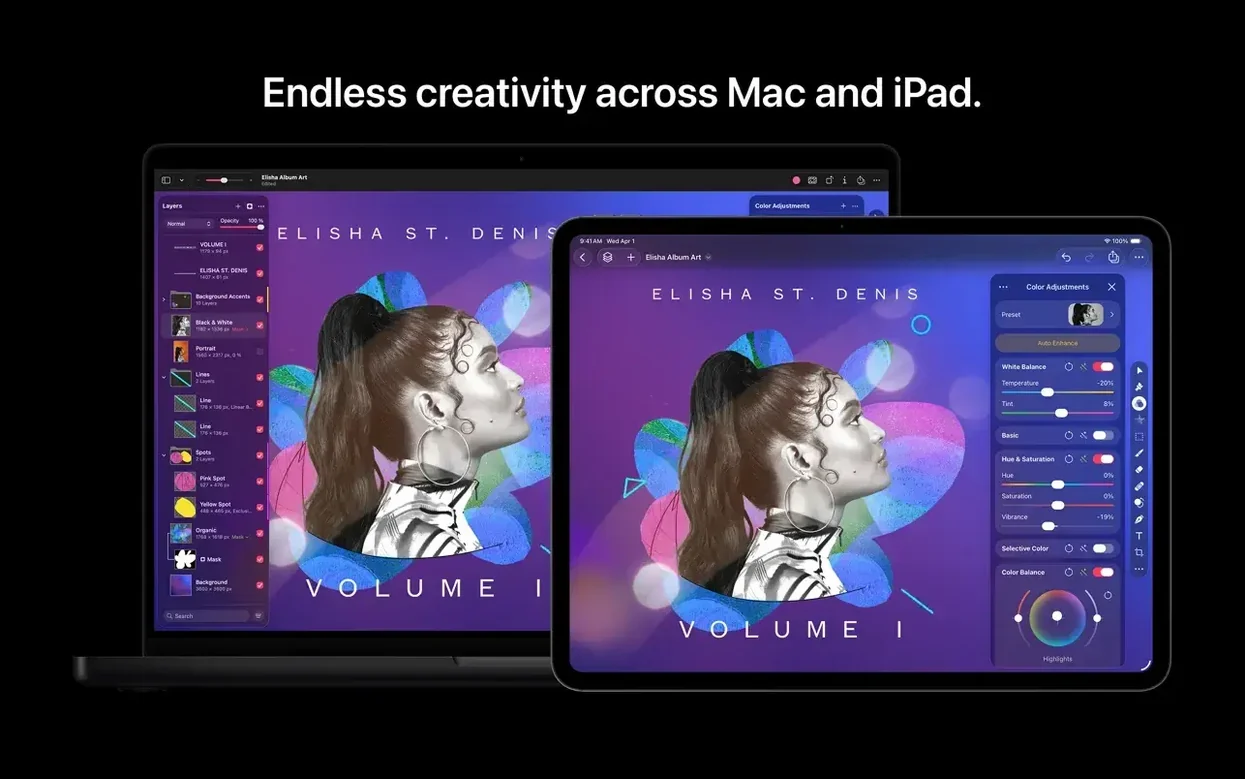
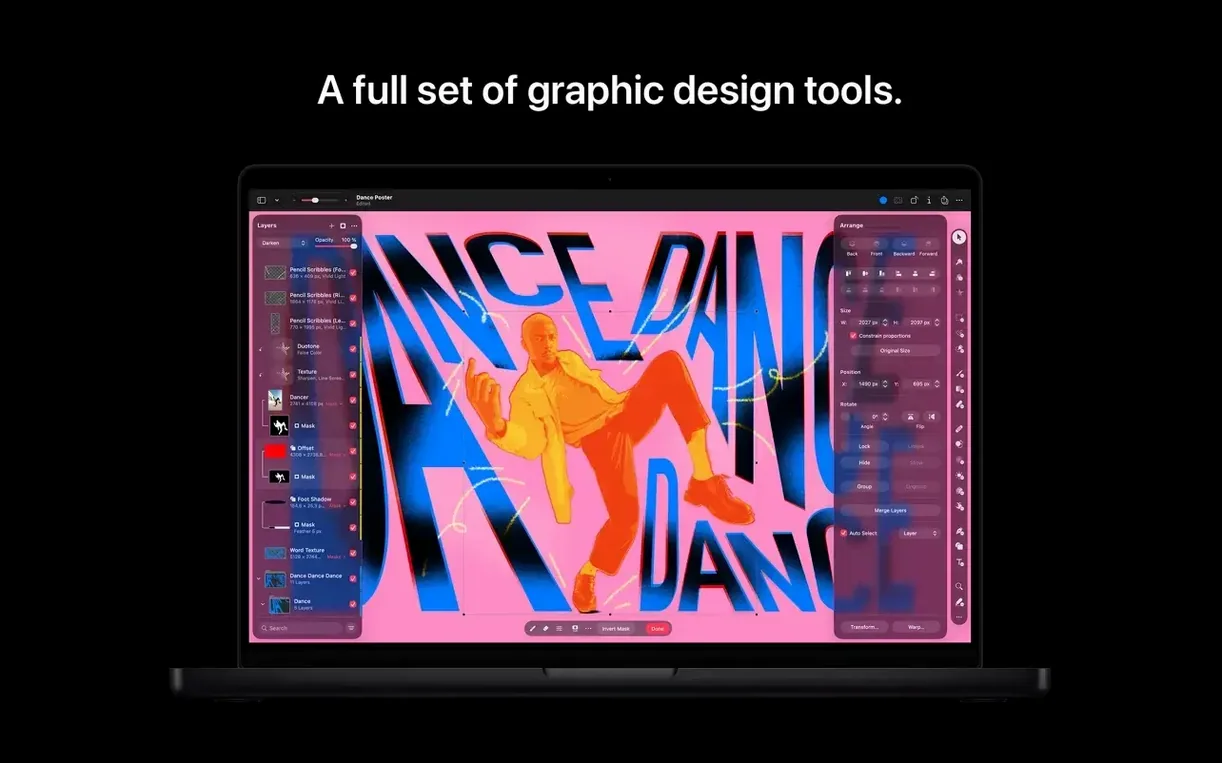
Pixelmator Pro runs natively on Apple silicon Macs and requires macOS 26 for the current 4.3 release. It is an image editor built for macOS that handles photo enhancement, compositing, drawing, painting and text in a single app. The 4.3 update leans into generation: images, edits and vector shapes can now be produced from a text description, and the new Content Hub gathers stock-style elements in one panel.
SVG vectors meet nondestructive RAW retouching
- Opening and editing SVG vector files alongside raster images.
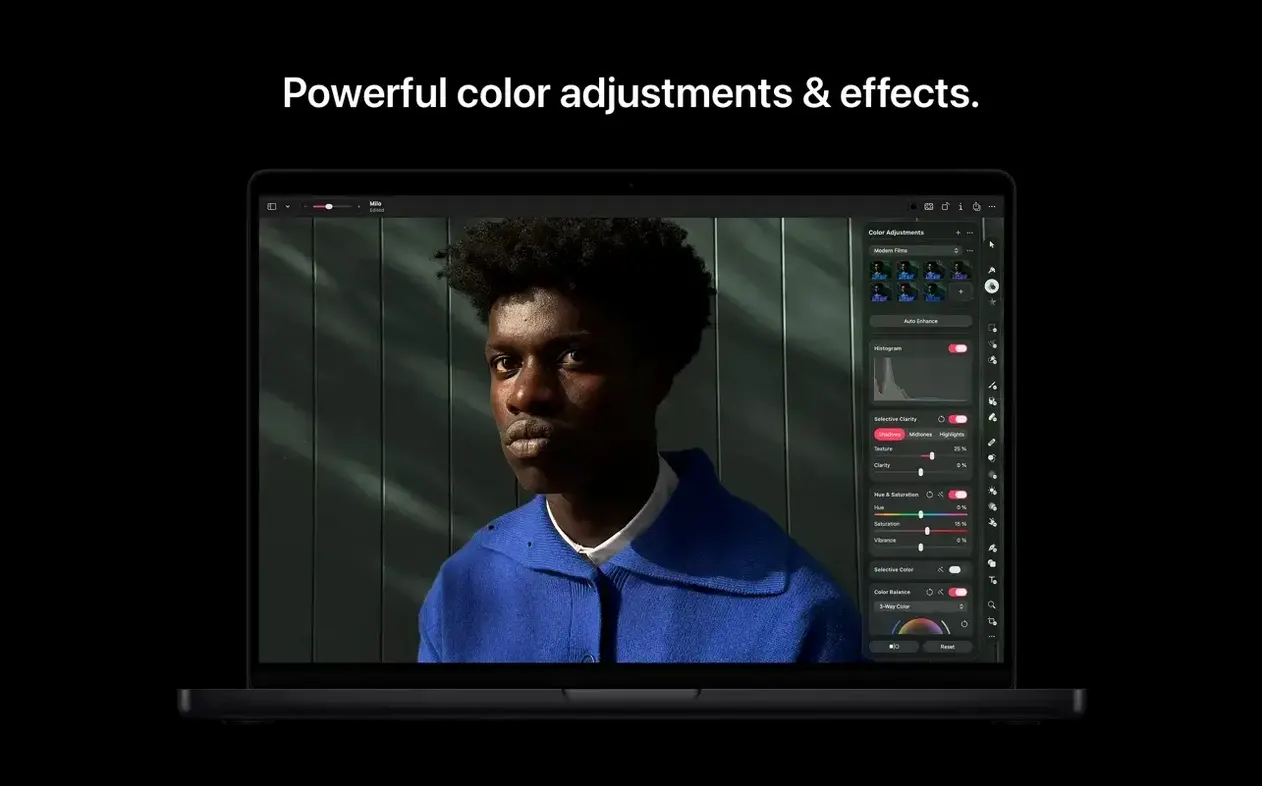
- Non-destructive editing, keeping adjustments reversible as you work.
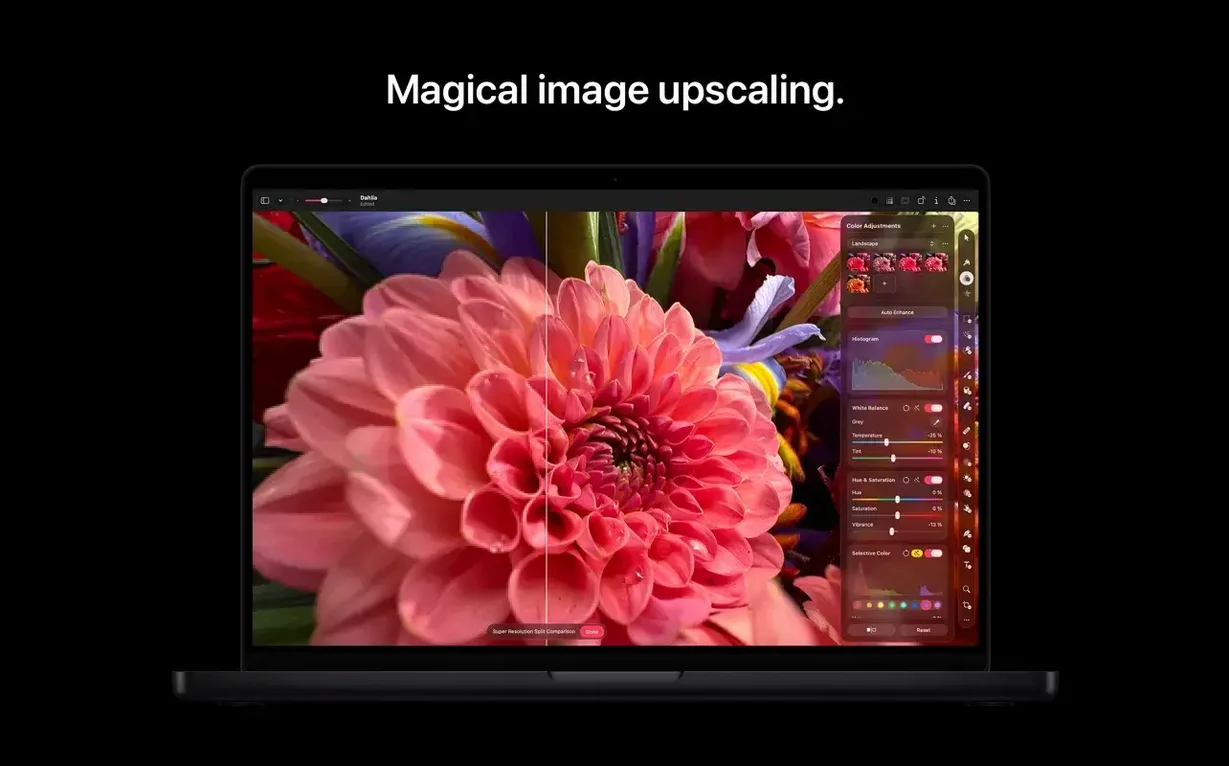
- RAW image editing directly in the app, without a separate converter.
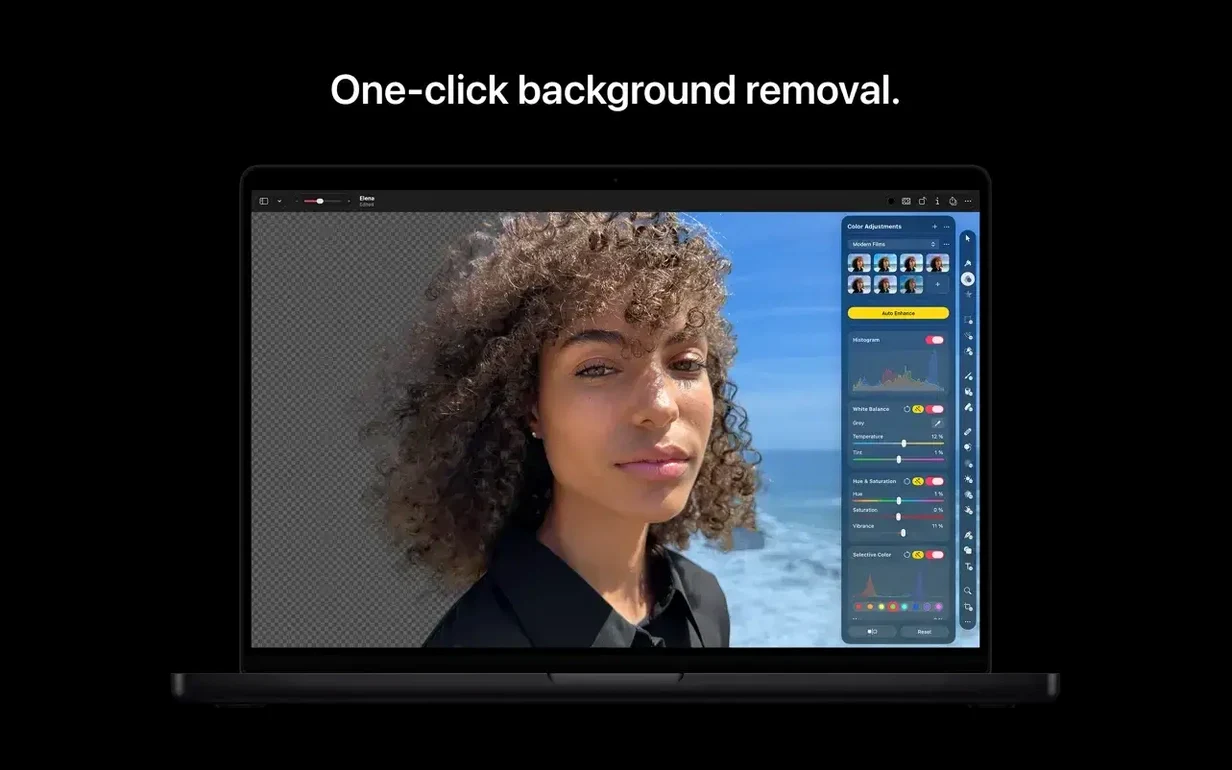
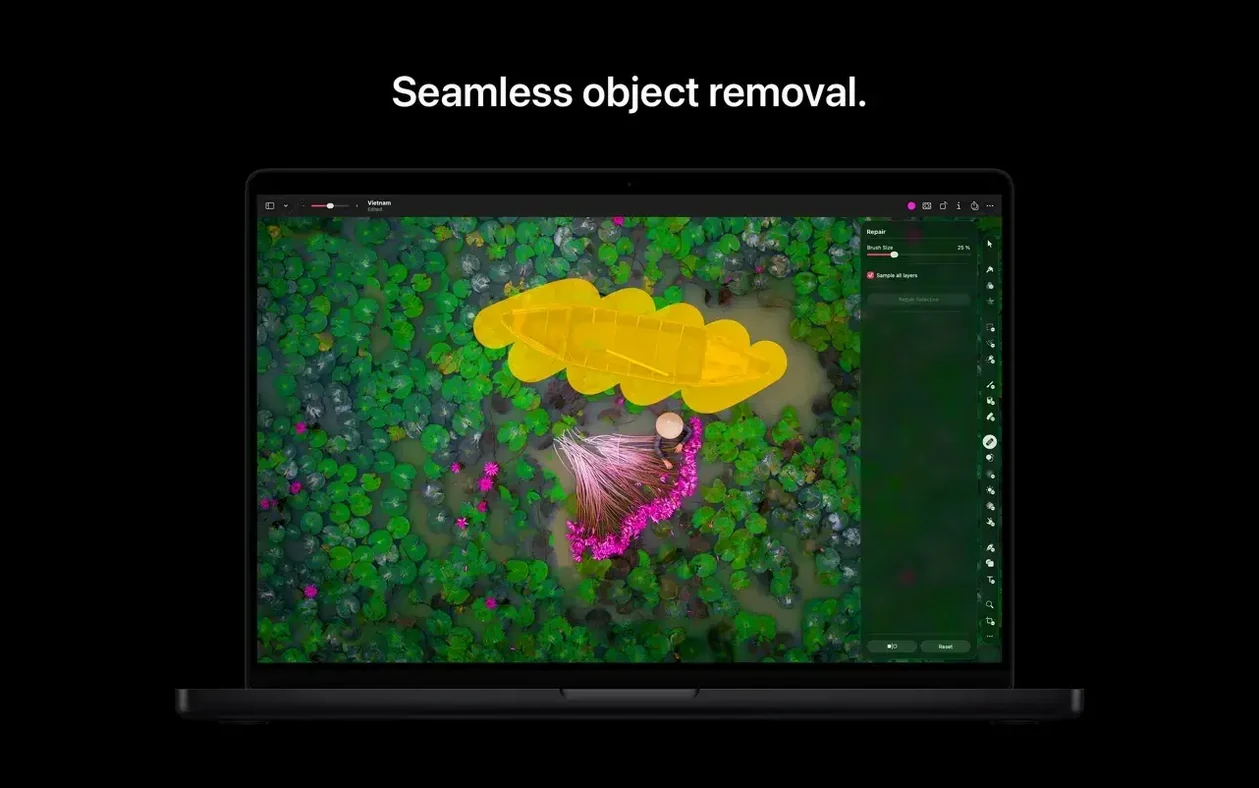
- Retouching blemishes and removing objects from photos.
- Batch image processing through Automator actions.
Apple silicon requirement and Content Hub additions
- The current version requires a Mac with Apple silicon.
- Version 4.3 was released on 2026-06-30 and adds Content Hub for inserting photos, graphics, shapes and illustrations.
- Generate from Image performs text-based edits and transformations.
- Accessibility support for Switch Control and VoiceOver is enhanced in 4.3.
Pixelmator Pro alongside similar Mac editors
Three Mac image editors cover similar ground to Pixelmator Pro: Affinity Photo 2, Acorn 8, and the open-source GIMP. They all handle layers, non-destructive adjustments and retouching, but their philosophies differ enough that a direct comparison saves time when you are deciding what to keep installed.
Affinity Photo 2
Affinity Photo 2 packs a deeper toolset for compositing and professional photo manipulation. It supports CMYK, soft proofing and ICC profiles with a thoroughness that makes it the first choice for prepress work. Pixelmator Pro stays in RGB and keeps things simpler: no channel mixer, no frequency separation panel, no dedicated liquify persona. Where Pixelmator Pro pulls ahead is integration. It launches from the Photos app, saves directly back to the library, and shares to Mail or AirDrop without exporting intermediate files. Affinity Photo 2 requires explicit round trips. For anyone who edits images within the Apple ecosystem and wants the fewest steps between edit and share, Pixelmator Pro is the tighter fit.
Acorn 8
Acorn 8 shares a similar single-window layout and a focus on Mac-native performance. It is lighter in disk footprint and starts faster on older Apple silicon machines. The trade-off is scope. Acorn does not touch RAW files beyond a basic decode, its vector support is limited to simple shapes, and it has no generative tools at all. Pixelmator Pro in version 4.3 brings Content Hub, Generate Image and text-to-vector shape generation — Acorn 8 has no equivalent. If raw speed and a low-ceremony canvas are the top priorities, Acorn wins. If image generation and vector editing matter in the same session, the gap is large.
GIMP 3
GIMP 3 on macOS runs under XWayland or a native GTK build and costs nothing to install. It supports high bit depth, a vast plug-in ecosystem, and scripting beyond what Automator actions offer in Pixelmator Pro. The cost is interface friction: multiple floating panels, non-standard file dialogs, and no integration with Apple Photos or iCloud. Batch processing in Pixelmator Pro uses Automator, which is easier to chain with other Mac workflows like folder actions and Shortcuts. GIMP 3 is more powerful in the abstract, but on a Mac it feels like a visitor, not a resident.
Habits that make the app feel native
A few habits formed early make Pixelmator Pro feel less like a new app and more like part of the desk.
Open a RAW file directly
Drag a RAW file from the Finder into the single-window canvas instead of launching the app first. Pixelmator Pro opens the RAW engine immediately. Adjust exposure, white balance and the recovery sliders before the image is rasterised. This keeps the file in a linear colour space until you commit, and it is faster than opening a JPEG preview and then discovering the RAW data later.
Connect the Photos library
In the Photos app, right-click any image and choose Edit With → Pixelmator Pro. Make an edit, then press ⌘S. The edited version saves back as a non-destructive edit in Photos, sitting alongside the original. Test this with a single image before editing a batch, so the round-trip feels automatic.
Edit a Photoshop file with layers intact
Grab any layered PSD and open it. Pixelmator Pro preserves layer names, blend modes and most adjustment layers. Group visibility and opacity carry across. This is the quickest way to confirm whether a project originally started in another app will cause friction. Spot-check layer masks for clipping and text layers for editability; the engine handles both in 4.3.
Run a five-image batch through Automator
Open Automator, create a new Quick Action, and add the Apply Pixelmator Pro Adjustments action. Point it at a folder, set it to resize to 2048 px on the long edge and convert to JPEG at 85% quality. Assign the Quick Action to a keyboard shortcut or a Finder toolbar button. Run it on five images from a shoot. The behaviour becomes muscle memory after the second run.
Misclick-proof switches for faster editing
The defaults are sensible, but a few switches make everyday editing faster and less prone to misclicks.
Canvas background and guides
Open Pixelmator Pro → Settings → General. Set the canvas background to Dark Gray if you spend more time editing photos than illustrations — it reduces glare around the edges of a bright image. Enable Show guides by default and set the guide colour to a cyan that contrasts with skin tones. The guides then appear on every new document without toggling.
File format defaults
Under Settings → Saving, switch the default file format from PXD (Pixelmator Pro’s native format) to TIFF with layers when you regularly hand files to someone using Lightroom or Capture One. TIFF preserving layers is readable by more apps while keeping editability. Leave it on PXD if you work alone and value the smallest file size.
Core allocation, GPU toggles, and undo memory limits
In Settings → Performance, check that Use all available cores is active. On a Mac with an M3 Pro or later, leave the GPU acceleration toggle on. On machines with 8 GB of unified memory, drop the Undo steps from the default 100 to 40. This keeps memory pressure low during long retouching sessions and prevents the system from compressing the undo stack while you are brushing.
Export presets
Set up two export presets in the Export dialog: one for JPEG at 85% quality, 2400 px long edge, and one for PNG-24, no resizing. Name them clearly. These appear in the share menu and Automator actions, so batch workflows can reference them without rebuilding settings each time.
What changed with 4.3 for daily use
Version 4.3, released on 2026-06-30, shifted the rhythm of working inside the app. Three additions alter what you reach for during a session.
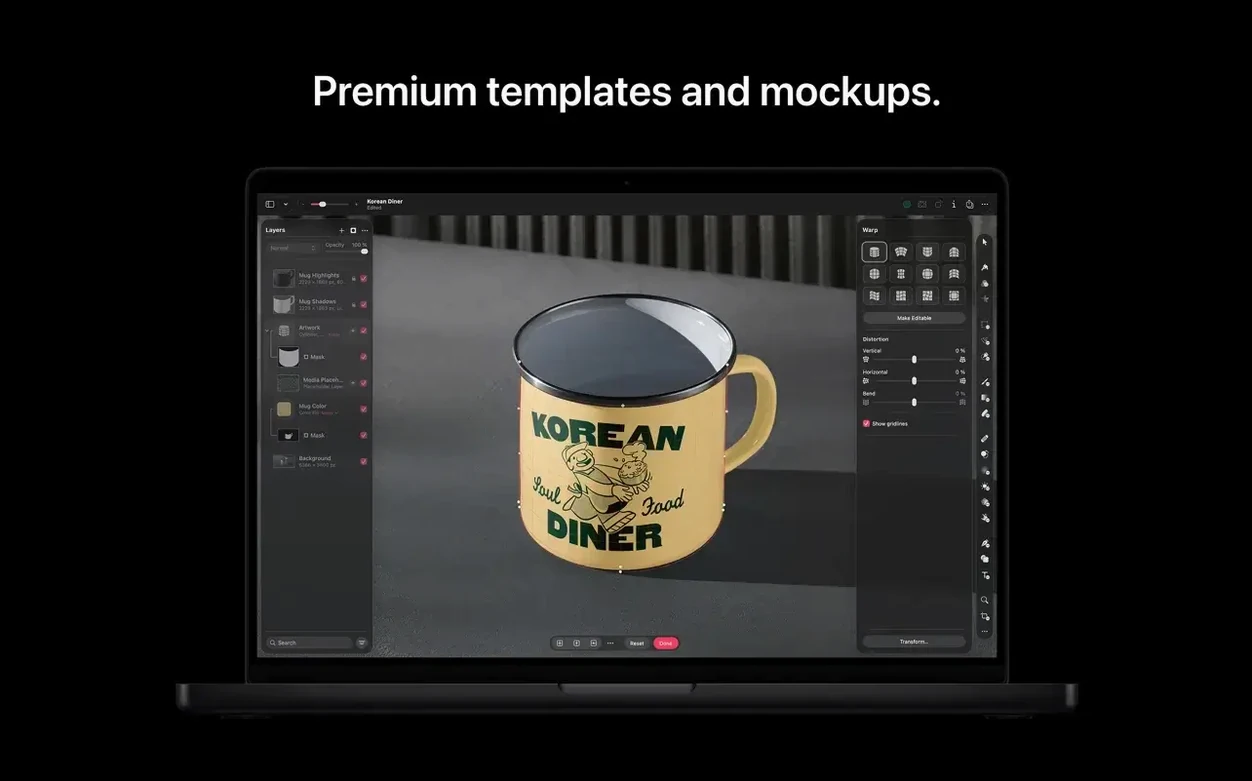
Content Hub. Press ⇧⌘C and a panel opens with searchable photos, graphics, shapes and illustrations. Before 4.3, adding a stock-style element meant opening a browser, downloading a file, and dragging it in. Now the panel stays docked. Drag an element onto the canvas and it arrives as a separate layer with a non-destructive transform. The library is modest but covers common needs for mockups and social graphics.
Generate Image. Select File → Generate Image and type a text description. The model produces a layered raster result at canvas resolution. The output is not a flattened preview — it arrives as a pixel layer you can mask, blend and retouch with the standard toolset. This means a generated texture or background does not need round-tripping through another app before compositing.
Generate from Image. With a layer selected, invoke Edit → Generate from Image and describe the change in text. It can shift a sky from overcast to golden hour or replace a background with a described scene. The transformation respects layer boundaries and mask data, so a masked object remains masked after the edit.
Custom vector shape generation. In the Shape tool, type a description — a gear, a leaf, a corner ornament — and the app produces a fully editable vector shape. The points are live, so you can adjust bezier curves after generation. This turns the Shape tool into a quick custom asset builder for diagrams and icons, replacing a trip to a separate vector app for simple geometry.
Assumptions carried over from other editors
Most friction in the first week traces back to a handful of assumptions carried over from other editors or from older versions of the app.
Treating every layer as destructive
Pixelmator Pro keeps adjustments as non-destructive layers by default, but a common move is to flatten the image before exporting. A beginner opens a PSD, adds a colour adjustment, then chooses Layer → Flatten Image before saving. This discards the adjustment layer and bakes the change into pixels. The better path: leave layers intact and export a flattened copy through File → Export instead. The original stays editable for the next round of client changes.
Ignoring the Automator actions
Users coming from Photoshop often assume batch processing requires an external script or a dedicated panel. Pixelmator Pro exposes its batch operations through macOS Automator. A beginner installs the app, edits twenty headshots individually, and never discovers the Apply Pixelmator Pro Adjustments action sitting in Automator’s library. Setting up one workflow early — resize, sharpen, export as JPEG — cuts repetitive tasks from thirty minutes to thirty seconds.
Expecting the Content Hub to replace a full stock library
The Content Hub in 4.3 is a convenience, not a Getty Images competitor. A new user may open it, search for a specific niche subject, and conclude it is empty. The library is strongest for geometric shapes, abstract backgrounds and generic photo elements useful in mockups. For specific editorial imagery, a separate search is still needed. Treat the Hub as a fast in-app resource for the 80% case, not the 100% case.
Not switching the canvas background for retouching
Retouching on the default mid-grey canvas background can hide edge halos and subtle colour casts. A common beginner error is to spend twenty minutes cloning out dust on a portrait, export the image, and only then see the artefacts against a pure white or black background. Switching the canvas to White or Black during retouching — depending on where the final image will live — exposes these problems while the undo stack is still available.
Missing the vector editability after generation
The new vector shape generation in 4.3 produces shapes with editable bezier points, but a beginner often treats the result as a finished, locked shape. Selecting the Shape tool and double-clicking the generated vector reveals control points that can be moved, added or deleted. Someone who skips this step ends up generating six variations of a gear icon instead of tweaking the first one for three seconds.
- Content Hub — insert photos, graphics, shapes and illustrations from one place.
- Generate Image — create images from text descriptions.
- Generate from Image — text-based edits and transformations of existing images.
- Vector shapes — generate custom vector shapes from text descriptions.
- Accessibility — improved support for Switch Control and VoiceOver.
- macOS 26 or later
- Mac with Apple silicon
- Interface languages: Russian, English, German, Spanish, Italian, Traditional Chinese, Simplified Chinese, Korean, Portuguese, French, Japanese
Questions on file
Can Pixelmator Pro edit RAW photos?
Yes, RAW image editing works directly in the app without a separate converter.
Does Pixelmator Pro support vector files?
It can open and edit SVG vector files, and version 4.3 adds custom vector shape generation from text descriptions.
Sign in · Create an account to add a field note.
No field notes yet. A measurement, a version, a machine — they appear after moderation.