Photo
ON1 Photo RAW 2026.5.2 v20.5.2.19304
PhotoUpdated
| Requirement | On file |
|---|---|
| macOS | macOS 13 or later |
| CPU | Apple Silicon, Intel 64-bit |
| Download | 1.1 GB |
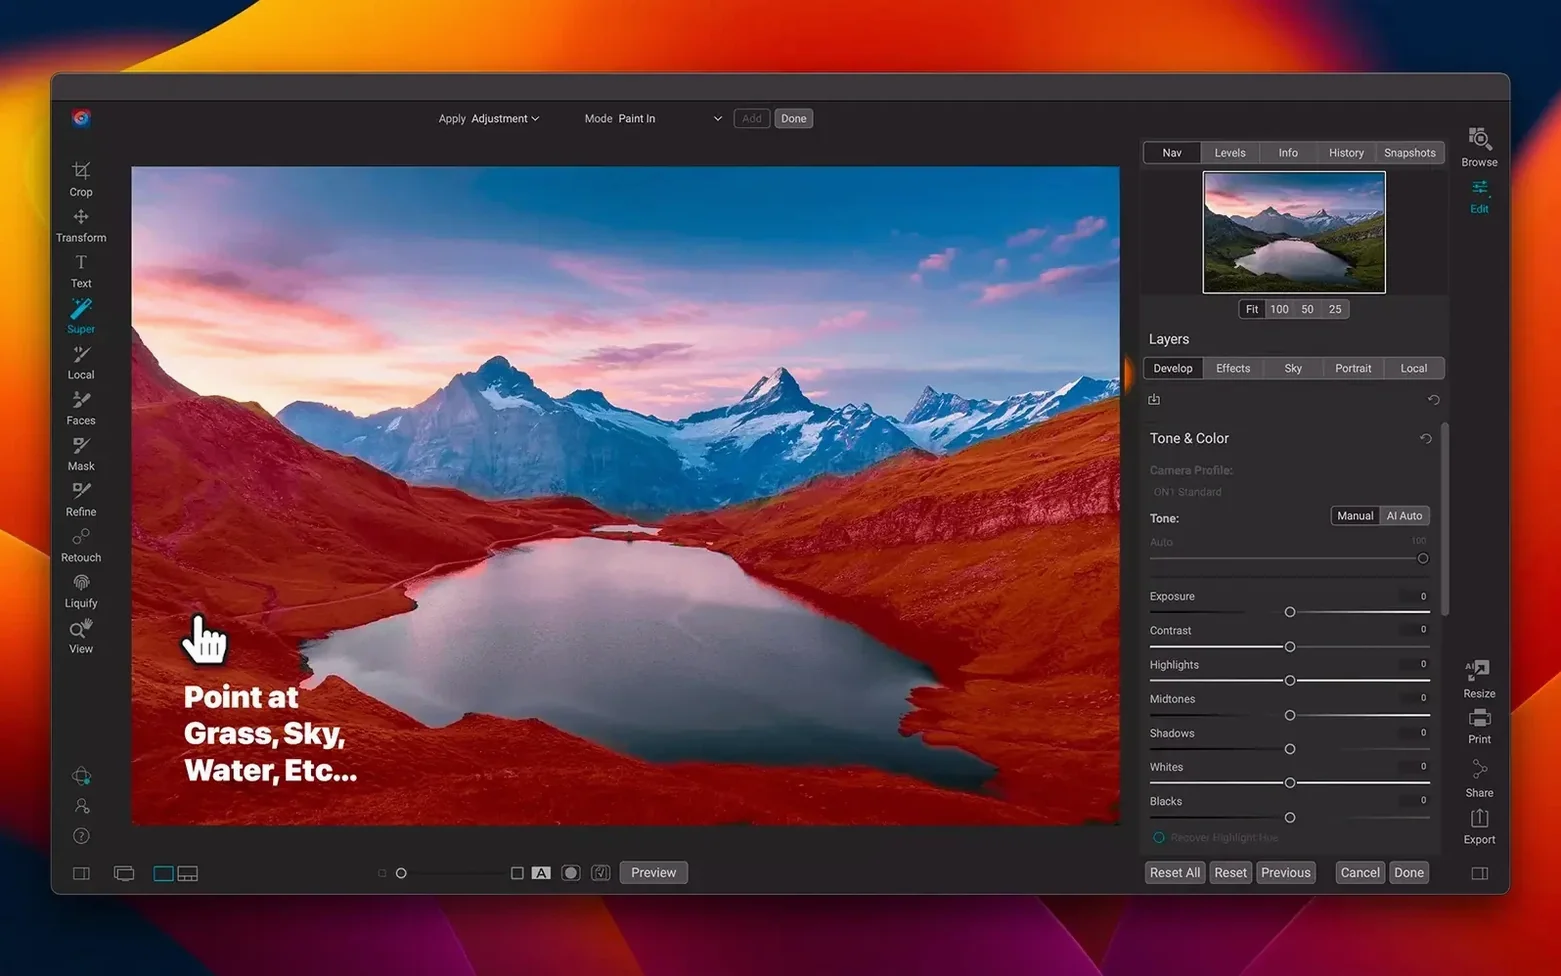
ON1 Photo RAW is a standalone photo editing and organising application for the Mac that combines raw processing, layered editing, and asset management in one package. For someone opening the 2026.5.2 release for the first time, the interface can look dense, but a few modules deliver the most immediate value.
Start with Browse and Develop
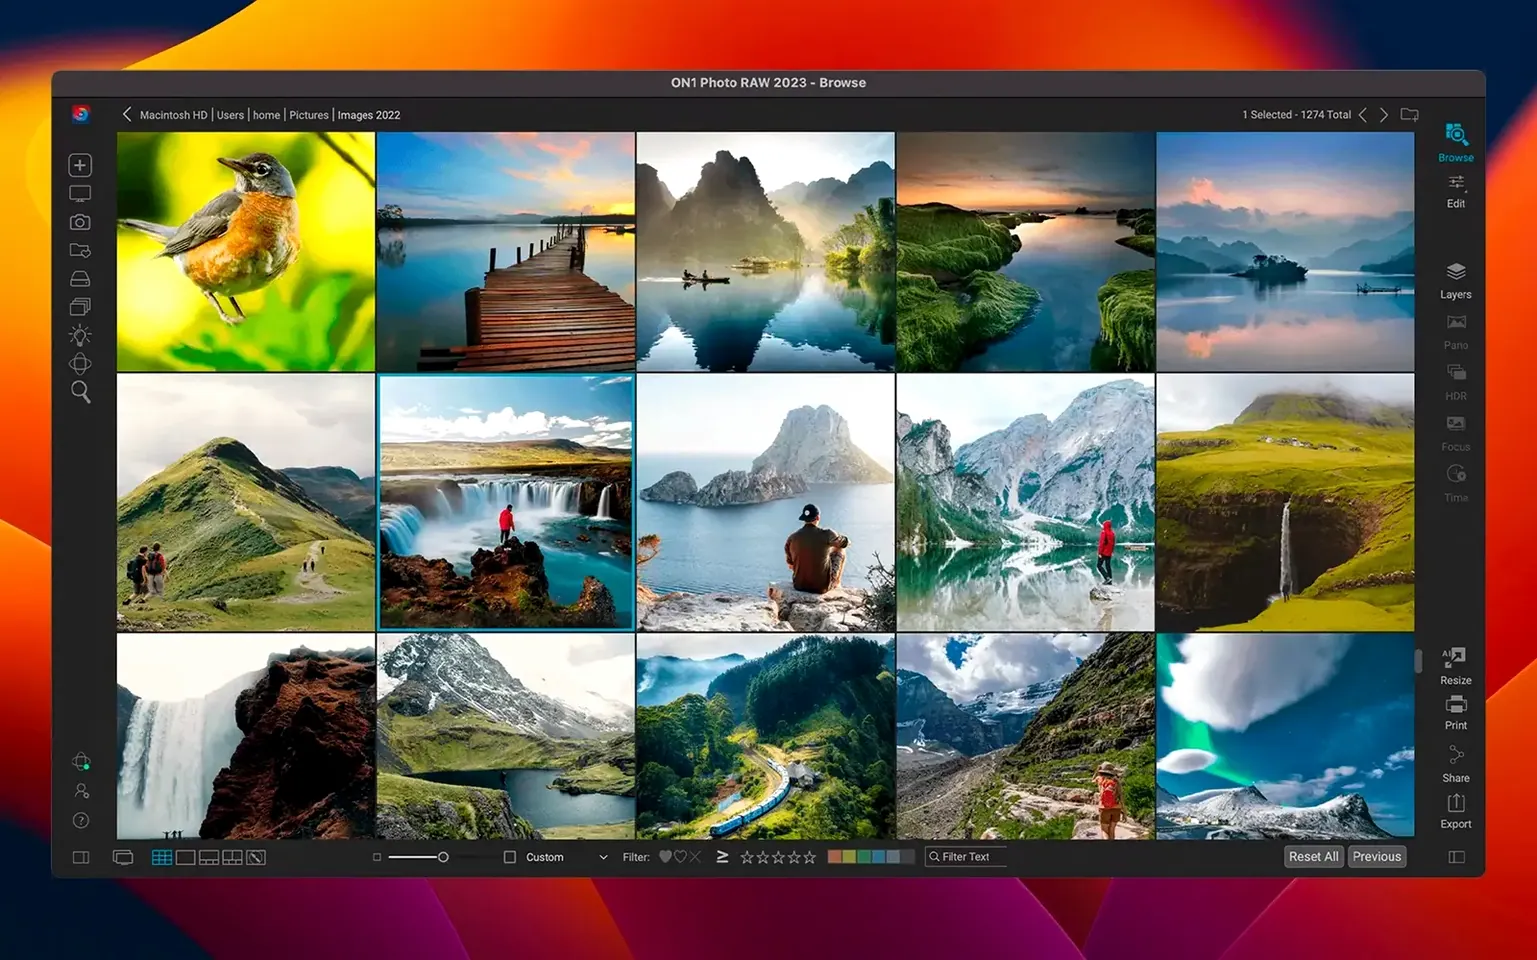
- Browse module. Point it at a folder of raw files. The cataloguing runs locally, and you can rate, colour-label, and filter images without a separate import step. It reads standard raw formats straight from disk.
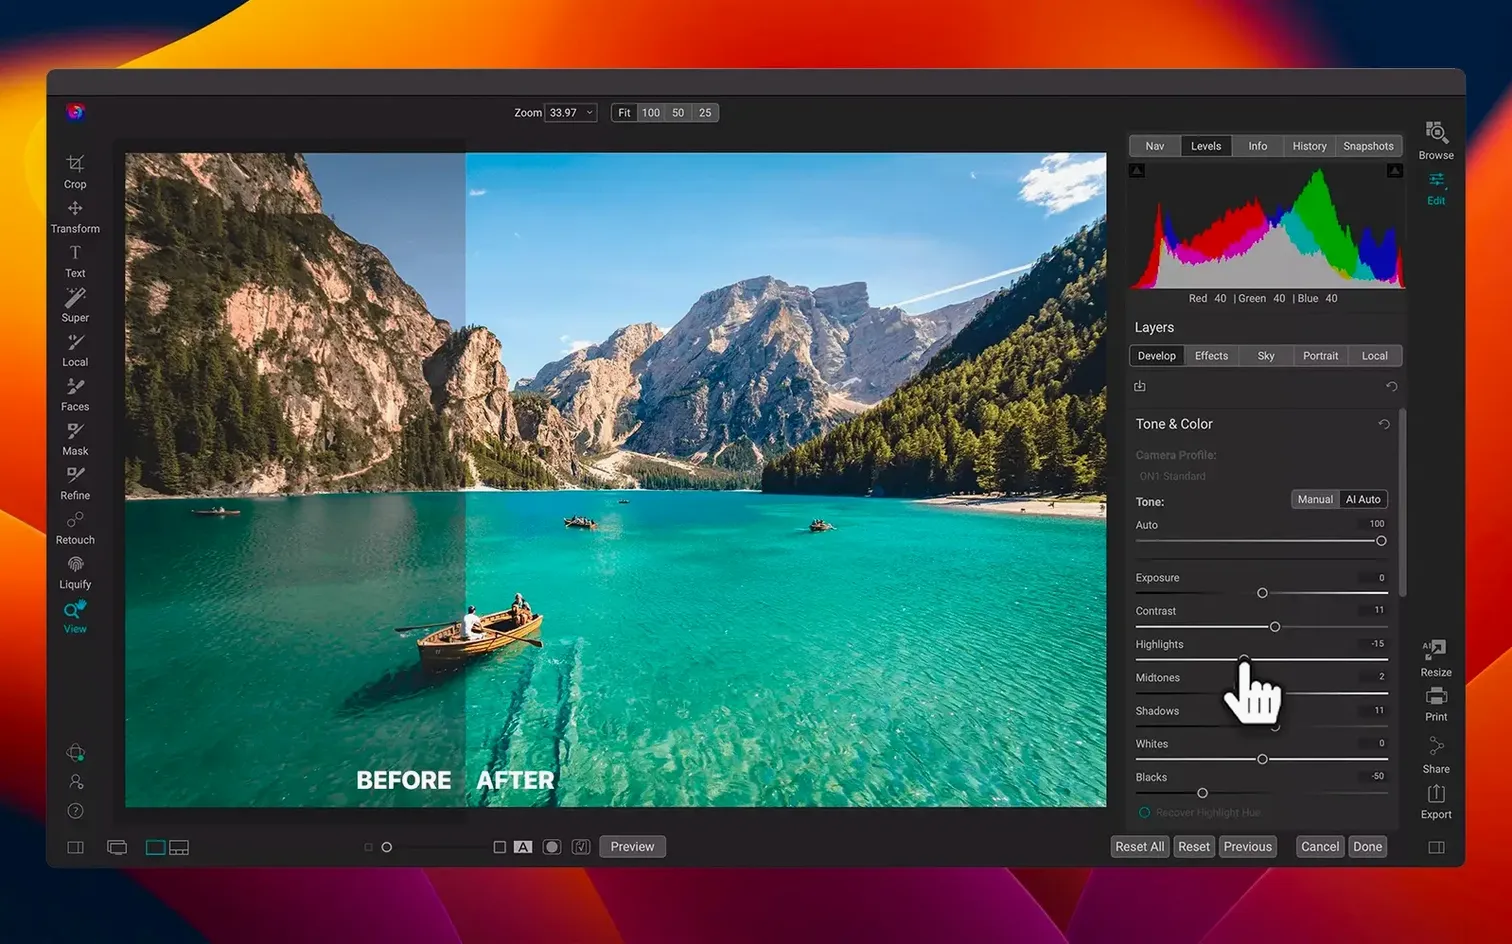
- Develop module. The Tone & Colour panel gives quick control over exposure, white balance, and contrast. The 2026.5.2 update brought faster filter rendering and new lens profiles, which show up in the Lens Correction section — turn those on early for cleaner geometric corrections.
- Effects module. Stack non-destructive filters like a dynamic contrast or a graduated neutral density adjustment. Because filters now process faster in this version, tweaking a stack of four or five feels snappy even on an Apple Silicon Mac.
Keep it non-destructive
Every adjustment you apply in Develop or Effects writes to a sidecar instruction set, not to the original raw data. You can reset a single slider or the whole edit history at any point. For a newcomer, this means safe experimentation — the underlying file stays untouched.
Navigating Browser Thumbnails and Finder-Like Folders
You open ON1 Photo RAW and land in the Browse module. The folder panel on the left shows your drive structure exactly as Finder does. Navigate to a folder of new shots, and thumbnails render with embedded previews first, then snap into sharper raw renders a moment later. Hit the F key to full-screen a candidate, then use the number keys to assign a star rating. By the time you have culled 60 frames down to eight keepers, you have spent maybe four minutes.
Double-click the first keeper, and the app switches to Develop. The histogram sits top-right, clipped shadows and highlights flagged in red. The Temperature slider needs about 200 K warmer for an overcast scene; the Exposure comes up 0.45 EV. In Lens Correction, you tick Enable Profile Corrections. With the new lens profiles in 2026.5.2, the app now recognises the RF 24-105mm f/4 L without manual lookup — distortion and vignette corrections apply automatically. You then pull Highlights down to -35 to recover cloud detail, and push Shadows to +22 to open up the foreground rock face. The rendering updates in under a second.
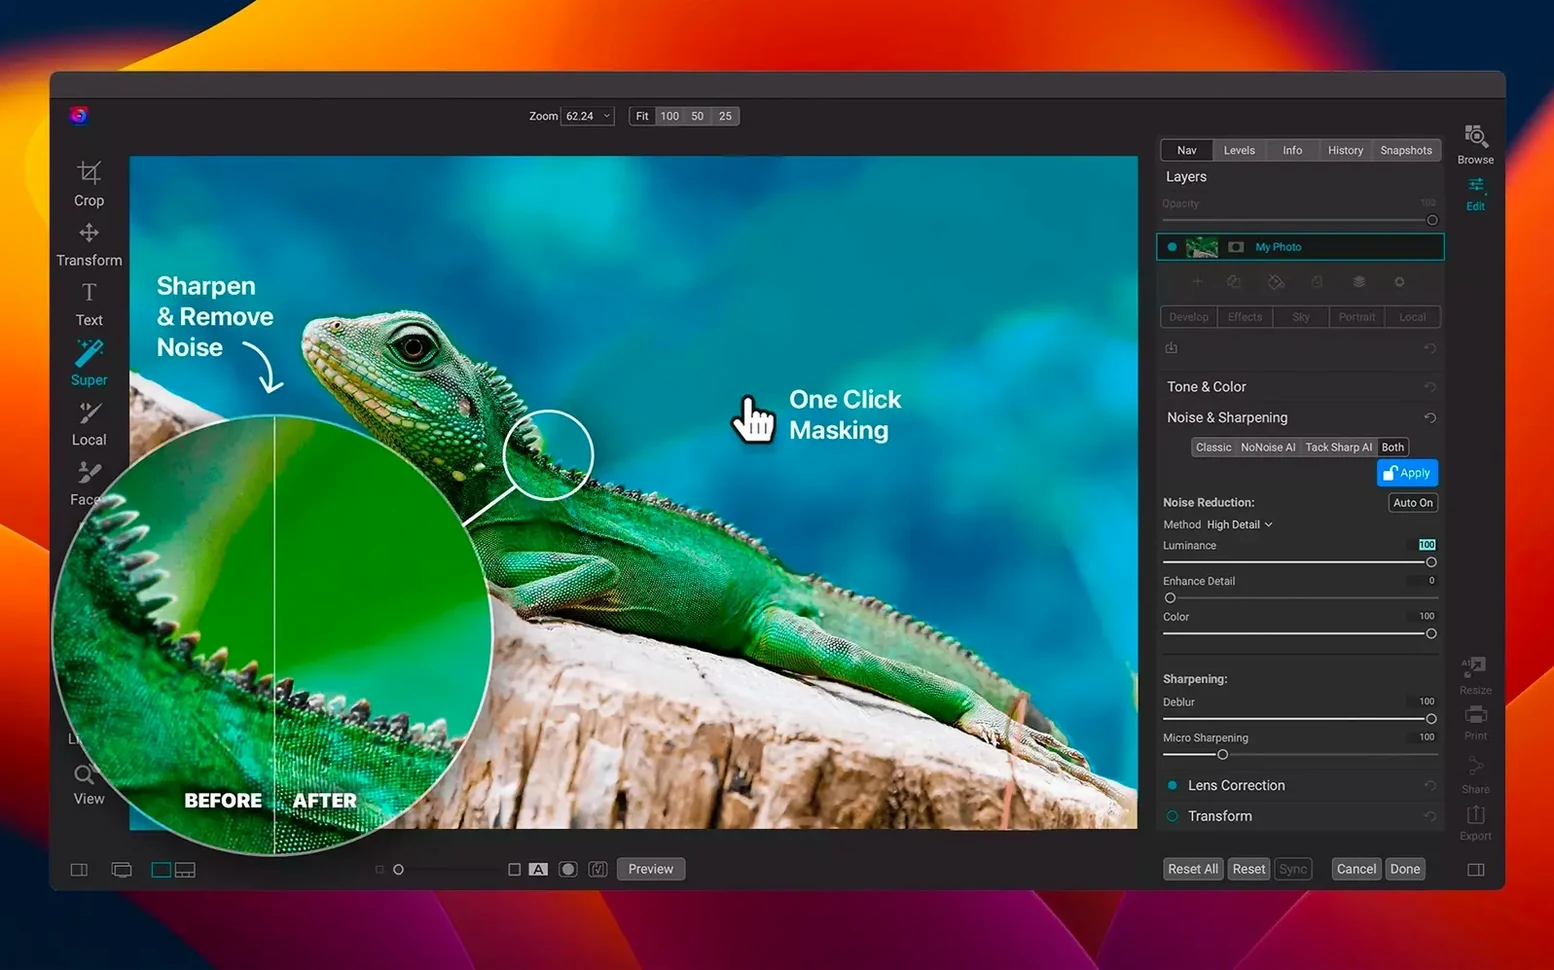
Switch to Effects. Add a Dynamic Contrast filter, set the small detail slider to 18 and leave large detail at 10 — this sharpens texture without halos. A Vignette follows: Method set to Highlight Priority, Amount at -0.9, Midpoint at 60. The filter stack previews live as you drag. With the faster filters in this build, adding a Graduated Neutral Density as a third layer does not introduce the half-second lag the previous version showed on an M1 machine. Drag the gradient line from top to just above the horizon, set Strength to 0.7, and the sky balance shifts without affecting the land.
Right-click the edited image and choose Copy Settings. Move to the next keeper in Browse, right-click again, Paste Settings. The exposure, lens correction, and effect stack transfer in one go. You now tweak individual sliders for the different framing — the baseline work is done. Three more pastes and you have a consistent set of eight edited frames ready for export.
Instant Before/After View with Backslash Toggle
- Quick Preview toggle. Press
\\(backslash) in Develop to flip between the current edit and the original raw. It is faster than hunting the reset button — one tap for a before/after check, another to return. - Masking brush inside Effects. Every filter in the stack carries a built-in mask. Click the mask icon on any filter layer, grab the brush, and paint the effect in or out with a soft edge. No need to build a separate mask layer first — it is already there, waiting.
- Sidecar file portability. Edits live in
.on1sidecar files alongside the raw. Copy both to another Mac, and ON1 Photo RAW reads the edits without re-importing. Useful when moving between a laptop in the field and a desktop at home. - Reset individual panels. Double-click any slider label — Exposure, Clarity, Sharpening — and that single parameter snaps to default. No need to open a drop-down menu to reset one setting you overcooked.
- Filmstrip in Develop. The bottom filmstrip shows the rated images from your current Browse folder. Arrow keys move through them without leaving the editing pane. Cull, rate, and develop in one uninterrupted flow.
What the 2026.5.2 changes feel like day to day
The headline items — faster filters and new lens profiles — translate into two practical outcomes. First, an effect stack that previously prompted a short wait between adding layers now processes almost instantly. On an Intel Mac, a five-layer stack with a gradient, dynamic contrast, vignette, colour enhancer, and sharpening mask refreshes without the spinning beach ball that sometimes appeared in the prior release. This matters most when adjusting a slider inside a filter that sits in the middle of the stack; earlier, the whole chain recomputed bottom-up each time.
Second, the expanded lens profile library covers several mirrorless zooms released in the past eighteen months. Users of Canon RF, Nikon Z, and Sony E-mount glass benefit without manually downloading profiles or waiting for a subsequent update. The profiles appear in the Lens Correction panel under Manufacturer and Model drop-downs — the app matches them automatically when the metadata is present, but you can also assign a profile manually for older adapted lenses where the electronic communication is missing. Correction strength sliders for distortion and vignette remain adjustable after profile application, so you can back off the automatic correction if it overcorrects a scene with strong leading lines.
One quiet improvement not listed in the release notes but noticeable in daily use: the Browse module handles folders with 2,000 or more raw files with less thumbnail rebuild delay when scrolling quickly. The catalogue database appears to cache previews more aggressively. Scrolling through a large shoot now feels closer to skimming JPEGs in a dedicated browser, which shifts the culling bottleneck back to the photographer, not the software.
- Filters — faster rendering across the Effects module
- Lens profiles — new camera and lens correction profiles added
- macOS 13 Ventura or later
- Apple Silicon or Intel 64-bit processor
Questions on file
Does ON1 Photo RAW work on Apple Silicon Macs?
Yes, it runs natively on Apple Silicon and Intel 64-bit Macs and requires macOS 13 Ventura or later.
What interface languages are available?
The app supports Russian, English, German, Spanish, Italian, Traditional Chinese, Korean, Dutch, Portuguese, French, and Japanese.
Is ON1 Photo RAW a plug-in or a standalone application?
It is a standalone application that combines photo editing and organising in one piece of software.
Sign in · Create an account to add a field note.
No field notes yet. A measurement, a version, a machine — they appear after moderation.