Photo
Photomator 3.4.15
PhotoUpdated
| Requirement | On file |
|---|---|
| macOS | macOS 13 or later |
| CPU | Apple Silicon, Intel 64-bit |
| Download | 662 MB |
Photographers who work across multiple camera systems and need consistent edits across hundreds of shots reach for Photomator. It handles everything from compressed Sony RAW files to machine-learning denoise without leaving the Photos ecosystem.
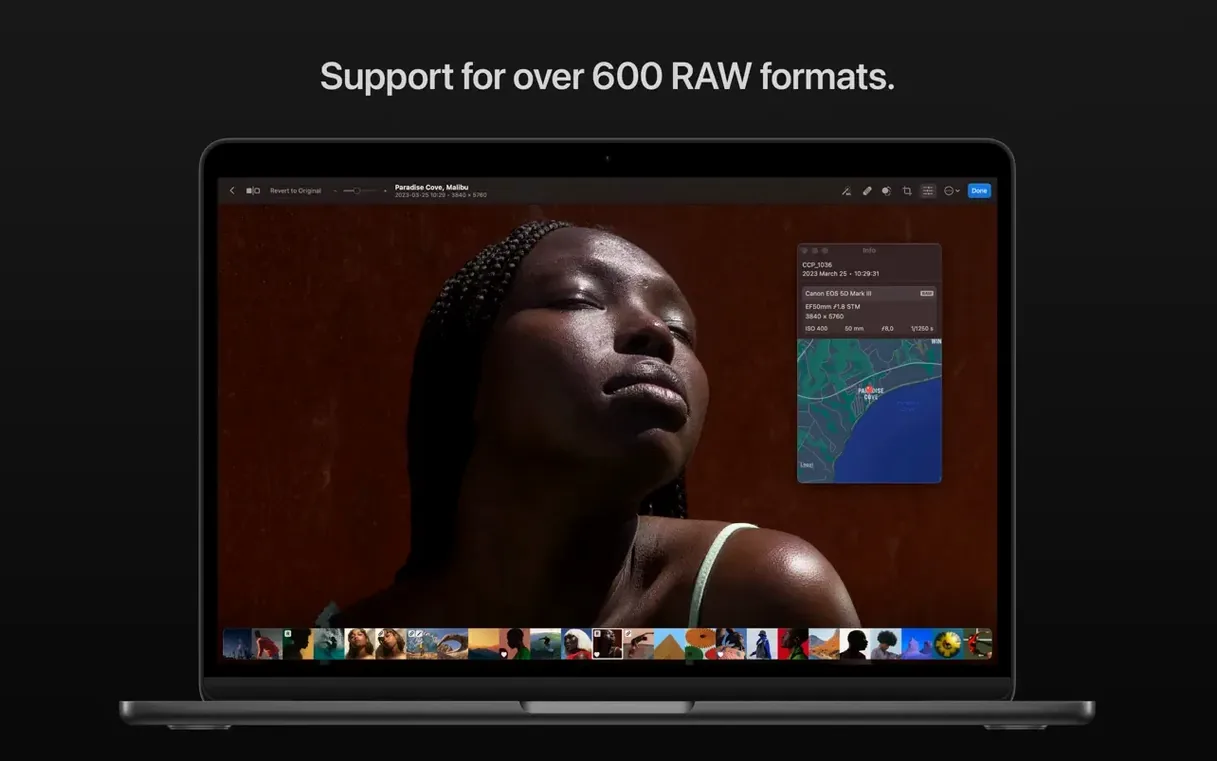
RAW support — Reads over 650 RAW formats, including Apple ProRAW, compressed Fujifilm files, and the latest compressed RAWs from Sony Alpha ILCE-7M5, FUJIFILM GFX 100S II, and FUJIFILM GFX 100RF.
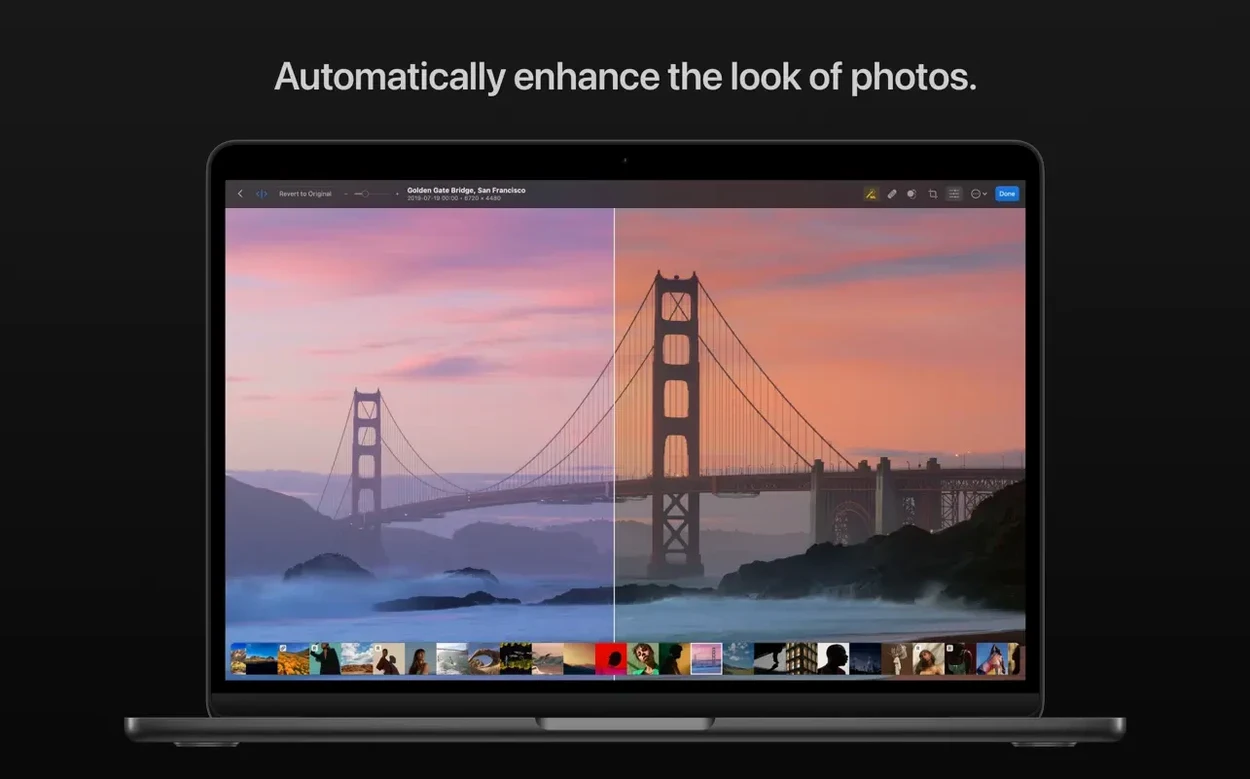
Smart Deband — Strips colour banding from gradients in skies and studio backdrops. Works as a single toggle, no manual masking required.
Denoise — Core ML-based noise reduction that runs locally. Stays responsive on high-megapixel files without an internet round-trip.
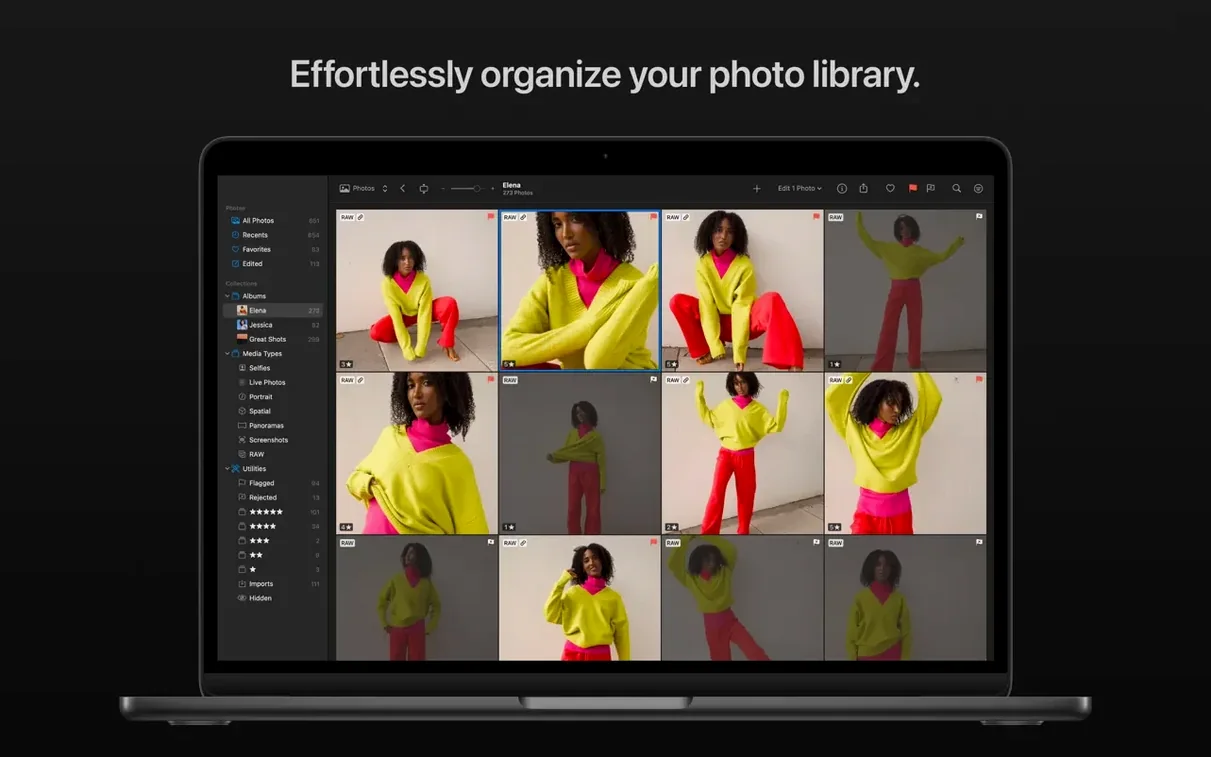
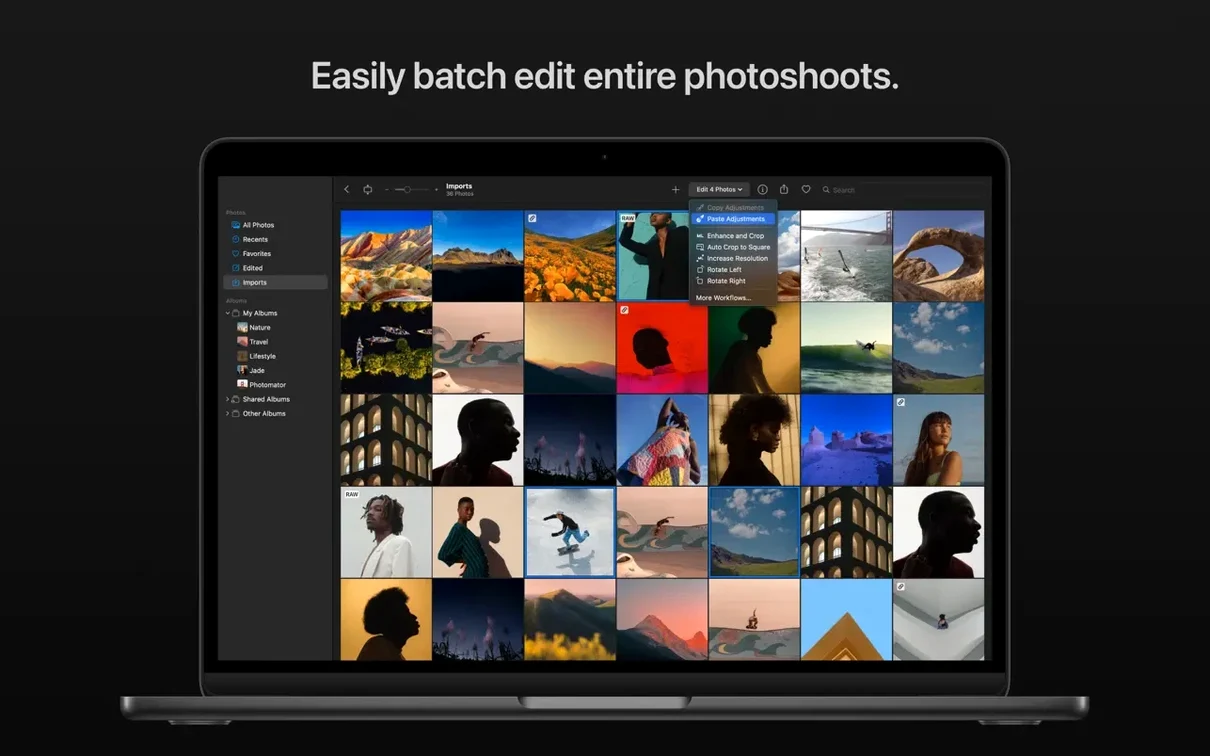
Batch editing — RAW and non-RAW files can share the same edit pass. Copy adjustments from one photo and paste them across a whole shoot.
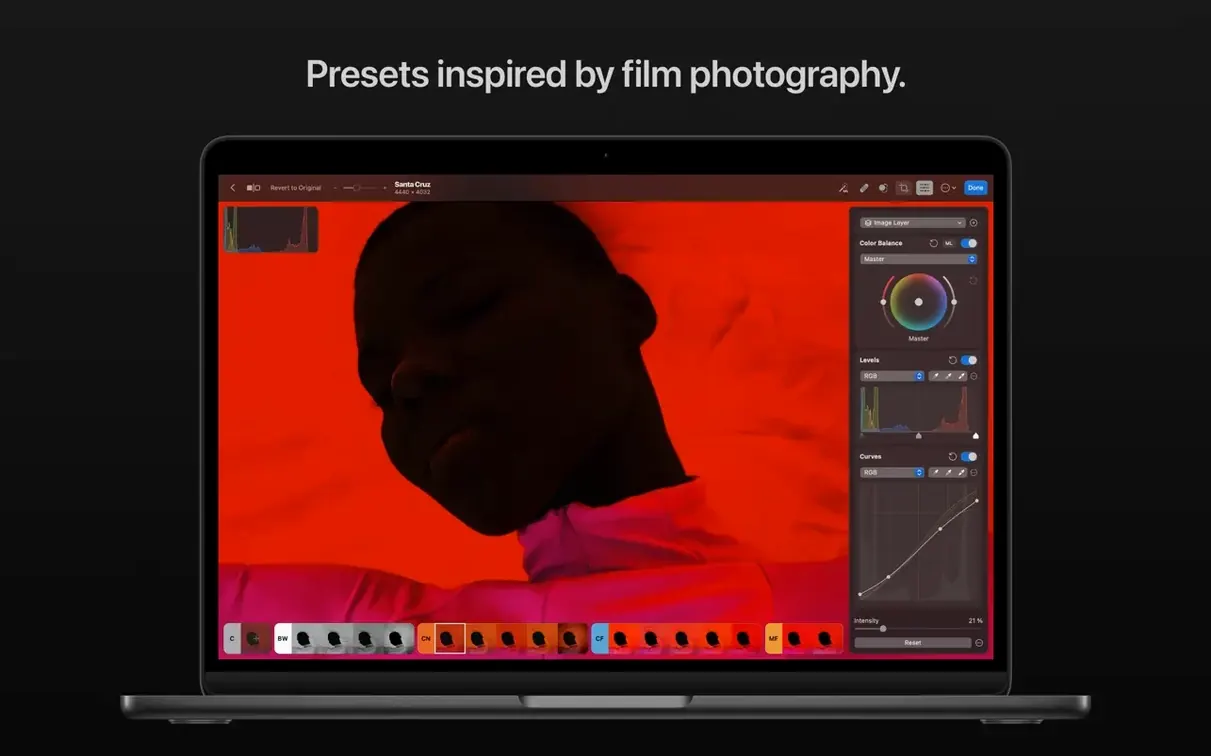
Presets — Landscape, black-and-white, and other built-in looks give a starting point. Edits stay non-destructive.
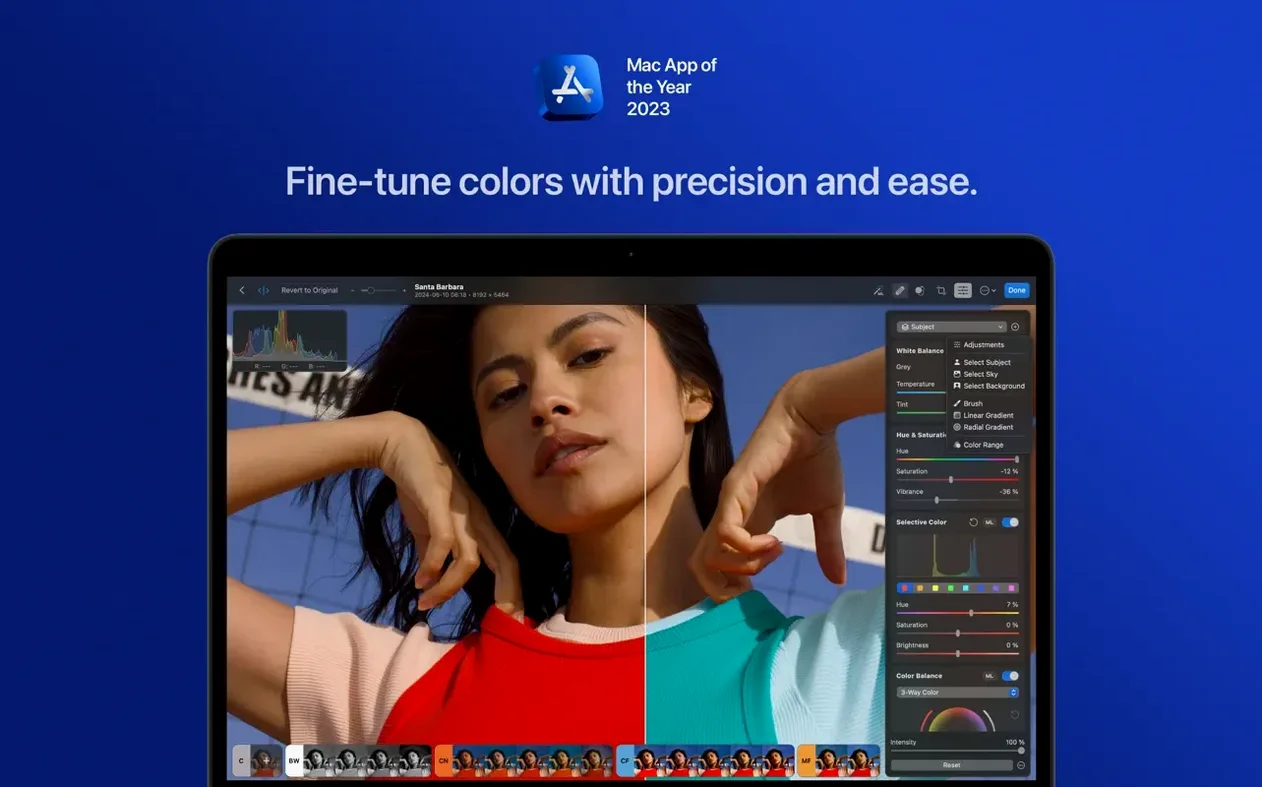
Look matching — Use one photo as a colour reference and Photomator maps the white balance and tone curve to another image.
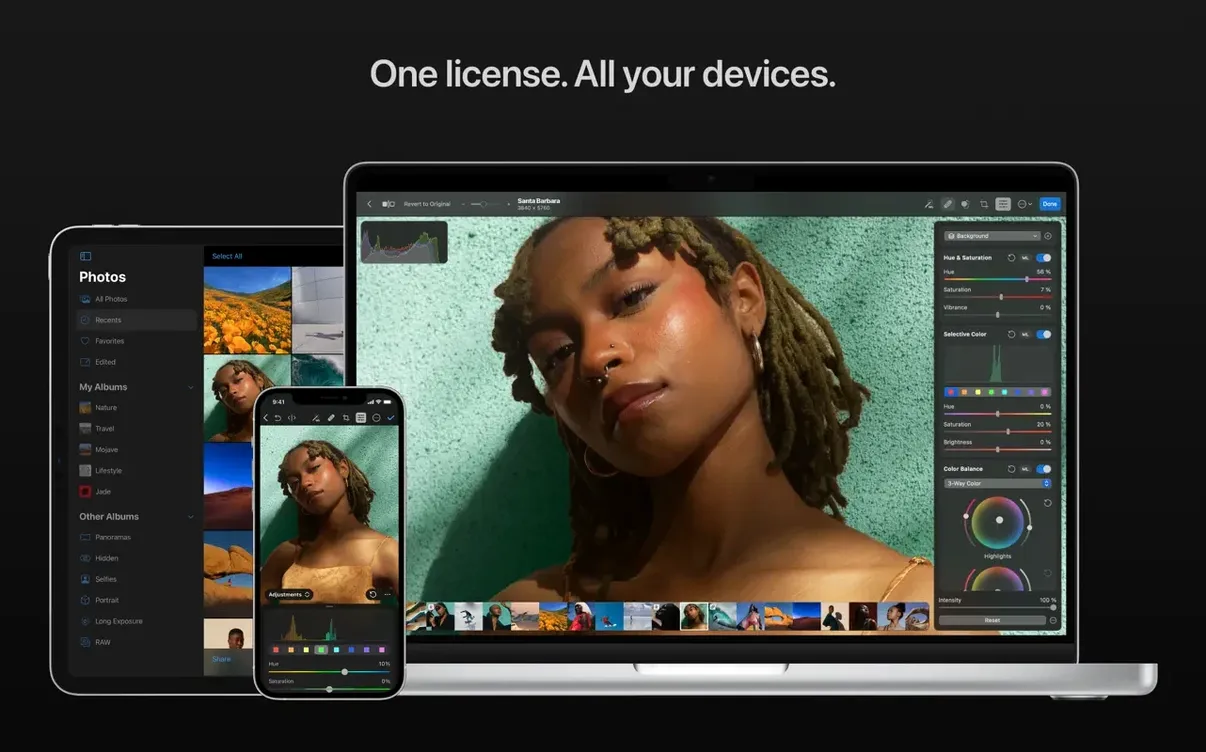
Sync — Edits sync with the Apple Photos library and iCloud Drive, so adjustments carry over to iPhone and iPad without extra export steps.
Editing a landscape from a compressed Sony RAW
A common scenario: you come back from a trip with a card full of compressed RAW files from a Sony Alpha ILCE-7M5. The light was harsh, several frames have banding in the sky, and you want a consistent look across 40 keepers. Here is one way through it in Photomator.
Open the first image. The app reads the compressed Sony RAW directly — no pre-conversion, no intermediate DNG step. Start in the White Balance panel. The auto picker tends to neutralise a warm sunrise too aggressively, so pick the eyedropper and sample a patch of grey rock in the foreground instead. That locks colour temperature to the scene rather than an averaged reading.
Next, head to Smart Deband. On this file the gradient from deep blue to pale horizon has visible stepping at 100%. Tick the checkbox. The banding dissolves without softening cloud edges — the algorithm targets only the smooth gradient regions. If the effect looks subtle at screen size, zoom to 200% on the transition zone to confirm it worked.
Now set the tone curve. Pull the black point right until the silhouette foreground lands near 5% luminance. Lift the midtones a quarter-stop with a single point at centre, then add a gentle S-curve for contrast. The histogram updates in real time, so you can see clipping warnings before they become a problem.
With the base edit dialled in, open the Edit menu and choose Copy Edits. Select the remaining 39 frames in the filmstrip, right-click, and pick Paste Edits. The white balance, Deband toggle, and tone curve apply to the whole batch. Because Photomator keeps edits non-destructive, each file retains its original RAW data underneath.
Spot-check three or four frames at different focal lengths. If one shot was taken with a polariser and looks cooler, adjust its white balance individually — the batch paste does not lock you out of per-image tweaks. When everything reads consistently, export the set as 16-bit TIFFs for further work or as full-resolution JPEGs for delivery. The whole process, from first open to exported batch, runs under ten minutes for 40 frames on an M-series Mac.
One Editor That Reads Sony, Fujifilm GFX, and iPhone ProRAW
Photomator makes the most sense for a few specific groups, and the reasons differ for each.
Multi-system RAW shooters. If your bag holds a Sony body, a Fujifilm GFX, and an iPhone shooting ProRAW, you need one editor that reads all three without a converter stage. The compressed Fujifilm RAW support — including the GFX 100S II and GFX 100RF added in version 3.4.15 — means you can work with files straight off the card. No other Mac-native editor in this class handles compressed medium-format RAWs alongside Apple ProRAW in the same library view.
iCloud Photos users who edit on Mac and iPad. Edits sync through the Photos library, so a colour grade applied on the desktop appears on an iPad within seconds. This group values the absence of a separate catalogue system. They already organise in Photos.app and want an editor that layers on top rather than demanding a parallel file structure.
Batch workers dealing with mixed formats. Event photographers often return with RAW from one body, JPEG from a second shooter, and HEIC from a phone. Photomator applies the same edit stack across all three in one paste operation. That cross-format batch capability removes a step that normally requires a separate converter or a manual round of matching.
Mac-only households that want local processing. Denoise and subject selection run on-device via Core ML and Metal. No upload queue, no cloud credits, no waiting on server availability. For people who edit in the field or on unreliable connections, local inference keeps the workflow moving.
Where Photomator Draws the Line Between RAW Processing and Retouching
Placing Photomator next to other Mac photo editors means looking at where each one draws its line between library management, RAW processing, and pixel-level retouching.
Pixelmator Pro. Made by the same team, so the overlap is real. Pixelmator Pro leans into compositing, layer-based design, and vector tools — it is closer to a general image editor that also processes RAW. Photomator strips that back to a focused photo workflow: no layers panel, no text tools, no export slices. The RAW engine is shared, but Photomator wraps it in a browser-first, batch-friendly interface. If your work is 90% photo adjustments and 10% everything else, Photomator fits better. If you regularly build multi-layer compositions with masks and effects, Pixelmator Pro is the tool for that job.
Adobe Lightroom Classic. Lightroom Classic operates a catalogue system; Photomator uses the Photos library or the file system directly. The catalogue gives Lightroom powerful search, filtering, and keywording that Photomator does not attempt. But for users who do not want another database to maintain, Photomator is a lighter lift. Lightroom also has a broader editing stack — calibration panels, range masking, HDR merge — while Photomator keeps the toolset tighter. Batch editing exists in both, but Photomator's cross-format paste (RAW + JPEG + HEIC in one go) is less fussy than Lightroom's sync, which sometimes skips settings when formats differ.
Capture One. Capture One targets tethered studio work and colour-critical commercial jobs. Its colour editor, skin-tone tools, and session-based organisation go well beyond anything in Photomator. The trade-off is complexity and system weight. Capture One demands a dedicated catalogue or session for every project. Photomator opens, edits, and saves without that overhead. For a photographer who processes a few hundred frames from a shoot and does not need advanced colour grading, Photomator covers the core adjustments — white balance, curves, selective colour — with less interface between idea and result.
Denoise Smearing Fine Texture and How to Dial It Back
A few friction points come up often enough to address directly.
Denoise applies too strongly and smears fine texture. The Denoise toggle in Photomator uses a Core ML model that estimates noise level from the image data. There is no strength slider. On high-ISO files from a 100-megapixel GFX sensor, the model sometimes oversmooths fabric texture or distant foliage. The workaround is to apply Denoise, export a TIFF, and stack the original and denoised versions as layers in another editor with reduced opacity. Not elegant, but effective when the single-strength result is slightly too aggressive.
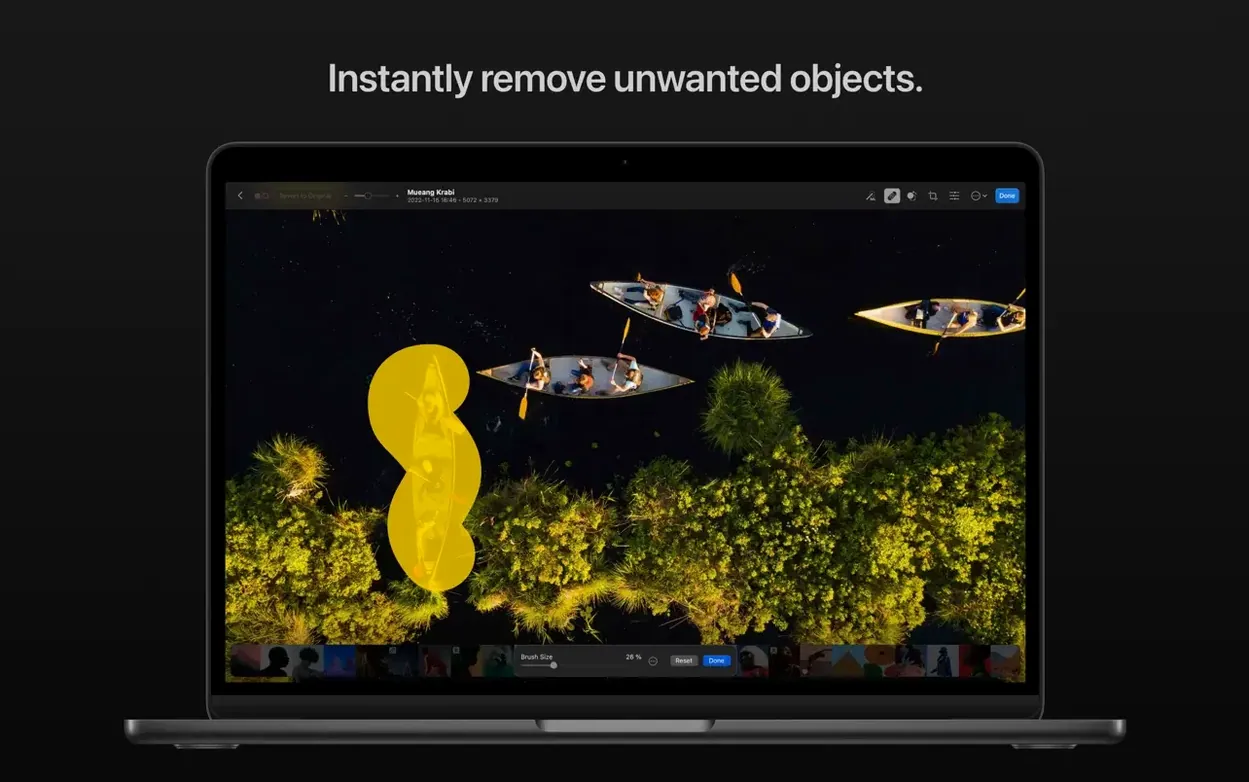
Batch paste skips a parameter you expected to transfer. Copy Edits captures most adjustments — white balance, exposure, curves, colour adjustments, Deband, and crop — but it does not carry over retouching strokes from the Repair tool or AI-based subject masks. If you repaired sensor dust spots on the reference frame, those spots remain on the pasted frames. Solution: run Repair on the master frame, export a clean TIFF, then batch-edit colour and tone only. Or plan to spot-clean after the batch colour pass.
Look Matching produces a heavy colour cast on mixed lighting. The Match Colors feature analyses the reference image's histogram and tone curve, then maps them to the target. Under uniform lighting it is surprisingly accurate. Under mixed lighting — say a flash-lit subject against a tungsten background — it can overcompensate and push the target toward the reference's dominant cast. The fix is to apply Match Colors to a duplicate layer (if working in Pixelmator Pro for the final composite) or to dial back the effect with a manual white balance tweak after matching.
Photos library sync delays after heavy edit sessions. When editing directly inside the Photos library, large batches can queue up iCloud sync operations. Edits themselves are small metadata changes, but the preview regeneration for hundreds of 50-megapixel RAWs can take minutes even on fast Macs. If you need instant export, work from a referenced folder outside the Photos library during the edit phase, then import the finished selects later.
Non-Destructive Edits Inside Your Apple Photos Library
Photomator fits into a wider toolchain rather than attempting to replace every step.
Apple Photos and iCloud. This is the primary integration. Edits made in Photomator appear as non-destructive adjustments inside the Photos library, exactly as if they were made in Photos.app itself. The advantage is that browsing, sharing, and device sync work without re-export. An image edited in Photomator on a Mac Studio shows the same colour grade on an iPhone 15 Pro and an iPad Air, assuming the displays are reasonably calibrated.
Finder and quick actions. Right-click a RAW file in Finder, choose Open With → Photomator, and you bypass the Photos library entirely. This suits photographers who store RAWs on external SSDs in a folder structure. Edits save as sidecar files alongside the originals. Those sidecars are not readable by other RAW processors, but they keep the original file untouched.
Pixelmator Pro for compositing. A natural pairing. Do the RAW development, colour grading, Denoise, and batch work in Photomator. Export a 16-bit TIFF. Open it in Pixelmator Pro for layer-based retouching, adding text, or blending multiple exposures. The shared colour engine means the TIFF looks identical in both apps — no gamut surprises when moving between them.
Shortcuts and AppleScript. Photomator exposes basic automation hooks. You can build a Shortcut that takes selected photos from Photos.app, opens them in Photomator, applies a specific preset, and returns the edited versions. It is not as scriptable as Capture One or Lightroom, but for repeatable one-click tasks — applying a watermark preset or a standard export size — Shortcuts covers the common cases.
Spotlight and Quick Look. Edited files inside the Photos library remain searchable via Spotlight. More usefully, Photomator's sidecar-based edits on standalone files do not break Quick Look — pressing Space on a RAW file shows the baked preview, including the non-destructive adjustments, without opening the app.
- Camera support — Compressed RAW from Sony Alpha ILCE-7M5, FUJIFILM GFX 100S II, and FUJIFILM GFX 100RF
- Camera support — High Efficiency and High Efficiency Star RAW from Nikon Z5II and Nikon Z50II
- Camera support — High Resolution mode RAW from Panasonic LUMIX DC-S1RM2
- Stability — Bug fixes and performance improvements
- macOS 13 or later
- Apple Silicon or Intel 64‑bit processor
Sign in · Create an account to add a field note.
No field notes yet. A measurement, a version, a machine — they appear after moderation.