VST Plugins
Slate Digital Storch Filter 1.0.6
VST PluginsUpdated
| Requirement | On file |
|---|---|
| macOS | macOS 11 or later |
| CPU | Apple Silicon |
| Download | 69 MB |
A static filter sweep can shape a transition, but a mix often needs that movement to feel less like an isolated effect and more like a part of the instrumentation. The challenge is building a chain where the cutoff, the timing and the added colour all speak the same language without a dozen automation lanes.
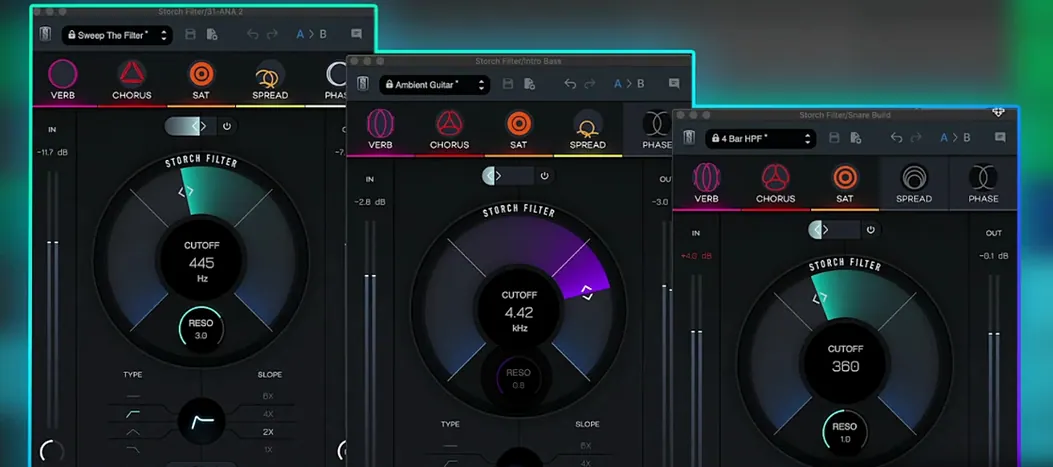
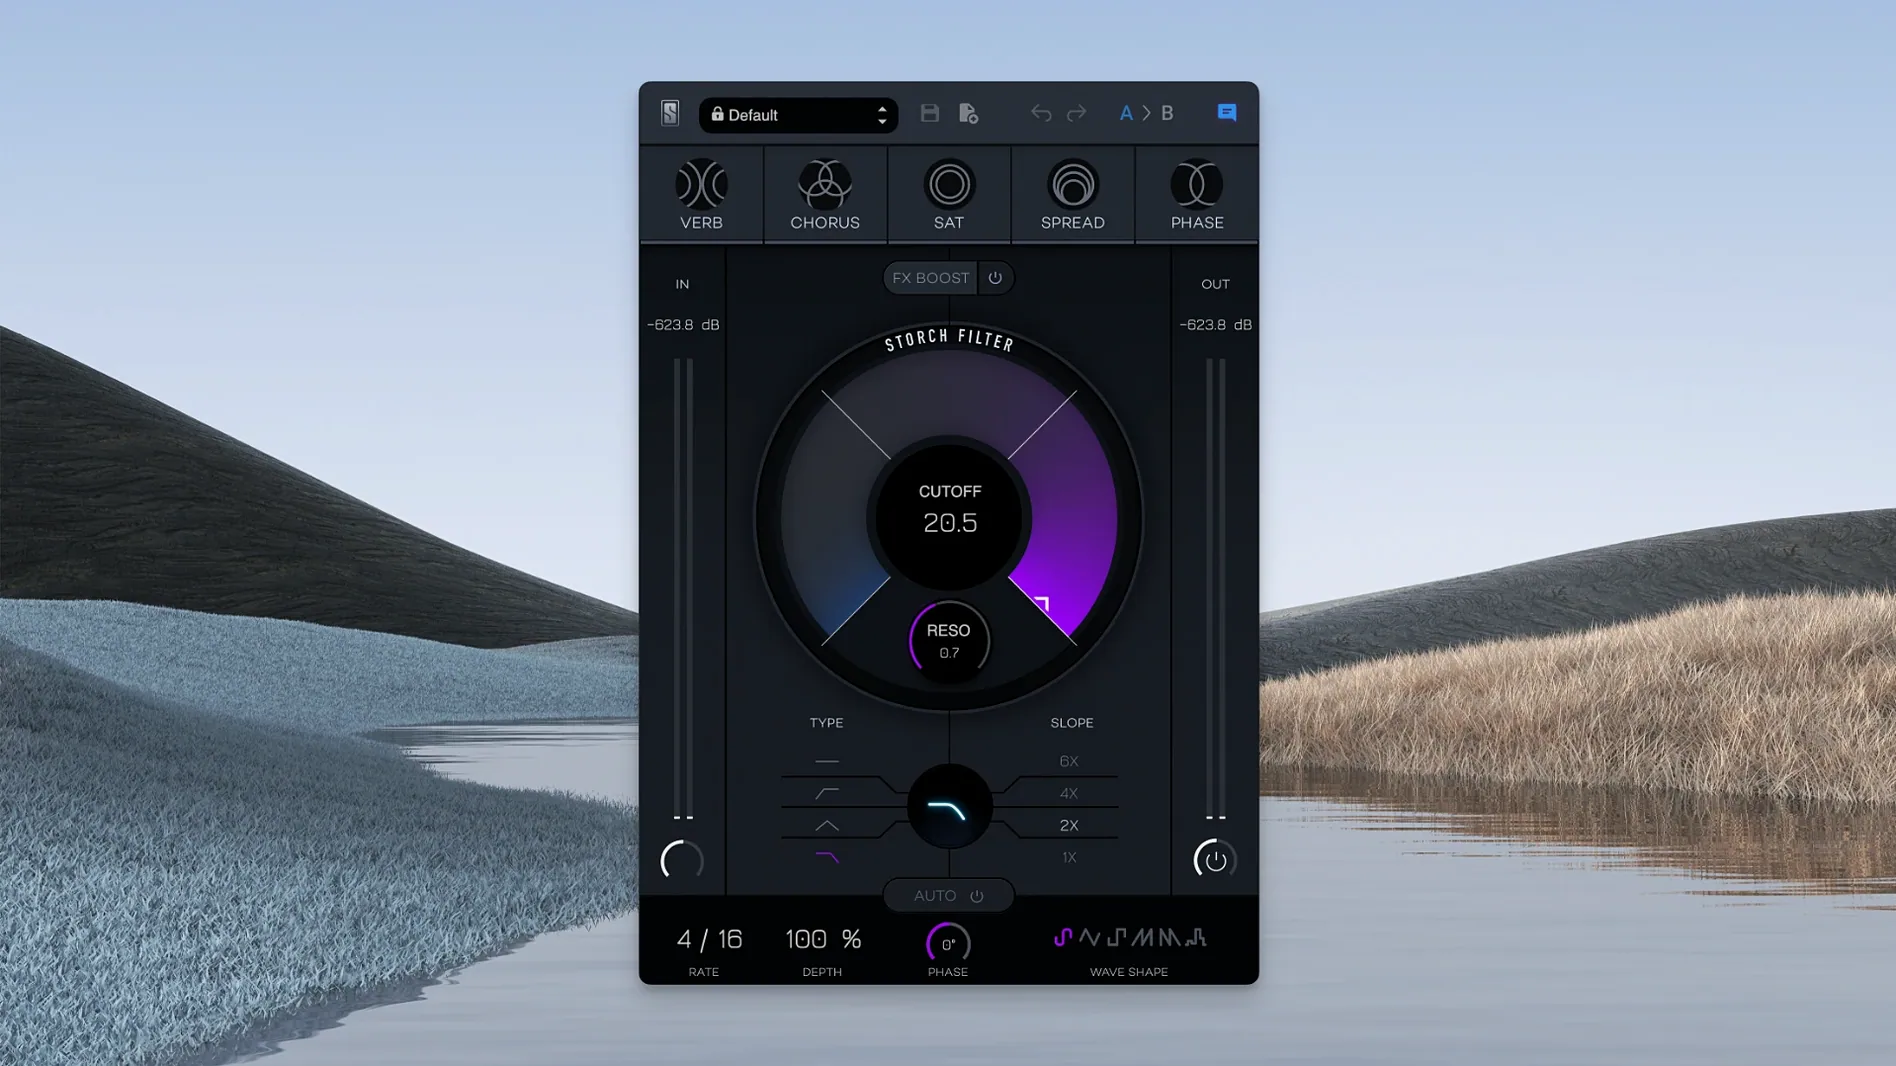
The core is an adjustable low pass filter whose cutoff and resonance knobs are the master controls for five built-in processors: reverb, chorus, saturation, stereo widening and a phaser. Turning the cutoff doesn't just darken the signal; it rebalances how much of each effect bleeds through. The resonance control tightens the peak in parallel, so a bass-heavy passage can push the phaser intensity without touching a separate mix knob.
Modulation comes from an autofilter with six LFO wave shapes. Sync it to tempo and the filter cycle locks to the grid. Run it free and the speed control drifts the opening and closing at rates that sit somewhere between a slow pedal movement and a rhythmic gate. The presets supplied by Scott Storch lean into this, often setting the LFO shape and effect balance to values that sound like a finished record from the first chord.
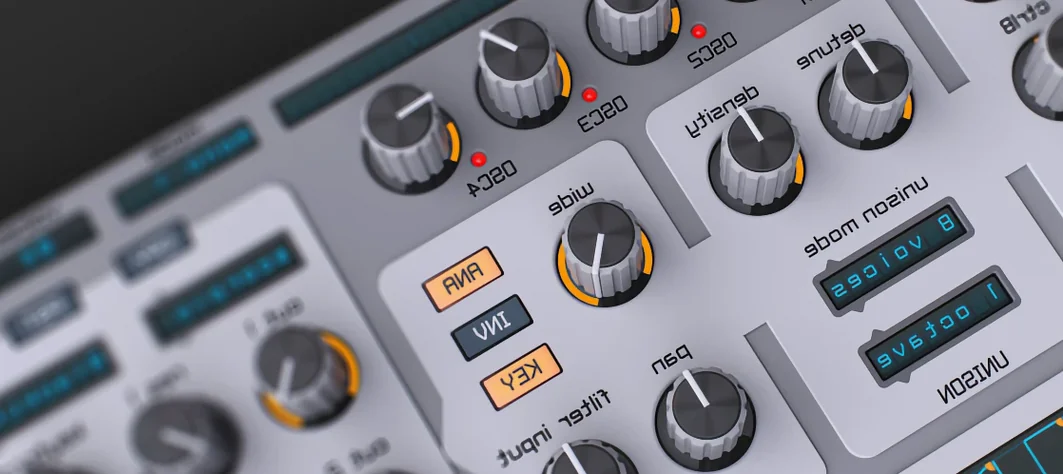
The interface groups these connections into a single view, so swapping a sine LFO for a random step shape while pulling back the saturation takes a few clicks. Version 1.0.6 runs natively on ARM Macs under macOS 11.
Pushing a Dry Piano Loop Wide with the Default Patch
Open a project with a dry piano loop sitting too far back in the stereo field. Instantiate Storch Filter on the insert, and the default patch loads with the cutoff at halfway and the LFO off. The first move is musical, not technical: drag the cutoff down to around 480 Hz while the loop plays. The top end tucks in, but the saturation circuit begins to compensate, adding a faint hair of harmonics that keeps the part audible.
Switch the autofilter on and set the wave shape to the triangle LFO. Sync it to the host tempo at a quarter-note rate. The cutoff breathes in time with the kick drum — opening on the downbeat, closing through the tail. Dial the resonance to roughly 65%. The phaser, which tracks the resonance control, now pushes a subtle notch sweep that moves with the filter cycle. It sounds like a second layer of automation without a single extra lane drawn.
Bring the FX Boost slider up to around 30%. The reverb tail and stereo widening become more present during the open phase of the LFO and recede as the filter closes. The widening pushes the piano toward the edges of the image only when the cutoff is high, so the verses stay narrow and the choruses bloom outward. Save the state as a user preset with a descriptive name — something like "Pno Wide Qtr Breathe" — so it recalls the exact LFO sync setting and effect balance.
Duplicate the track, flip the LFO shape to the random step on the copy, and set the speed free-running at 0.5 Hz with an offset phase. Pan the two tracks slightly apart. The interplay between the synced triangle and the drifting random steps creates a stereo movement that stays unpredictable but never clashes, because both instances share the same five-effect architecture.
Riding FX Boost by Hand for Organic Swells
- Map the FX Boost to a controller. Riding the FX Boost slider by hand while printing a pass yields organic swells that are hard to replicate with drawn automation. A simple MIDI fader assignment turns the plugin into a performance tool rather than a set-and-forget insert.
- Audition LFO shapes against silence. Load a sustained pad or a held chord, set the mix to full wet momentarily, and cycle through the six wave shapes. The sine and triangle feel smooth; the random step and square introduce rhythmic artifacts that work well on percussive material but can choke a legato vocal. Knowing the character of each shape before a session saves trial and error under pressure.
- Stack two instances for a compound filter slope. Place one instance with a gentle low-pass slope and light chorus, then follow it with a second instance running a bandpass shape and saturation. The combined attenuation curve is steeper than either alone, and the effects stack without phase issues because each instance handles its own stereo widening independently.
- Save the default state. If a particular balance of saturation and reverb becomes a go-to starting point, overwrite the default preset with those settings minus the LFO engaged. Every new instance then loads ready to tweak rather than from a blank reset.
Resonance Spikes Burying Transients in a Phasey Wash
Cranking resonance without checking the effect balance. High resonance values intensify the phaser and chorus by design, and on material with sharp transients — snares, plucks, slapped bass — the result can skew into a hollow, phasey wash that buries the attack. The fix is simple: pull the resonance back to 40–50% or reduce the chorus intensity manually if the tonal bite needs to stay.
Using the random step LFO on a full mix bus. The random shape is one of the plugin's most distinctive features, but on a stereo mix it introduces a gating effect that chops the low end unpredictably. It works far better on individual elements — a hi-hat group, a synth stab, a backing vocal — where the rhythmic skipping adds texture without destabilising the groove.
Ignoring the stereo widening at narrow settings. Some users treat widening as an on/off switch, but the effect scales with the cutoff position. At low cutoff values the widening tightens the image rather than expanding it, which can collapse a panned element toward the centre. Checking the stereo field with a correlation meter during the first few sessions prevents unintentional mono-ing of parts that should stay wide.
Leaving the LFO free-running when tempo sync matters. For drops and transition effects, a free-running LFO works beautifully. But on a rhythmic element like a sequenced bassline, leaving it unsynced creates a drift that pulls the filter movement out of phase with the grid within a few bars. Engaging the sync switch and setting a note value — eighth, quarter, half — locks the motion to the arrangement.
Morphing a Vocal from Guttural Rumble to Glassy Cry
A sound designer working on a sci-fi game needs creature vocalisations that shift between a guttural rumble and a high, glassy cry without cutting between layers. She routes a processed vocal sample into Storch Filter and sets the cutoff low, around 200 Hz, with the saturation pushing the signal into a warm distortion. The phaser and reverb sit at moderate levels, giving the low register a cavernous, throaty resonance.
She assigns the LFO to a sawtooth wave, unsynced, at roughly 0.8 Hz. As the cutoff rises toward 4 kHz, the reverb tail thins out and the stereo widening pulls the voice across the image. The chorus, which tracks the resonance, adds a brittle doubling that makes the high register sound like a different creature altogether. A slow automation of the FX Boost slider on the timeline introduces the widening only during the rising phase, so the transformation feels like a single continuous breath rather than a crossfade between patches.
The result is a single audio file with no additional processing: one instance of the plugin, one LFO, and a careful balance of the five effects. She bounces the pass, drops it into the game engine, and the asset works as both an ambient bed and a triggered one-shot depending on where the game logic calls it.
- macOS 11 or later
- Apple Silicon processor
Sign in · Create an account to add a field note.
No field notes yet. A measurement, a version, a machine — they appear after moderation.